Easy dulce de leche recipe
Servings: 10 servings (2 tbsp each)
Calories: 127kcal
The easiest dulce de leche that you will ever make! Along with all the safety tips so you know how to achieve perfect results with minimal fuss, every single time. EASY - This is such an easy recipe. Please follow the safety tips to make sure you get perfect results as the cans are cooked under pressure. US based cup, teaspoon, tablespoon measurements. Common Measurement Conversions. Weight measurements are recommended for accurate results.
Print Recipe
Ingredients
- 1 can condensed milk (300 mL or 397 g). See recipe notes for more information
- Sea salt to taste
Instructions
- Use a large pot to place your can(s) inside. I use my 5qt stainless steel pot. I can usually fit 2 - 3 cans of condensed milk in this, but I also use it for 1 can, since it's easy to fill it with water so that the water level is 2 inches above the cans.
- Remove the label of the condensed milk can(s).1 can condensed milk
- Place the can on its side, inside the pot, and fill it with water from the tap. Make sure the water level is at least 1 inch above the can.
- Place the pot on your stove with the lid, and heat over medium high heat to bring the water to a boil.
- When the water is boiling, keep the lid ajar, and lower the heat so that the water is gently simmering.
- Let the cans simmer in the water for 2 - 3 hours (2 hours for light caramelization, and 3 hours for a deeper caramelization).
- It's crucial that you check on the pot every 30 minutes or so to make sure the water is topped off and is not evaporating to expose the can. I also like to rotate the can every 30 minute using long tongs.
- After the can has been simmering continuously for 2 - 3 hours, the dulce de leche is done.
- Carefully remove the can from the water and place it on a safe surface. Let it cool COMPLETELY to room temperature. You should ONLY open the can when it has cooled down all the way. This can take up to 4 hours depending on the ambient temperature.
- Transfer the cooled can to the fridge overnight if you prefer to let it cool further.
- When the dulce de leche can has completely cooled, open the can and scoop out all of the dulce de leche into a small pot, with about ½ tsp of sea salt. Gently heat over medium low heat while stirring to dissolve the salt and to warm up the dulce de leche.Sea salt
- Taste, and add more salt to your liking if needed.
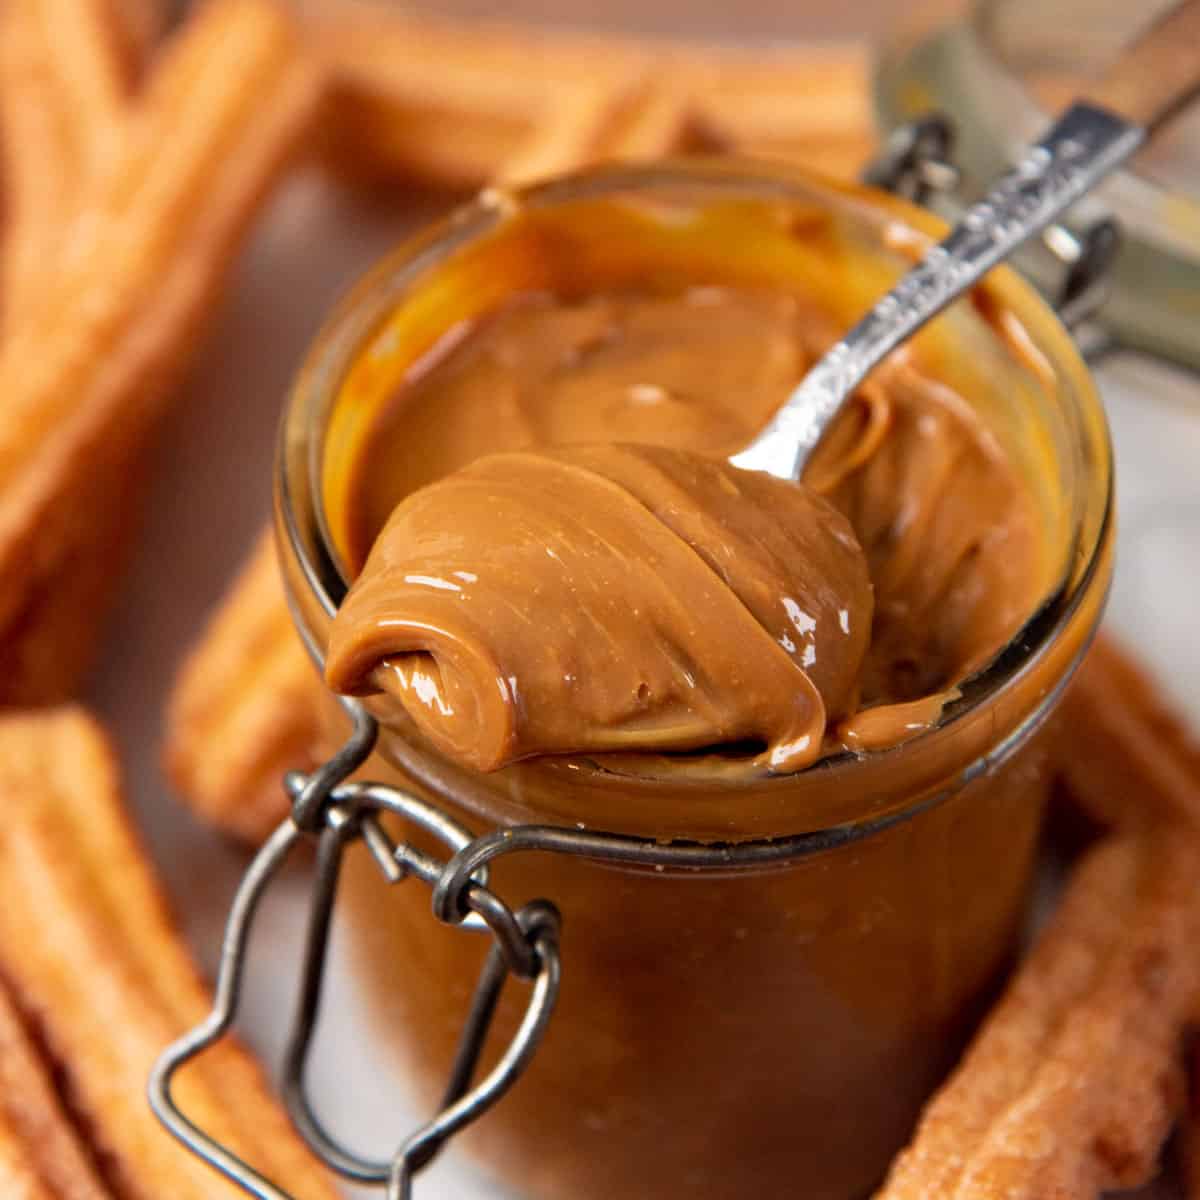
- Transfer the salted dulce de leche into a small jar or container.
- Serve while warm OR let it cool to room temperature.
Notes
Storage information
Dulce de leche will last for 2 weeks in the fridge if you open the can. However, you can store the unopened can for up to 3 months and this does not need to be refrigerated.Notes on the condensed milk
You can use any size can, but larger cans can take longer to turn into dulce de leche. This recipe is for regular condensed milk cans that you can buy at the supermarket. These are usually marked as 300 mL or 14 oz / 397 g. If this is your first time, look for condensed milk cans without the tab opener. Although in theory this reduces the chances of the can bursting under pressure while being heated, I always use tabbed cans and have had no issues with them. I have not tried this with low fat, or no fat condensed milk, so I cannot guarantee if the results will look and taste the same. I recommend going with a full fat condensed milk so that you get silky, creamy results.Nutrition
Serving: 2tbsp | Calories: 127kcal | Carbohydrates: 22g | Protein: 3g | Fat: 3g | Saturated Fat: 2g | Polyunsaturated Fat: 0.1g | Monounsaturated Fat: 1g | Cholesterol: 13mg | Sodium: 50mg | Potassium: 147mg | Sugar: 22g | Vitamin A: 106IU | Vitamin C: 1mg | Calcium: 112mg | Iron: 0.1mg