The Best Classic Cream Scones
Servings: 16 small scones
Calories: 242kcal
The Best Classic Cream Scones recipe with step by step tips on how to make perfectly flaky, buttery cream scones. Easy to make and addictively delicious.EASY - This is an easy recipe to make. I explain each step in details so you can have the confidence to make scones perfectly with buttery layers.
Print Recipe
Ingredients
- 400 g AP flour chilled - 3 cups spoon and leveled
- 4 tsp baking powder
- ¼ tsp baking soda
- 1 tsp salt
- 3 tbsp sugar
- 170 g unsalted butter (12 tbsp) cut into cubes and chilled
- 300 mL heavy whipping cream 1 ¼ cup, chilled
- 1 tsp vanilla
- Extra cream or milk for brushing on top
- Extra coarse sugar to sprinkle on top optional
Instructions
- Place the flour, baking powder, baking soda, salt and sugar in a bowl.
- Add the butter. You can cut the butter into the flour using a pastry cutter, OR use your fingers to rub the butter into the flour. You should have pea sized butter pieces in the flour, while it looks coarse overall.
- Mix the vanilla into the cream, and pour it gradually into the flour and butter mix. Use a fork to mix the cream into the flour until it’s all incorporated and you have a shaggy looking lumpy dough.
- Turn the dough out onto a lightly dusted parchment paper (the same parchment paper that will be used to bake the scones). Lightly dust the surface of the scones, and bring the dough together to form a cohesive dough. Pat the dough out to a 6 - 8 inch circle or square.
- Cut the dough in half, and place one half on top of the other. Place a parchment paper on top, and roll out the scone dough to another 6 - 8 inch circle or square (you can use your hands to pat the dough too). Repeat the process of cutting and layering the dough (once or twice more).
- Final roll out - here you roll out the scone dough to a rough square while making sure that the dough is about ½ - ¾ of an inch high. Roughly cut and remove just the edges of the dough with a clean knife.
- Cut the dough into 16 pieces (4 x 4), making sure to clean the knife after each cut. Cut the scones STRAIGHT DOWN with a sharp knife, to make sure your scones have clean edges and will rise properly. If you are using a biscuit cutter, lightly dust the cutter, and cut the dough straight down for clean cuts.
- Place the cut scones in the freezer for about 10 - 15 minutes until the oven preheats.
- Preheat oven to 425°F.
- Place the scones (with the parchment paper) on a baking tray. Separate the scones, as mentioned below, before baking (you may need to use a spatula to help release the scones off the parchment paper from the bottom).
- For soft sides - scones should be touching each other before going into the oven. For soft and crunchy sides - scones should be placed about 1 - 1 ½ cm apart. For crunchy sides - place the scones about 2 inches apart.
- Brush ONLY the tops of the scones with milk or cream. Sprinkle some coarse sugar on top of the scones (optional).
- Place the scones in the oven, and reduce the temperature to 400°F. Bake in the oven for about 20 minutes, until the scones turn a beautiful golden brown.
- Remove from the oven and let them cool down a little.
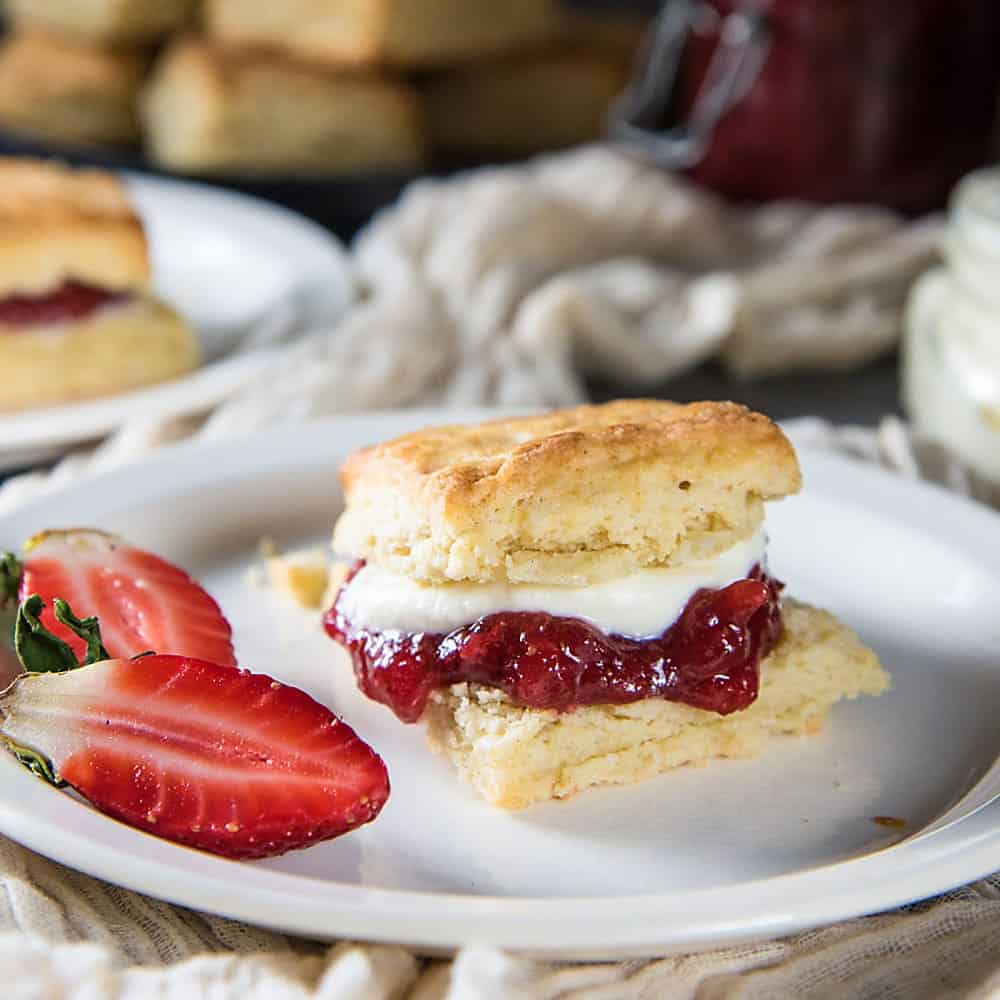
- Eat while warm, or if cold, warm them up in the microwave for about 20 - 30 seconds. Serve with butter, jam and cream.
Nutrition
Serving: 1scone | Calories: 242kcal | Carbohydrates: 23g | Protein: 3g | Fat: 16g | Saturated Fat: 10g | Cholesterol: 48mg | Sodium: 175mg | Potassium: 201mg | Fiber: 1g | Sugar: 2g | Vitamin A: 539IU | Vitamin C: 1mg | Calcium: 86mg | Iron: 1mg