

This homemade eggnog tastes SO much better than store-bought, and it’s not hard to make either. I cook the egg yolks AND use pasteurized egg whites from a carton here, which not only makes this eggnog perfectly safe to drink for anyone, but it also makes the drink light and frothy!
This recipe makes a thick, creamy, warmly spiced, delicious eggnog that you can make with or without alcohol (for a family-friendly version) as well.

Why this recipe works

- A thick, frothy, rich eggnog that is an absolute treat to drink!
- Perfectly sweet, tastes so much better than store-bought, and it’s such a festive holiday drink.
- I cook the egg yolks in the milk base and use pasteurized egg whites from a carton which makes this drink perfectly safe to drink for anyone!
- You can make this with or without alcohol for a kid-friendly version too.
I love eggnog. But it did take me a few years to truly appreciate it. While I don’t mind eating raw eggs in raw cake batter or raw cookie dough, the idea of drinking raw eggs isn’t as appealing (I lay blame for that squarely on the Footrot Flats movie from my childhood).
But ever since I tried Alton Brown’s eggnog recipe with the cooked option, I couldn’t keep away from the stuff. Homemade eggnog is just fun, and the fact that there are no raw eggs makes it safer to drink as well.
What’s the classic eggnog recipe?
Classic eggnog is a mix of eggs, milk, cream, nutmeg, sugar, and alcohol (bourbon, rum, cognac).
The egg-milk base and alcohol are mixed at a ratio of 2:1 or 1:1. The high alcohol content in the drink prevents the eggnog from going bad by acting as a preservative. But that much alcohol in a drink like this can also be a bit too strong.
You’d need to age the eggnog to help mellow out the strong alcohol flavor, and I don’t have the patience for that. To be fair, I don’t even have the patience to wait overnight to drink this homemade eggnog!

Cooked eggnog (homemade recipe)
- In this version, the egg yolks are cooked in the milk base. And instead of raw egg whites, I use pasteurized egg whites from a carton.
- The leftover egg whites can be stored away for a separate recipe.
- I also use fresh nutmeg, which is ABSOLUTELY worth it for your eggnog.
- A mixture of milk and cream (just like other recipes) to add extra creaminess. But I’ve also made this with half and half, or with evaporated milk, all giving excellent results!
- I also use a mixture of bourbon and rum to spike my eggnog. This is optional, but highly recommended. Allow the eggnog to rest for at least 12 hours – it’ll make a huge difference.
- If you prefer a non alcoholic homemade eggnog version, simply omit the alcohol. But if you can find rum extract or brandy extract, then you can still add the flavor of alcohol, WITHOUT actually adding alcohol.
How to make homemade eggnog (without raw eggs)
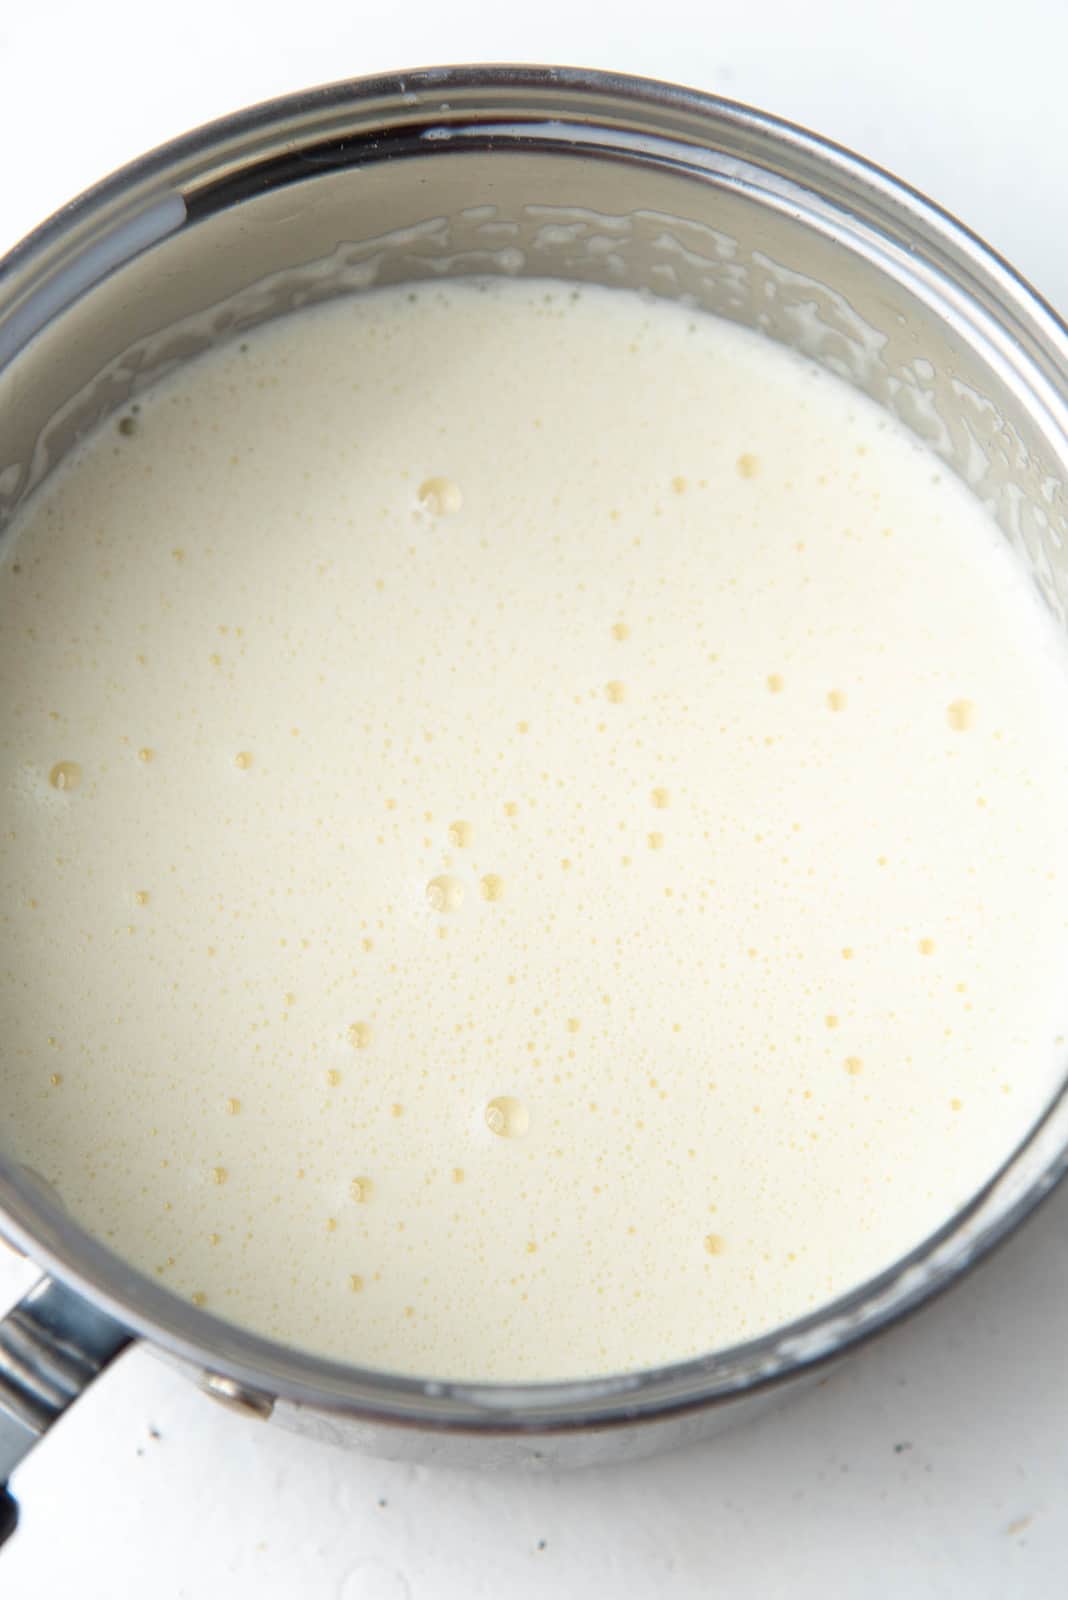
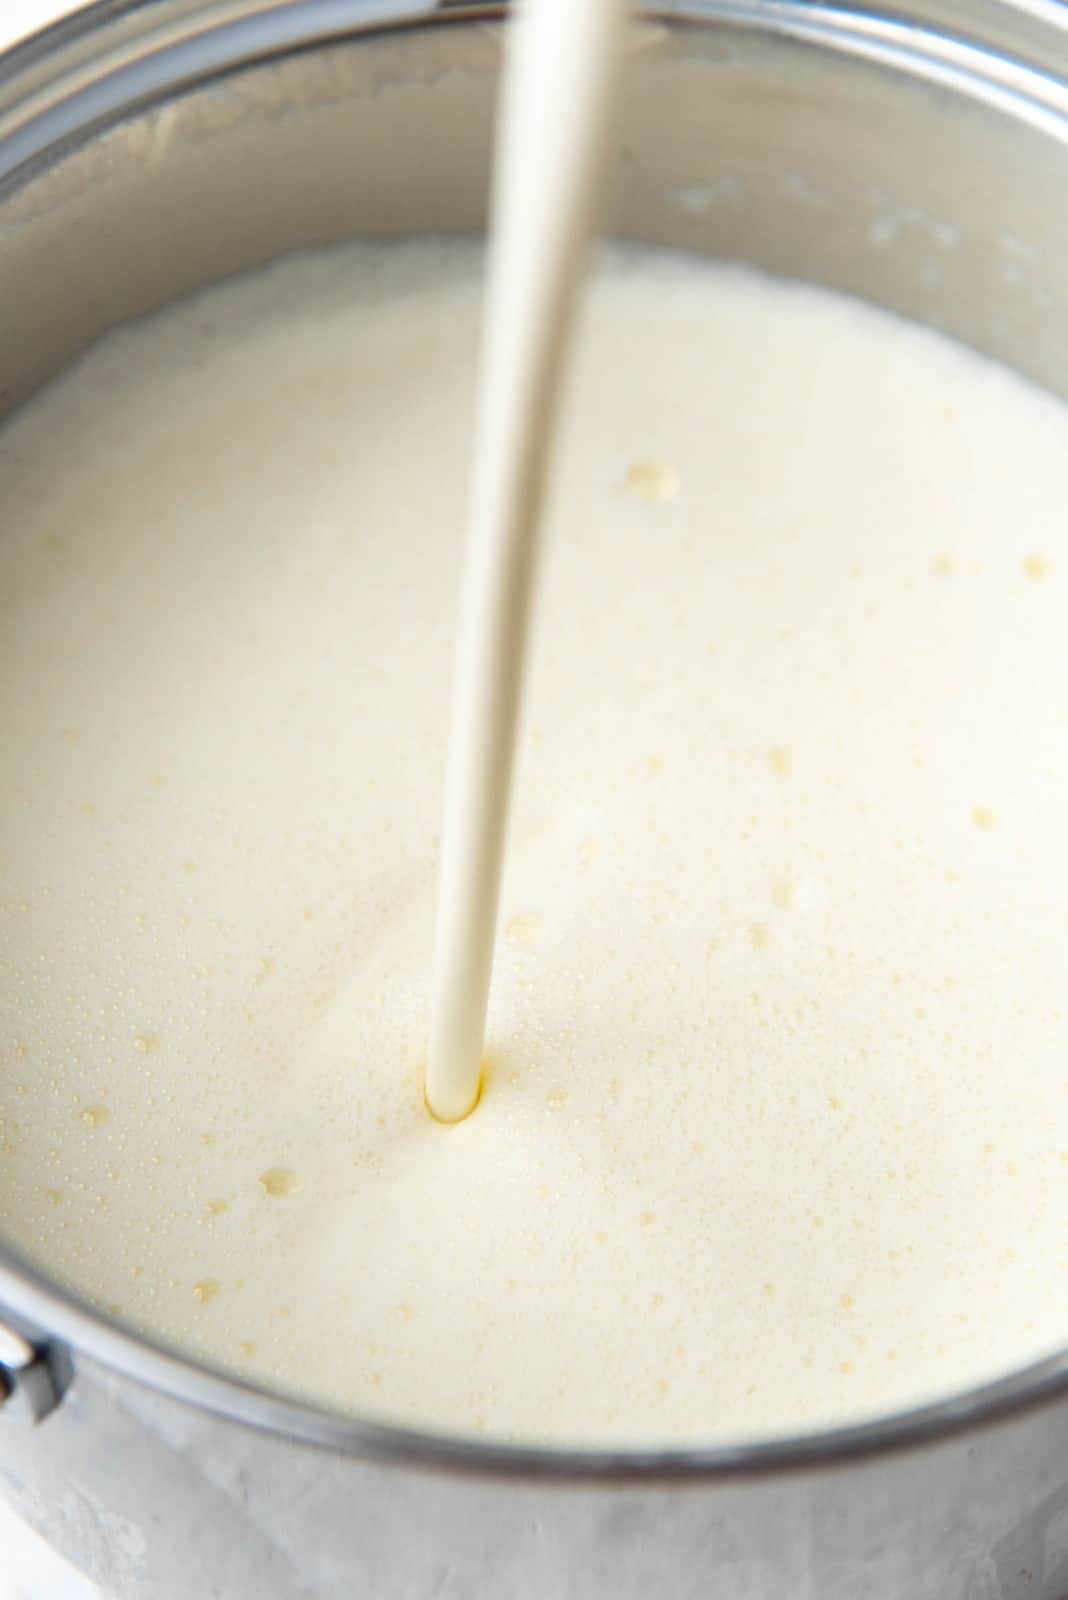
Heat the milk in a saucepan over medium low heat, with the salt, cinnamon and nutmeg. The milk should be heated until steaming and just starting to simmer. Do NOT let it boil, so keep an eye on it.
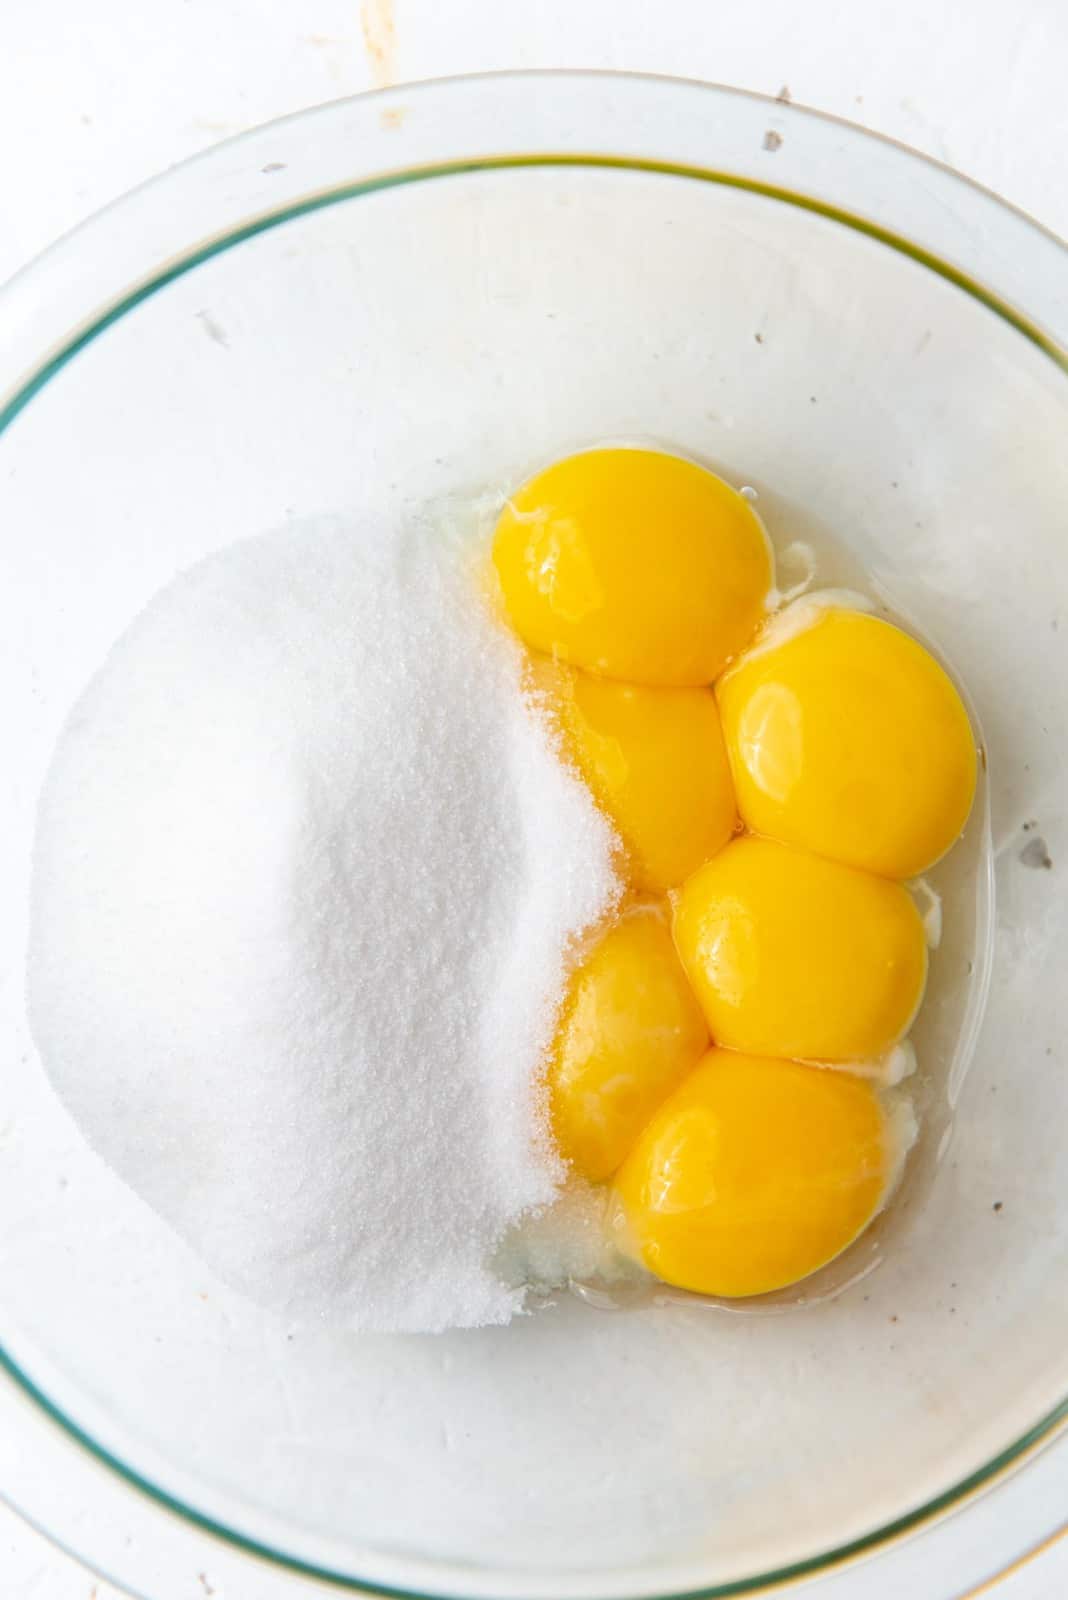
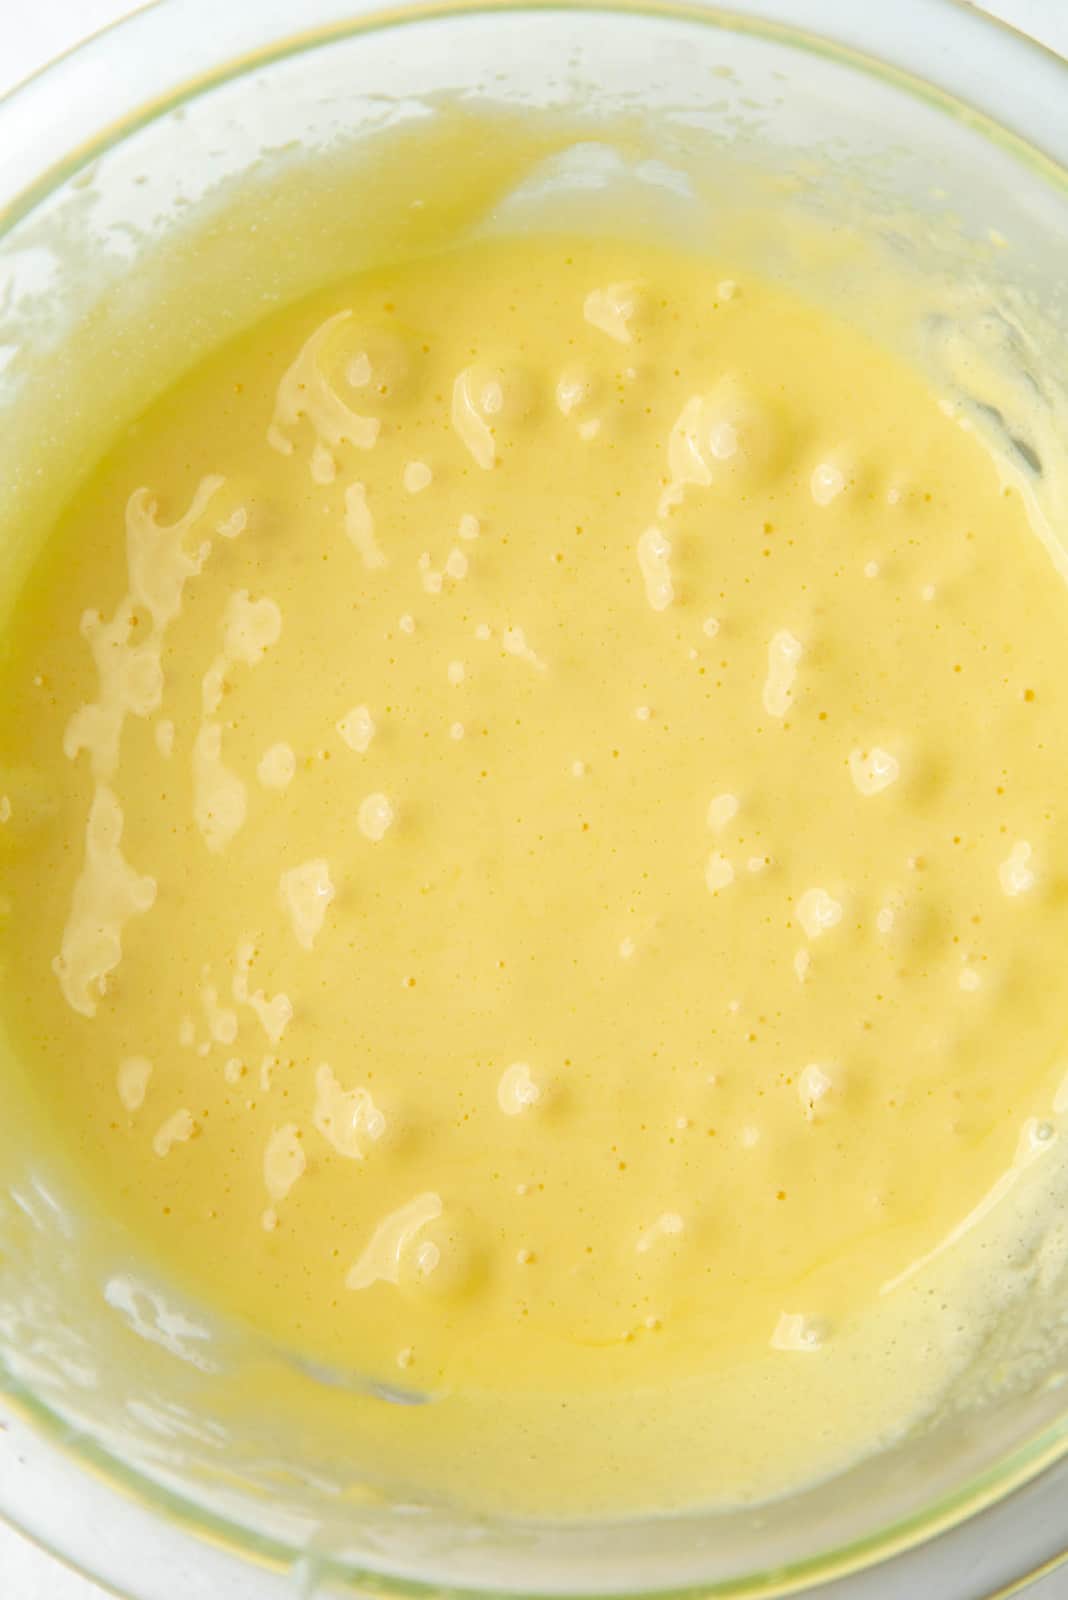
While the milk is heating, beat the egg yolk and sugar with a whisk, in a medium bowl, until thick and pale. It should have a thick ribbon consistency.
Gradually add some of the hot milk mixture into the egg mixture, while whisking constantly. This is to temper the eggs and prevent the eggs from scrambling.
When the egg mixture has warmed up with the milk, you can add the egg milk mixture back into the saucepan with the rest of the hot milk.
Heat the milk egg mixture until it reaches 160 degrees (160 F / 71 C), while whisking frequently. The mixture should be steaming, but not boiling.
Stir in the whipping cream (35% fat), vanilla, bourbon, and rum, and then refrigerate until chilled (or at least room temperature). I prefer to refrigerate this homemade eggnog mixture for about 1 day (at least overnight).
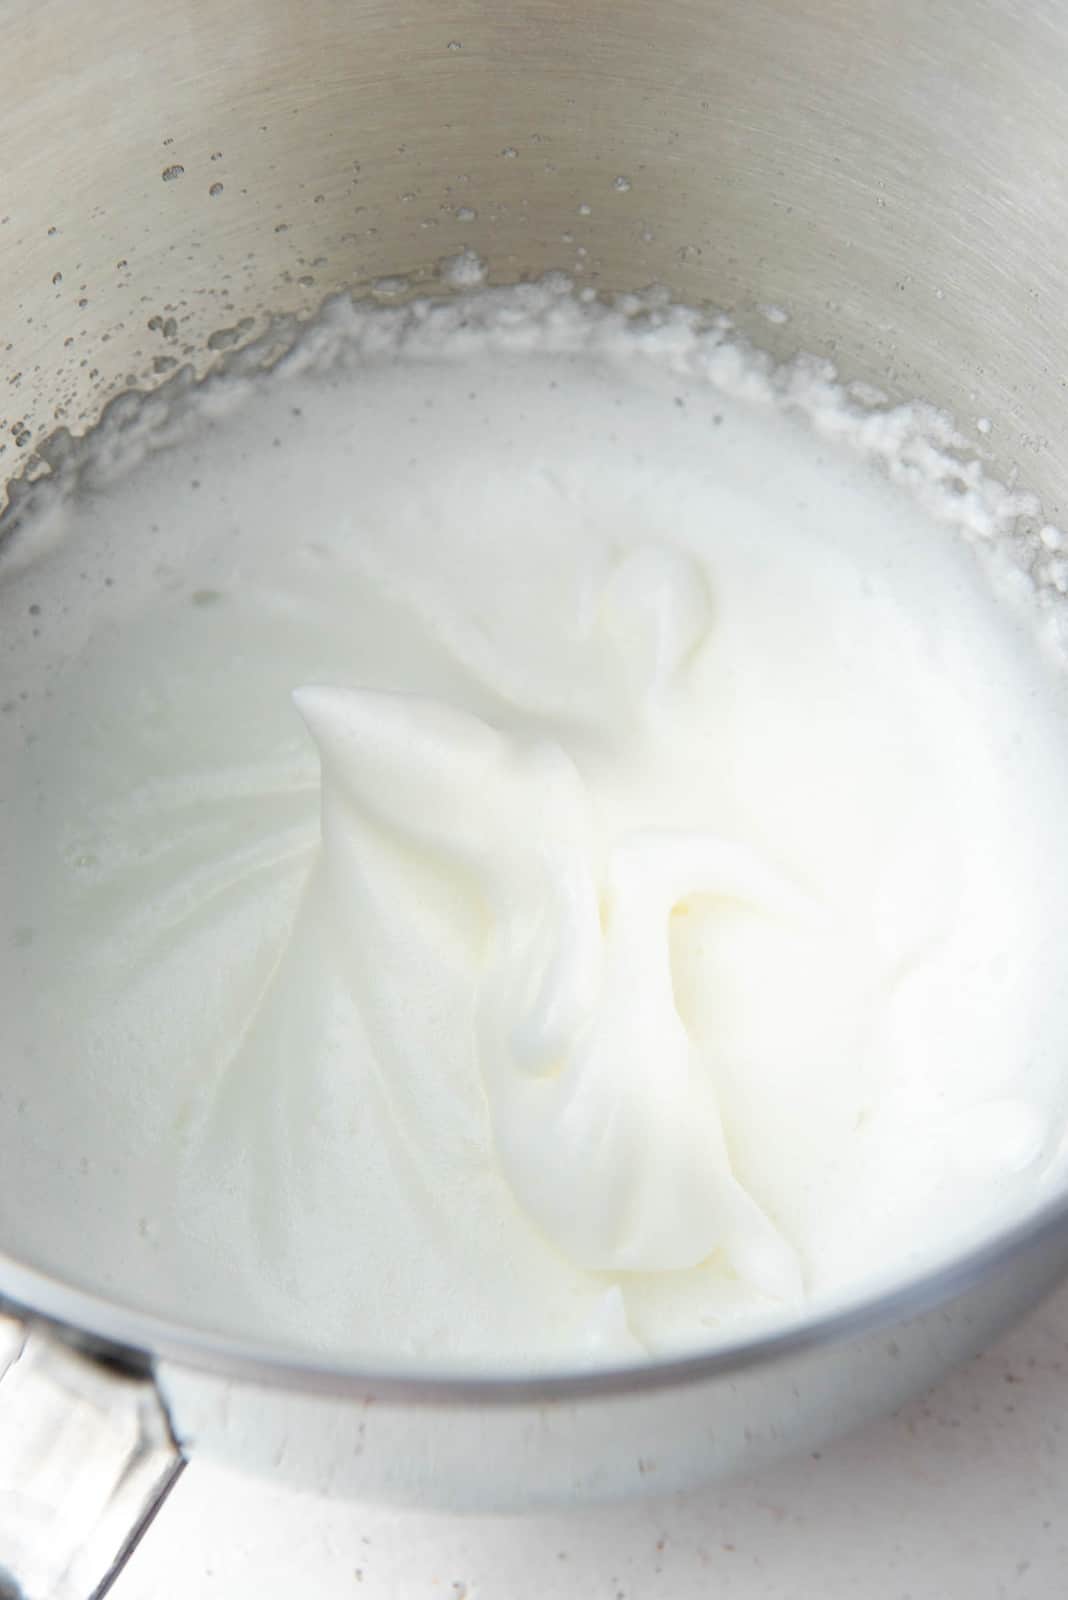
I add the egg whites on the day I’m going to serve the eggnog. This is optional, but I do prefer the drink with the added egg white. It balances the thick creaminess of the drink with a light frothiness.
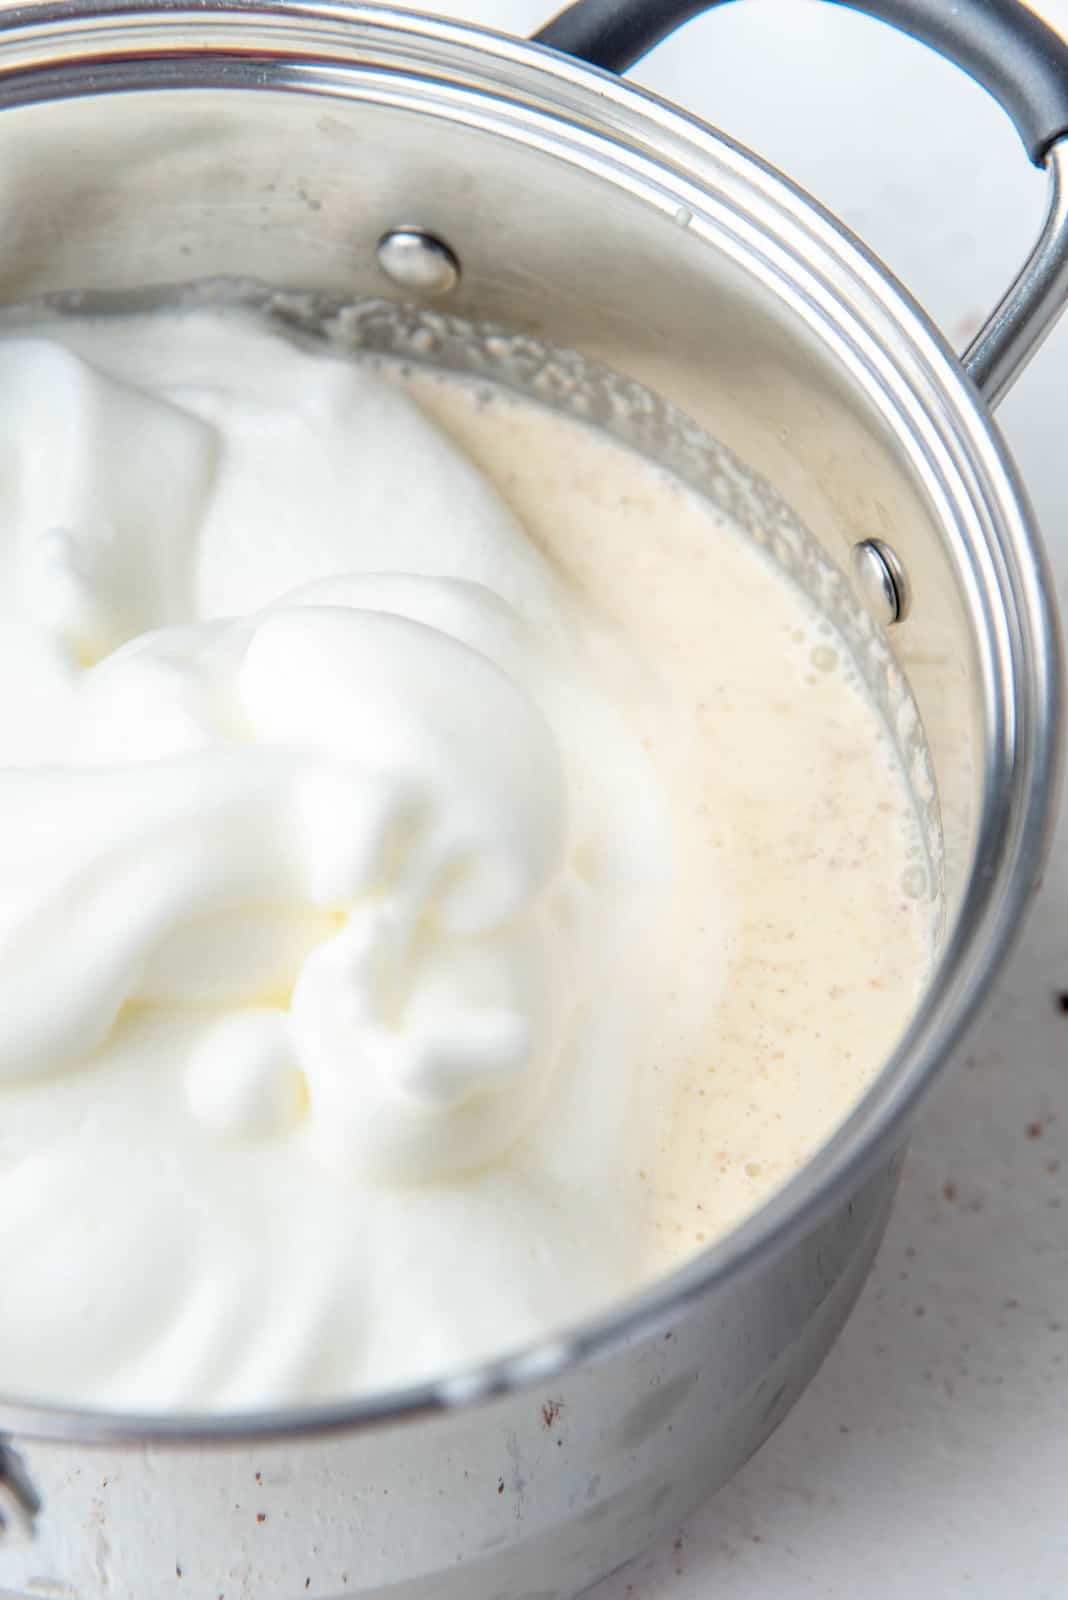
To do this, in a large bowl, whisk the pasteurized egg whites until soft peaks. Then mix the egg whites into the chilled eggnog mixture, and it’s ready to be served!
Why do you add the egg whites just before serving?
I love my eggnog with that delicious frothiness you get with the egg whites. It feels luscious and light at the same time.
So I add the egg whites just before serving.
However, I have added the egg whites much earlier and still enjoyed the drink for up to 4 days. The flavor is just as amazing!
Can I drink the eggnog right away?
Once you add alcohol, the eggnog tends to taste MUCH better the following day, in my experience. A minimum of 12 hours in the fridge allows the strong alcohol notes to mellow out and mix in well with the eggnog flavor.
If you’re making the non alcoholic version, then feel free to drink it as soon as the eggnog has cooled down. Just add some ice to your glass to chill it further.
Serving suggestions
Some prefer to pour the homemade eggnog through a sieve to get rid of the extra spices, but I prefer to keep ’em in there. But feel free to filter out the spices before adding the egg whites if you prefer.
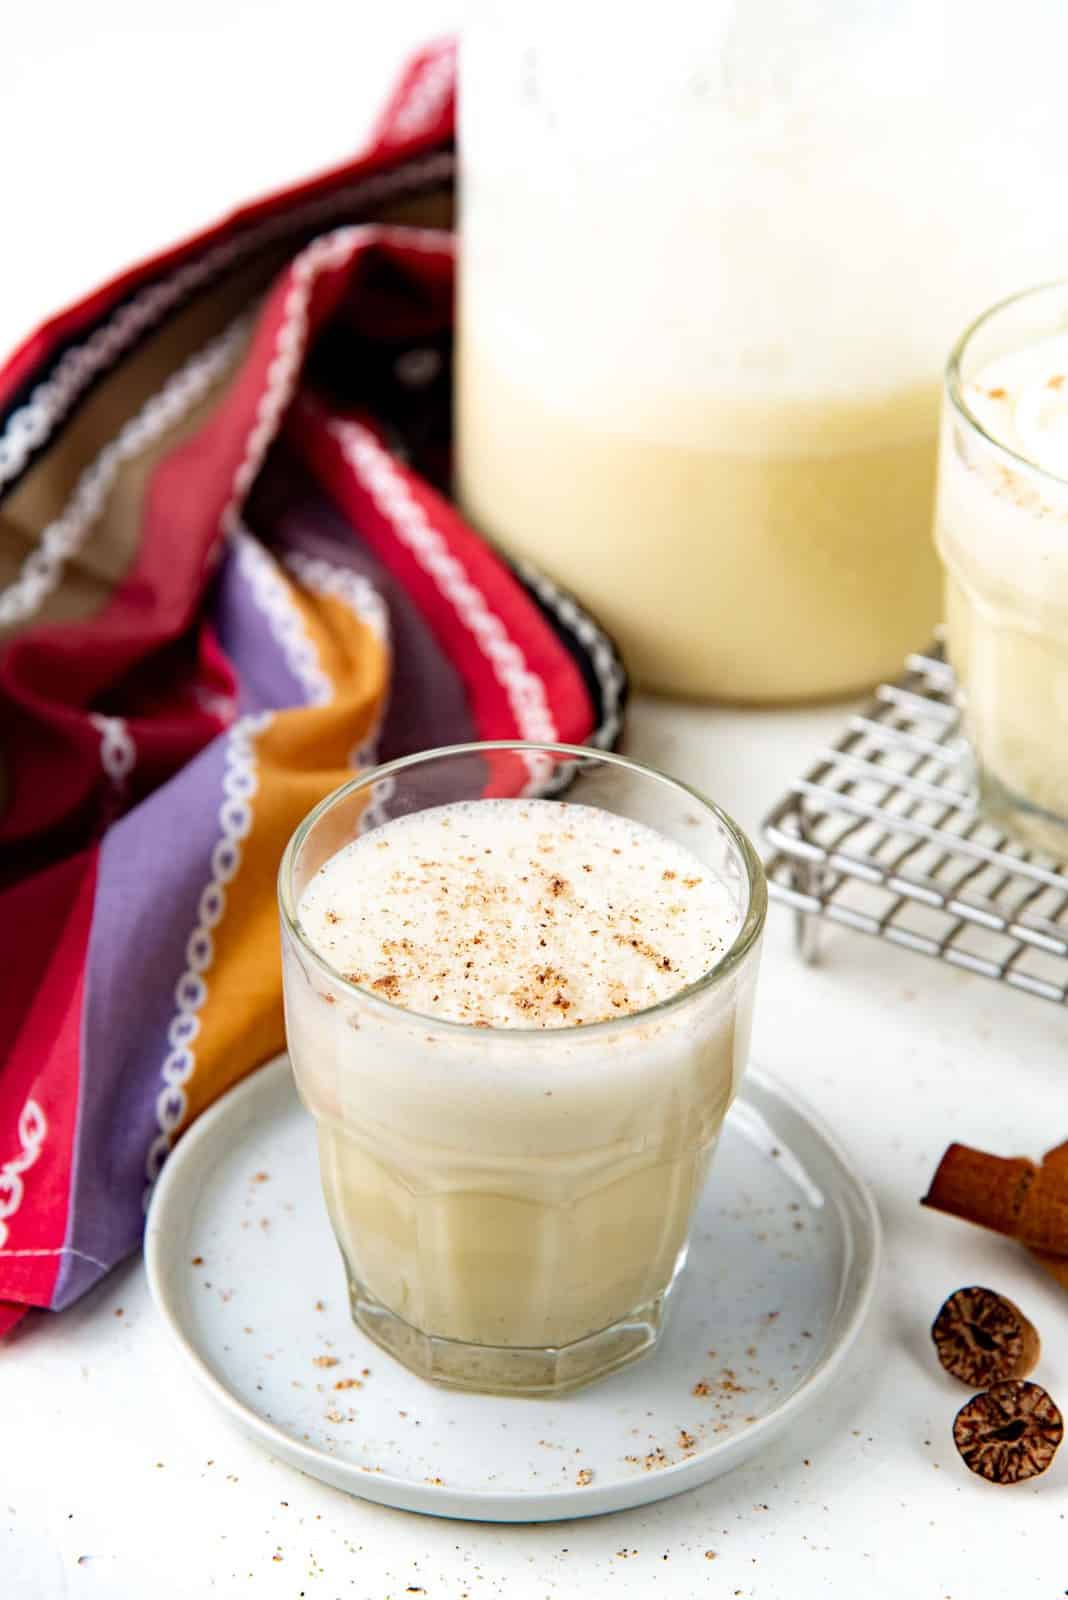
- To serve, simply pour the eggnog into glasses. Or over ice.
- I also like to add a dollop of homemade whipped cream sometimes.
- And a sprinkle of ground nutmeg and cinnamon on top is absolutely essential for me.
- My husband sometimes pours a shot of espresso into his eggnog to make an iced eggnog latte. Tastes absolutely delish.
- And why not serve this with a slice of this eggnog pound cake? I could never have enough cozy eggnog flavor during the holidays!
Tips for making the best homemade eggnog
- For a richer version, use 6 egg yolks (and 4 for a less rich version).
- Cook the egg yolks in the milk mixture, which will make the eggnog base thicker and safer to drink.
- Add the alcohol, and allow the eggnog to chill for at least 12 hours for the best flavor.
- If you’re making the non-alcoholic version, add some alcohol free extract (rum extract / brandy extract) for the flavor of alcohol, without actually adding alcohol.
- Adding egg white is optional. Use pasteurized egg whites to make this drink safer to consume. The egg white adds more body to the drink and makes it light and frothy.
Recipe

Homemade Eggnog (No Raw eggs)
US based cup, teaspoon, tablespoon measurements. Weight measurements are recommended for accurate results whenever available.
Common Measurement ConversionsIngredients:
- 2 ½ cups whole milk 600 mL
- 1 tsp freshly grated nutmeg
- ¼ tsp ground cinnamon
- Pinch sea salt ⅛ tsp
- 6 egg yolks from large eggs (or 4 egg yolks for a less rich eggnog)
- 100 g sugar ½ cup (or 150 g / ¾ cup for a sweeter version)
- 1 cup whipping cream 35% fat (240 mL)
- 2 tsp vanilla
- 3 fl oz bourbon 90 mL (see recipe notes)
- 3 fl oz dark rum 90 mL (see recipe notes)
- ½ cup pasteurized egg whites (optional) ½ cup
- Extra ground nutmeg and cinnamon optional – for topping
- Whipped cream optional – for topping
Instructions:
- Place the milk, nutmeg, cinnamon, and salt in a saucepan. Heat over medium heat until the milk just starts to simmer.2 ½ cups whole milk, 1 tsp freshly grated nutmeg, ¼ tsp ground cinnamon, Pinch sea salt
- While the milk is heating, place the egg yolks and sugar in a bowl. Using a hand mixer, whisk the egg yolks and sugar until the mixture is pale, thick, and forms ribbons. You can do this manually with a hand whisk as well, but it'll take longer.6 egg yolks, 100 g sugar
- When the milk starts to simmer, remove the pan from the heat.
- To temper the egg mixture – slowly pour about a cup of the hot milk mixture into the egg mixture, while whisking the egg mixture constantly (add enough milk mixture to warm the eggs).
- Pour the warmed egg mixture back into the saucepan with the hot milk. Whisk to combine.
- Return the saucepan to the stove and heat over medium heat. Whisk frequently until the milk mixture reaches 160°F. Do not allow the mixture to come to a boil, as this can cause the eggs to scramble.
- When the mixture reaches 160°F, remove the saucepan from the heat.
- Add the cream, vanilla, bourbon, and rum. Refrigerate the mixture for at least 12 hours or up to 1 day.1 cup whipping cream, 2 tsp vanilla, 3 fl oz bourbon, 3 fl oz dark rum
- OPTIONAL – When the mixture has chilled for at least 12 hours, you can choose to pass the mixture through a sieve to remove the spices.
Once chilled (or before serving)
- Place the pasteurized egg whites in a large bowl or your mixer bowl.½ cup pasteurized egg whites
- With the whisk attachment, or a hand held electric whisk, whisk the egg whites until they reach soft peaks.
- Mix the egg whites into the chilled eggnog mixture.
- Serve immediately, or chill further until you’re ready to serve. Make sure to mix the eggnog well before pouring into glasses.
- Top with a sprinkling of nutmeg and cinnamon and/or a dollop of whipped cream.Extra ground nutmeg and cinnamon, Whipped cream
Recipe Notes
For a non alcoholic version
Omit the alcohol, and add extra milk instead, along with some rum and cognac (or bourbon) extract if you prefer.Storage
This will keep for up to 5 days in the fridge. If you add at least 2 – 2.5 cups (480 – 600 mL) of alcohol, you can keep it for longer. In fact, with the alcohol, it’ll taste better if aged for at least a week in the fridge.Nutrition Information:
“This website provides approximate nutrition information for convenience and as a courtesy only. Nutrition data is gathered primarily from the USDA Food Composition Database, whenever available, or otherwise other online calculators.”


Leave a Reply