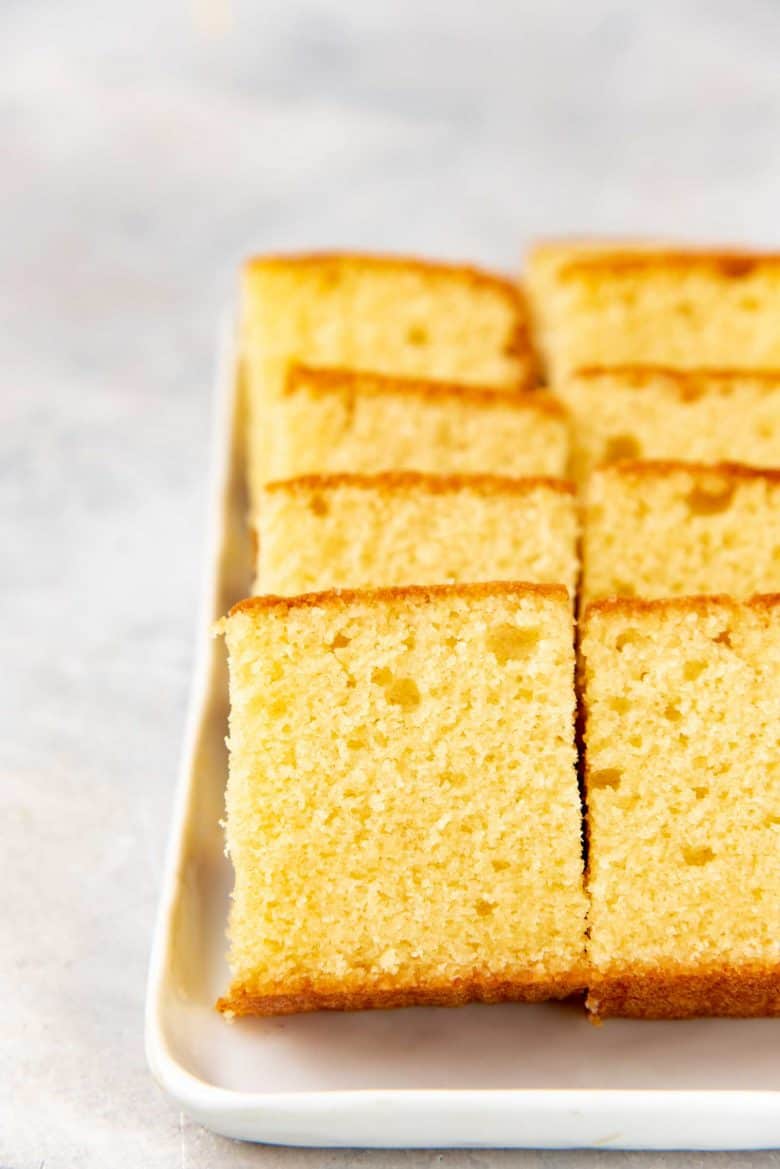
Authentic Sri Lankan Butter Cake is easy to make. And easy to love! It’s essentially a pound cake, but even more deliciously moist, light and buttery. And perfectly sweet, with a gorgeous crumb. Often accompanied with a cup of tea, and absolutely no frosting. And it’s very popular as a birthday cake too!
Classic Sri Lankan Butter Cake recipe with step by step instructions!
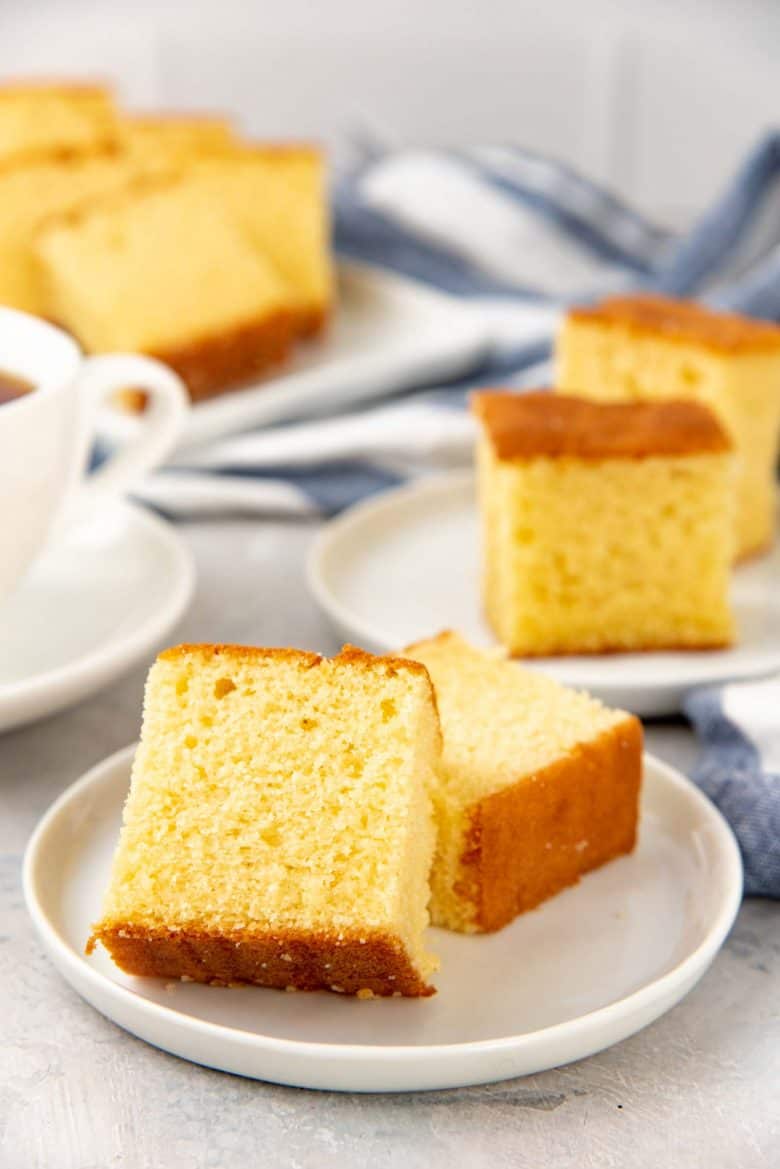
This is the first cake I learned to make as a kid. That’s no surprise because it’s perhaps the most popular type of cake in Sri Lanka. If a little me can bake this cake with little hassle, then you can nail this recipe too.
What is a Sri Lankan Butter Cake?
This is essentially a pound cake. This butter cake is made with butter (duh), and flavored with vanilla. It’s served in every bakery in Sri Lanka (no really, every single one of them without fail), because it’s a simple cake that can be served during special occasions as well as mundane occasions. Due to its simplicity and relative inexpensiveness, it’s widely popular!
Although it is made with butter and vanilla, butter can be expensive in Sri Lanka. So most people substitute the butter with margarine. Butter has more flavor in my opinion, but margarine does yield a softer cake. So you can use half butter and half margarine if you like.

I also prefer using vanilla extract. Some people use almond extract as well. Some families use a little lime rind or lemon rind, because vanilla extract used to be hard to find when I was growing up. The primary purpose of this flavoring is to shield any “eggy” smell. But good quality vanilla extract does add a flavor that is hard to beat.
This cake doesn’t have any frosting, or any toppings. Just like regular pound cake. The flavor and texture of this butter cake are bold and beautiful enough on their own!
Is this similar to an American butter cake?
Similar, but not the same.
American butter cake usually has more sugar compared to this Sri Lankan butter cake. This butter cake recipe has more in common with an American pound cake recipe (because of the added milk).
However, all of these cakes derive from a common ancestor – the classic British pound cake.
Is butter cake hard to make?
This is a common question I get. The answer is not at all.
Yes, baking is a science of sorts. But if you have a weighing scale, an oven, a bowl and a mixer – this cake is indeed a piece of cake.
It’s important to get the consistency right at each step, so make sure to read the whole recipe properly once or twice before you start, and check out the photos in the post to know what to expect.
There are two ways people choose to make Sri Lankan butter cake. You could do it either way, but let me explain each method first.
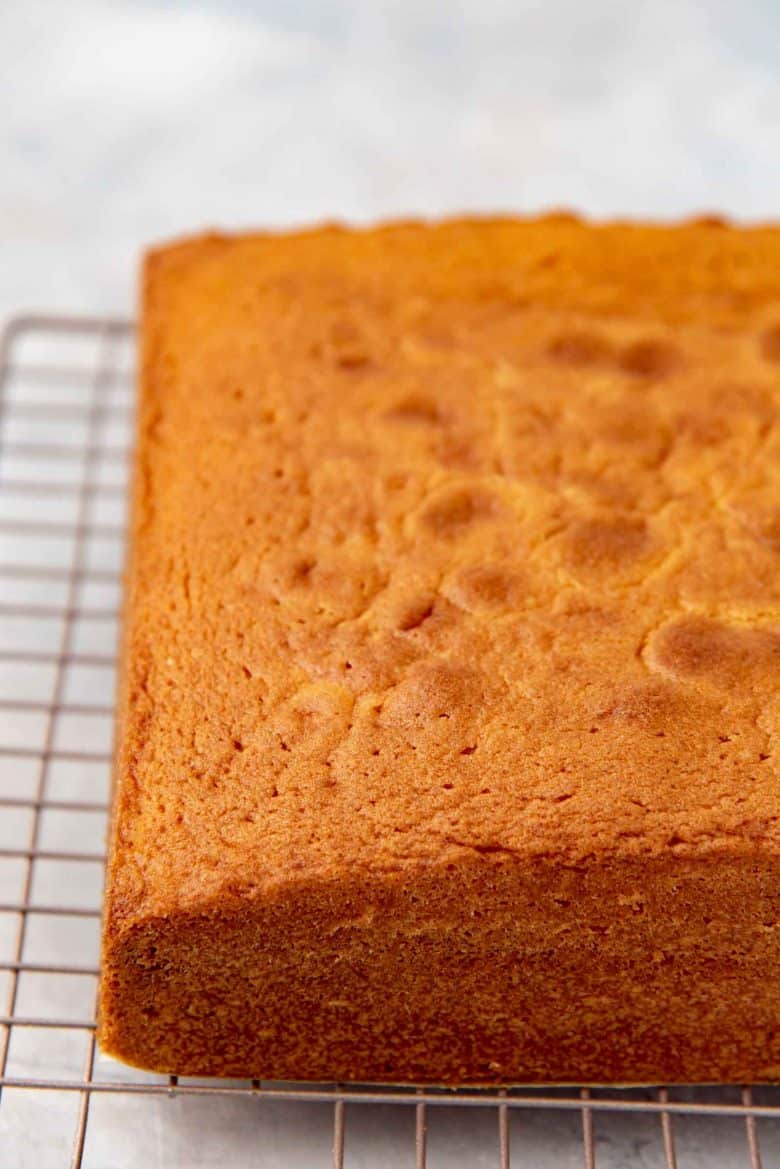
Two ways to make butter cake
The classic method – This is the method that I’ll be sharing in this post. The butter and sugar are creamed together and then WHOLE EGGS are added to the batter, followed by milk and dry ingredients.
The sponge method – This method will use the same ingredients as the classic method, but usually without the baking powder. However the eggs are separated, and only the egg yolks are added to the butter and sugar mixture. The egg whites are whisked separately and folded into the batter at the end.
Which method do I prefer?
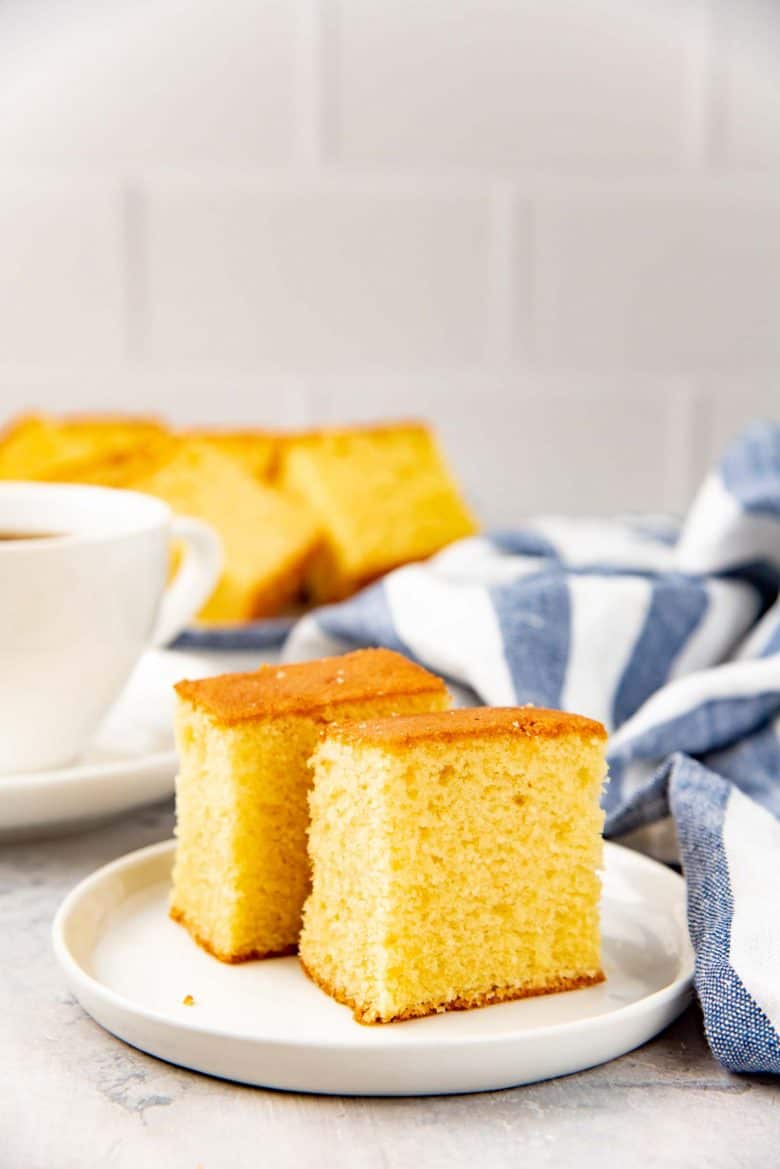
Classic method. This method is easier, and the results are amazing. The texture here is more like that of a classic cake as well. This way you don’t have to whisk the egg whites separately and you still get an amazingly light texture. If it ain’t broke, don’t fix it, right?
With the sponge method, the cake relies on the egg whites for “lift”. The final cake has a more sponge cake-like texture as well.
Can I make butter cake without a mixer?
Yes, you can! It takes a little longer, and it’ll be a good arm workout too.
The hardest part is creaming the butter and sugar until really light and fluffy. Once that step is done, the rest will be a breeze to do by hand.
How to make the perfect Sri Lankan Butter Cake
Ingredients
You will need equal amounts of butter, sugar, all purpose flour and eggs. To make sure you have equal amounts of each of these ingredients, you MUST weigh them, including the eggs.
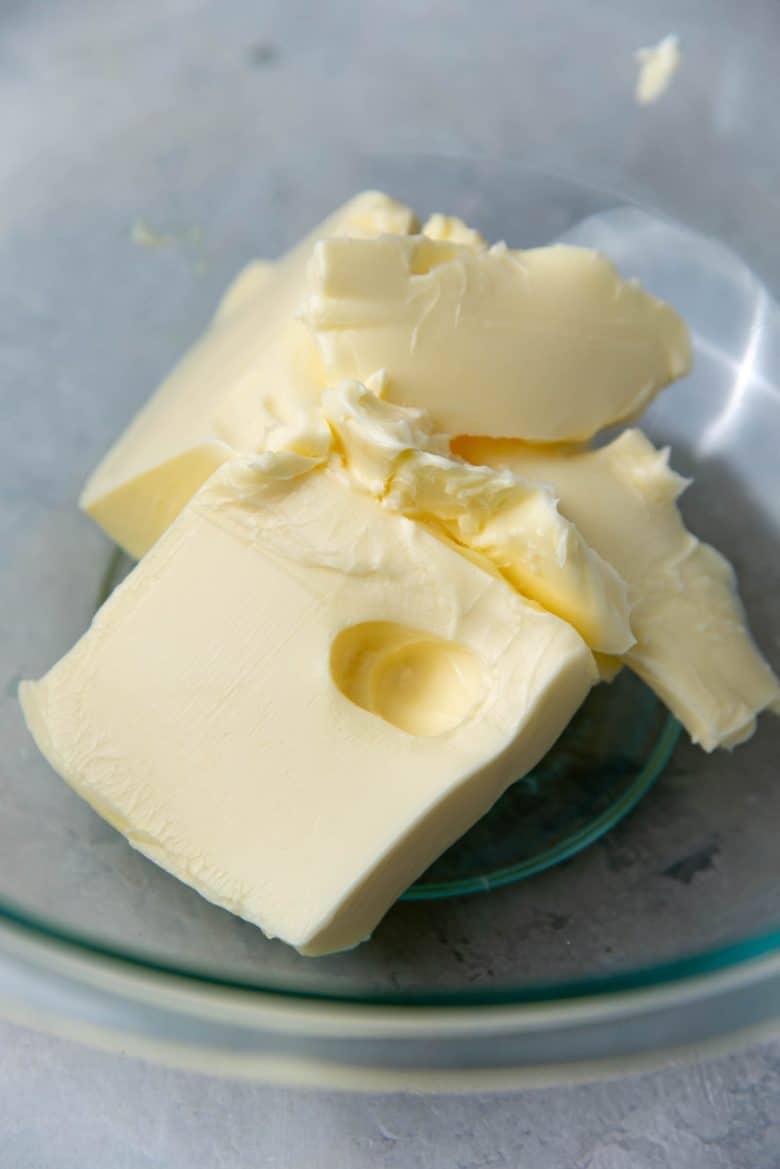
It’s also very important that ALL the ingredients are at room temperature. If it’s a cold day, then make sure the butter is at about 73 F / 23 C. It’s important that the butter is softened, but NOT melted.
Apart from these core ingredients, you will also need;
- Baking powder – the chemical leavener to “lift” the cake and make it lighter.
- Vanilla – flavoring to make the cake taste better, and enhance the buttery flavor and sweetness.
- Milk (at room temperature) – unlike classic pound cake, milk is added to the cake batter here. The extra liquid makes the cake batter light, and yields a cake with a beautiful, light crumb. Pound cake on the other hand has a more dense crumb.
Make sure you have the right tools to make the cake first.
- Stand mixer (preferable), or hand mixer
- An 8 inch or 9 inch square pan
- Parchment paper
- Spatula
The process of making butter cake
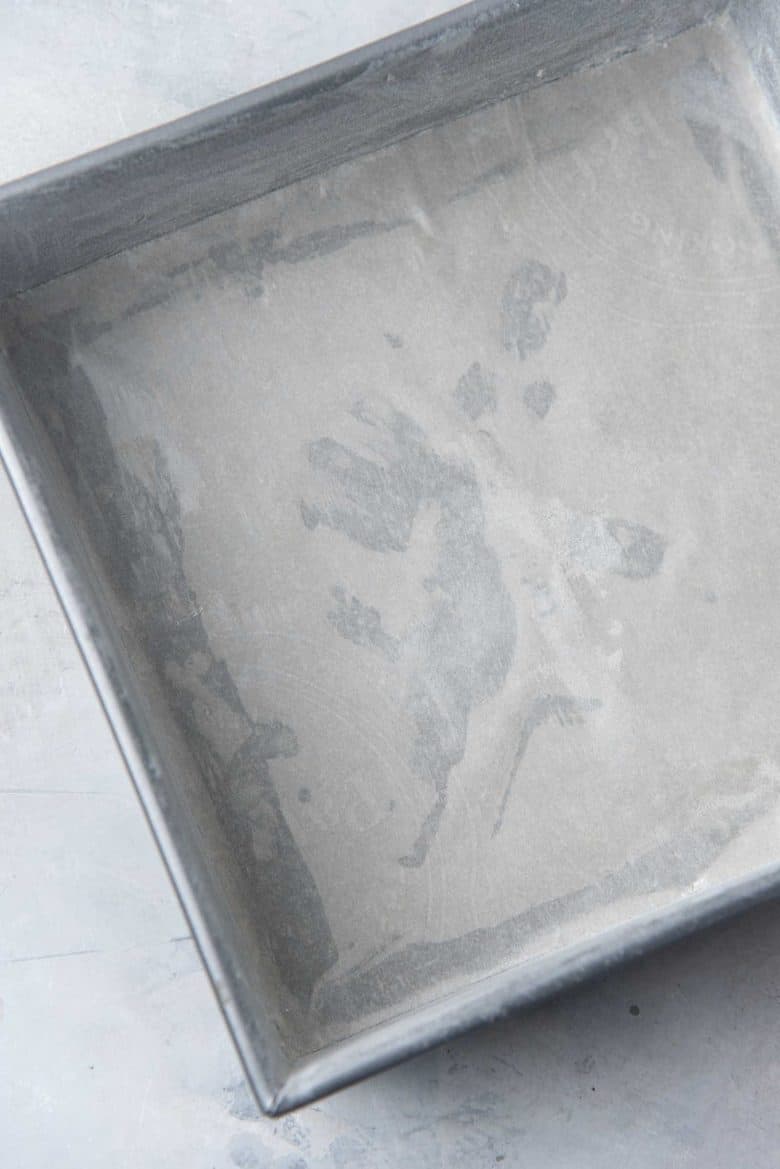
Line your baking pan (8 or 9 inch square pan) with parchment paper. I usually only line the bottom of the pan, and then butter and flour the sides. But you can leave a generous overhang of parchment paper over the sides, so that it’s easier to remove the cake from the pan.
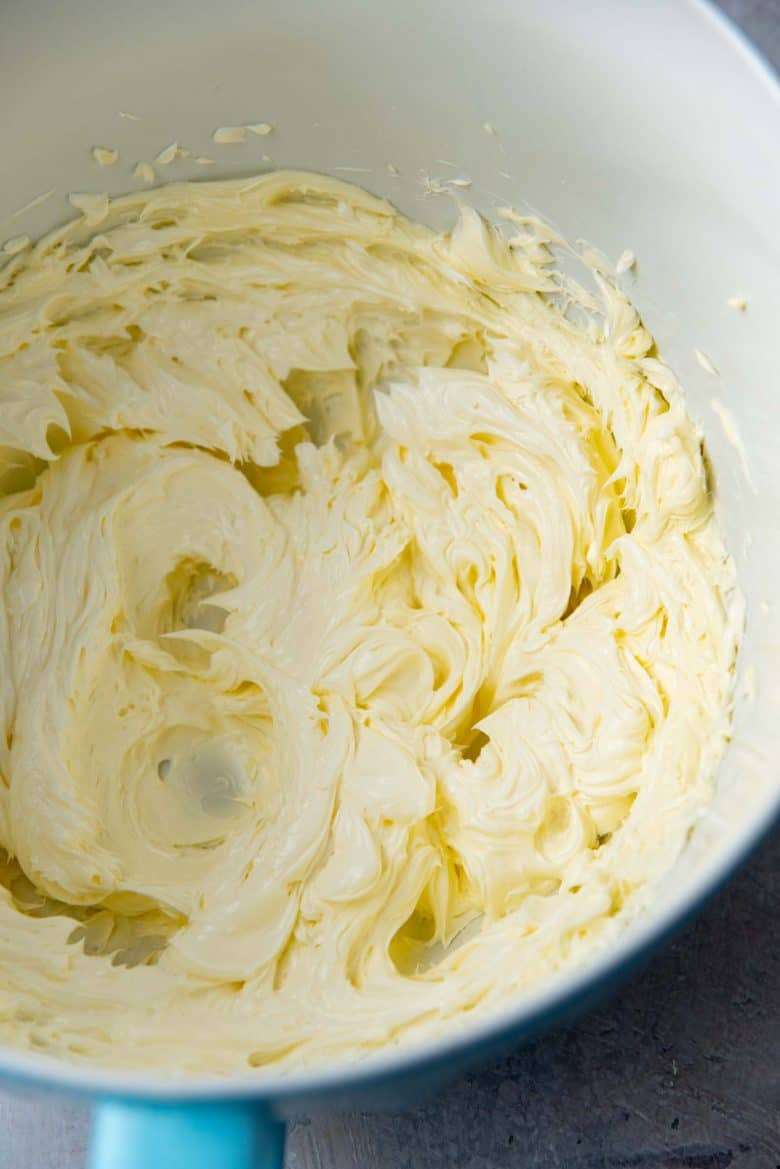
The first step is to place the softened butter and salt in your mixer bowl. Using the paddle attachment in your mixer, beat the butter until light and creamy.
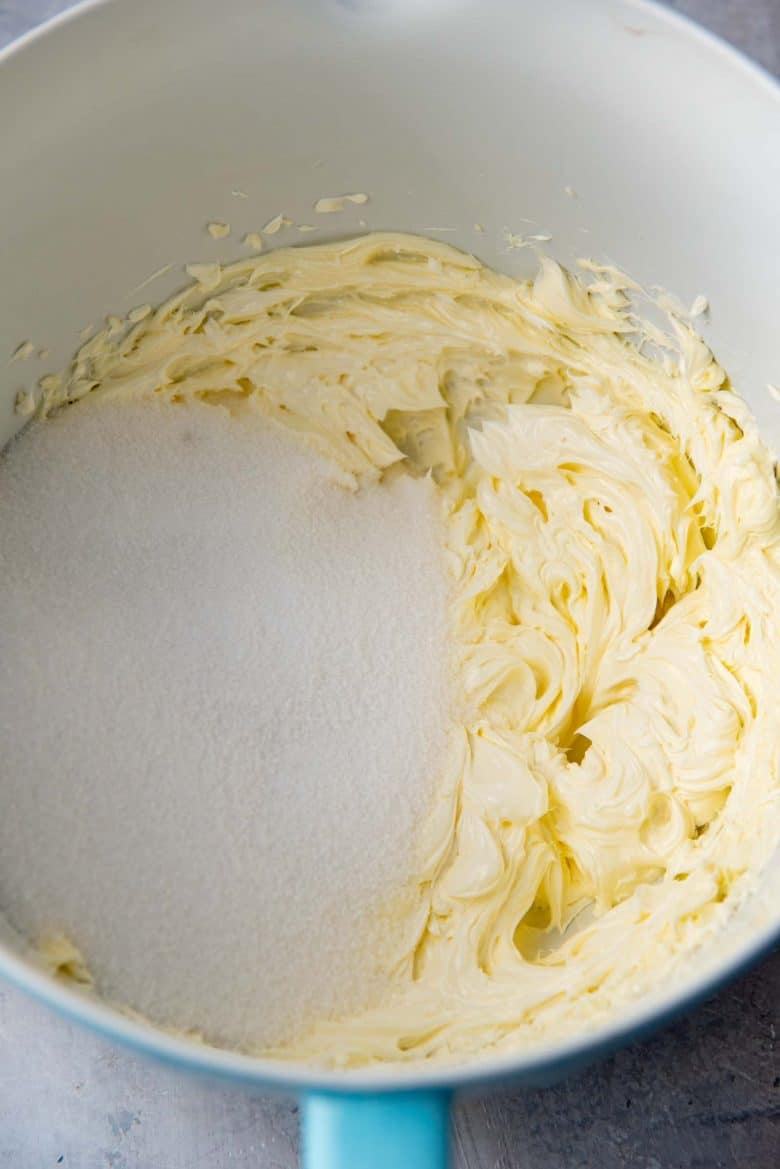
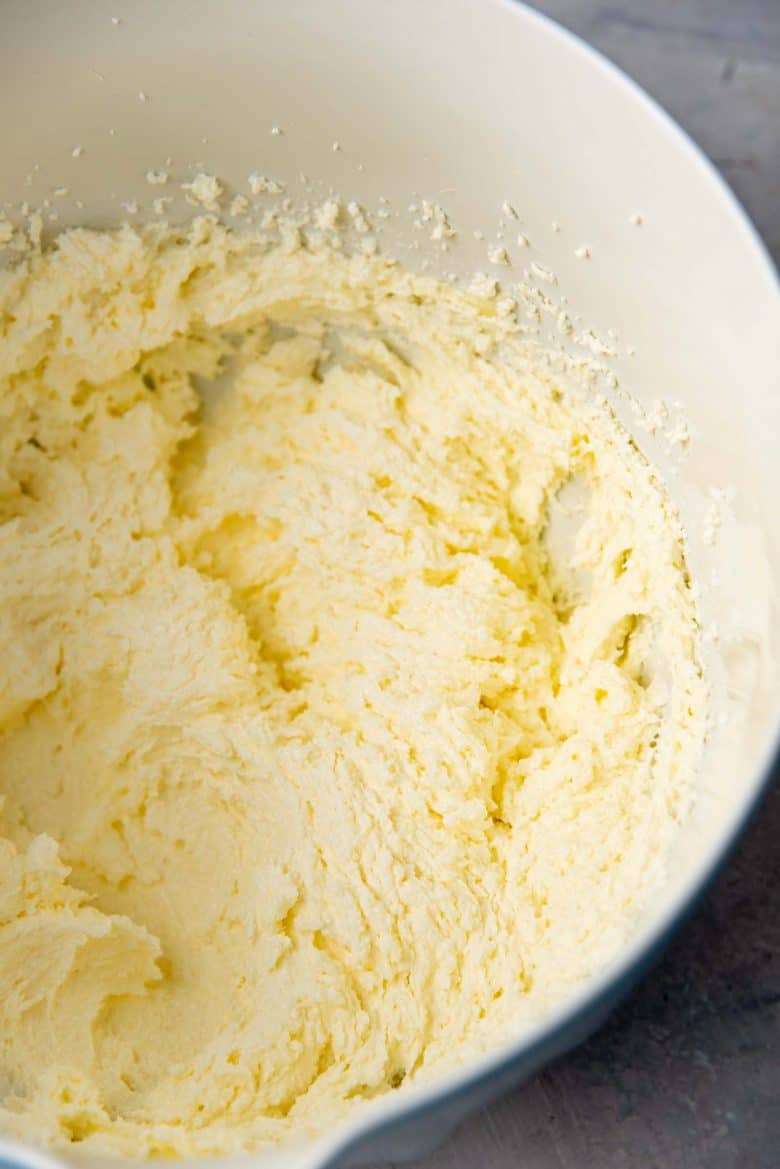
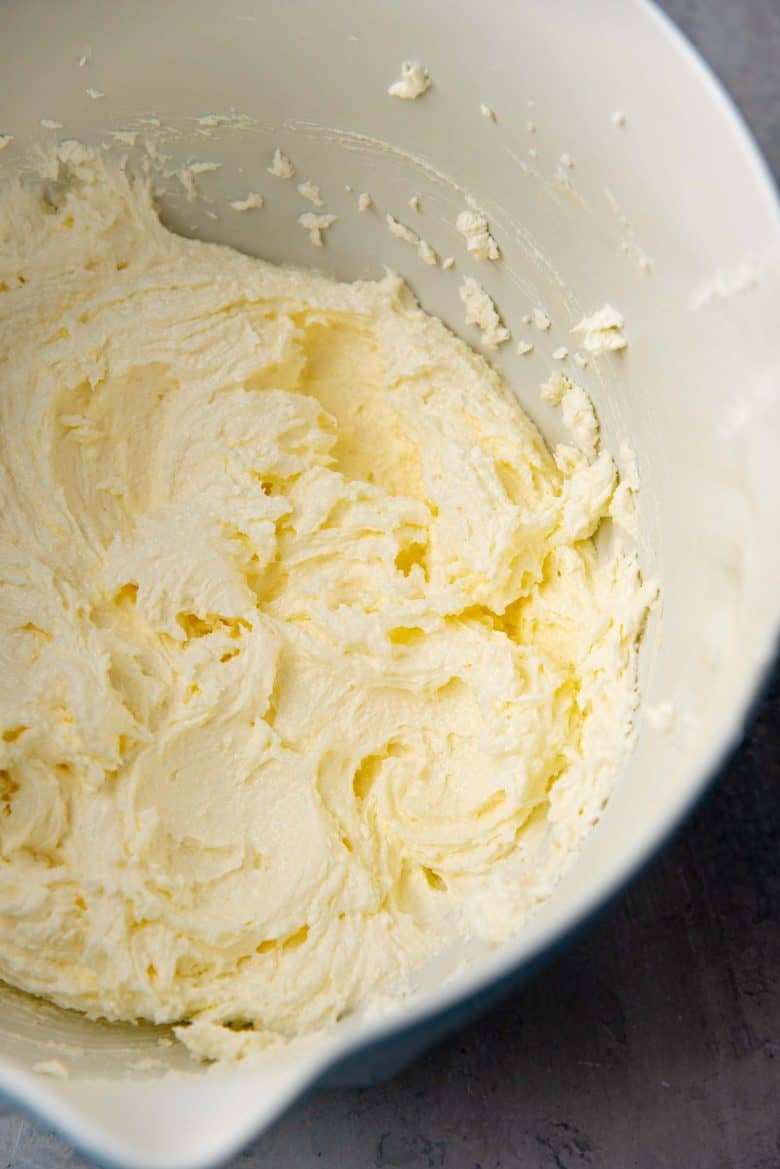
Add the sugar, and cream the butter and sugar together until you have a very light and fluffy butter-sugar mix. Half way through creaming these ingredients, scrape the sides and bottom of the bowl to make sure everything is mixing evenly. DO NOT SKIP THE STEP. It’s crucial for how fluffy and soft the cake will be at the end. Take your time and make sure you get this step right. There’ll be plenty of time to enjoy your fruits (cakes?) of labor later.
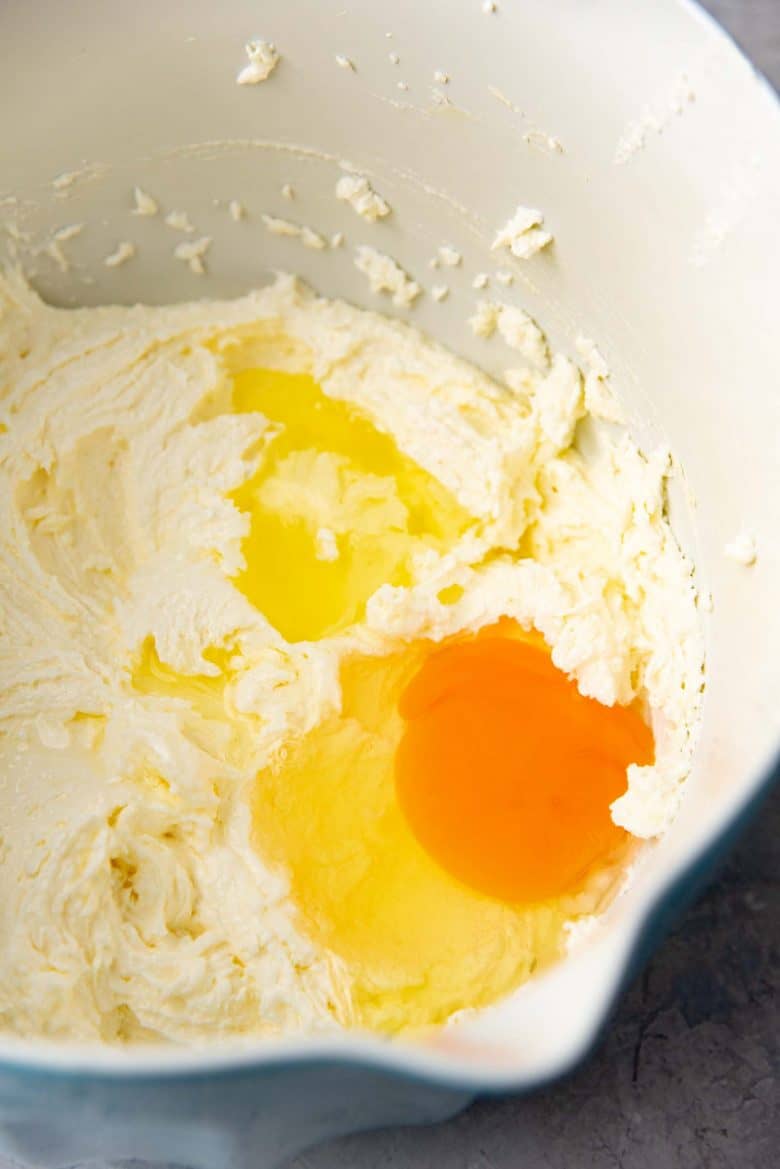
Next, add the eggs. For 250 g of butter, you may need 4 – 5 eggs (weighed with the shells). Mix one at a time, and add the next one only after the previous egg has been mixed in. It’s also important not to over-beat the batter once you add the eggs.
Over-beating the eggs will incorporate more air that could deflate during and after the baking process. The result would be a sunken cake.
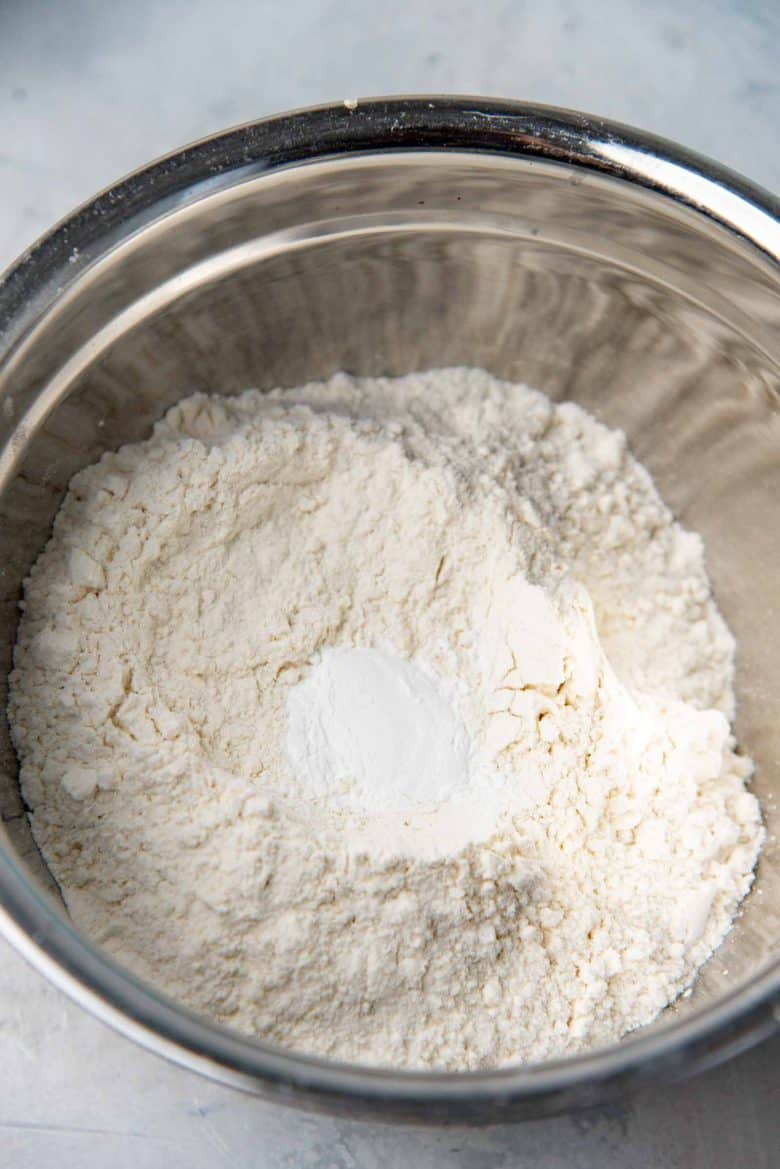
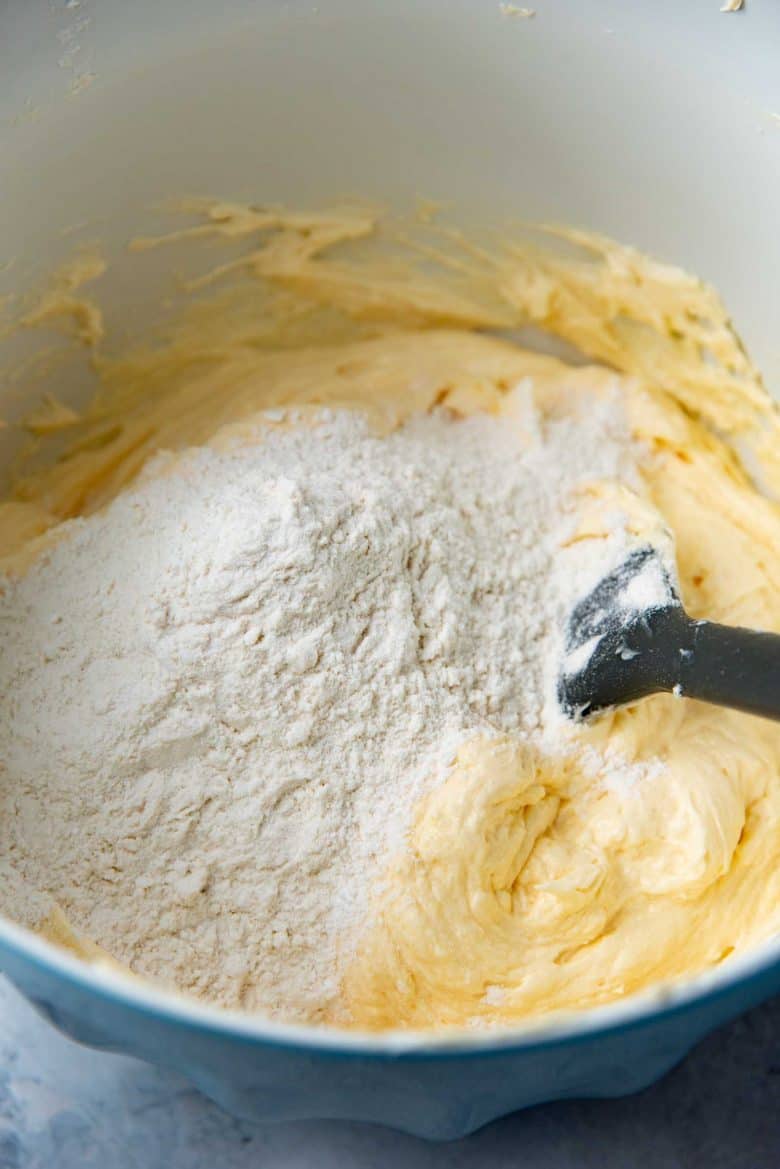
Sift the flour and baking powder together. You will be adding the dry ingredients into the cake batter alternately with the milk. Make sure to end with the flour.
Preventing overmixing of the batter
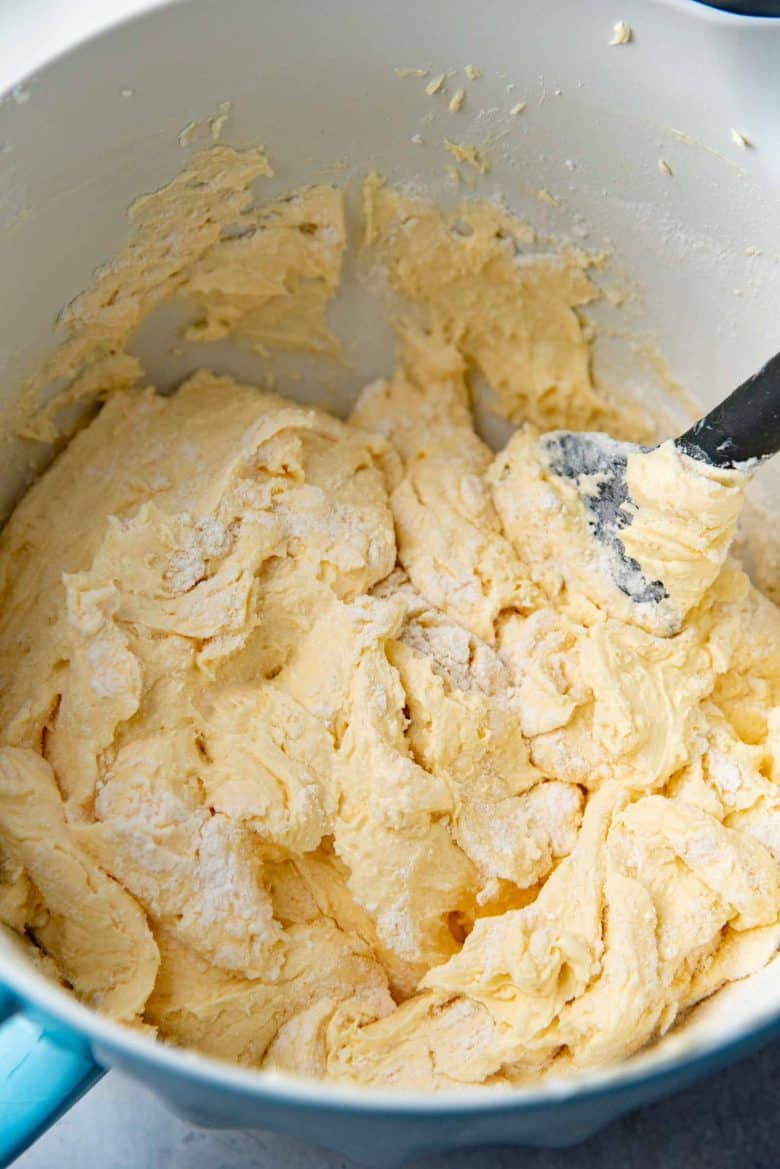
Very important that you do not overmix the batter while folding in the flour. Fold in the flour gently with a spatula to avoid overworking the gluten in the dough. If you end up with a rubbery, dry cake with a dense crumb with tunnel-like holes – this is usually the culprit.
Fold the flour in using a big, flat spatula. Do this by sweeping the spatula THROUGH the middle of the batter, and then go along the wall of the bowl from the bottom to the top, and then fold it over. Rotate the bowl and repeat to evenly mix in the flour. DO NOT stir or mix the batter vigorously.
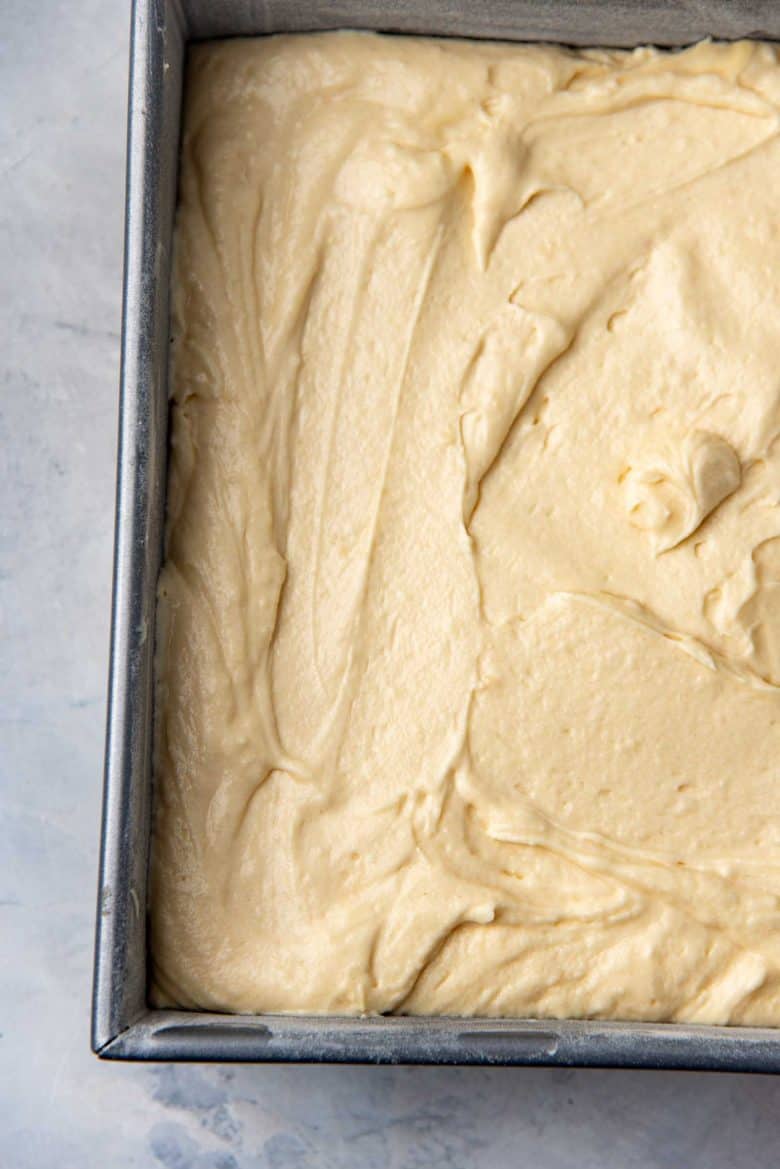
Once the flour and milk are folded in, the batter is ready to be baked. The batter should be smooth and light yellow in color. It should not look grainy or be too liquid.
How to bake the butter cake, and tell when it’s done.
Scrape the batter into the prepared baking pan. The longer you let your batter sit on your counter, the less active the baking powder is going to be. This is why we prepared the baking pan first! Once the batter is in the pan, use an offset spatula to evenly spread it.
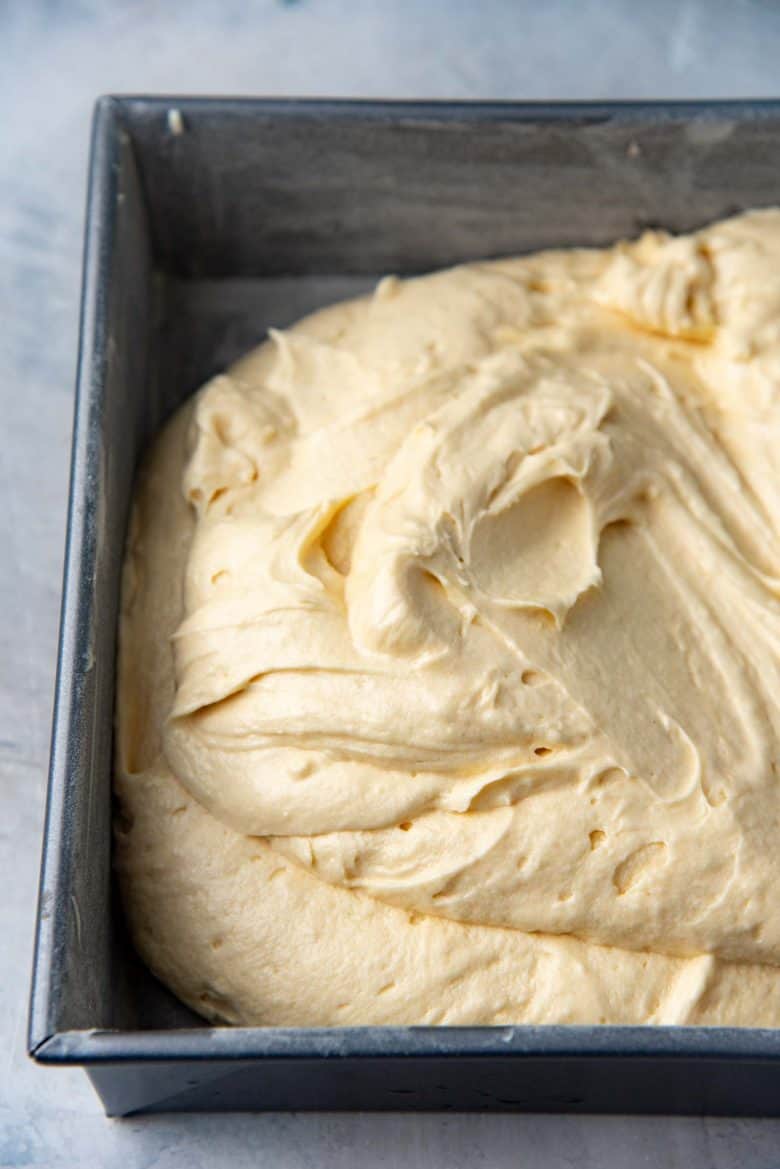
To make sure there are no big air holes trapped in the batter – knock the pan on your kitchen counter about 2 – 3 times. This not only knocks out air pockets from the batter, but also makes the batter spread evenly in the pan.
I bake my Sri Lankan butter cake in a oven preheated to 325 F. Since the cake is a square, and the heat doesn’t distribute as evenly as in a round pan, I like to bake the cake at a slightly lower temperature. This way the cake bakes a little slowly, but also evenly.
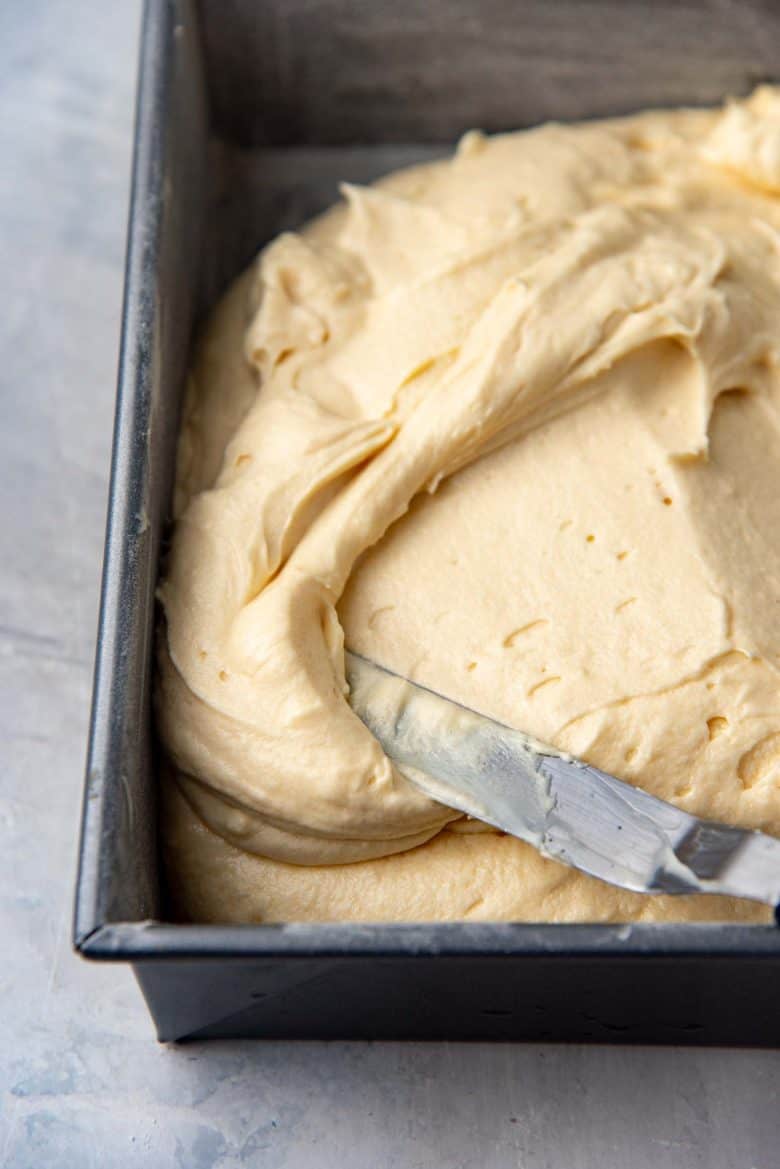
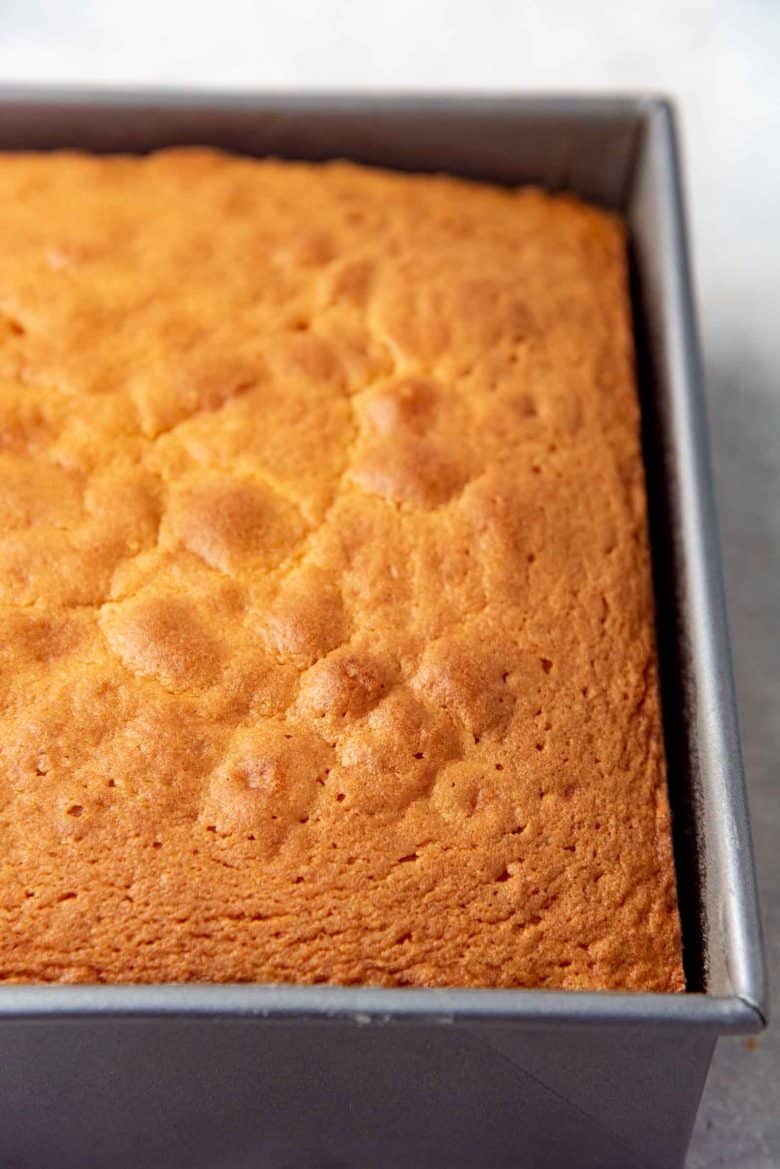
Bake the cake in your preheated oven until the cake is done. This can vary slightly depending on whether you used an 8 or 9 inch pan, or your oven. But you will know it’s done when you insert a toothpick in the center of the cake, and it comes out clean. The cake surface will also spring back slightly when gently pressed with a finger.
Why is my butter cake domed? Can I have a flat surface?
A little doming is natural. And it’s not a bad thing. It you want a flat surface on your butter cake, then you can either bake the cake in a water bath, or wrap the baking pan with these even bake oven strips. Both of these methods slow down the baking process and help distribute the heat evenly, which will largely prevent any doming.
You can also make the cake by separating the egg whites, and whisking them into a meringue and then adding this to the cake batter. This will substitute the baking powder. This can also help make the surface flat.
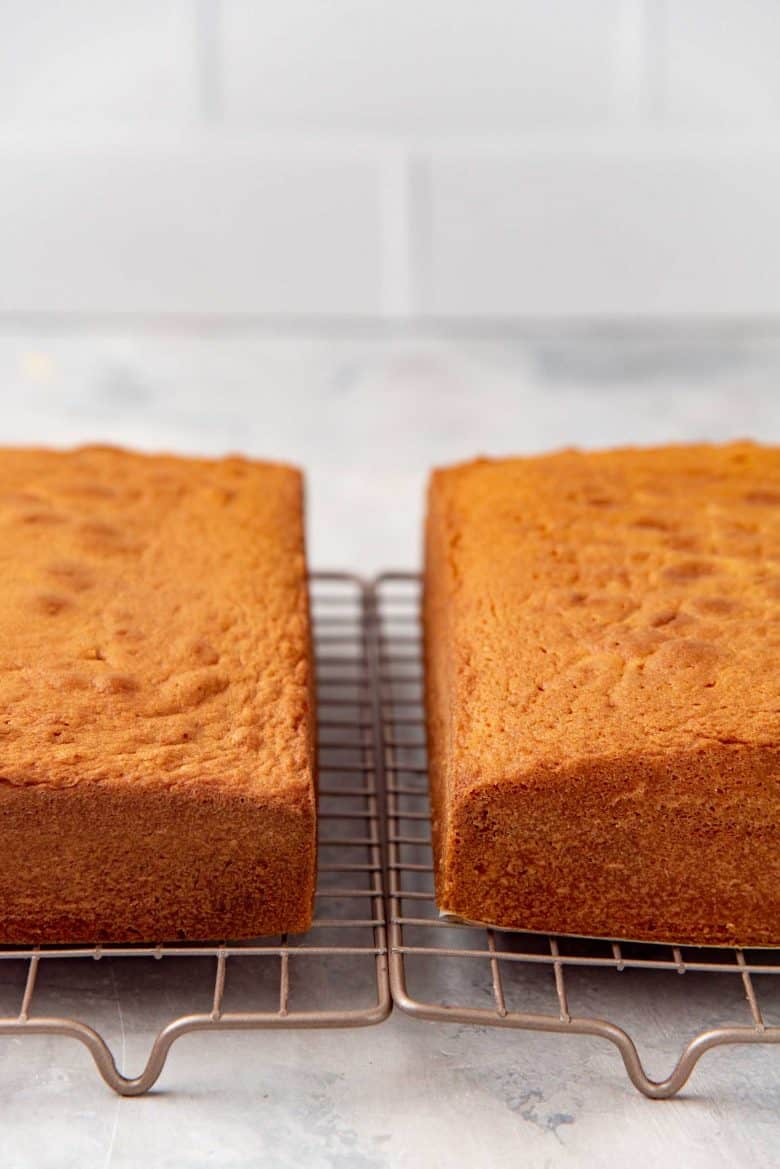
Personally, I prefer it with a slightly domed surface. It’s the natural end result, and there’s just no reason to mess with that.
A properly baked butter cake should have a nice brown top with absolutely NO spots. Usually cakes have spots on the crust when the sugar and butter weren’t mixed properly, and/or the sugar didn’t dissolve. It can also happen if you accidentally added too much sugar to your cake batter.
Serving suggestions
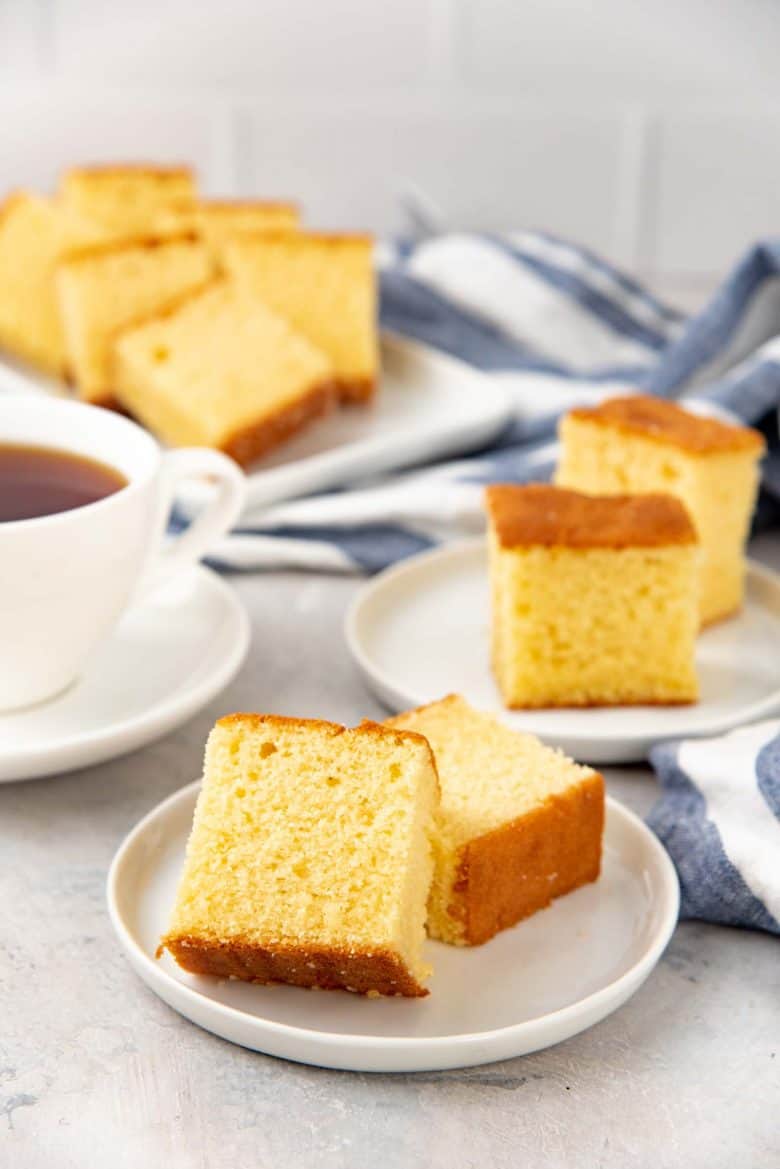
What else does this Sri Lankan butter cake need to make it extra special and extra delicious? NOTHING, absolutely NOTHING! It’s a delightfully light, moist, buttery cake with a gorgeous crumb and perfect sweetness, with a hint of vanilla flavor. And it’s the simplicity of this butter cake that helps those flavors and textures shine through as well. It’s a snack cake that is usually served with tea or coffee, so it’s not meant to be too sweet or indulgent.
BUT if your renegade self is so inclined, you can dust some confectioner’s sugar on top.
My sister used to eat this cake with a drizzle of condensed milk and melted chocolate. I know! She got me hooked on it too for awhile, until we both outgrew that sickeningly sweet tooth. Or maybe the sweet tooth outgrew us.
You could also serve it with some berries and a little whipped cream. A dark chocolate sauce is also a great choice.
If you’d like to make a birthday cake out of this butter cake, then you can simply make two layers, and sandwich the two layers with my classic vanilla buttercream!
You can even color the batter to make a classic Sri Lankan ribbon cake like this!
Looking for more recipes?Sign up for my free recipe newsletter to get new recipes in your inbox each week! Find me sharing more inspiration on Pinterest and Instagram.
Sri Lankan Butter Cake
Ingredients:
- 250 g unsalted butter (1 ⅛ cup) softened to 73°F
- ¼ tsp sea salt use a generous ¼ tsp
- 250 g white sugar (1¼ cup) caster sugar is better, but not required
- 250 g eggs 4 - 5 eggs, weighed with the shell, at room temperature
- 2 tsp vanilla extract use less if using vanilla essence
- 250 g all purpose flour 2 cups, measured by spoon and level method
- 2 tsp baking powder
- 79 mL milk (⅓ cup) at room temperature
Instructions:
- Butter and line the bottom of a 8 or 9 inch square pan with parchment paper. You could also line the sides of the pan with parchment paper, or simply butter and flour the sides. Set aside.
- Preheat oven to 325°F / 165°C.
- Place the butter and salt in a large bowl. With a hand mixer, or the paddle attachment on your stand mixer, beat the butter until light and creamy.250 g unsalted butter, ¼ tsp sea salt
- Then add the sugar, and cream the butter and sugar mixture for about 5 - 7 minutes on medium high speed. Scrape the sides and bottom of the bowl to make sure all the butter and sugar are well-mixed.250 g white sugar
- The mixture should be pale in color, light and very fluffy. This step is important, so make sure it has the right texture. Add the vanilla and continue to mix.2 tsp vanilla extract
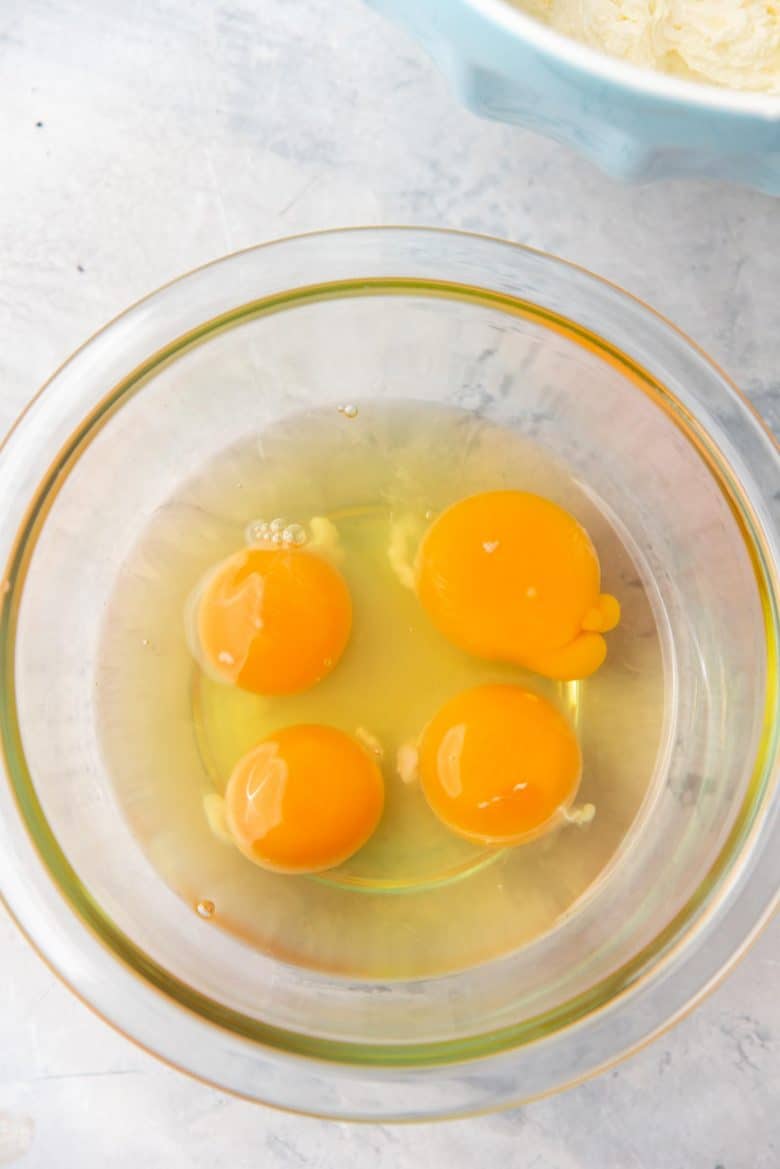
- While you cream the butter and sugar mixture, prepare the eggs. Break the eggs open into a bowl (make sure there are no shells).
- Add the eggs, one at a time, into the creamed butter-sugar mix. Make sure each egg addition is mixed in well before adding the next one. Scrape the sides and bottom of the bowl in between additions so that the eggs are mixed in well.250 g eggs
- Once the eggs are mixed through, the batter is ready for the dry ingredients.
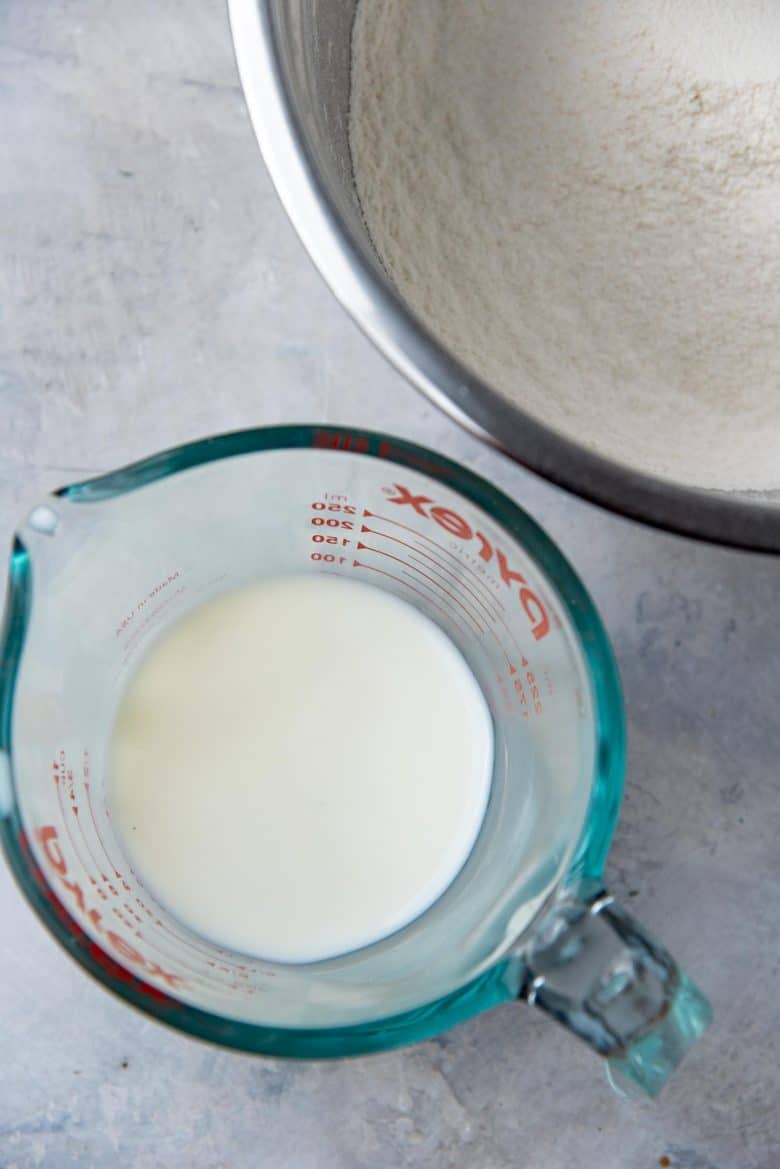
- Sift the flour and baking powder together. Place the room temperature milk in a small jug/container.250 g all purpose flour, 2 tsp baking powder, 79 mL milk
- Add the sifted dry ingredients in 3 - 4 additions, alternating with the milk, and ending with the dry ingredients. (Once you add the first portion of dry ingredients, FOLD it in with a spatula. Then add half of the milk and fold that into the mixture as well. Repeat with another portion of dry ingredients and the rest of the milk, then end with the final portion of dry ingredients.)
- Make sure there are no flour lumps in the mixture at this point, but also be careful not to overmix the flour in the batter.
- Scrape the batter into the prepared baking pan. Using an offset spatula, spread the batter evenly in the pan. Knock the pan against your kitchen counter 2 - 3 times to remove any trapped air bubbles and to evenly spread the batter in the pan.
- Place the baking pan in the preheated oven, and bake for 35 - 40 minutes, until the cake is baked through. Rotate the pan once (carefully) halfway through the baking time. The cake is done when a toothpick inserted into the middle of the cake comes out clean, and the surface of the cake is slightly springy to the touch.
- Remove the pan from the oven and let it cool down for 5 - 10 minutes. Carefully flip the cake out onto a cooling wire rack. Peel off the parchment paper, and then flip the cake over again (so that it's right side up). Use a cake lifter or a cutting board to help with this, because the cake is soft at this point and could break.
- Let the cake cool completely. Store the cake in an air-tight container for up to 3 days, or in the fridge for up to 5 days. This cake (wrapped and stored in a container) will freeze very well, and can be stored in the freezer for up to 3 months.
- Slice the cake into any size pieces. I have sliced them into 1” x 2” sized pieces in these photos (28 - 32 pieces). Serve immediately.
Tips & Tricks
Storage
The cake can be stored in an air tight container and stored at room temperature for about 2 days. But I prefer to store it in the fridge. The cake will last in the fridge for about a week, but it is best eaten within 4 - 5 days. To make the cake last longer, cut the cake into pieces and then store it in an air tight container that is freezer safe. The cake will last in the freezer for upto 3 months. Place wax paper / parchment paper inbetween the cake pieces, so they would not stick together, and you can take out the pieces you want and let it thaw out to eat.Nutrition Information:
“This website provides approximate nutrition information for convenience and as a courtesy only. Nutrition data is gathered primarily from the USDA Food Composition Database, whenever available, or otherwise other online calculators.”

Gigi Hale says
Made this cake yesterday and it was so easy. My egg yolks were bright orange so the colour of my cake is a little darker than the photos here but the flavour is lovely. It’s not overly sweet, has a great crumb and a nice bouncey-ness. I’m going to try making it with margarine next time to emulate the softer texture of the butter cake I get in Sri Lanka. Until then, I’ll just be eating cake for breakfast, lunch and dinner!
Azeez says
I baked the cake. Easy recipe. Tasty.
Jessica Kariyawasam says
This is my go-to and everyone raves about it!! BUT can you help me with hints on what to do to make it a bit bigger please?? I know it’ll be ingredients and cooking time that needs changing!!
Dini says
Hi Jessica
You can make this larger to an extent. It depends on the size of the cake pan that you want to use.
My cake pan conversion article and chart can be used to determine the difference between the current pan you’re using and the one you would like to. Then the ingredients can also be multiplied by the same ratio to get the new amounts.
The baking time will also change depending on the size of the cake pan and how thick / tall the cake layer will be.
I hope that helps!