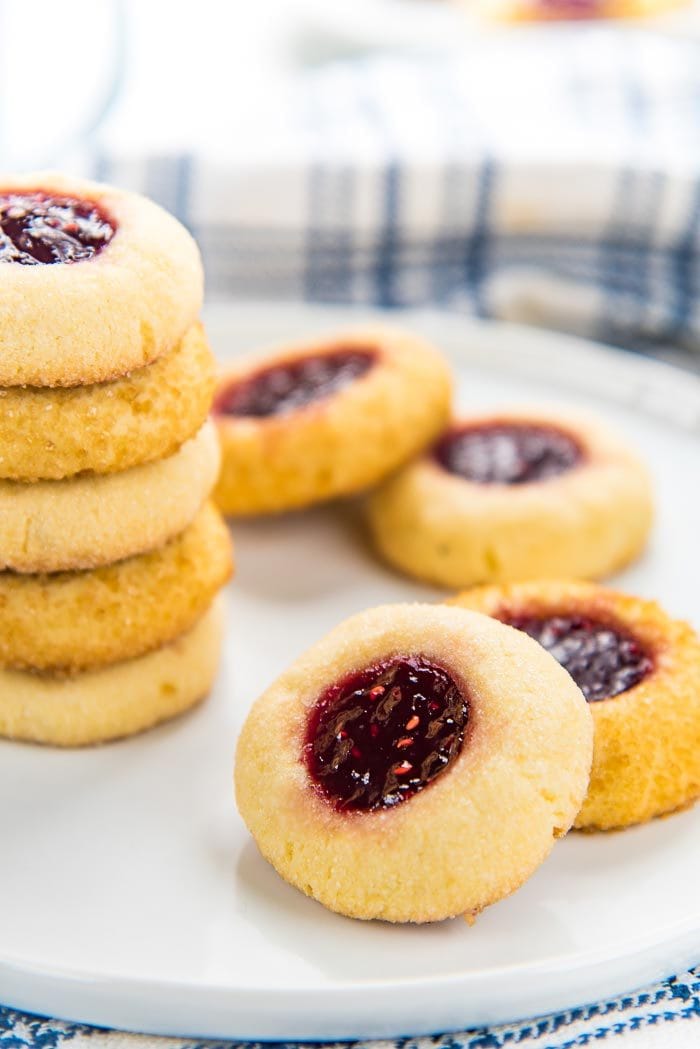
There’s a reason why Classic Thumbprint Cookies are so popular. They are a holiday favorite, easy to make, and even easier to customize with different filling and flavor variations!
I’ve shared all my tips and tricks to help you PERFECT easy thumbprint cookies!

Oh baby, it’s cookie season! It’s one of the main reasons why I love Christmas! 🙂
And with alllll the cookies out there, it’s hard – nigh impossible, for me to pick a favorite. But Classic Thumbprint Cookies…. oh yeah, they come this close to being my favorite. With shortbread cookies, linzer cookies, and soft ginger cookies coming right up on their heels.
Thumbprint cookies are a holiday favorite, a party favorite and a snack favorite for me. Plus, they are really easy to make and to customize too.
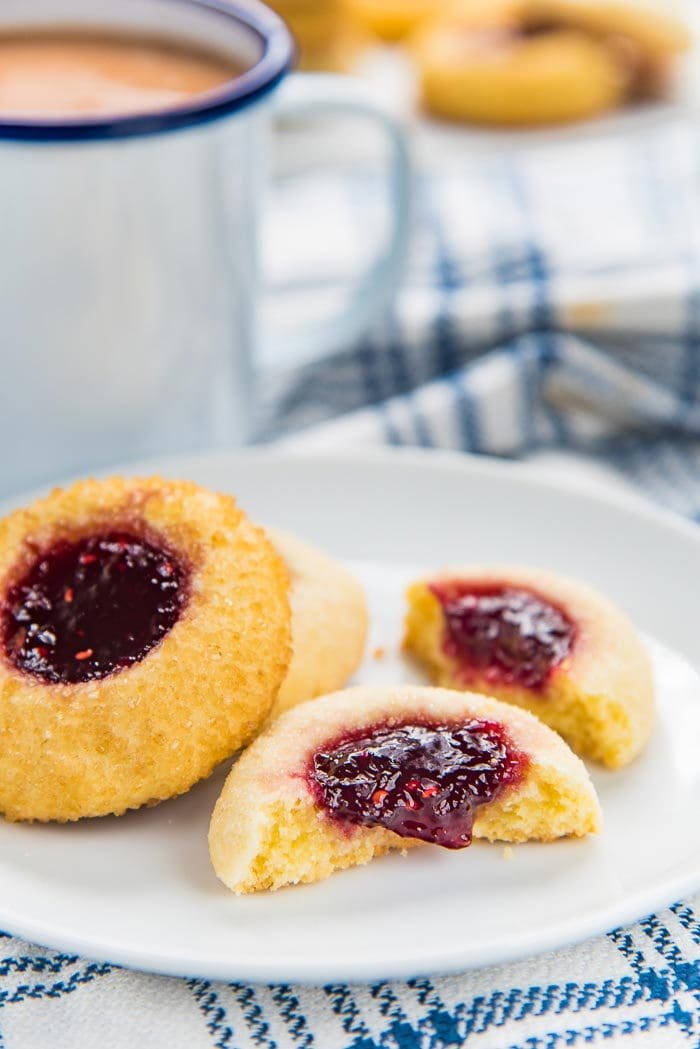
I’ve shared a uniquely delicious savory thumbprint cookie on the blog before, which is really popular on the blog. But I realized I’ve never shared a classic thumbprint cookie recipe with you guys before. So today, I’m going to fix that.
This is the recipe for delightfully buttery and delicious classic thumbprint cookies with a sweet jam filling. I’m sharing all my tips to help you make PERFECT thumbprint cookies and avoid cracks and spreading.
Just follow this easy guide to find out how you can nail those classic thumbprint cookies and entertain your friends and family this holiday season!
What are Thumbprint Cookies?
A buttery cookie with a shallow well in the middle that’s filled with a sweet filling like jam. You use your thumb to push down on the cookie dough, creating that shallow well in the middle – hence “thumbprint” cookies.
But did you know that thumbprint cookies originated in Sweden? These cookies are called Hallongrotta/hallongrottor in Swedish, meaning “raspberry cave”!
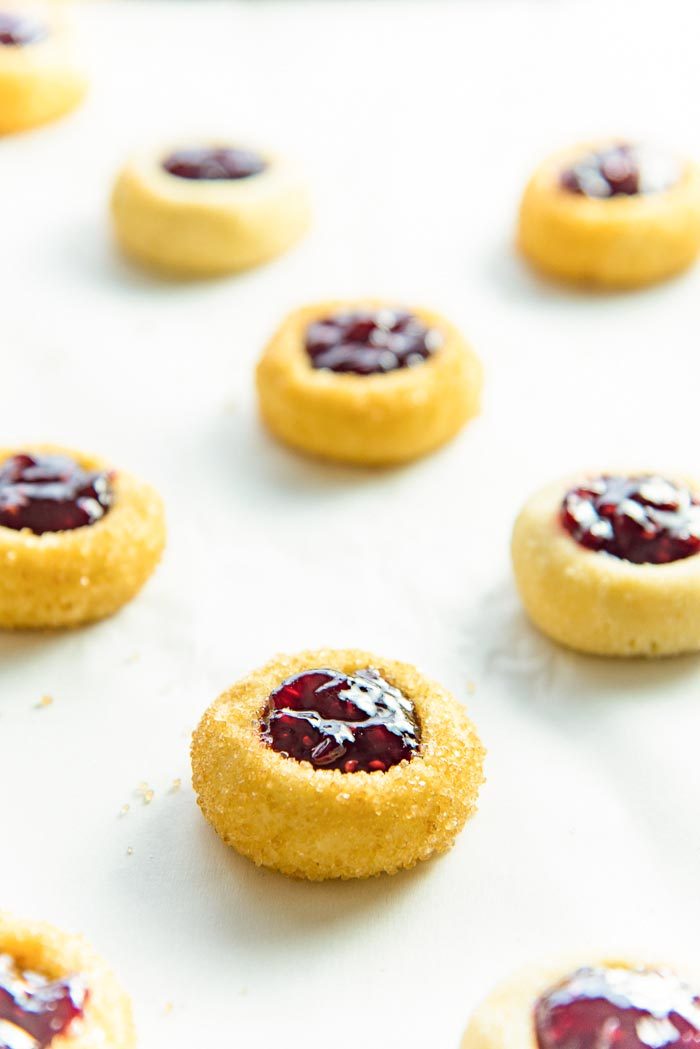
While you can fill the thumbprint in the middle with any type of jam you like, I’ll be using raspberry jam here, because that’s the flavor of classic thumbprint cookies!
Are thumbprint cookies the same as shortbread cookies?
They are not the same, but they do come VERY close. Shortbread cookies use a 1:2:3 ratio of sugar, butter and flour. They are buttery, but crumblier, because they don’t have a binding agent. They rely on butter to hold the dough together.
Thumbprint cookies are made with a dough that’s identical to shortbread cookies, BUT the dough has eggs in addition. Some recipes call for whole eggs, but my recipe uses egg yolks only. The egg yolk enriches the dough giving you a richer taste than shortbread, but more importantly, binds the dough together for a smoother and more pliable result.
That being said, you still CAN make thumbprint cookies with shortbread cookie dough as well.
How can I prevent my thumbprint cookies from cracking?
To be honest, there’s nothing wrong with thumbprint cookies with a few cracks along the edges. That’s part of the charm!
However, there are ways to minimize cracking. It’s got all to do with HOW you shape the cookies.
How to minimize thumbprint cookie cracking
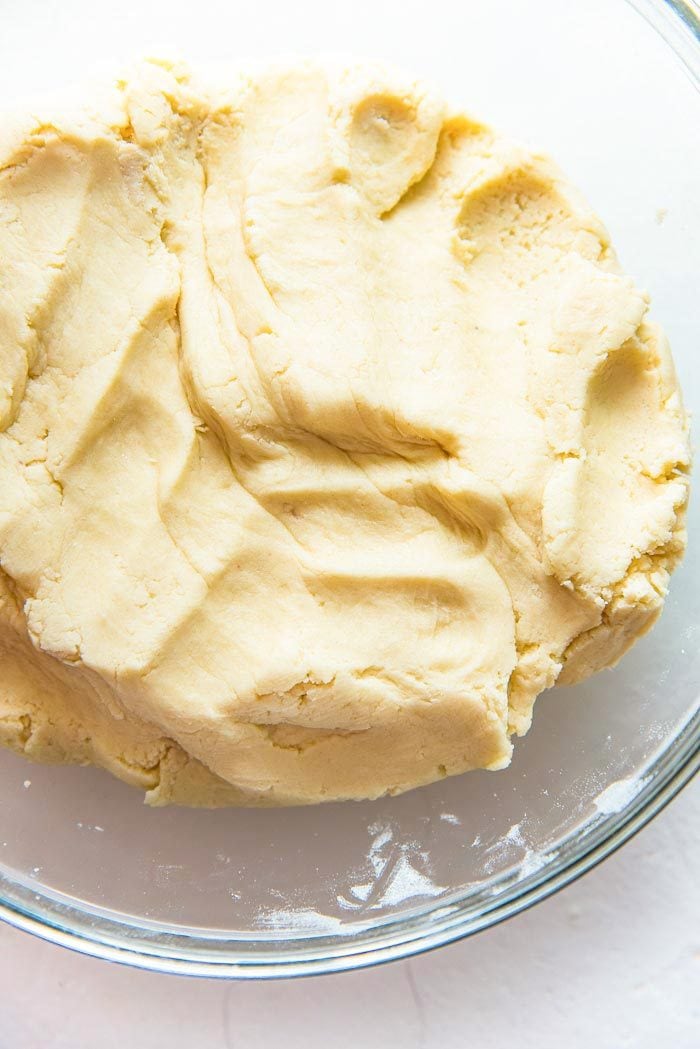
- Keep the dough soft – once the cookie dough is made, cover and let it rest for at least 15 minutes at room temperature, so that the dough will be easier to handle, and be less sticky. It’s important to keep the dough at room temp. when you roll it into balls, because then it’s easier to shape the soft dough, with minimal cracking.
- Make the indentation as soon as the cookies are formed – rather than rolling ALL of the cookie dough into balls first and THEN making wells, you should roll each cookie dough ball, place it on the cookie tray and immediately make the indentation BEFORE preparing the next one.
- Roll the cookie dough balls until the surface is smooth – since the dough is soft, it’s easy to get a nice, smooth surface. Make sure there are no cracks to begin with, so that they don’t widen and show up when you press down on the cookie balls to create the wells.
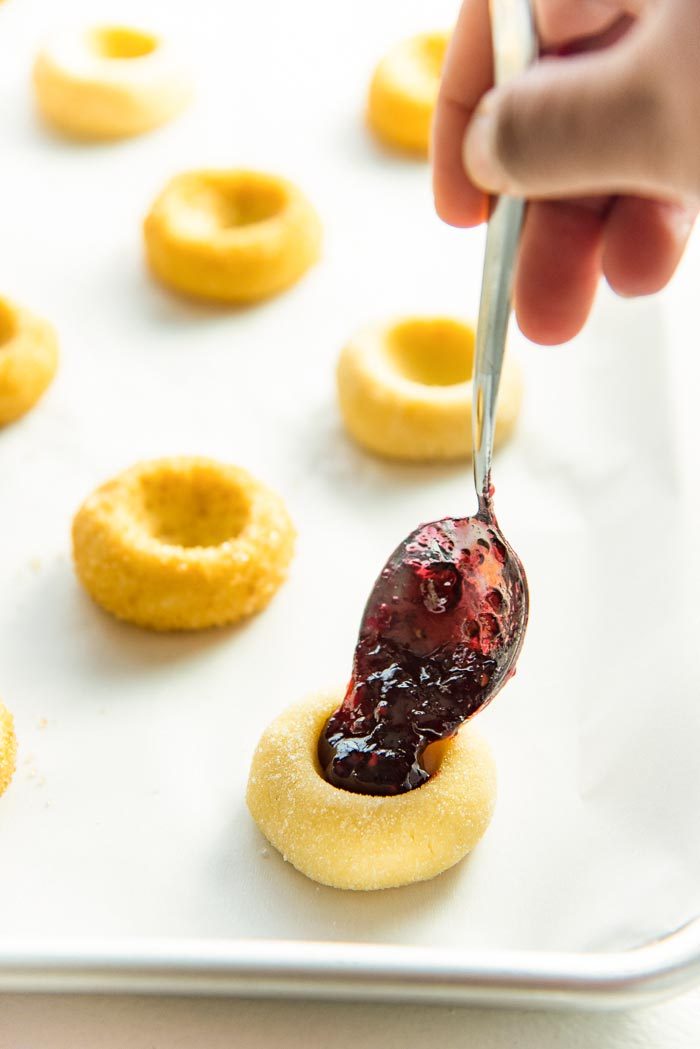
To elaborate on the second point above, the reason why I like to prepare each thumbprint cookie as I go is that once you have rolled the cookie into a smooth ball, the cookie will form a “crust” – much like any dough will do, if it’s left exposed to air for any amount of time. So if you wait until the end to create the wells in the middle, the crust will most definitely cause the cookies to crack. To avoid that, I do the following.
Here’s how I prepare these easy thumbprint cookies
- First, portion the cookie dough with a cookie scoop.
- Roll the cookie dough into a smooth ball.
- Roll the smooth ball in sugar (optional).
- Place the cookie ball on the parchment paper-lined baking tray.
- Use my thumb or another kitchen utensil to form an indentation in the middle of the cookie.
- Repeat steps 1-5 with the rest of the cookie dough.
- Once the baking tray is filled with cookies, fill the wells with jam.
- You can either fill a second tray with more cookies and keep those in the fridge or freezer, OR wrap any remaining dough tightly with plastic wrap and keep it at room temperature until you’re ready to use.
I also like to coat these easy thumbprint cookies in sugar before placing them on the baking tray. You can use regular granulated sugar or raw sugar for this. I prefer demerara sugar because that gives these thumbprint cookies a nice sweet crunchy texture as well.
And rather than rolling the cookie balls in sugar, I put the sugar in a small ziploc bag and then place a cookie inside the bag, and then shake it a little bit to evenly coat the cookie with sugar. Works like a charm.
How to minimize thumbprint cookie spreading
It’s pretty much impossible to make a good cookie with NO spreading at all. I mean, in theory you can add more flour to the dough until it’s pretty stiff and won’t spread at all, but then you end up with very dry, crumbly cookies.
Not good.
The simple reason why a cookie spreads as it bakes is that the butter and sugar melt inside the cookie, causing it to spread. If you bake at too low a temperature, the cookie will spread too much before it bakes and sets properly, and if you bake at too high a temp., then the cookie bakes and sets outside quickly, but the middle will still be raw.

So to minimize cookie spreading, here are a few tricks you can follow.
- Chill the cookies in the fridge BEFORE baking – cooling the butter in the cookies before baking means that it won’t melt as readily, making it spread too fast.
- Use a chilled or room temperature baking sheet – NEVER use a hot or warm baking sheet to place your UNBAKED cookies on. I like to chill the cookies AND the baking tray together in the fridge, but at least make sure the baking tray is at room temp. before you place the unbaked cookies on it.
- Make the indentation in the middle narrow rather than wide – use just the tip of your finger and go straight down, to create a narrow indentation in the middle of the cookie, rather than a wide indentation that would make the thumbprint cookie spread.
So there you go! That’s how you can make PERFECT and EASY thumbprint cookies that are sure to impress your friends and family! 🙂
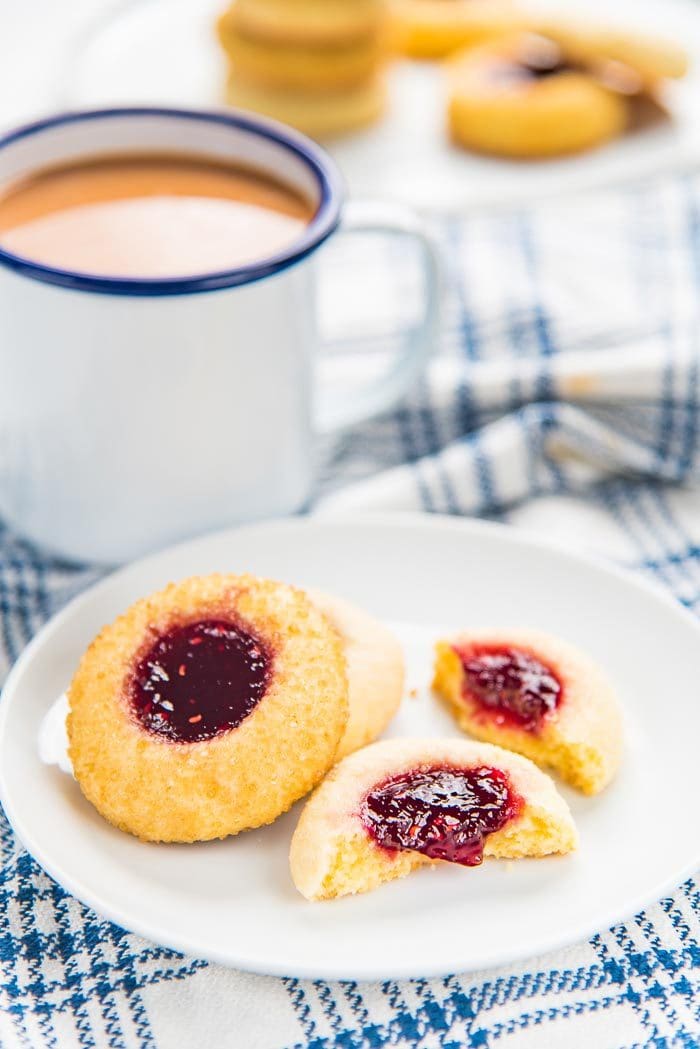
Then you can fill these classic thumbprint cookies with any type of jam you like. Personally, I love raspberry, or apricot jam.
These easy thumbprint cookies are so so good! The cookies are buttery, with a hint of vanilla, and a deliciously fruity jam filling.
And since these classic thumbprint cookies are so easy to make, you can make multiple batches and gift them to your friends and family this holiday season too. You can fill them with different jam fillings, and even flavor the thumbprint cookies with different extracts for some creative variations.
Here are some of my favorite thumbprint cookie flavor variations
- Add some orange zest to the cookie dough, and fill the middle with cranberry sauce.
- Add some lemon zest to the cookie dough, and fill the cookies with blueberry jam.
- Or instead of jam, place a reese’s peanut butter cup or a hershey’s kiss candy in the middle.
- Add some almond extract to the cookie dough, and fill the middle with caramel sauce.
There are so many ways you can dress up these easy thumbprint cookies! Once you realize how easy it is to make classic thumbprint cookies, you can make them your own.
If you liked this classic thumbprint cookies recipe, don’t forget to subscribe for new (and free) recipes by entering your email address on the side bar (and get all these recipes delivered straight to your inbox), so you don’t miss out on a thing. You can find me on FACEBOOK, TWITTER, INSTAGRAM, PINTEREST, YOU TUBE and GOOGLE-PLUS too.
Looking for more recipes?Sign up for my free recipe newsletter to get new recipes in your inbox each week! Find me sharing more inspiration on Pinterest and Instagram.
Thumbprint Cookies
Ingredients:
For the cookies
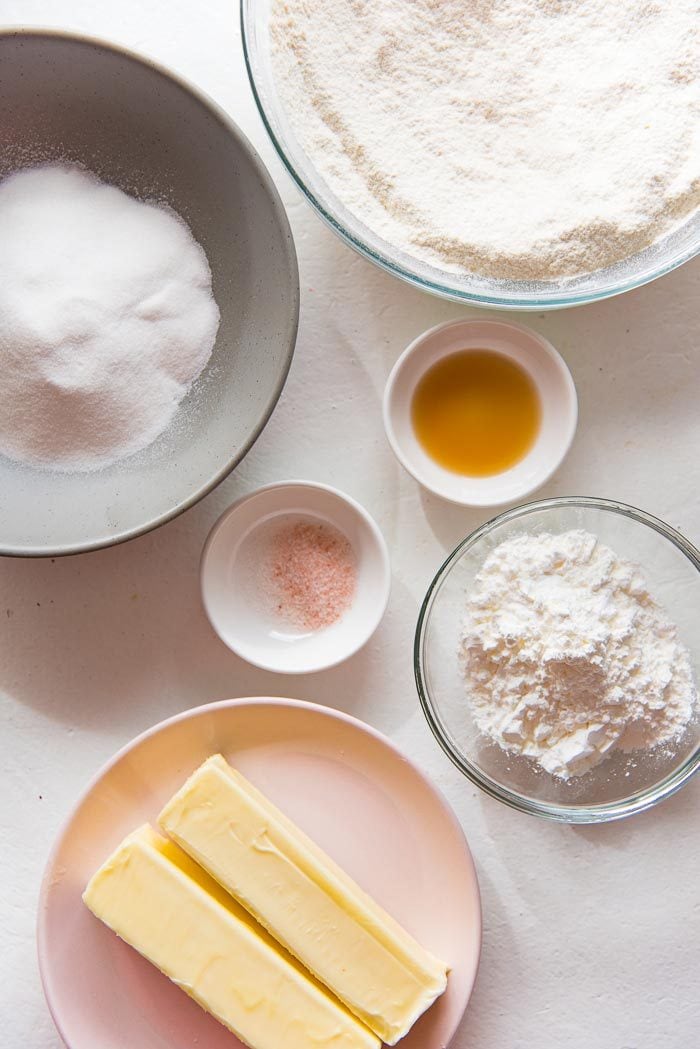
- 8 oz unsalted butter softened to room temperature (1 cup)
- ¼ tsp sea salt
- 4 oz caster sugar (½ cup + 1 tbsp) see notes
- 2 egg yolks
- 2 tsp vanilla
- 2 oz cornstarch (5½ tbsp) or rice flour, see notes
- 10 oz AP flour (about 2⅓ cups, spoon and level)
For coating
- ½ cup granulated white sugar or demerara sugar (about 100 g), use more as needed
To fill
- ½ cup raspberry jam or any fruit jam of your choice
Instructions:
Cookie dough
- Place the butter and salt in a large bowl or mixing bowl.
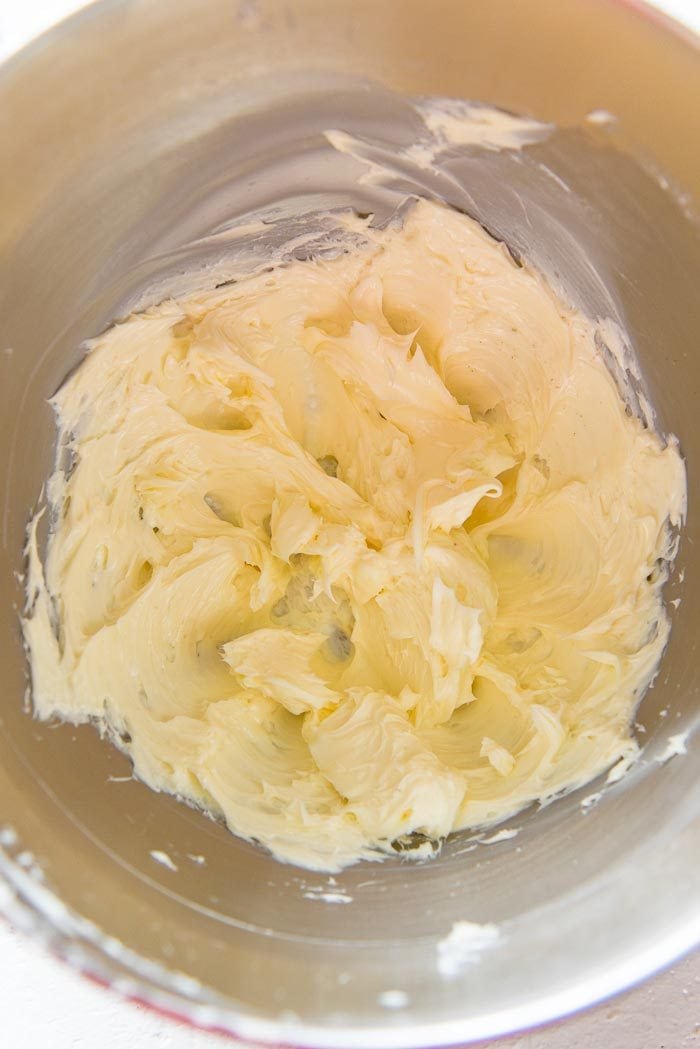
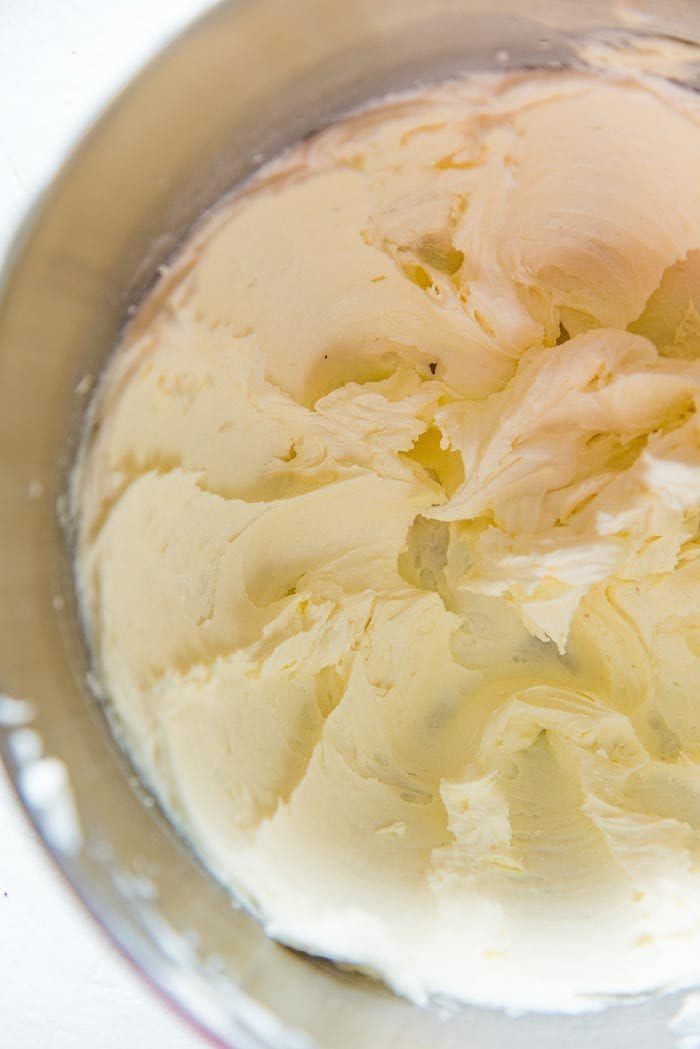
- Using a hand mixer, or the paddle mixer on your stand mixer – cream the butter, without making it fluffy – about 1 minute. Then add the sugar, and cream the sugar-butter mixture until smooth (just for about a minute or two).
- Add the egg yolks and vanilla and mix to combine, for no more than 20 seconds, until the yolks are completely incorporated into the mix. Avoid over-mixing.
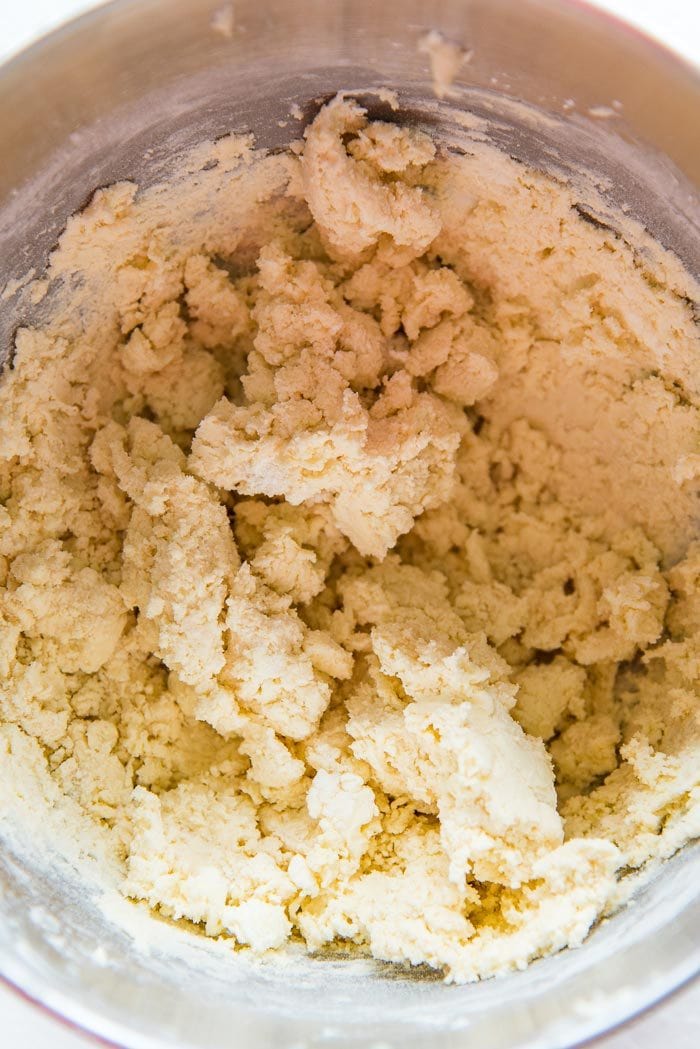
- In a separate bowl – sift the cornstarch and flour together and mix well. Add the flour to the butter mixture, and mix together on the lowest setting on your stand mixer, or use a mixing spoon. Only mix until most of the flour has been moistened with the butter mix, and the dough forms clumps.
- Stop mixing, and bring the dough together to form a smooth ball. You can use a mixing spoon and/or lightly dusted hands to do this. The dough will be sticky.
- Cover the bowl with plastic wrap, and let it rest for at least 15 minutes.
Preparing the cookies
- Line a half sheet pan or cookie sheet with parchment paper.
- Place the sugar for coating in a small ziploc bag, or small bowl.
- Take a 1½ – 2 tbsp cookie scoop and scoop a portion of the cookie dough. Roll this portion into a smooth, round ball. Immediately place the ball in the sugar filled bag and gently shake to coat.
- Place the sugar coated cookie ball on the parchment paper and use a rounded handle of a wooden spoon, or your thumb or finger (with short nails!) to create a well in the middle of the cookie. Press straight down to create a narrow well, rather than a wide well.
- Repeat with the rest of the cookie dough. Maintain about an inch of space between the cookies on the baking tray.
- Fill a second baking tray with the remaining cookie dough.
- Fill the wells to the brim with raspberry jam. If the jam is too stiff, microwave it for about 5 – 10 seconds to soften it, but not make it warm. If you want to store the cookies for later, DO NOT FILL THEM WITH JAM. See notes for storing cookies to bake later.
- Refrigerate the thumbprint cookies for at least 30 minutes, preferably overnight, until the cookies have been chilled well.
Baking the cookies
- While the cookies are chilling in the fridge, preheat oven to 375°F.
- Place the cookie tray in the oven and bake for 12- 15 minutes, until the edges start to turn golden brown in color.
- Remove from the oven and let the cookies cool completely.
- Serve at room temperature.
Tips & Tricks
Nutrition Information:
“This website provides approximate nutrition information for convenience and as a courtesy only. Nutrition data is gathered primarily from the USDA Food Composition Database, whenever available, or otherwise other online calculators.”



Den M. says
Dini, thank you for these detailed steps. I would like to try the nice sugar coating. Did you spin your demerara sugar to make it finer? Mine (sugar in the raw brand) is quite a bit coarser. I like that it’s a darker color than regular sugar but wonder about the coarseness.
maria Proenza says
Omg I have not stop making this thumbprint cookies since I saw this recipe n I bought so far lime 6 different kinds of jams I even gave them out as gifts put them on a pretty disposable dish n filled them with all flavors. Thank u so much. Btw I did put the rice flour gives it a amazing Texture.
joaniebologna says
Great presentation
Cheng says
THANK YOU for including the ingrediants in metric. its really a life saver for us from Asia.
muharni says
i loved the recipe so much
Amy HB says
These were SO good! I made some with strawberry and some with blackberry jam. Both were incredible.
Amy HB says
I use weight for gluten free baking. Seems to turn out better goodies.
Kay says
I’m confused is your ingredients list in weight or volume?
Thanks
Dini says
Hi Kay
The ounces in the ingredient list are weight measurements. I used a scale to measure the ingredients here. Just to clarify though, the ounce markings on measuring jugs/cups are always fluid ounces, which are volume measurements. I’ve explained it more on this page here.
Ann says
These are delicious. But I only got 18 cookies. I didn’t have a 2 tablespoon cookie scoop, so I weighted 2 tablesp of product it was 1.35 oz. so I weighted each one. And I only got 18. But they are great. Thanks
Robin Gagnon says
Great version of a classic cookie! Everyone loves them.
Nellie Tracy says
Best thumbprint cookies ever! Definitely recommend if you are a fan of this delicious classic!