

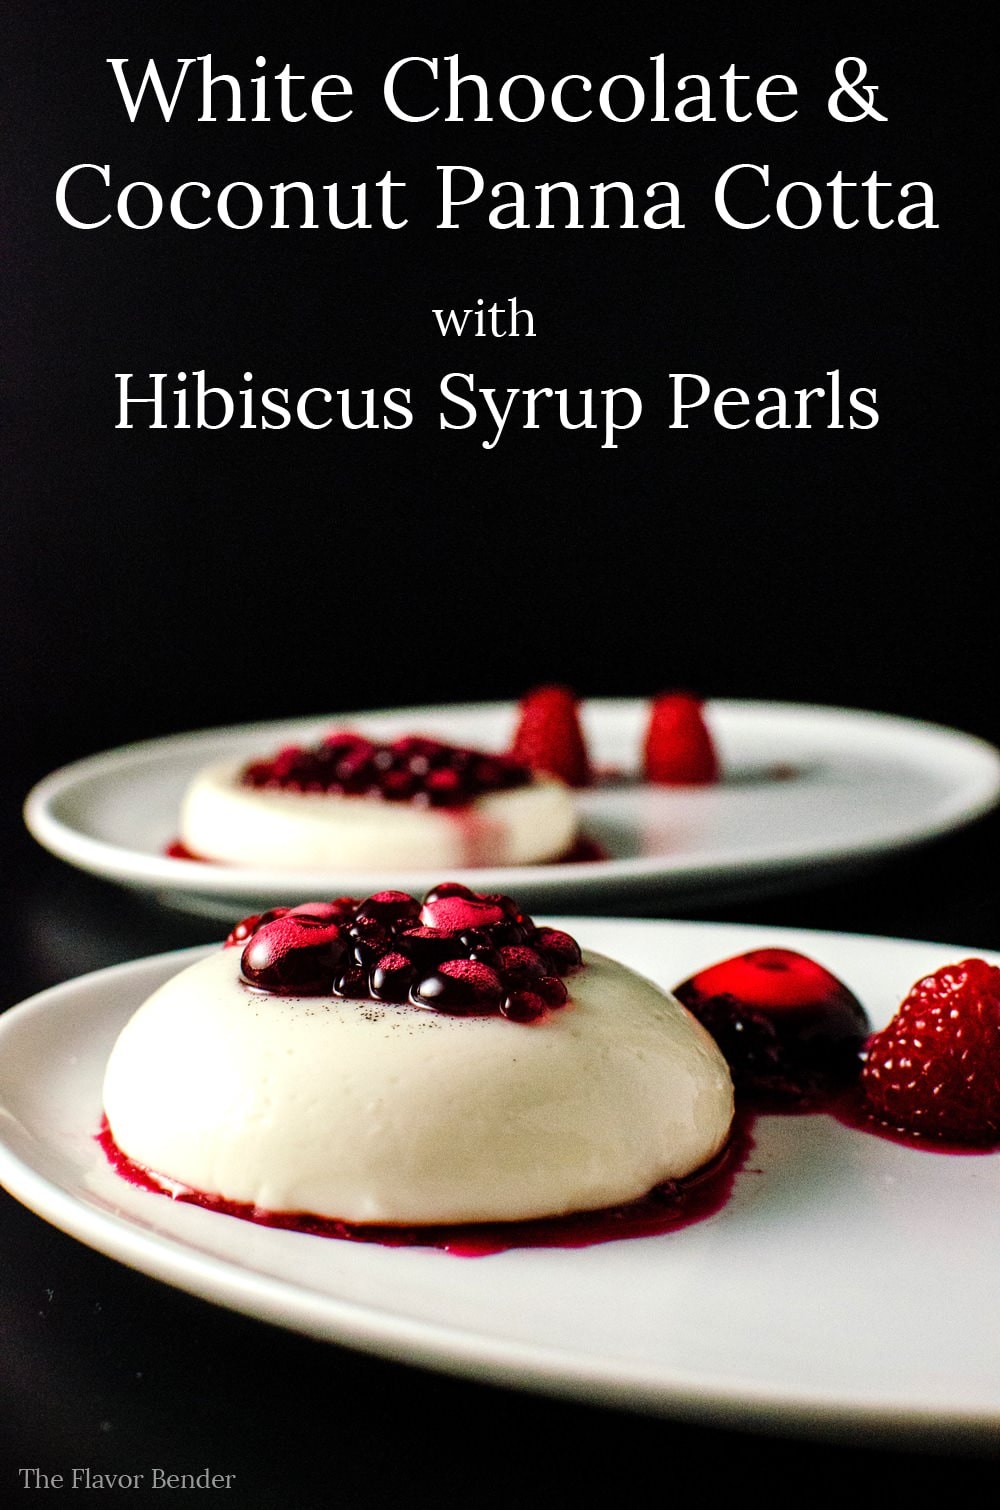
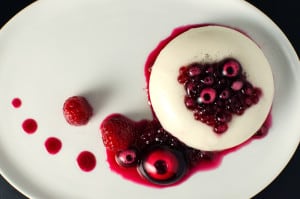
This beautiful White Chocolate Panna Cotta with Coconut and Hibiscus Syrup is one DIVINE dessert, whether you choose to use Molecular Gastronomy magic to make Hibiscus syrup pearls or serve it with just Hibiscus syrup.
Classic panna cotta is such a creamy, delightful dessert. In this variation, the creamy sweetness of white chocolate and the tropical freshness of coconut pair beautifully with the citrusy sweetness of hibiscus syrup.
White chocolate panna cotta (with a touch of molecular gastronomy)
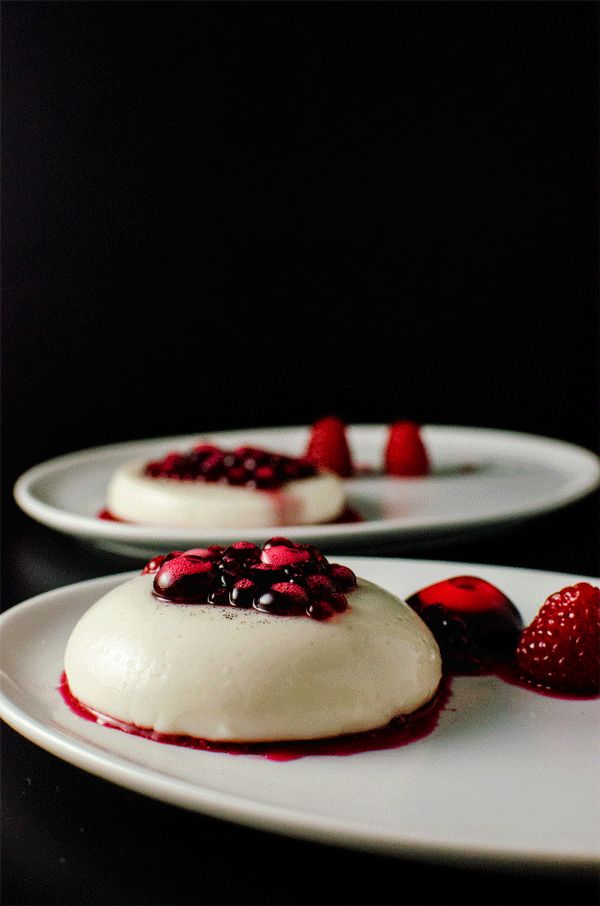
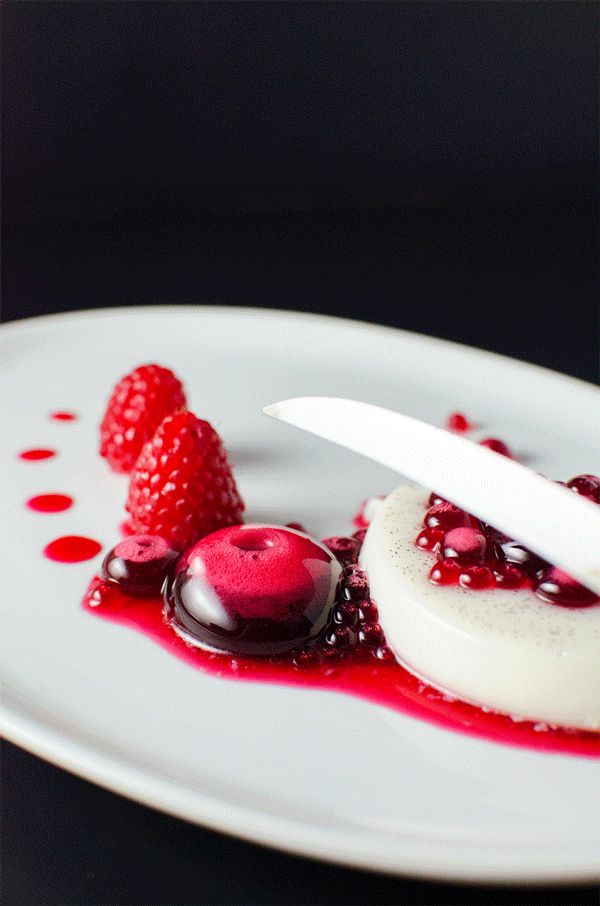
I put on my fancy pants for this one. This was one of my attempts at plating something fancy. Not really sure how well it came off. What do you guys think? One thing’s for sure though. This tasted fancy as hell!
One of the stars in this recipe – hibiscus – is nowhere to be found where I live now (although occasionally I might come across candied hibiscus in one of the local grocery stores – but that’s not really what I’m going for and I wanted to make hibiscus tea anyway).
A couple of weeks ago however we ventured out to St. Louis and stopped by an International grocery store where we came across some beautiful Hibiscus and Chamomile!
My husband wasn’t entirely convinced though when I told him what I was going to do with the hibiscus. Mostly because he had never tried it before and didn’t know what to expect! 🙂

The mad scientist in me however was going nuts thinking about the possibilities! I was about to put a Molecular Gastronomy technique called Reverse Spherification to the test with this one and I was giddy!
I had already tried and loved Basic Spherification (check out my post on lychee cocktail with raspberry caviar for some facts on that).
As it turned out, reverse spherification is my favourite! Hands down! Although my first attempt at it was a complete bust (I tried it with rock melon), this one worked beautifully. Man if I could, I would’ve done back flips!
Reverse Spherification
In contrast to Basic Spherification, here the solution that you want to create the spheres in, has Calcium Lactate, and this is what’s going to be dropped in to a Sodium Alginate bath (in basic spherificaion, it was the reverse of this).
The membrane of the spheres/pearls is thicker here compared to those made with basic spherification. Therefore, unlike in basic spherification, you kind of feel the membrane in your mouth and the bursting of it. This is in no way a turn off though. In fact, it’s super fun! Haha!
Unlike in basic spherification, the gel membrane here forms outside the liquid sphere. What that means is, the gel membrane here is made of a different solution (sodium alginate solution) compared to the liquid sphere inside (which is made of the calcium lactate solution). I call this process, outward gelification.
The longer you keep the spheres in the sodium alginate bath, the thicker that gel membrane is going to be. The gelification stops as soon as you remove the sphere from the alginate bath.
Since the gel membrane is made of sodium alginate, I like to add some sugar (or some other flavour), to give that gel membrane some sweetness as well. Otherwise the membrane will have a neutral taste.

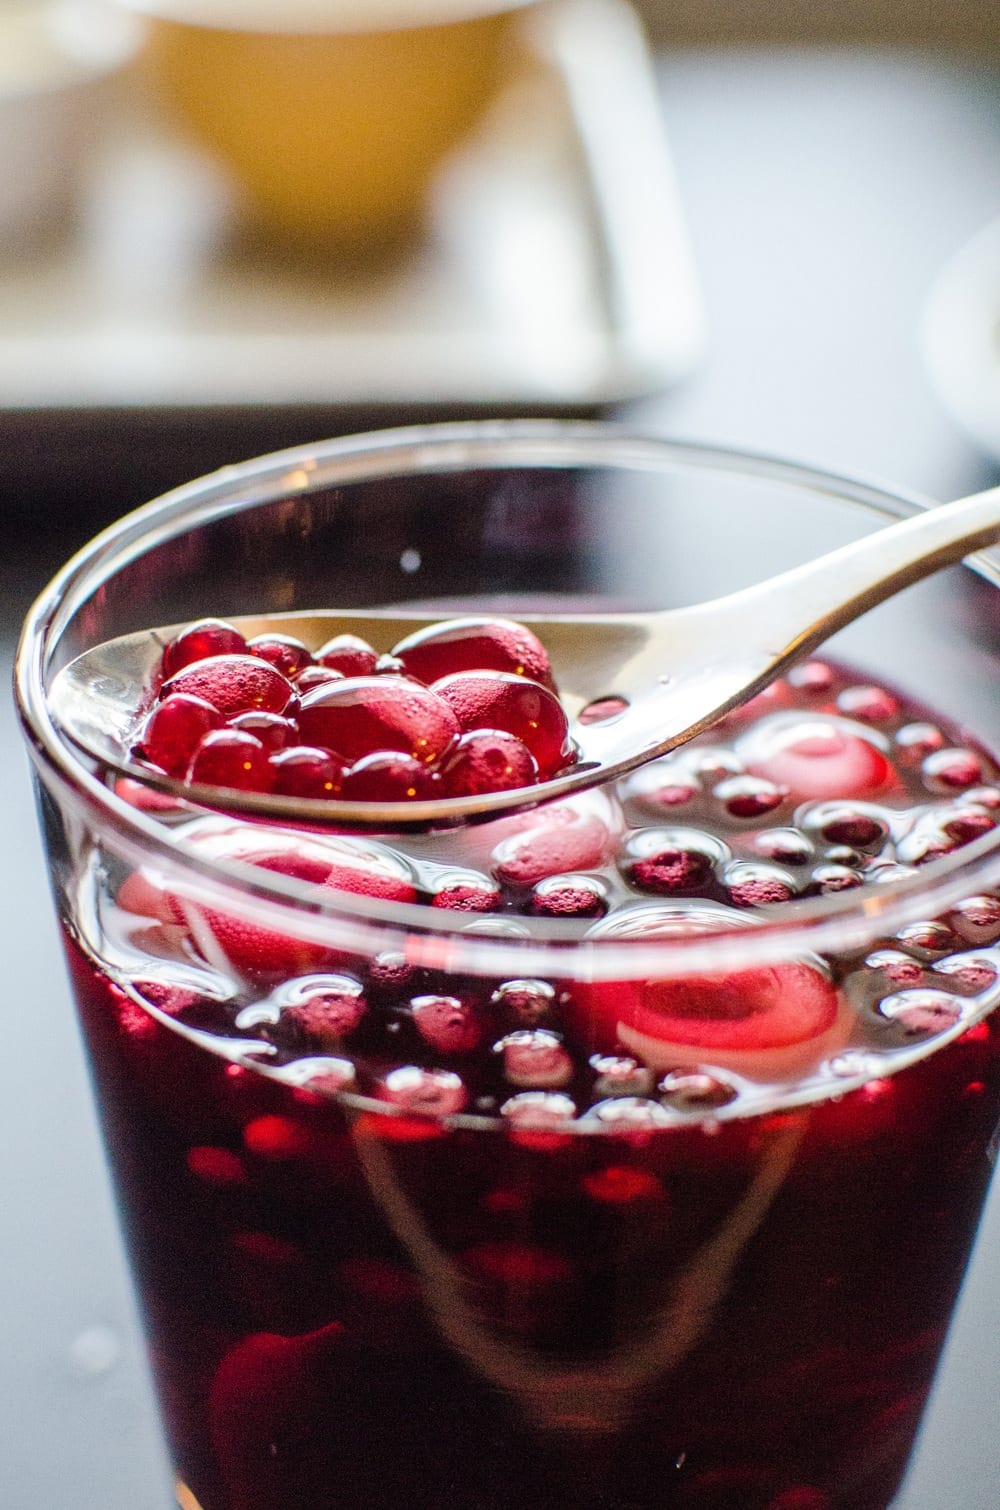
Since these spheres will continue to have a liquid center (with no inward gelification unlike in basic spherification), you can store these in solution (a solution that is the same as the inside of the sphere, but without calcium lactate) for longer. This will also help flavour the membrane.
You can create spheres with any kind of liquid in reverse spherification (acidic or basic). However the liquid needs to be thick – like a runny yoghurt consistency. However the liquid can also be frozen and then spherified – this is called frozen spherification!
You can easily get whatever liquid to have that consistency using Xanthan gum.
Reverse spherification does require some preparation. The sodium alginate bath and calcium lactate solution need to be rested for at least 12 hours, preferably 24 hours to remove the bubbles. I only let the solutions rest for about 12 hours, which is why you can see air bubbles in my spheres.
If there are too many air bubbles in the solutions, the drops you add to the sodium alginate bath will not sink to the bottom to form spheres. This is why that resting time is important for the solutions.
With this Cusine R-Evolution kit (that you can enter to win with this giveaway), you get the sodium alginate, calcium lactate, the pipettes, slotted spoon and measuring spoons! The only additional things you would need are Xanthan gum and an immersion blender (a regular blender is totally fine too).
How to unmold this dessert

When you’re unmolding the white chocolate panna cotta, remember to run a warm, clean, thin knife along the edges and let gravity do its work.
Gently separate the white chocolate panna cotta from the mold before turning it over onto the plate you will be serving it in. Like shown above.

Panna cotta is a type of set custard that is very easy to put together. I have a comprehensive post on types of custard if you’d like more information on all things custards and puddings!
The hallmark of a perfect panna cotta is that “jiggle”! That jiggle to me is an ABSOLUTE MUST! 🙂 It’s a creamy dessert that is just set with the aid of a gelling agent (like gelatin, or agar-agar for vegetarian option).
It can be unmolded for better presentation, or served in the same dish that it’s prepared in as well.
I’ve shared several other panna cotta recipes on the blog, including a base recipe for classic panna cotta, along with recipes for matcha panna cotta, coconut panna cotta, and even bubble milk tea panna cotta made with infused boba milk tea and topped with boba pearls!
This White Chocolate Panna Cotta is just insanely divine! It was delightfully creamy (it means cooked cream in Italian after all) and the white chocolate was the sweetener which also adds another creamy element in addition to the wonderful tropical flavour and creaminess you get from the coconut!
And that hibiscus syrup… oh baby! It’s sweet (but not overly sweet), thick and luscious. With beautiful citrus and berry flavours, it was the perfect pairing for the sweet tropical flavours of my panna cotta.
I’ve since also made this hibiscus strawberry margarita ice cream float, which is another summer favourite of ours!
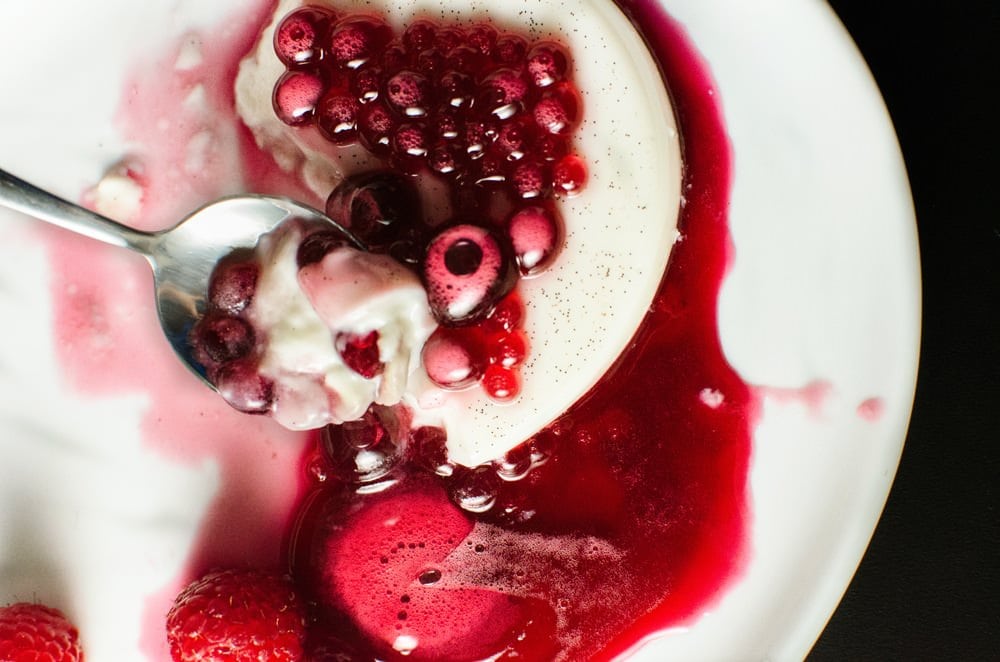
The different sized hibiscus syrup pearls I made were super fun too. The smaller ones of course burst in your mouth readily and flood it with that gorgeous syrupy goodness.
The large spheres are a great way to encase extra syrup that you can burst open with a fork so it covers your panna cotta and floods the plate! Honestly, there should be a NSFW tag attached to this. This is food porn in all its glory. Seriously, don’t say I didn’t warn you!
So how would YOU like to make spheres like this? 🙂 What kind of flavour would you like encased in beautiful little pearls like this? You can of course make them savoury too!
Those larger spheres are actually called “liquid raviolis” and you can create them with all kinds of purees.
Recipe
White Chocolate Panna Cotta (with Coconut and Hibiscus Syrup Pearls)

Difficulty:
US based cup, teaspoon, tablespoon measurements. Weight measurements are recommended for accurate results whenever available.
Common Measurement ConversionsIngredients:
White Chocolate Panna Cotta
- 400 mL / 13.5 fl oz thick coconut milk or cream
- 300 mL / 10 fl oz half and half
- ⅓ cup water
- 113 g/ 4oz white chocolate chopped
- 2 ¼ tsp gelatin 1 packet
- 60 g/ 2.1 oz white sugar
- 2 tsp vanilla extract
Sodium Alginate Bath
- 450 mL/ 2 cups distilled water
- 1/4 cup white sugar
- 1 packet Sodium Alginate 2g
Hibiscus Syrup and Spheres
- 500 mL/ 17floz distilled water
- 120 g / 4.2 oz white sugar
- 20 g/ 0.7oz dried hibiscus flowers
- 10 cardamom pods optional
- 1/4 tsp Xanthan gum
- 3/4 tsp Calcium Lactate 1/2 sachet – 2.5g
To serve
- A few raspberries optional
Instructions:
White Chocolate Panna cotta (make this a day ahead)
- Lightly oil seven, ½ cup ramekins or dishes and place them on a tray. Set aside.
- Pour the water into a small dish and sprinkle the gelatin evenly on top and mix it with the water using a toothpick. Leave the gelatin to bloom for about 10-15 minutes.
- Place the half and half in a saucepan and heat on medium-heat until you start to see steam. Then add the chopped white chocolate and sugar, lower the heat and stir until the chocolate and sugar have completely melted.
- Next add the coconut cream and vanilla and heat till you start to see steam, or till it gently simmers. Do not boil the mixture.
- While mixture is on low-heat, add the bloomed gelatin and continuously stir until the gelatin has completely dissolved. DO NOT BOIL THE MIXTURE, as this will affect the gelatin.
- Pour the mixture into the prepared ½ cup ramekins. Cover with plastic wrap and transfer to the fridge to set overnight.
Sodium Alginate Bath (make this a day ahead)
- Blend 450 mL (2 cups) of distilled water and sugar with 1 sachet of Sodium Alginate (2g). Blend for a few minutes until the additive has completely dissolved. The bath should be viscous and a little cloudy – i.e. thick but fluid (hasn’t formed a gel).
- Cover and let it rest in the fridge for 12-24 hours.
Hibiscus Syrup Pearls (make the syrup a day ahead and the pearls the next day, however the pearls can be made and stored in the right solution for up to 24 hours)
- Bring the water to a boil and add the hibiscus, sugar and cardamom.
- Simmer on low-heat, uncovered, for 40 minutes.
- Strain and measure out 260 mL / 8.8 floz of the hibiscus syrup. Save the rest in the fridge (you will need it to store the spheres).
- Blend in a generous ¼ tsp of Xanthan gum into the hibiscus syrup using an immersion blender or a regular blender.
- Add ¾ tsp of the Calcium Lactate (about ½ of the sachet) and blend it in for a few minutes until it has dissolved and dispersed through the liquid.
- Cover and let it rest in the fridge till the bubbles disappear (at least for a few hours, since the liquid is thick, it will require a longer time. I left mine overnight, and still there were bubbles.)
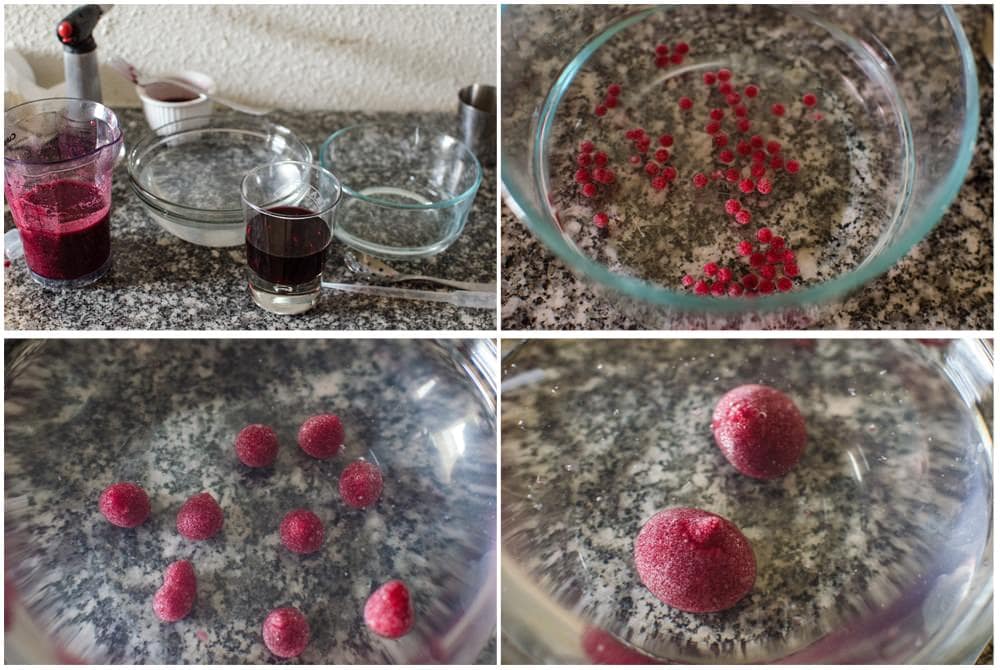
- The next day, set up your workplace, with all the tools and ingredients you need. The Hibiscus syrup solution (with calcium lactate), bowl with sodium alginate solution, bowl with distilled water, bowl/cup with saved hibiscus tea, Molecule-R measuring spoons, pipette and slotted spoon.
- To make the spheres, drop the liquid (hibiscus syrup solution) into the alginate bath. Make sure the spheres don’t touch. Gently swirl them in the solution, to make sure they sink to the bottom and that they do not touch. Wait for about 2-3 minutes and then collect them with the slotted spoon and rinse them in the water bath. Transfer them to the saved hibiscus tea (you need to test the first batch of each size of sphere to make sure the membrane is sturdy. If it’s too fragile and it breaks, keep the spheres in the alginate bath a little longer.) Please see notes regarding different sizes of spheres.
- Once the spheres are made and transferred to the hibiscus tea, cover and store in the fridge.
Serving
- Run a sharp, warm, thin knife along the side/edge of the panna cotta to loosen it. Then move the ramekin around to make sure the panna cotta pulls away from the ramekin. Turn out the panna cotta onto a serving dish. Serve with 1 or 2 large spheres and top with smaller spheres and a few raspberries (optional).
- WITHOUT MOLECULAR GASTRONOMY – Alternatively, just pour some of the thickened Hibiscus syrup (made using Xanthan gum) on to the panna cotta with a few raspberries on top.
Recipe Notes
Recipe notes on making different sphere sizes
For Caviar sized spheres – use the pipette to drop the hibiscus solution into the alginate bath from a height of about 1 inch. For medium sized spheres – use the 1/4 tsp measuring spoon to pour the solution in to the alginate bath, from just above the surface of the bath. You may need to swirl it to make sure that it goes to the bottom of the bath. For larger spheres – use the 1 tbsp measuring spoon and pour about 1/2 tbsp at a time, the same way you would pour for medium sized pearls/spheres. DO NOT OVERCROWD the alginate bath, as the spheres can stick together if they are too close.“This website provides approximate nutrition information for convenience and as a courtesy only. Nutrition data is gathered primarily from the USDA Food Composition Database, whenever available, or otherwise other online calculators.”


32 responses
Wow, this is so impressive, I love your photos and I learned something entirely new that I can use now…SO COOL!
Just A-M-A-Z-I-N-G Dini! I am so glad I discovered your blog through FF! Can’t wait to go through all your posts!
-Ranjana
Too cool, Dini, too cool! Drat, I didn’t win! Might as well, I’d probably be too scared to use it. I’d probably cause some kind of explosion 😀 If that doesn’t happen, I’d probably be addicted to it. Either way, not good! I’m just trying to console myself. But this THING is incredible!!
This looks so beautiful and definitely gets the fancy-pants vote 🙂 Both pretty and lovely flavors too. I love hibiscus but never see it around here either. Must keep looking…
These look amazing! awesome photos and yummy recipe!!!
WOWWWW
What a wonderful and super unique dessert!! My mouth is watering just looking at these wonderful photos 🙂
I sooooooo want to taste it
Thank you so much Winnie! 🙂
Ha! Dini, your wibbly-wobbly image is just fantastic. I have to say, I love all of the flavours you have included in this dessert. It’s a real show-stopper for me.
I love molecular gastronomy. Your post was like a fun foodie find, recipe and science experiment all wrapped up as one. I have never tried it myself but would love to learn how as I know the hubby and the kids would completely dig this! Your gorgeous white chocolate coconut panna cotta with hibiscus syrup pearls is one kicked up dessert and any of the fancy restaurants here ing HK would love this on their menu… Sharing /pinning all over!
Thank you so much Bobbi! 😀 It was so much fun to make too! Hibiscus is such an awesome flavour to play with too! & thank you so much for sharing it… I REALLY appreciate it!