

Chocolate Pâte Sucrée with the best chocolate tart dough! Crisp, buttery, and with a deep chocolate flavor, this is such a great dough to line your tarts. And flexible enough to make cookies too!
Sweet chocolate shortcrust pastry dough that is perfect to line your tart shells.
I previously shared a detailed post on how to make Pate Sucree on the blog. So I won’t go into all the nitty gritty of making chocolate pate sucree again here, because the tips are very much the same. This chocolate version is based on that classic pate sucree dough, which is an authentic French recipe.
So you know you will get guaranteed, authentic results.
While I do like a tart lined with classic pate sucree, there’s something mysteriously sophisticated about chocolate pate sucree. This bittersweet, buttery crust is perfect for desserts that are a little rich and sweet – think caramel filling.
Pate sable vs Pate sucree
Pate sucree is a sweet and crisp tart shell, whereas pate sable is a crumbly crust that can be sweet or savory.
To get that nice crisp texture for the pate sucree shell, the butter is creamed, instead of being rubbed into the flour.
Ingredients needed to make chocolate pate sucree dough
Flour
I use all purpose flour. But do not knead the dough too long so that you avoid too much gluten development.
Cocoa powder
I use Callebaut cocoa powder (Dutch cocoa powder), but you can use any type of cocoa powder you have at home. I prefer the flavor of Callebaut cocoa, so that’s the brand I always use for this chocolate pate sucree (and almost all of my baking involving cocoa powder).
Confectioner’s sugar (powdered sugar)
Confectioner’s sugar mixes more readily with the butter, making the whole process easier. You can substitute confectioner’s sugar with caster sugar (super fine sugar) as well.
Unsalted butter
Soft, unsalted butter with a creamy consistency is recommended for this recipe. Soft (but not melted) butter will easily become creamy and mix in well with the sugar, resulting in a buttery crust.
You can rub cold butter into your flour if you like, for a more crumbly crust. But for this chocolate tart dough recipe, I’m creaming the butter and sugar together instead.
I also prefer to use unsalted butter for this chocolate pate sucree recipe.
Eggs
In my classic pate sucree, I used egg yolks only. But I did mention that you can use whole eggs too. Same is true for this recipe. Egg yolks have a higher fat content. This will limit gluten development in the flour, which will result in a more tender crust.
If you’re using whole eggs, you will need 1 whole egg and 1 egg yolk. If you’re using egg yolks, you’ll need about 4 – 5 egg yolks.
Vanilla and salt
Both these ingredients add flavor to the crust. Salt balances the sweetness and prevents the crust from tasting bland. The vanilla adds more depth to the sweetness. You can also add some coffee extract if you like.


How to make chocolate pate sucree dough
Mixing the dough
I’m using the creaming method to make the chocolate pate sucree dough here.
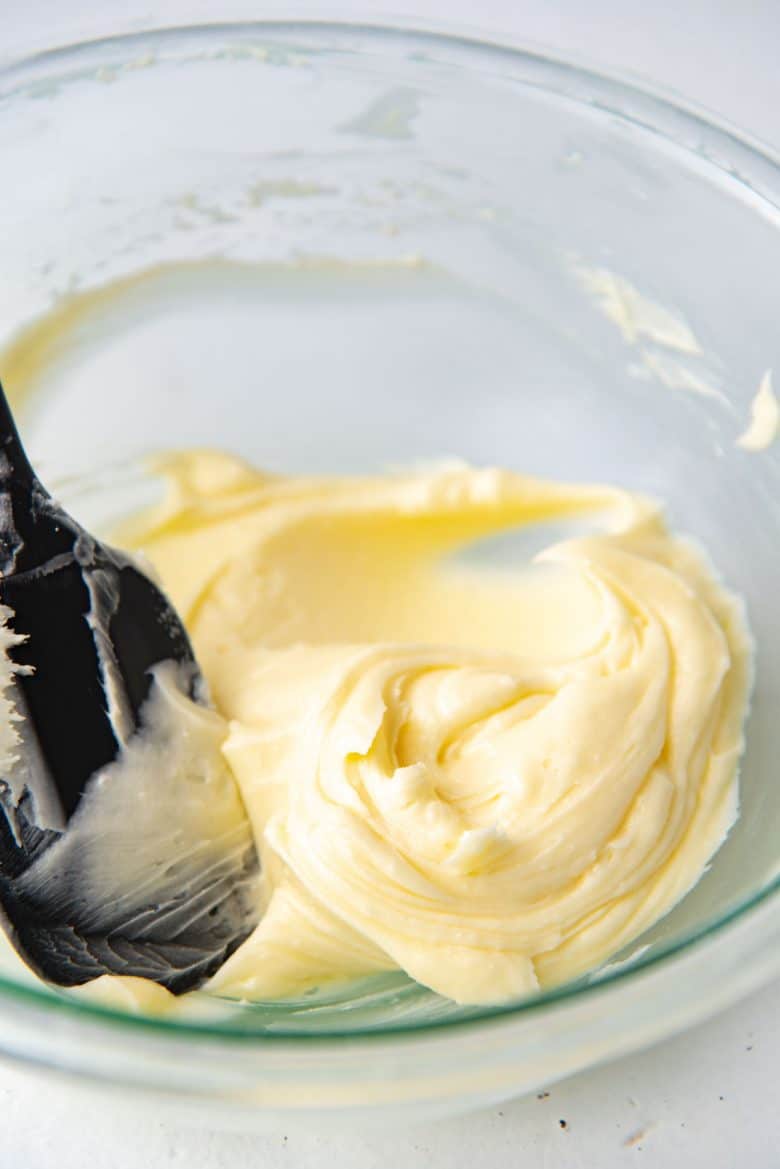
Make sure the butter is really soft and has a creamy consistency. You can do this with a spatula, or in your stand mixer. You don’t want the butter to incorporate too much air (and become fluffy), you only want to make the butter creamy.
Next, confectioner’s sugar and salt are added. They should easily mix in with the butter at this stage because the butter will be creamy and soft.
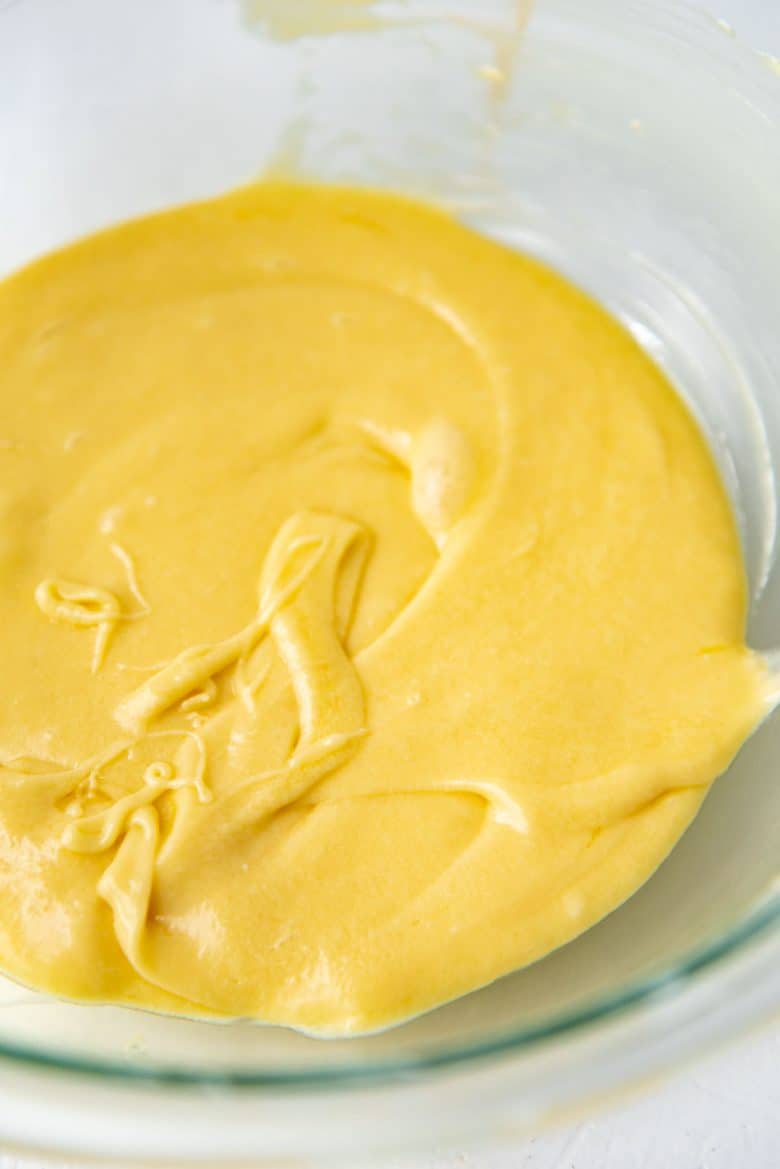
Add the egg mixture and mix until it’s emulsified into the butter mixture. If you use only yolks, you’ll find that the butter mixture becomes very smooth. And if you use whole eggs, the butter mixture might look a little curdled. That’s OK! The flour will fix this.
Mix in the vanilla and other flavorings as well.
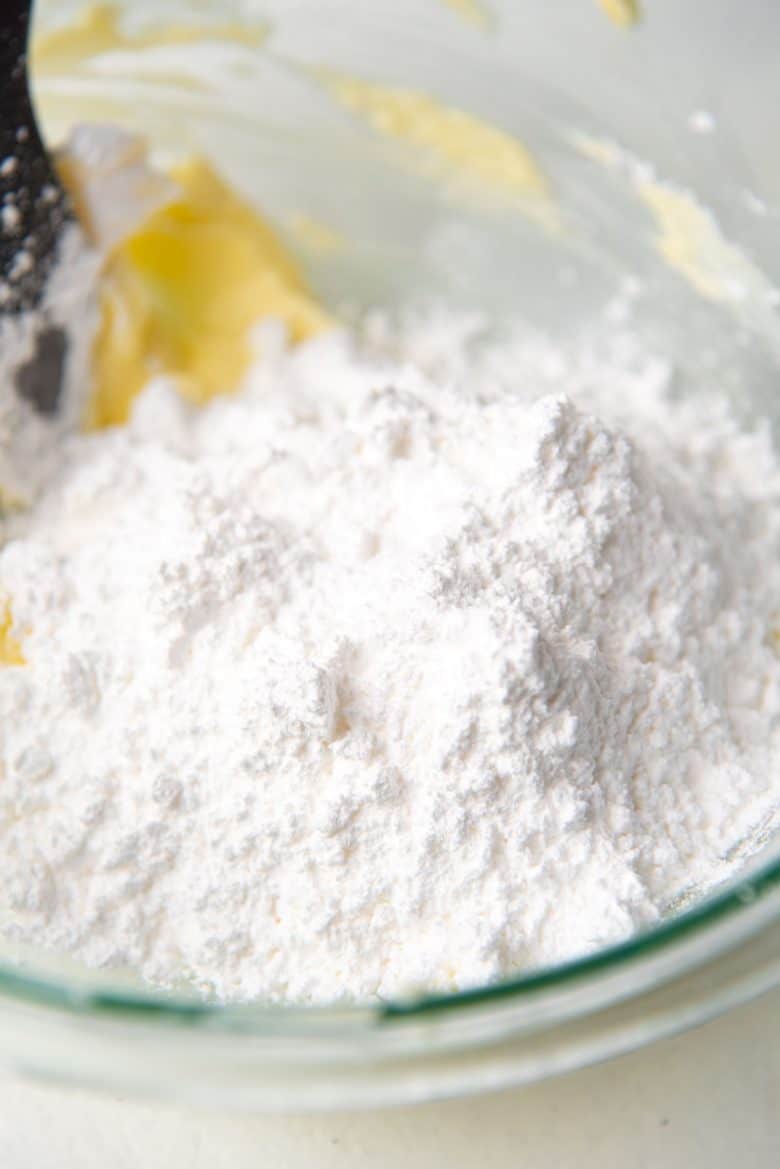
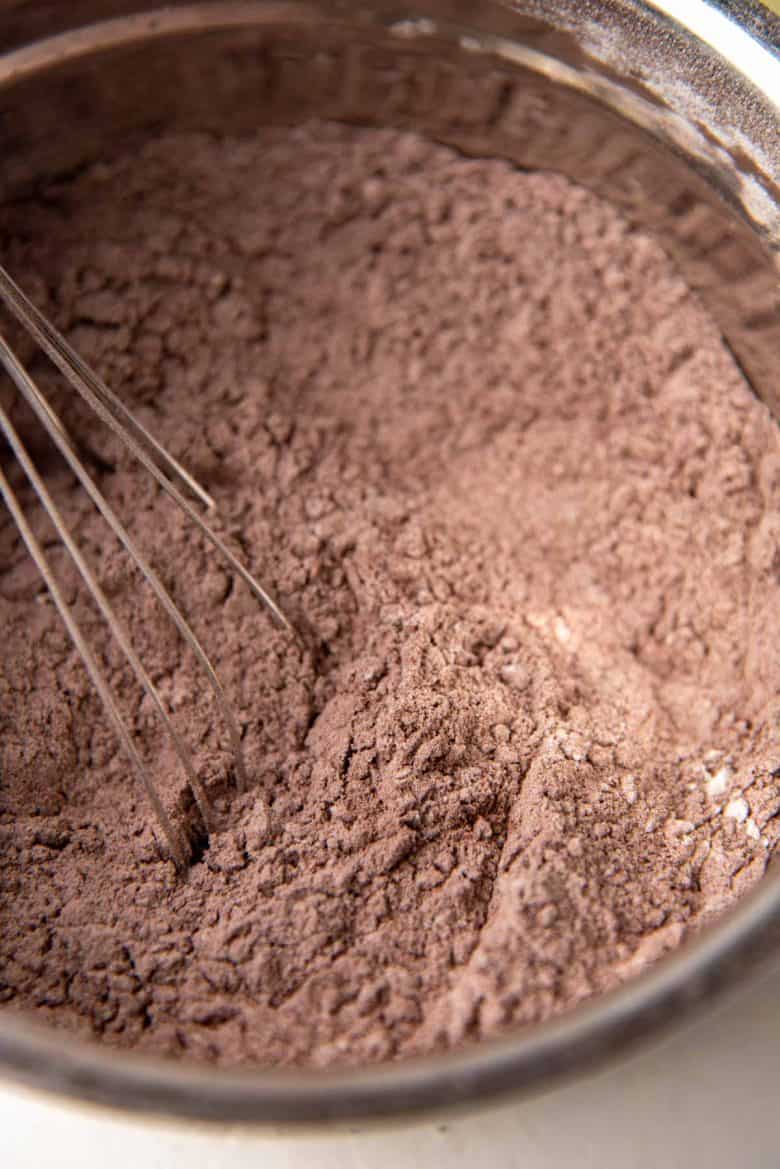
Sift in the flour and cocoa powder, and mix them into the dough. It’s crucial to do this carefully, to avoid over-working the flour.
How to avoid over-working the dough
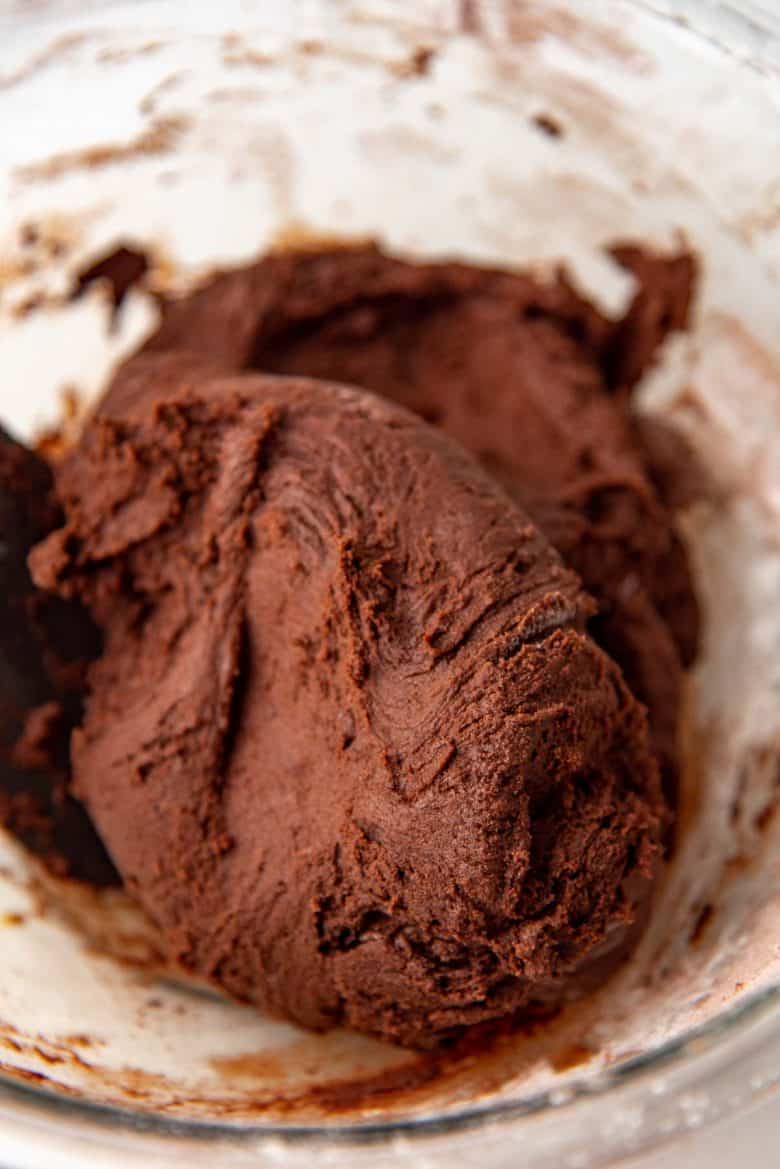
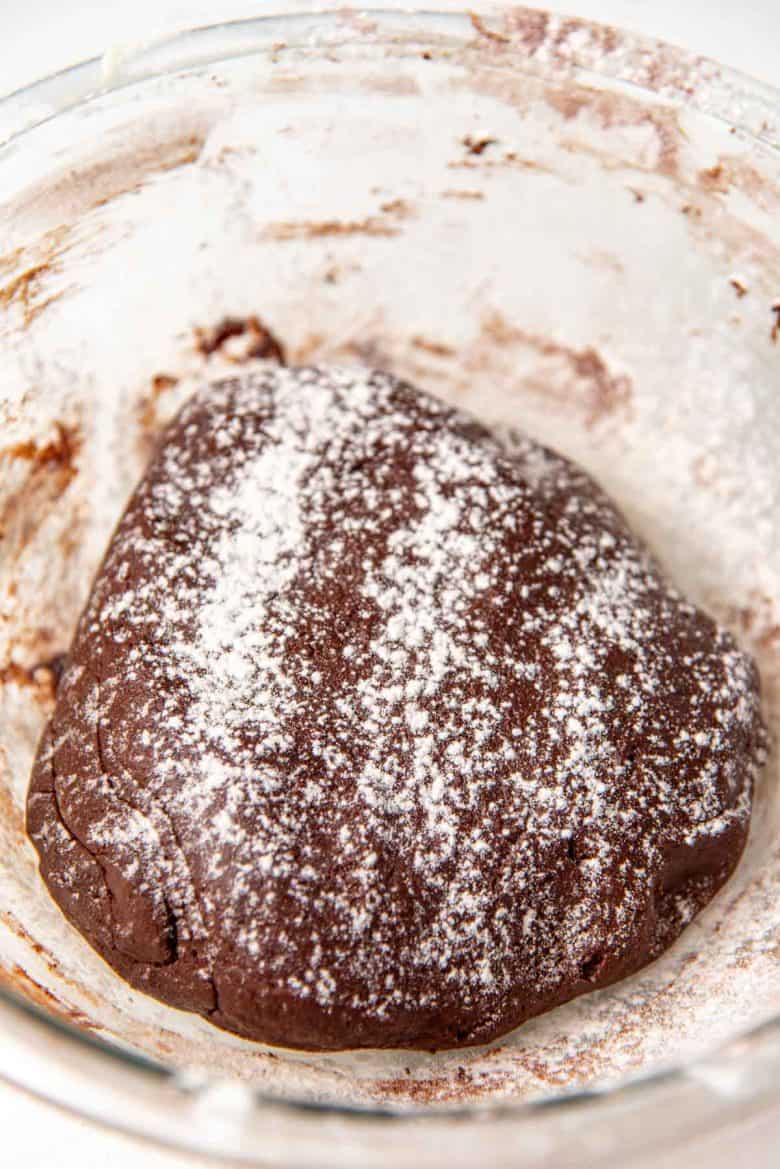
Mix the chocolate pate sucree dough until the flour is almost mixed in. Then turn it out onto a parchment paper and fold the dough over to incorporate the dry parts.
The is a very soft and sticky dough. Don’t be tempted to add more flour to make it less sticky. But it’s OK to lightly flour your hands to make sure the dough doesn’t stick much to your hands. Handle the dough gently.
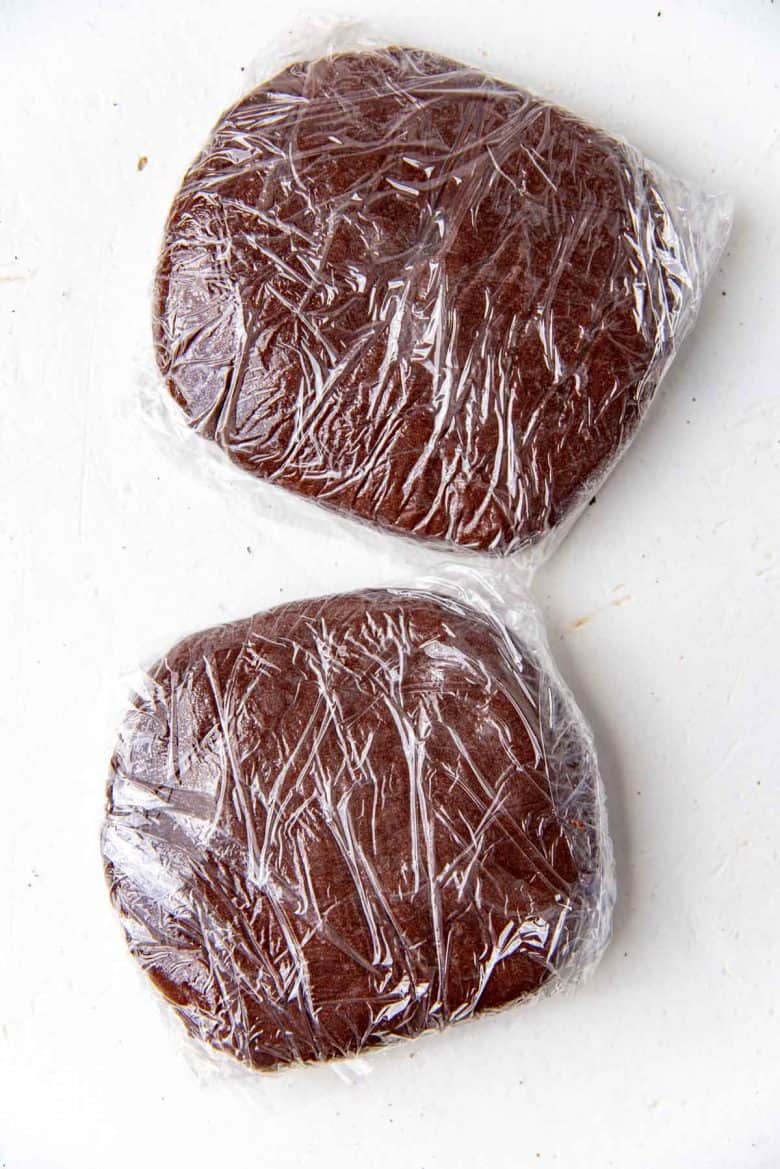
Divide the dough into two portions, and shape them into discs. Wrap them in plastic wrap and refrigerate for at least 1 hour until the dough is a little chilled.
You can check out my classic pate sucree dough for a more detailed guide on how to mix the dough.
Rolling the dough
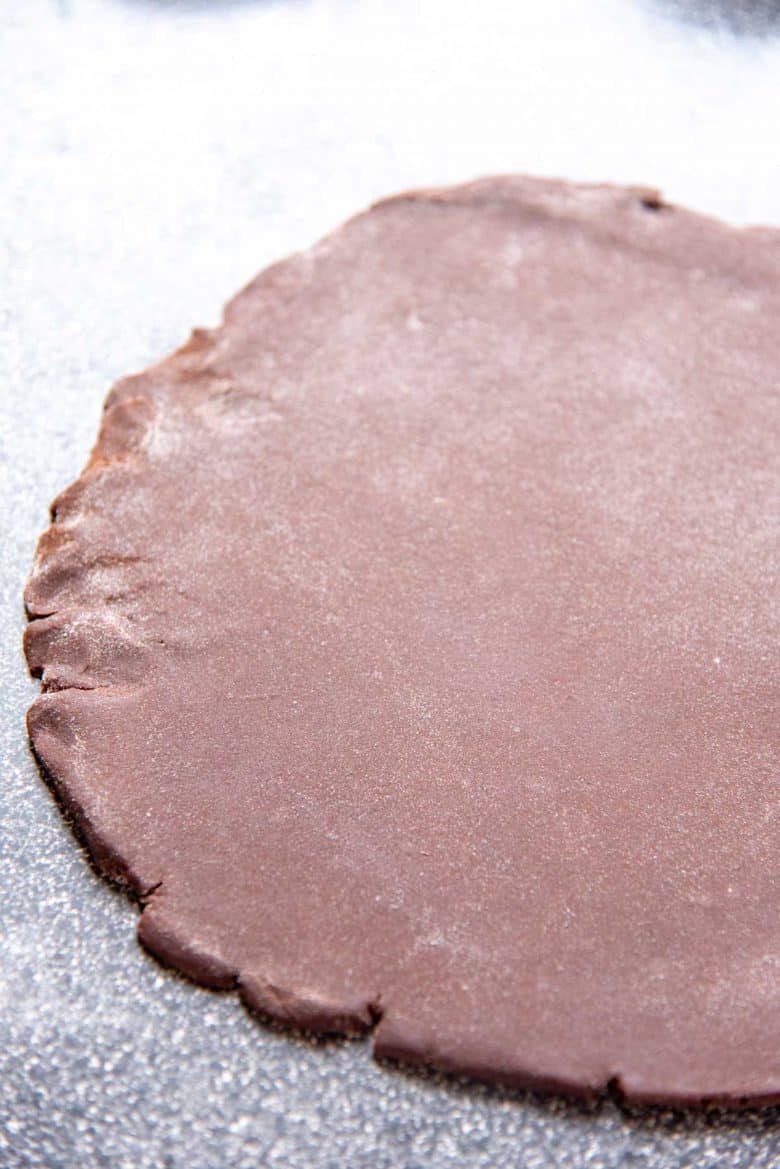
Roll out the chilled dough on a lightly floured surface. If the dough has hardened too much, let it soften slightly so that it’s easier to roll out.
I turn the dough 90 degrees after every roll to keep a nice, round shape. I also flip it over to make sure there are no cracks in the dough. Cracks in the dough can be resealed though, so don’t panic.
When the dough is about 3 mm thick, it’s ready to be used.
Lining your tart pans
Line your tart pan with the rolled out chocolate pate sucree dough. You can check out the other methods I use here.
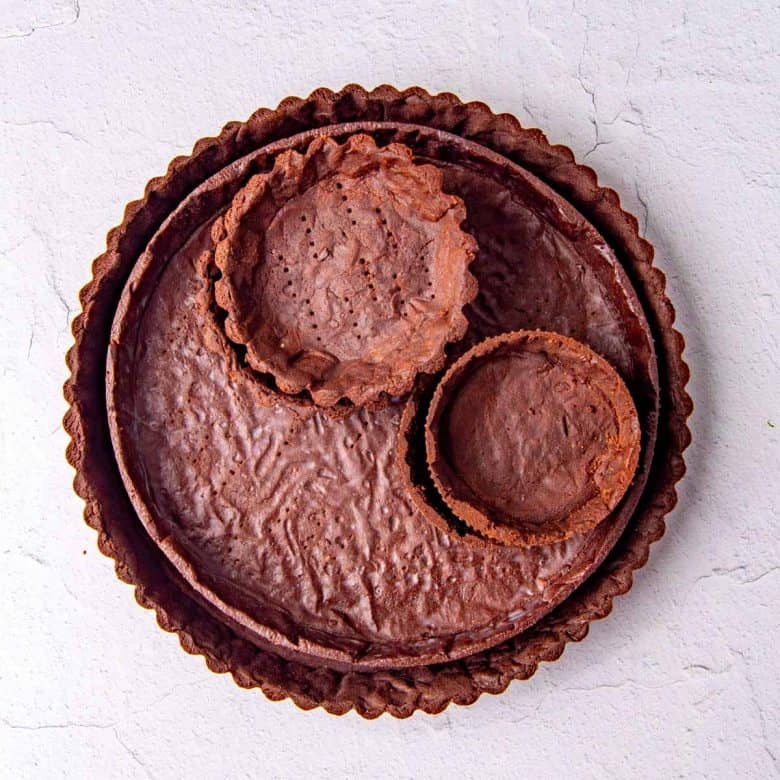
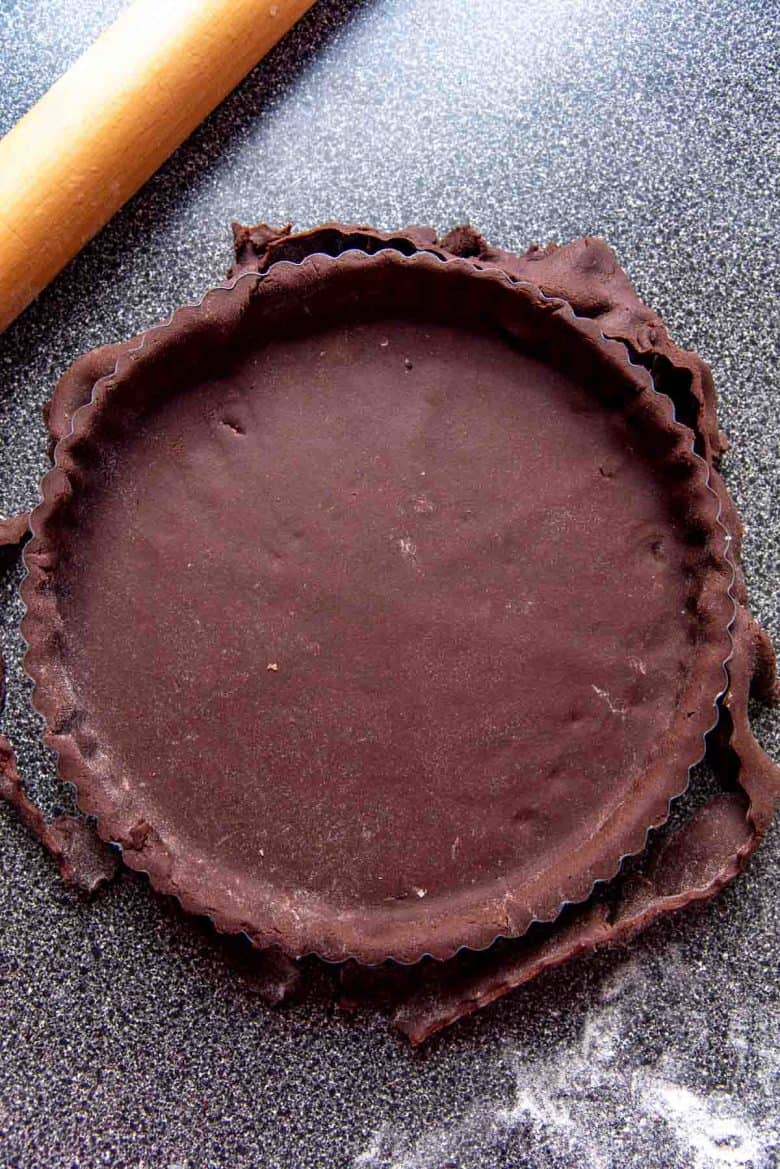
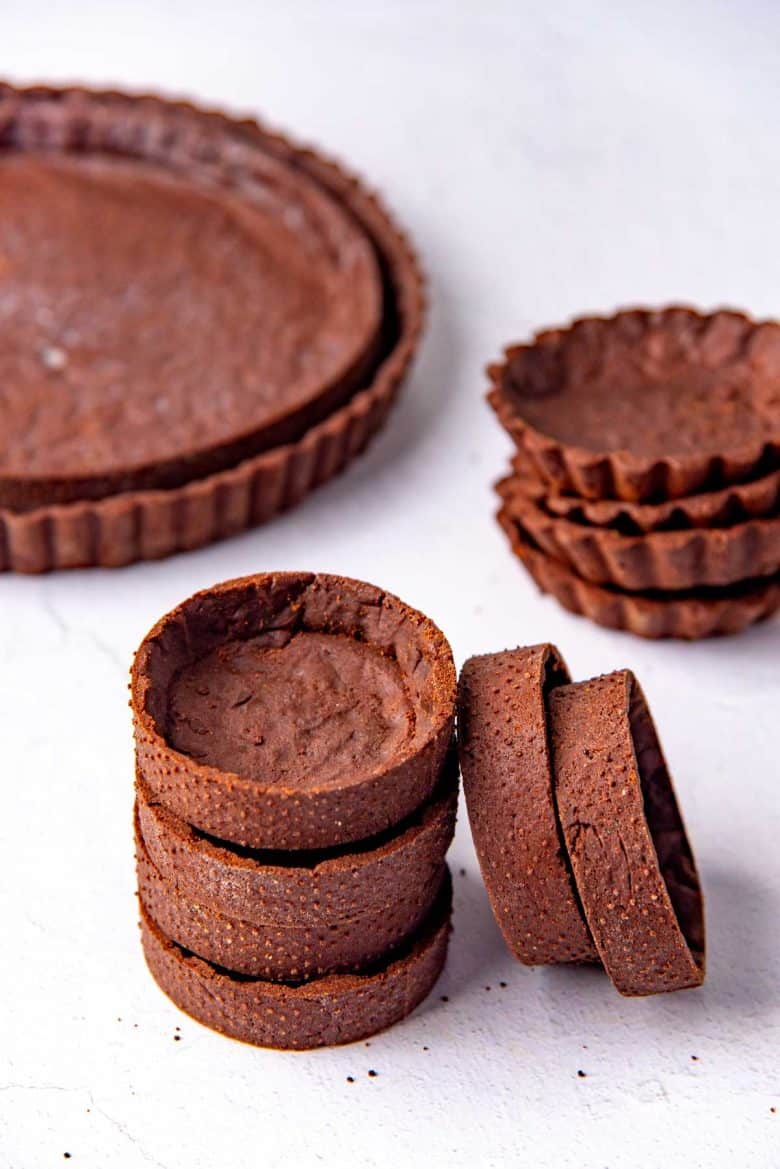
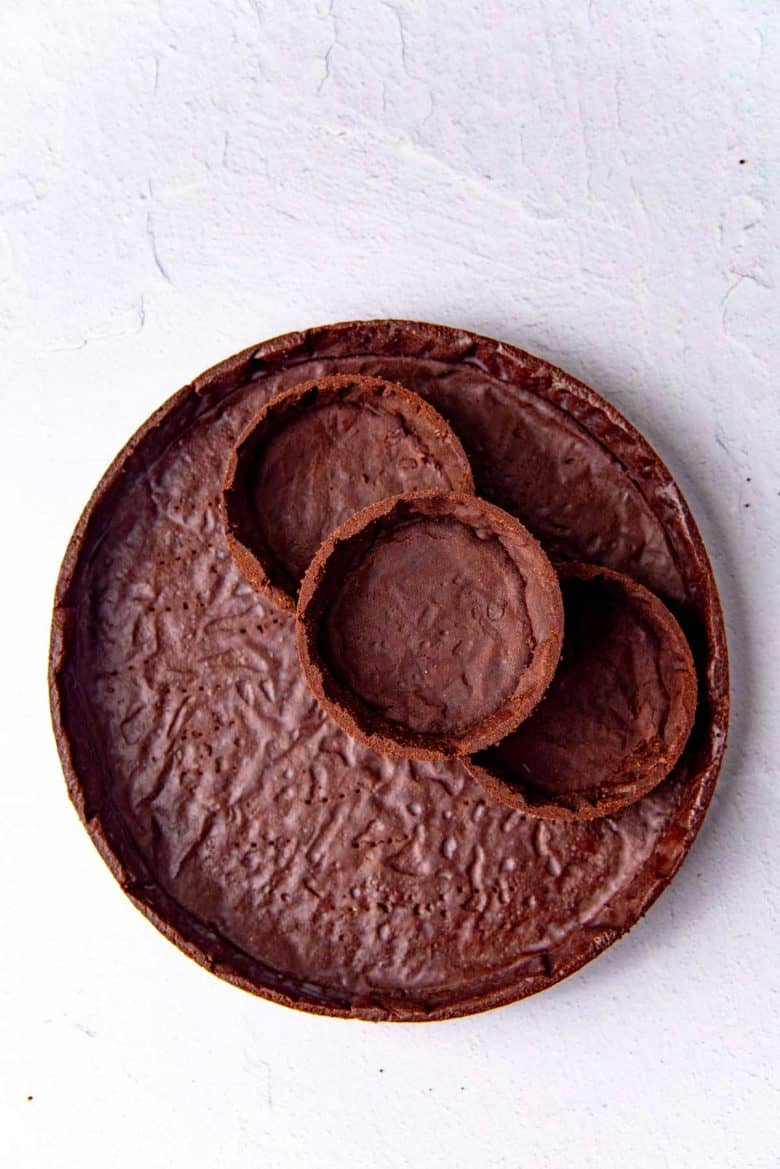
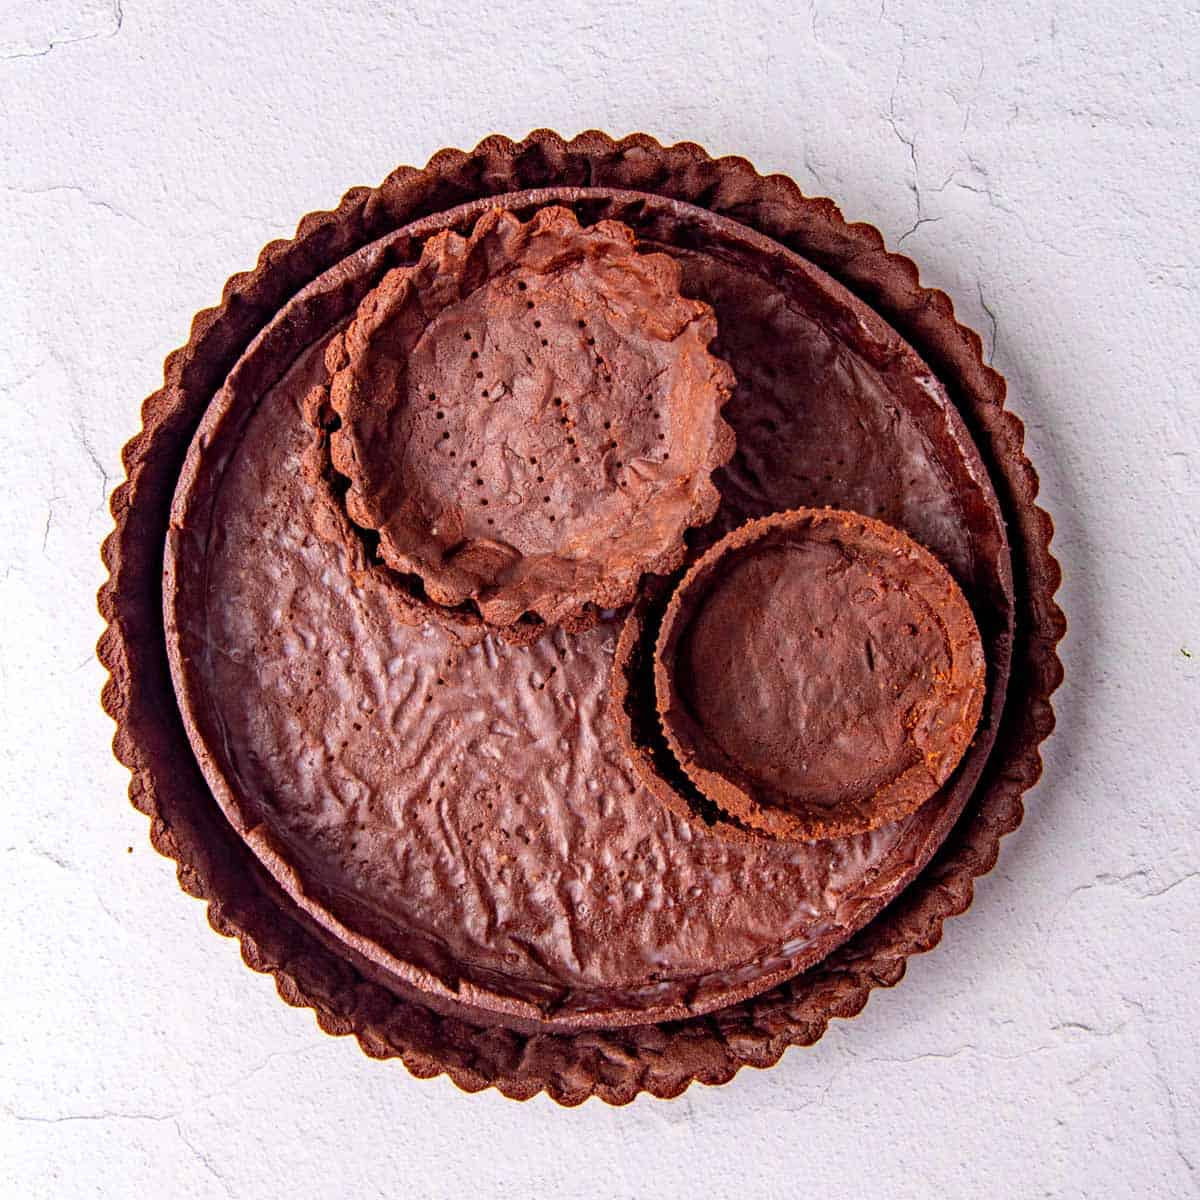
You can either line a standard 9 inch tart pan, or even tart rings to make multiple smaller tarts with the same dough.
It’s OK if the dough tears as you line it, since tears can be patched up with dough scraps easily. What’s important is to not stretch the dough over the tart pans, since this can lead to shrinkage. Lift and move the dough to fit it into the nooks and crannies of the pan, and gently pat it in.
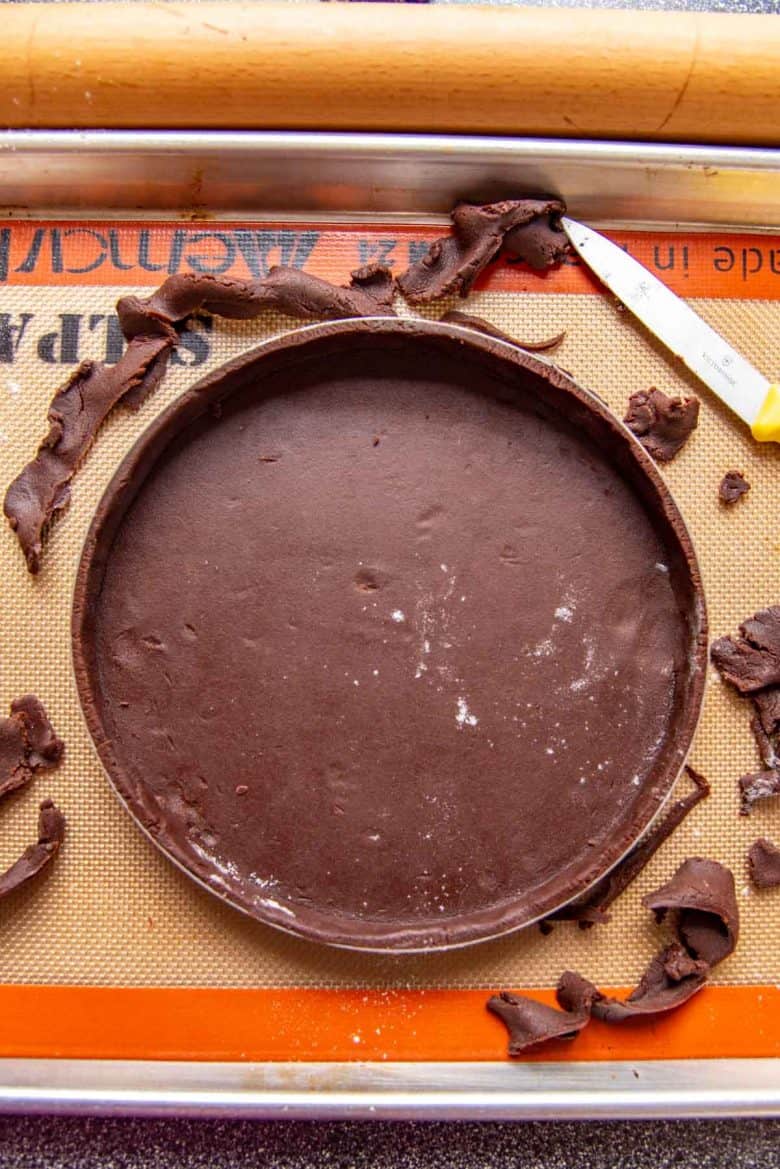
Use a rolling pin to roll over the surface of the tart pan to cut/remove the excess dough hanging over the tart pan. You can also use a sharp pairing knife to trim off the excess chocolate pate sucree dough.
Freeze or refrigerate the chocolate shortcrust dough lined tart pan. This helps prevent the tart dough from shrinking too much as it bakes.

Baking the chocolate pate sucree lined tart pan
Blind baking the tart dough is important to help maintain the shape of the tart. Whether you add a filling that needs to be baked, or a filling that requires no baking, you will still need to blind bake the tart.
How to blind bake a chocolate tart
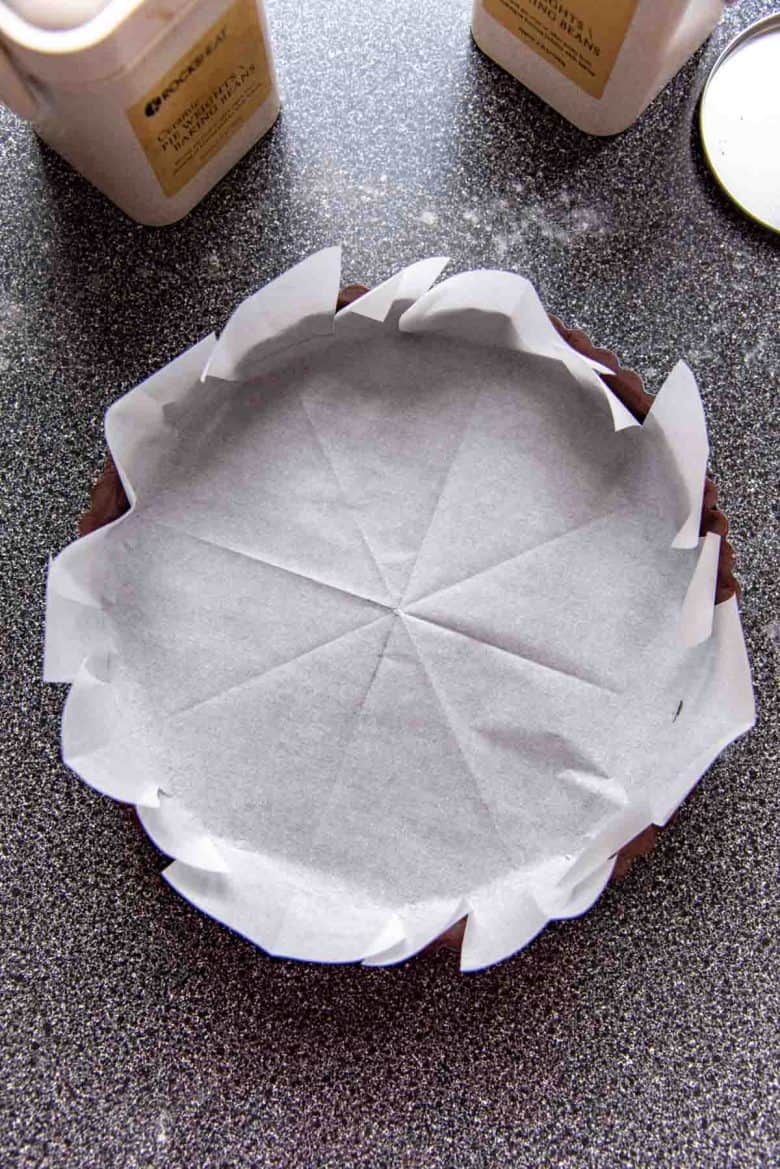
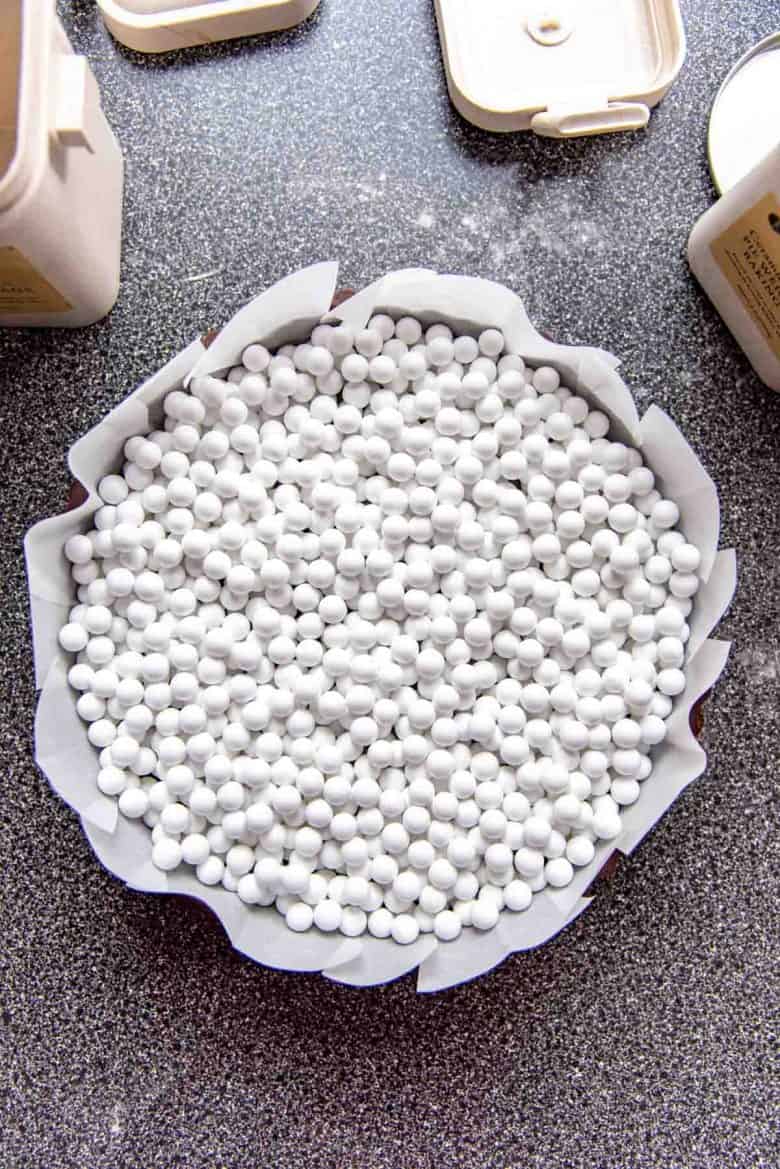
Crumple a large piece of parchment paper. Then carefully unravel it and place it in the tart pan, over the dough. Make sure the parchment paper goes into the corners of the tart pan as well. Fill the parchment paper lined tart pan with pie weights (or dry rice or dry beans).
Then place it on a baking tray and bake for about 15 – 20 minutes to blind bake.
Then remove the parchment paper with the pie weights.
How to bake a tart with filling
After blind baking the chocolate pate sucree lined tart, remove the pie weights and then return it to the oven for just a few minutes to dry out the crust (about 5 minutes).
Then fill the tart with the filling and put it back in the oven until you bake through the filling.
How to bake the tart fully to fill later
After removing the pie weights, return the tart to the oven and bake the chocolate pate sucree tart for a further 15 – 20 minutes.
If you want to seal the tart with an egg wash, remove it 5 minutes before it’s done. Then brush the surface of the tart dough with an egg wash, and bake it for the final 5 minutes until the tart looks shiny.
Alternatively, you can bake the chocolate pate sucree dough completely and then brush the tart with melted cocoa butter or melted chocolate. This helps prevent the filling from making the tart crust soggy.
The baking times will change depending on the size of the tart too, but these are all for 9 or 8 inch tart pans.
Storing the dough
How to store chocolate pate sucree dough
The unbaked dough can be wrapped in plastic wrap, and then in foil, and frozen for up to 6 months. Then just let it thaw in the fridge for up to 24 hours before rolling it out.
You can also freeze tart pans that have been lined with the chocolate shortcrust dough. Just make sure the pan is wrapped well in plastic wrap and foil to prevent freezer burn. The tart can be baked from frozen.
How to store a baked chocolate shortcrust tart shell
Once you’ve baked the unfilled chocolate pate sucree tart, you can store it in an air-tight container at room temperature for up to 5 – 7 days. I always brush the tart with cocoa butter to preserve the crispness of the tart.
You can also wrap it really well and freeze for up to 3 months. However, thawing it out may cause the tart shell to lose a little of its crispness.
Recipe ideas for a chocolate tart shell
Here are some filling ideas for your beautiful chocolate pate sucree shell!
- Fill with salted caramel for a chocolate caramel tart.
- Chocolate mousse tart – fill with chocolate mousse.
- Chocolate fruit tart – fill with vanilla pastry cream or chocolate pastry cream, and top with fresh fruits.
- A truffle tart – fill with chocolate ganache.
- Chocolate banana tart – fill with vanilla pastry cream and banana slices, and top with a chocolate drizzle.
Recipe
Chocolate Pâte Sucrée Recipe
US based cup, teaspoon, tablespoon measurements. Weight measurements are recommended for accurate results whenever available.
Common Measurement ConversionsIngredients:
- 150 g unsalted butter 10 ¼ tbsp (very soft but not melted)
- Pinch of fine sea salt
- 120 g confectioner's sugar about 1 cup powdered sugar
- 70 g yolks 4 – 5 yolks (you can also use whole eggs, i.e. about 1 large egg + 1 egg yolk – see recipe notes)
- 1 tsp vanilla extract
- 1 tsp coffee extract optional
- 260 g AP flour 2 cups (measured by spoon and level method)
- 57 g dutch cocoa powder ½ cup (measured by spoon and level method)
Instructions:
- In a large bowl, place the butter and salt. Using a spatula or a hand whisk, mix the butter until you get a soft and creamy texture (like a thick body cream or lotion).150 g unsalted butter, Pinch of fine sea salt
- Sift the confectioner's sugar, and add it to the butter mixture.120 g confectioner's sugar
- Mix the sugar in until it's completely mixed in with the butter.
- Whisk the egg yolks (or whole eggs), and add this to the butter sugar mixture along with the vanilla extract and coffee extract.70 g yolks, 1 tsp vanilla extract, 1 tsp coffee extract
- Incorporate the egg mixture into the butter until smooth.
- Sift the flour and cocoa together, and add it to the egg, butter, and sugar mixture.260 g AP flour, 57 g dutch cocoa powder
- Gently mix in the flour. I like to use a spatula and mix the dough by cutting through the dough several times.
- Turn the dough out onto a work surface lined with parchment paper. Use the parchment paper to fold the dough over to incorporate all of the flour. If you used whole eggs, take extra care to not overwork the gluten in the dough.
- The dough will be very soft and a little sticky. This is normal. Handle the dough gently with lightly floured hands.
- Cut the dough in half and shape each dough into a disc. Wrap each disc with plastic wrap and refrigerate for at least 1 hour to chill. If your tart mold is a rectangle or square, shape the dough into a rough square instead of a disc.
- Lightly flour your work surface. Place one of the chilled pate sucree discs on the work surface. Knock it a few times with the rolling pin to soften the dough and make it more pliable.
- Start rolling out the dough, turning the dough a ¼ circle every few rolls. This makes it easy to maintain a circle and also prevents the dough from sticking to the counter. If any cracks appear, shape the dough to seal those cracks as you go. If the dough gets too soft, carefully transfer it to the fridge for a few minutes to let it slightly harden again, OR roll it out between two parchment paper sheets.
- The dough needs to be rolled out to a thickness of 3 mm. If at any stage the dough shrinks as you roll it out, that is an indication that the dough has been overworked.
- If the dough is overworked – transfer the dough onto a tray, cover with plastic wrap, and let it rest in the fridge for about 10-20 minutes. Then resume rolling it out afterwards.
For tart pans
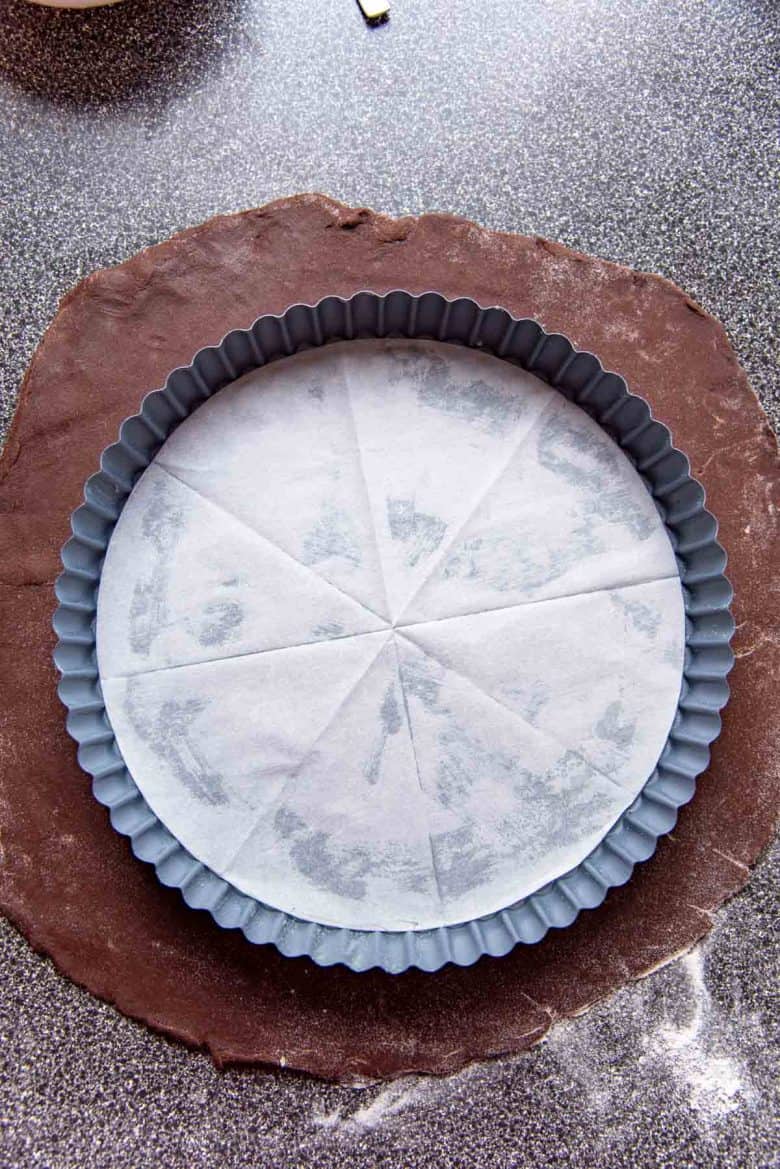
- Line the bottom of a 9 inch tart pan (1 inch height) with parchment paper, and lightly butter the sides.
- Transfer the rolled out pate sucree onto the tart pan, but make sure it’s not stretched out over the pan. Gently and carefully press the dough into the sides, edges and bottom of the pan. With a rolling pin, roll over the surface of the tart pan. This will trim off any excess overhang dough.
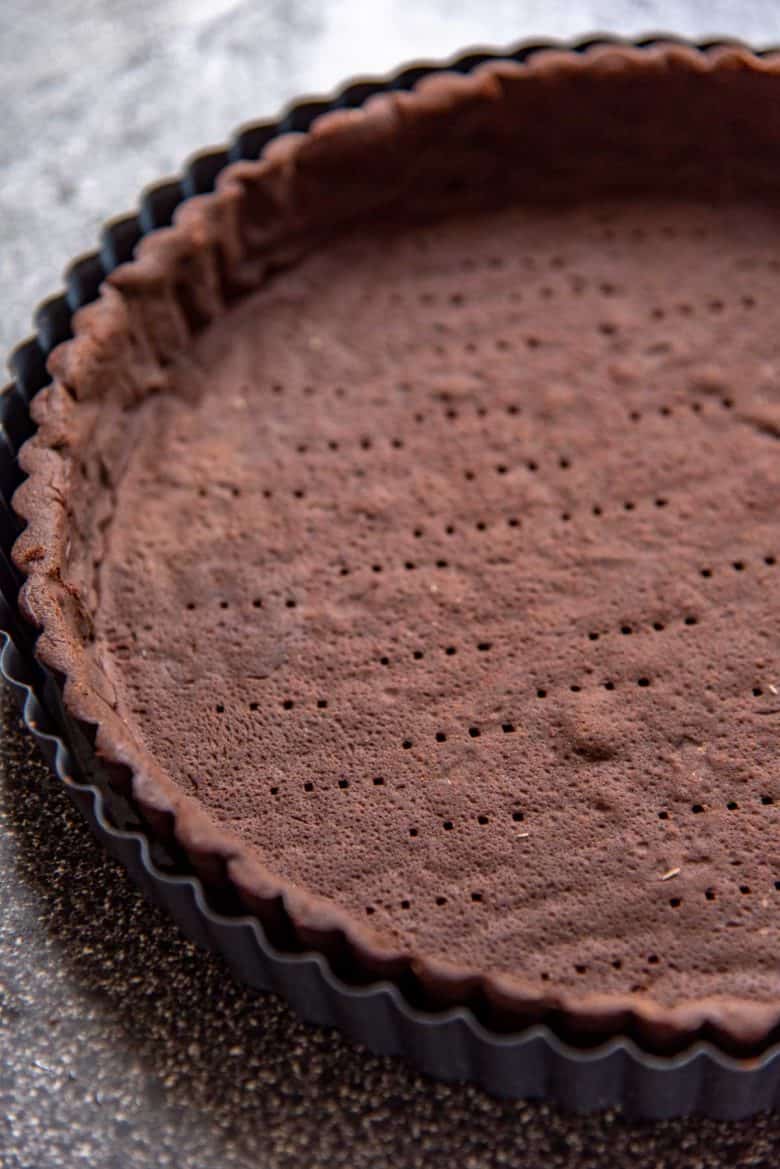
- Dock the bottom of the pan with a fork. Cover the surface with plastic wrap, and let the dough chill in the freezer for at least 30 minutes until firm.
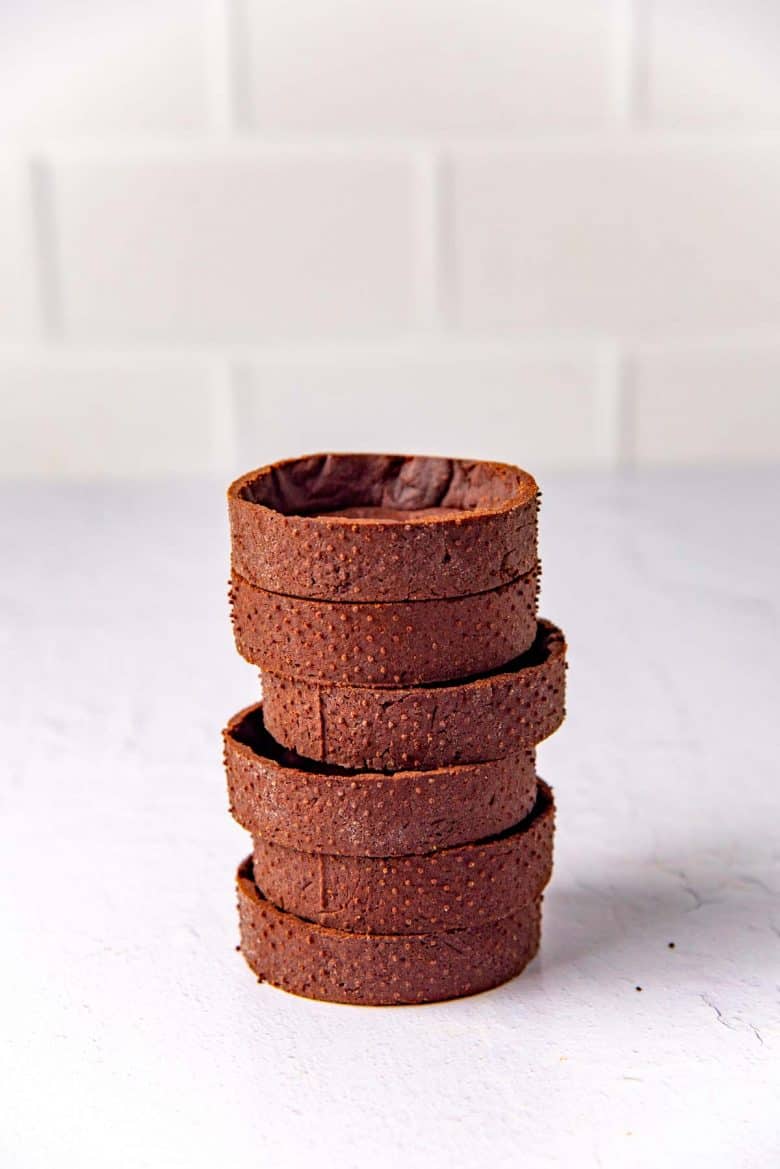
For a tart ring – strips method
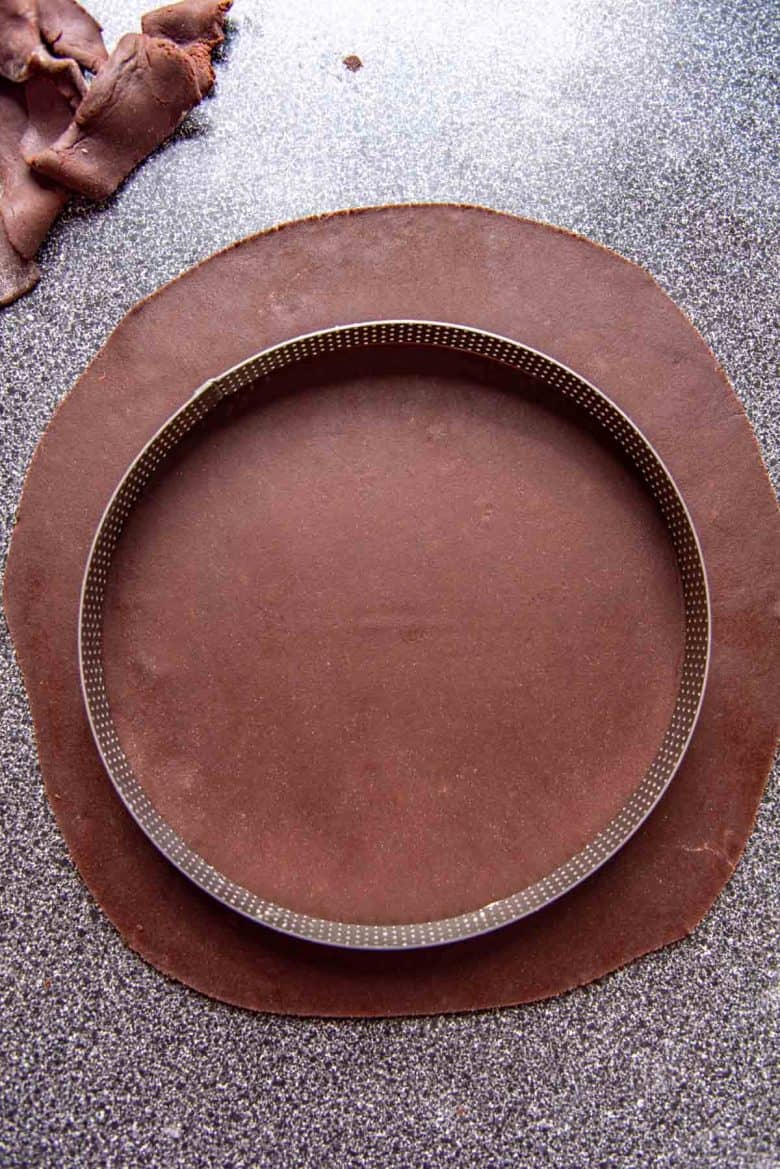
- Place an 8 inch tart ring on a silpat lined baking tray and lightly butter the side of the tart ring. Using the tart ring, cut a circle in the rolled out dough. Make sure to cut the circle from the edge of the rolled out dough, with enough dough to cut 1 – 1.5 inch strips.
- Place the ring on the silpat, then place the round dough that you cut inside the tart ring.
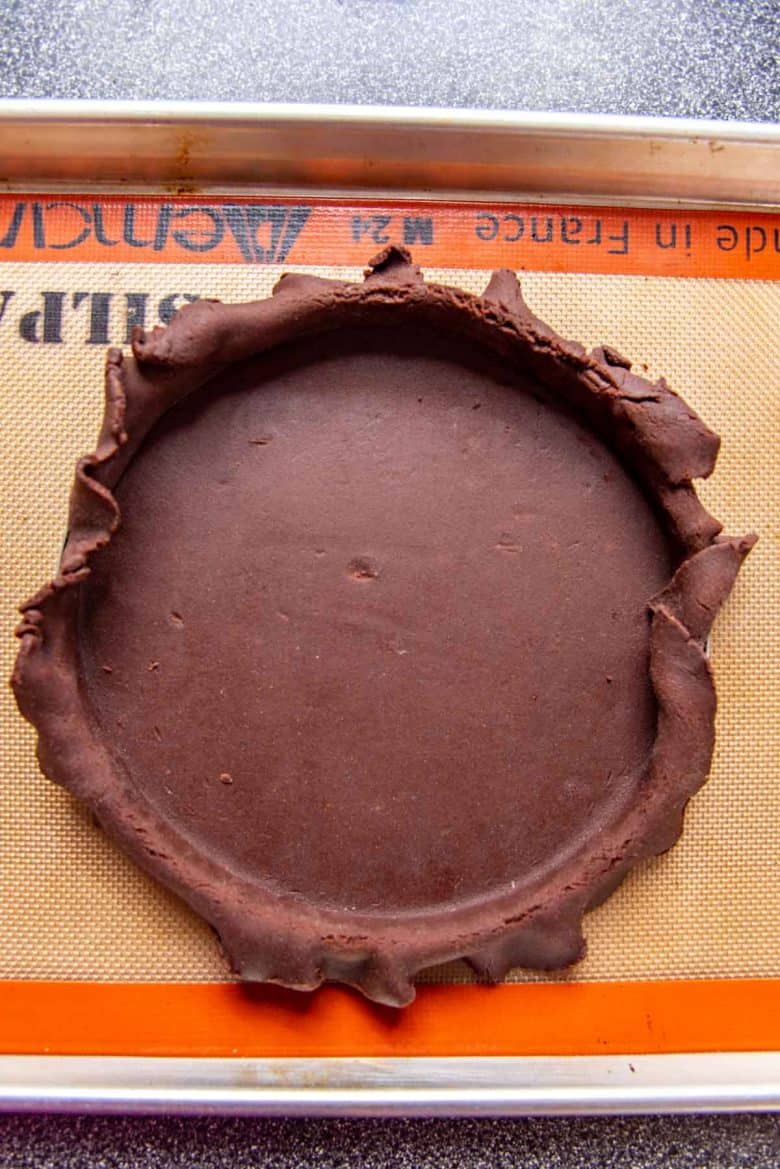
- Cut strips of dough that are a little taller than the sides of the tart pan (about 1 inch for the ones I use).
- Brush the edge of the round dough with water, and line the strips of dough along the side of the tart ring. Make sure the strips are placed flush against the round dough on the bottom, so that it forms a seal.
- Dock the bottom of the tart shell with a fork. Cover the tart shell with plastic wrap and let it chill in the freezer for at least 30 minutes until firm.
How to blind bake the pate sucree tart shell
- Preheat the oven to 350°F / 180°C.
- Place the chilled pate sucree lined tart pan on a baking tray (the tart ring should already be on a baking tray).
- Take a piece of parchment paper that is large enough to fit inside the pan (with some overhang), and crumple it up. Be careful not to tear it.
- Now unfold the parchment paper, and place it on top of the chilled dough. Weigh the parchment paper down against the tart dough with pie weights, or dry beans, or dry rice, or sugar. The parchment paper overhang should go over the edges to prevent the edges from browning too quickly.
- Bake in the preheated oven for about 20 minutes (about 15 minutes for mini tarts).
- Remove the tart from the oven, and carefully lift the parchment paper with the pie weights and set it aside.
- If you're baking the tart with a filling, this is where the filling would be used to fill the tart and then baked until the filling is set.
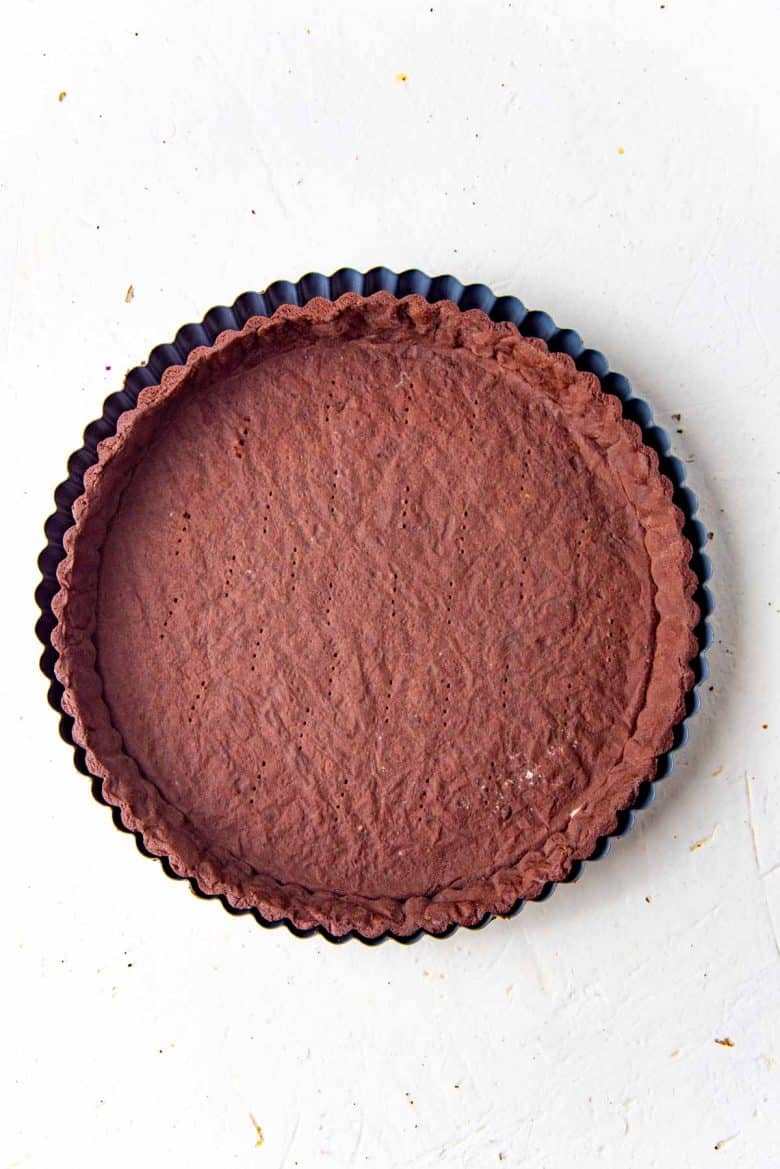
To completely bake the tart shell
- If necessary, dock the bottom of the pan again, and return the tart pan to the oven to bake until the crust isn't soft to the touch and has no spots that look wet / oily. This can take about 10 – 15 minutes. Be careful not to burn the crust.
- If you want to egg wash the tart shell, remove it from the oven 5 minutes before it’s done baking (when it’s a light golden color), and brush the entire surface and edges with an egg wash (whisked whole egg, or egg yolk + milk). Return it to the oven and bake for a further 5 minutes until the shell is golden brown and has a sheen.
- Remove from the oven and let it cool down slightly. When just cool enough to handle, remove the tart shell from the pan / ring, and let it cool completely to room temperature on a cooling wire rack.
Storage
- Store the unfilled tart shells in air-tight containers, at room temperature, for up to 1 week. If you like, you can brush the inside of the cooled tarts with melted and slightly cooled chocolate or cocoa butter.
- OR wrap the shells with plastic wrap, and at least 1 layer of foil, and place it in the freezer for up to 3 months.
Recipe Notes
Notes on using eggs
- Using all egg yolks in the pate sucree will result in a richer, better tasting tart crust. The dough is also more delicate, and less likely to become too tough due to the higher fat content.
- If you use whole eggs, measure the egg amount by first adding 2 egg yolks, and then adding enough egg whites to get 70 g (usually 1 large egg + 1 yolk).
- The tart will still be buttery if you use whole eggs. However due to the higher moisture content and less fat content, it’s more likely to develop gluten. So it’s important that you do not over handle the dough to prevent that.
Making mini tarts
- You can also make mini tarts with this dough. Roll out the dough and cut large enough circles that will fit inside the mini tart molds. Be careful not to stretch the dough over the molds.
- Use rice or sugar to blind bake the mini tarts.
- They will need to be baked for about 15 – 20 minutes with the pie weights, and a further 10 minutes without the pie weights, or until they turn golden brown in color.
Nutrition Information:
“This website provides approximate nutrition information for convenience and as a courtesy only. Nutrition data is gathered primarily from the USDA Food Composition Database, whenever available, or otherwise other online calculators.”


Leave a Reply