Soft, buttery and oh-so milky, with just the right amount of sweetness, and plenty of color – there’s a reason why kids love these Funfetti Cookies, and they are so popular during the holidays. These are also known as fairy cookies, and I make these with my easy sugar cookie recipe.
These funfetti cookies are always a crowd favorite!
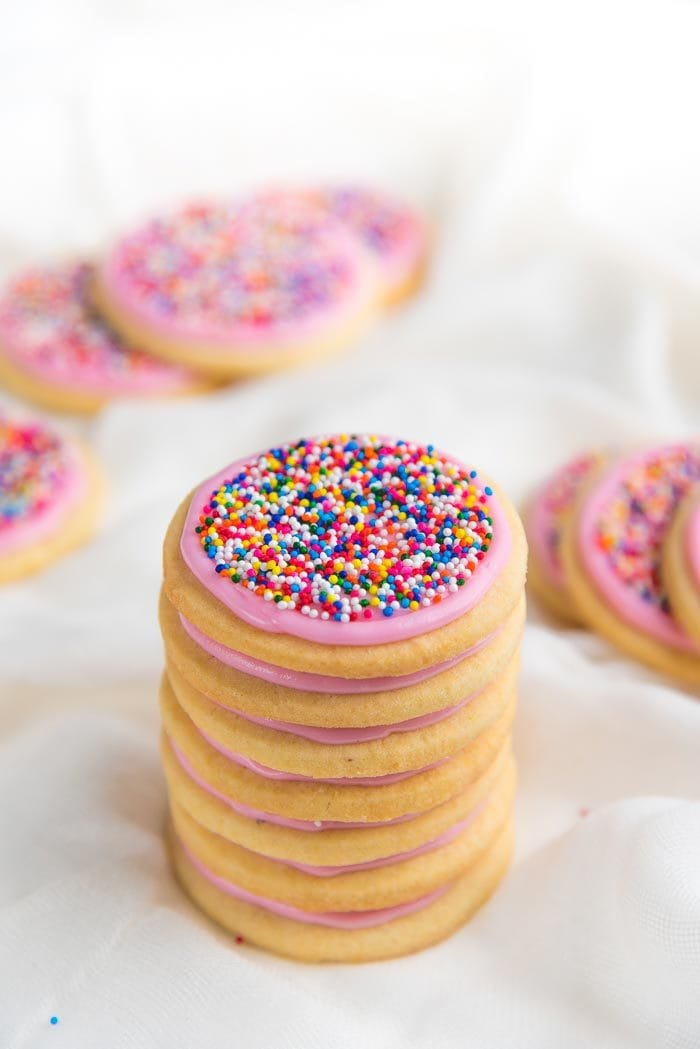
Today’s cookie recipe is near and dear to me. Growing up in New Zealand, these Funfetti Cookies (or Hundreds and Thousands Biscuits, as we used to call them in NZ), were a childhood favorite for most, but weirdly enough, I didn’t particularly enjoy them. It would take years and growing up into adulthood before I developed a soft spot for these funfetti cookies, and now I can’t get enough of them.
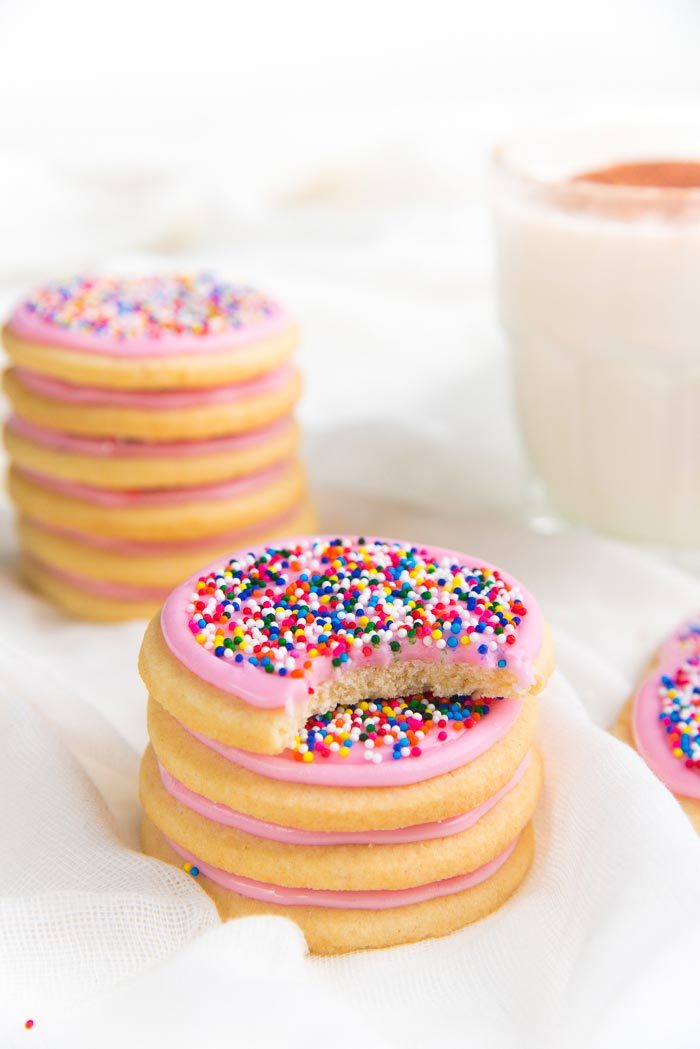
Deliciously soft, buttery and milky, these funfetti cookies (or fairy cookies) are such a fun recipe to make, eat and even gift during the holidays. They are great as Christmas cookies too.
In fact, I always pair these with my ginger cookies, classic linzer cookies, and both regular shortbread cookies and chocolate shortbread cookies when I make these for friends and family during the holidays. Plus, it’d be so much fun to make these funfetti cookies with kids.
I prefer making these cookies with my homemade roll and cut sugar cookie recipe (which is super easy), but you can easily substitute it with pre-made roll and cut cookie dough as well.
How to make funfetti cookies
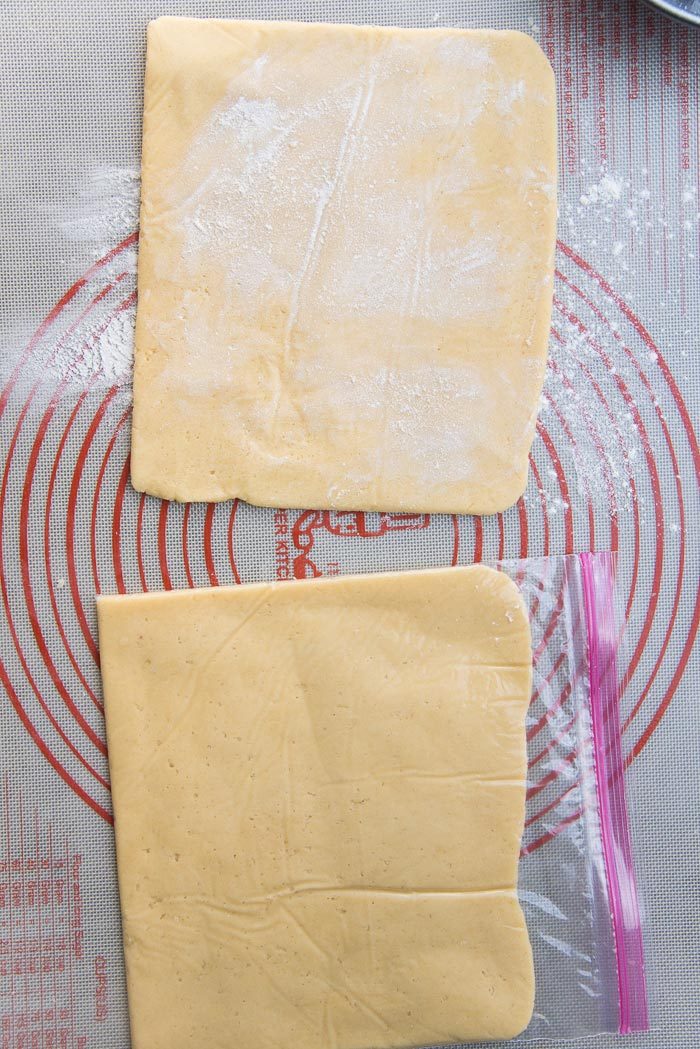
I use the ziploc bag trick (described in my classic shortbread cookies post here), which means I handle the dough very little while rolling it out, while also minimizing sticking and cookie shrinkage. I split the dough into two portions and roll out each portion in a square gallon-size ziploc bag.
Then I place these two ziploc bags on a half sheet pan and refrigerate them until needed, up to 3 days. Since it’s an air-tight bag, this prevents the dough from drying out or going bad quickly. Plus, when I’m ready to bake the funfetti cookies, all I have to do is cut the bag open and then cut out the sugar cookie shapes. The ziploc bag method is such a life-saver, and kids can easily get in on the action too! 🙂
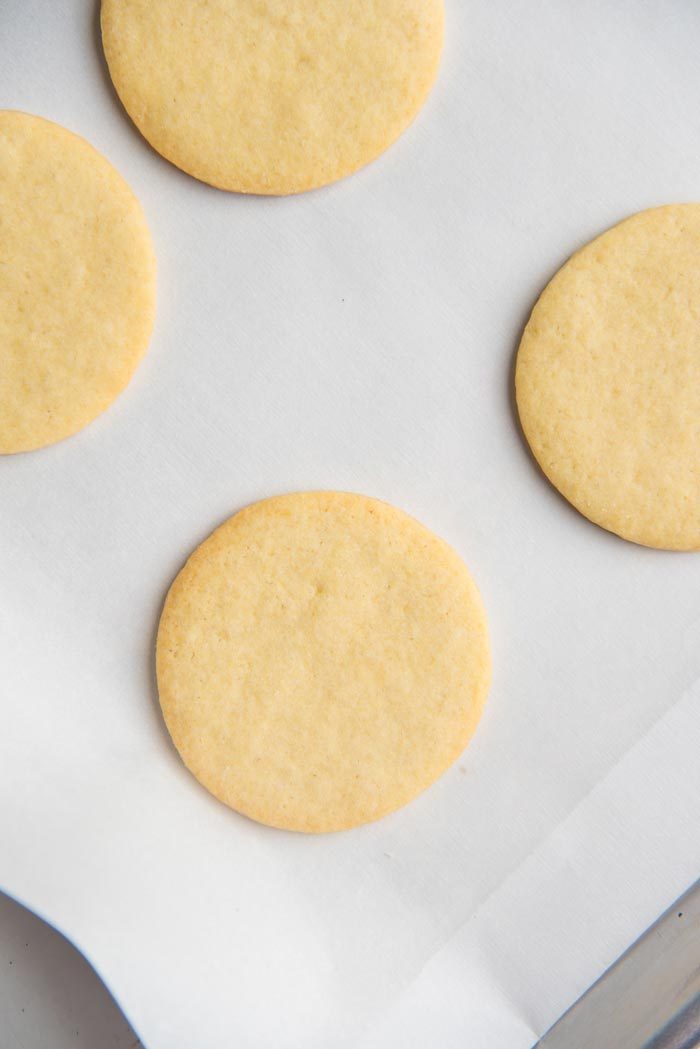
The chilled cookies are then baked to perfection, resulting in soft, slightly crumbly, incredibly buttery and milky cookies that are lightly browned on the bottom.
How to frost and decorate these funfetti cookies (hundreds and thousands biscuits)
The baked and cooled cookies are topped with a simple cookie frosting that’s made with confectioner’s sugar and milk. Then you shower them with hundreds and thousands sprinkles or RAINBOW NONPAREILS SPRINKLES!
You can use jimmies as well if you like, but rainbow nonpareil sprinkles are the classic type of sprinkles used to decorate funfetti cookies.
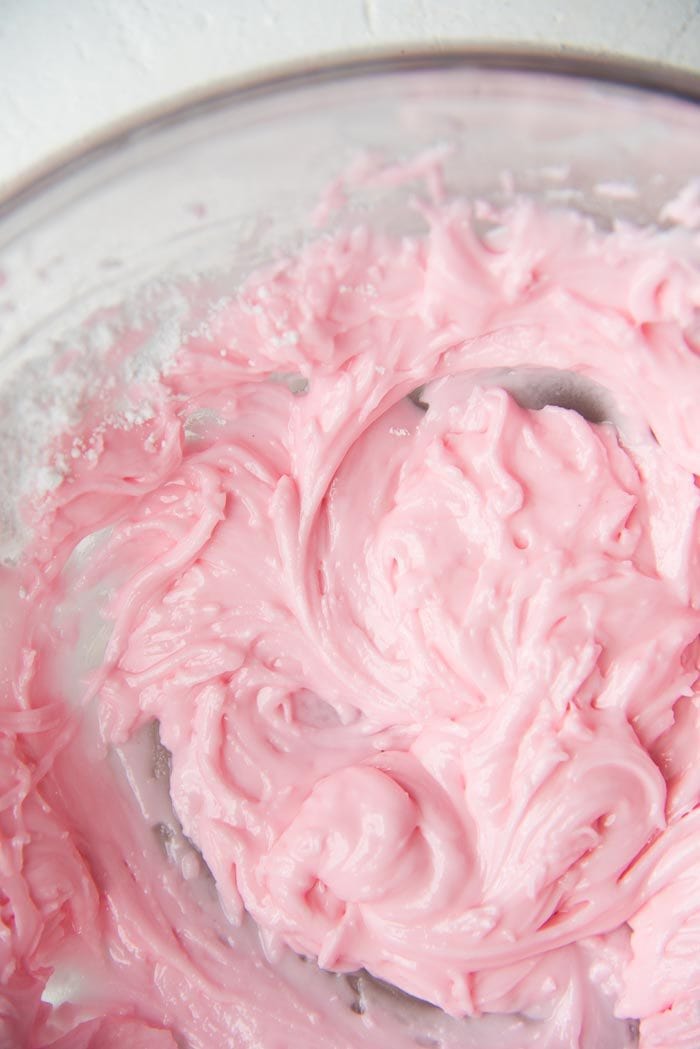
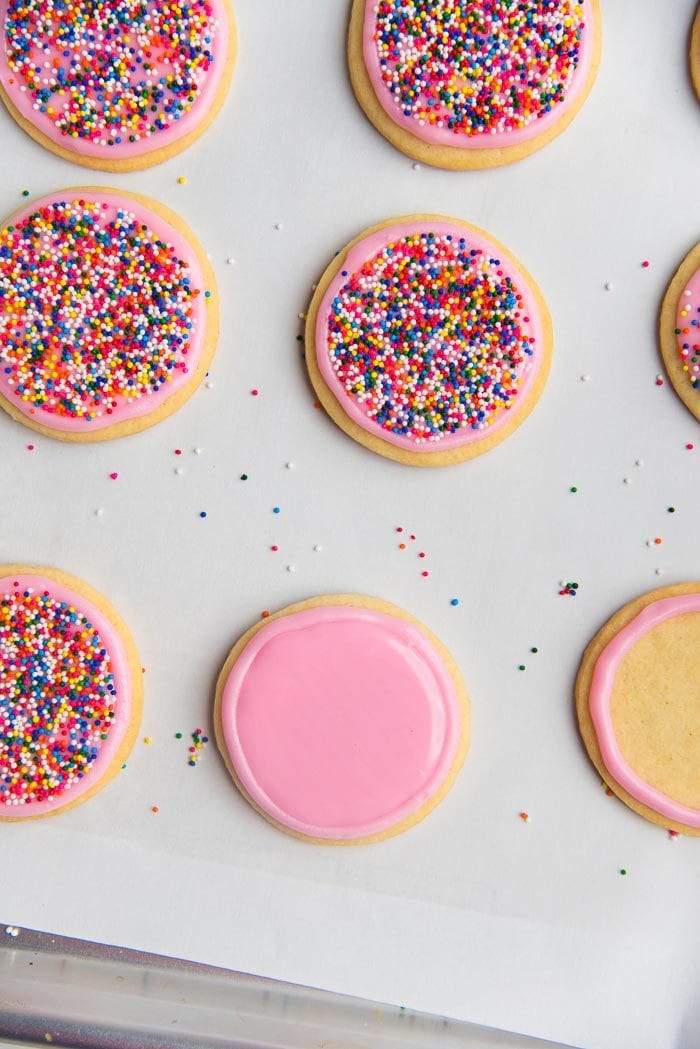


The sugar cookie frosting on these funfetti cookies is simple to make too.
It’s just confectioner’s sugar, milk and vanilla extract (with pink coloring to make pink frosting for a classic look). But you’re welcome to use any color you like. While I did use a round tip to neatly pipe the sugar cookie frosting on these funfetti cookies, you don’t need to use a frosting bag and nozzle at all. Just make sure the cookies are somewhat evenly coated on top with a layer of the cookie frosting.

I also don’t like to make the frosting consistency too thin, because…
- It’s easier to make the frosting stay in place if it’s not too thin (runny frosting spreads too thinly, and runs off the cookie as well),
- The cookies take too long to dry if the frosting is too thin (and I want to shove these cookies in my mouth as soon as I can!).
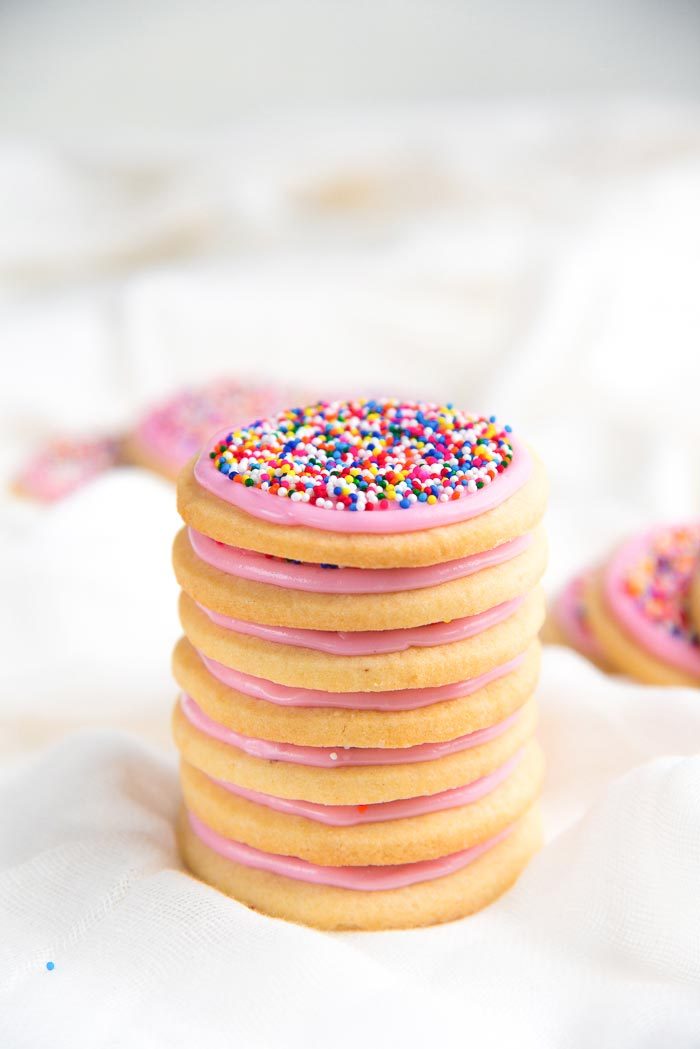
These funfetti cookies are absolutely addictive – not too soft, perfectly sweet, slightly crumbly, and taste just so milky and buttery! It’s like a glass of sweet, rich, vanilla milk, but in cookie form! And of course the sprinkles make them so colorful and add a nice, little crunch. No wonder kids go nuts for these funfetti cookies!
If you liked this funfetti cookies recipe (hundreds and thousands biscuits/fairy cookies), don’t forget to subscribe for new (and free) recipes by entering your email address on the side bar (and get all these recipes delivered straight to your inbox), so you don’t miss out on a thing. You can find me on FACEBOOK, TWITTER, INSTAGRAM, PINTEREST, YOU TUBE and GOOGLE-PLUS too.
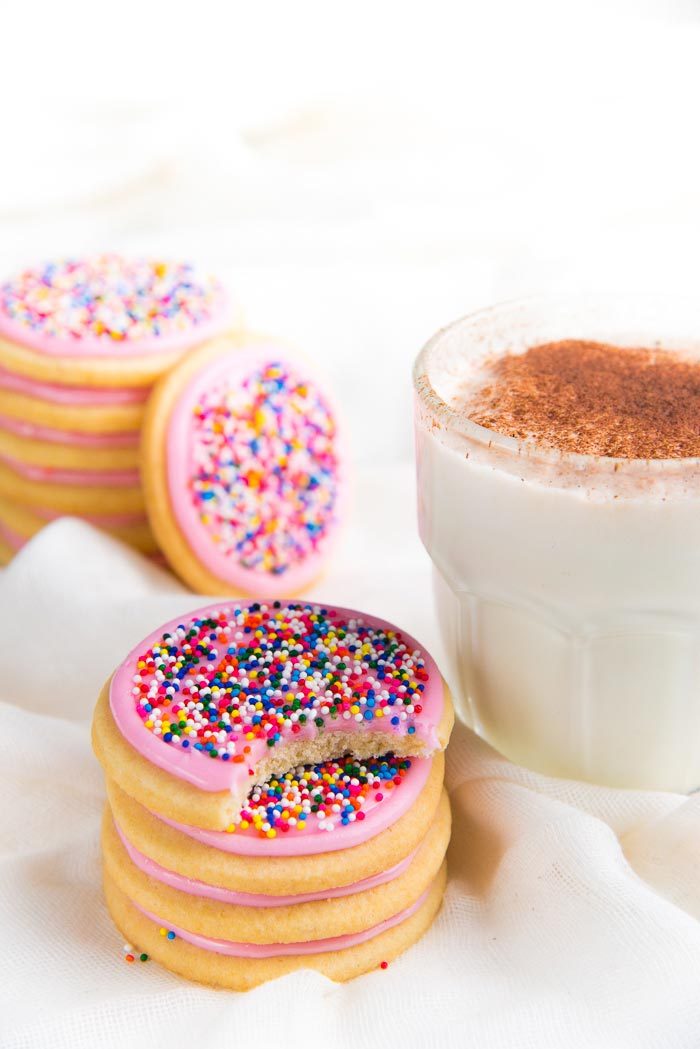
If you enjoyed these cookies, you may also like,
- Classic thumbprint cookies
- Classic shortbread cookies
- Espresso shortbread cookies
- Chocolate shortbread cookies
- Mexican wedding cookies (snowball cookies)
- Linzer cookies
- Melting moments cookies
Looking for more recipes?Sign up for my free recipe newsletter to get new recipes in your inbox each week! Find me sharing more inspiration on Pinterest and Instagram.
Funfetti Cookies (Hundreds and Thousands Biscuits)
Ingredients:
Sugar Cookie base
- 6 oz unsalted butter ¾ cup butter, softened
- ¼ tsp sea salt
- 5.3 oz caster sugar ¾ cup
- 1 large egg
- 1 tbsp good quality vanilla extract
- 9.8 oz AP flour 280 g (2 ¼ cups flour, spoon and leveled)
- 0.75 oz Skim milk powder 3 tbsp
- ½ tsp baking powder
Cookie Frosting
- 8 oz confectioner’s sugar sifted (about 2 cups)
- 2 tbsp corn syrup or agave syrup
- 2 tsp vanilla extract
- 2 – 4 tbsp milk
- A few drops of pink food coloring I use gel food coloring
- Rainbow nonpareils or hundreds and thousands sprinkles
Instructions:
Sugar Cookie Base
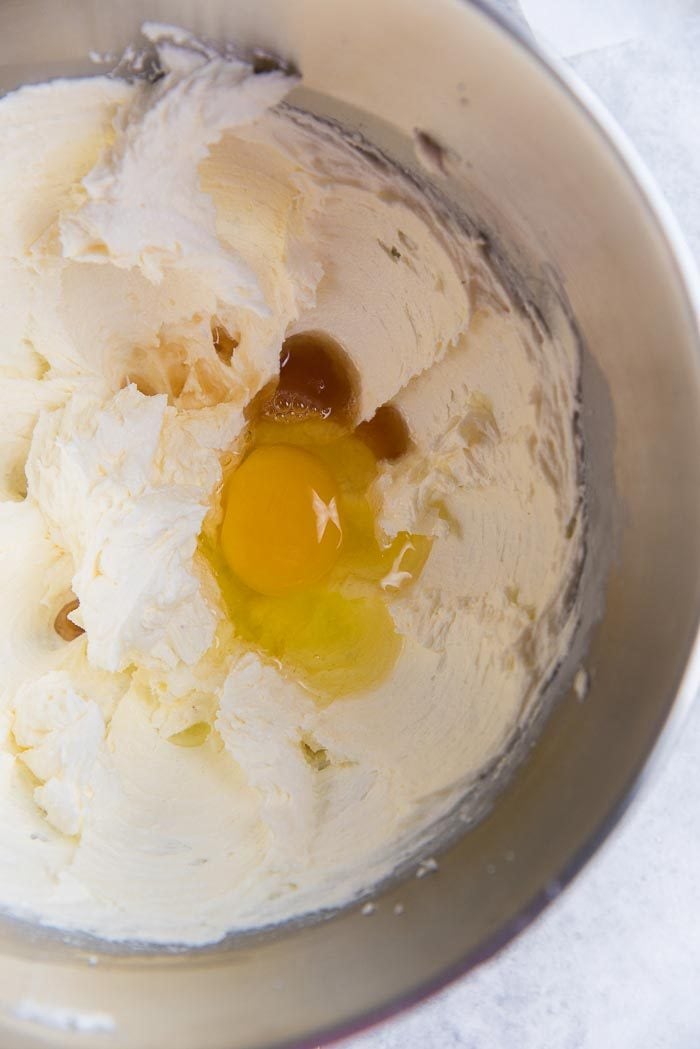
- Place the butter and salt in a bowl and mix for a few minutes until creamy and fluffy, on medium speed (with a hand-held mixer or stand mixer). Make sure to scrape down the sides of the bowl as well.
- Add the sugar and mix for a further few minutes on medium speed, until you have a light and fluffy butter-sugar mixture. This can take about a further 4 – 5 minutes. Scrape down the sides of the bowl again.
- Add the egg and vanilla, and mix on medium speed until the egg has mixed in with the dough – no more than 1 minute.
- In a separate bowl, sift the flour and baking powder together. Add the milk powder and mix.
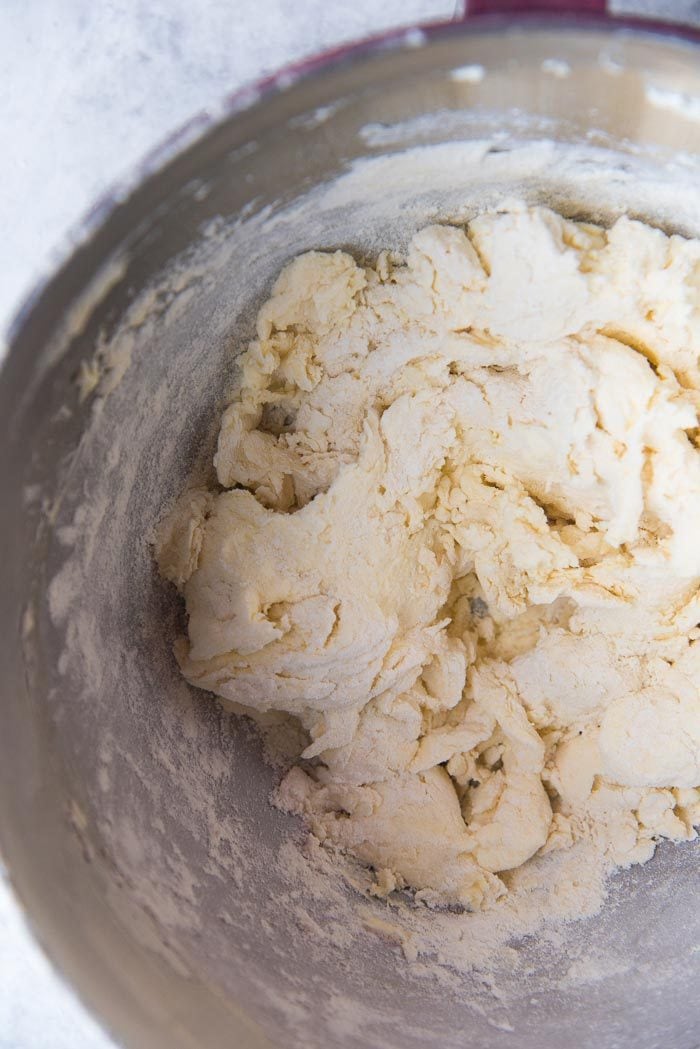
- Add the flour mix to the dough in 2 – 3 additions, while mixing on the lowest speed (or stir speed). Mix only until the flour is incorporated. DO NOT OVER-MIX as this can result in a tough cookie dough.
- Use your hands to bring the dough together to form a smooth cookie dough. The dough should be soft and a little sticky, but if it’s is too sticky, you can add up to 2 tbsp of flour.
- Split the dough into two equal portions and shape each portion into a disc.
- Place each disc of dough in a square gallon-size ziploc bag. Then roll out the dough to a 3/16 – 1/4 inch thickness (will be easier to do if the bag isn't closed). Once the dough has been rolled out, close the bag while making there are no trapped air pockets inside. You should end up with two rectangles that are 6 x 10 inches each.
- If you don’t have ziploc bags, then wrap the dough discs in plastic wrap and chill for a few minutes (about 15 – 30 minutes). Then roll out the dough between two pieces of parchment paper.
- Next, place the rolled out dough (that’s in a ziploc bag or between parchment paper), on a half sheet pan (or something flat), and transfer it to the fridge to chill.
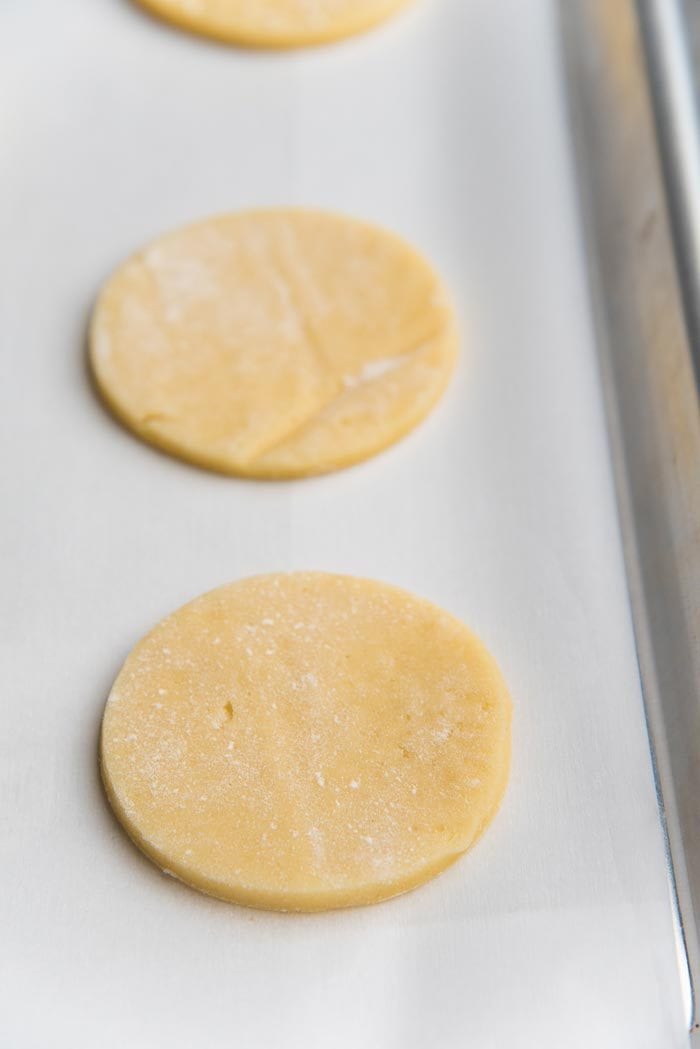
- Once the rolled out dough is chilled, place it on a flat surface that's lightly dusted with flour, and cut out round cookie. You can use scalloped round cookie cutters, or a simple cookie cutter. I used a 2.5 inch round cookie cutter here.
- Re-roll the scraps and cut more cookies. You should get about 28 – 30 cookies in total.
- Place the cut cookies on a parchment paper-lined half sheet pan and cover with plastic wrap. Chill in the fridge until the cookies are completely chilled. Once chilled, you can either store them for later in the freezer, or bake them right away. See recipe notes for freezing directions.
- Preheat oven 350°F. Line a half sheet pan (or cookie sheet) with parchment paper.
- Place the chilled cookies on the prepared sheet pan with about 1 – 1.5 inches of space between each cookie.
- Bake for 10 – 15 minutes, until the cookies are just very lightly colored on top and along the edges. This takes about 11 – 12 minutes for me.
- Remove from the oven and allow the cookies to cool for a few minutes and then transfer them onto a cookie rack to cool completely.
- Repeat with the rest of the cookies with a lined half sheet pan which is either at room temperature or chilled (don’t place chilled cookies on a warm pan as this will cause them to start melting and spread too much when baked).
- Store baked and cooled cookies in an air-tight container (or ziploc bag) until you’re ready to frost them.
Cookie Frosting
- Place the sifted confectioner’s sugar in a bowl and add the vanilla, corn syrup and about 2 tbsp of the milk. Mix together until you have a smooth frosting. Since the frosting will be really stiff, I prefer mixing it with a spoon or spatula.
- Add more milk to get the consistency you prefer. I like my frosting to be a little stiff but still pipeable/pourable. Add a few drops of pink gel food coloring and mix in to get a baby pink color.
- You can either place the frosting in a piping bag with a round tip, OR use a spoon to carefully spoon the frosting over the cookies.
- Carefully pipe/spoon the frosting on top of the cooled cookies. Gently shake the cookies to obscure any pour lines or piped lines. While the frosting is wet, generously sprinkle rainbow nonpareils over the frosting.
- Allow the frosting to set. The runnier the frosting, the longer it will take to set. Once the frosting is set, shake off the excess rainbow nonpareils.
- Place the cookies in an air-tight container. These funfetti cookies are best eaten within 4 – 5 days.
Tips & Tricks
- You can freeze the cookie dough for up to 2 months. Wrap it tightly with plastic wrap, and then foil, and keep it in an air-tight container or ziploc bag and transfer to the freezer. Then when you’re ready to cut out cookies, allow the dough to thaw at room temperature, and then roll out the dough and cut out cookies.
- Alternatively, once you’ve cut out cookies and they’ve been chilled, they can be placed in an air-tight ziploc bag and in the freezer for up to 2 months as well. Once ready to bake, place the frozen cookies in the oven and bake as per the recipe. The cookies may need a few extra minutes to bake properly.
- Baked and unfrosted cookies can also be frozen for later. Then allow the cookies to thaw at room temperature before frosting them.
Nutrition Information:
“This website provides approximate nutrition information for convenience and as a courtesy only. Nutrition data is gathered primarily from the USDA Food Composition Database, whenever available, or otherwise other online calculators.”



Sam Hamish says
Awesome recipe. Do you have a recipe without eggs in the sugar cookie?
Dini says
Hi Sam
You can make the sugar cookie without the egg! The egg acts as a binder to bind the dough together.
You can substitute this with some milk if you like. Usually it’s about 1/4 cup of milk per egg, but it can vary. So I recommend starting with 2 tbsp of milk and then adding more if needed to bring the dough together.
I hope that helps!
Kayla says
Delicious! These were so so milky and buttery.
Olivia Curmi says
Can this be done without the skim milk powder?
Dini says
Hi Olivia
Yes! Absolutely it can be made without the milk powder too 🙂