


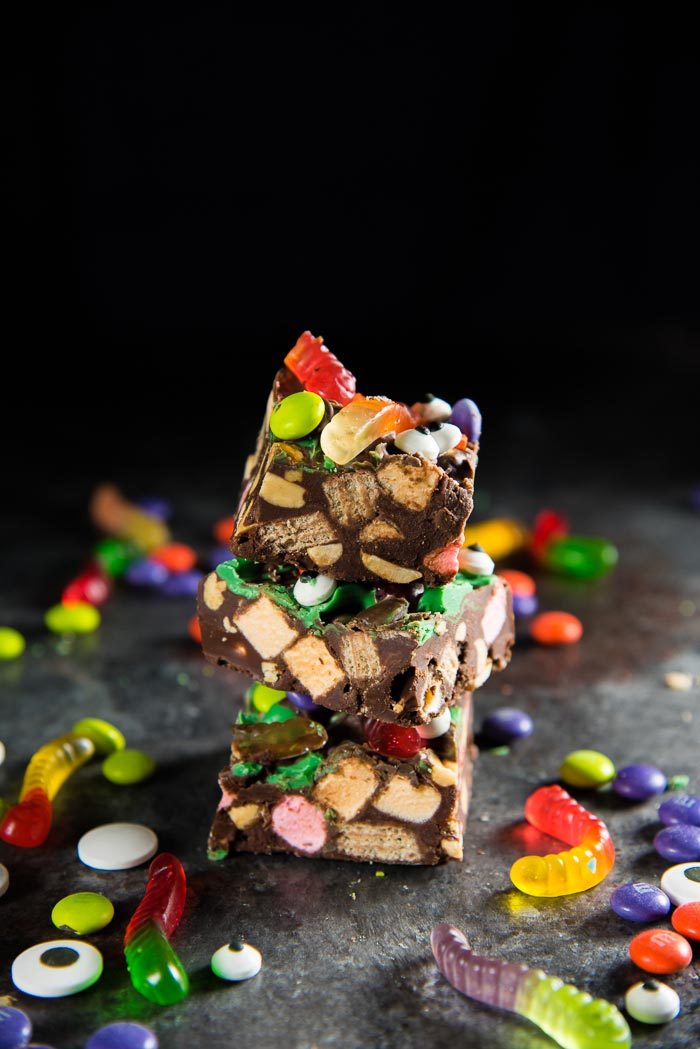
These addictively delicious Halloween Rocky Road Slices are chock-full of crunchy, soft, chewy, gooey sweet goodies that make them the perfect cute Halloween treat for trick-or-treaters.
These Halloween rocky road slices also double up as easy, no bake Halloween desserts to enjoy at home.
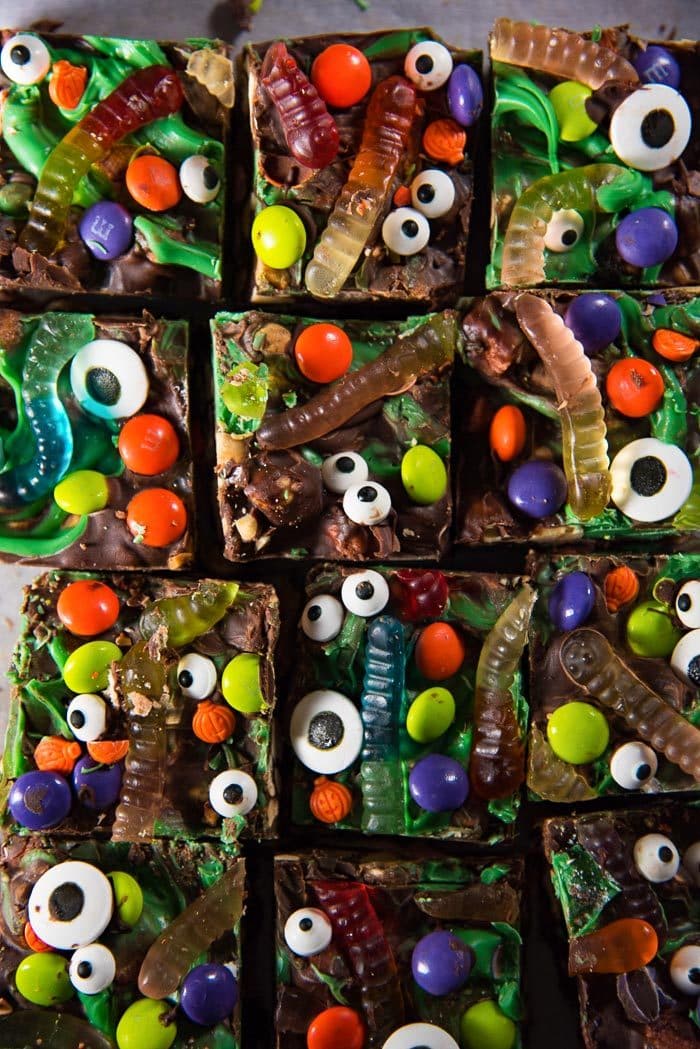
How adorable are these Halloween Rocky Road Slices? They are unbelievably delicious – without being sickly sweet, fun and spooky, and better yet, incredibly simple to make. The recipe is also very adaptable, you can throw in any type of candy you like, or leave out whatever you don’t like.
Have you guys heard of Rocky Road Slices before? Every geographical regions has a slightly different version of rocky road, but two things are common with all of these versions.
- Marshmallow
- Chocolate
This is the basic canvas on which rocky road squares or slices are built. In New Zealand and Australia, rocky road slices typically include,
- Chocolate
- Marshmallows
- Raspberry marshmallows (pink marshmallows)
- Peanuts (or other kinds of nuts like hazelnut or macadamia)
- Jelly lollies
- Clinkers
- Glace cherries
- Desiccated coconut
- Turkish delight
So yeah, that’s pretty much everything but the kitchen sink.
British rocky road squares typically contain,
- Chocolate
- Marshmallow
- Glace cherries
- Raisins
- Crushed biscuits/cookies (like digestives)
In the US, rocky road slices usually only have,
- Chocolate
- Marshmallows
- Peanuts (or other nuts)
Having grown up with the NZ/OZ version of rocky road squares, it’s no surprise that I’m partial to this version (the fact that they are packed with so many sweet goodies doesn’t hurt either). Here, I’m giving these classic candy treats a decidedly Halloween makeover! These are no bake, kid friendly, cute Halloween treats perfect as Halloween desserts to enjoy at home, or to give out to the little trick-or-treaters who’d come knocking on your door.
These cute Halloween treats differ from classic rocky road slices in a few other ways too.
- Classic rocky road slices are made with melted chocolate that has been tempered. These Halloween rocky road slices however, are made with chocolate chips melted with butter. This makes the whole process easier, without having to temper chocolate.
- Rocky road slices aren’t usually “decorated”. But these goodies are earmarked for HALLOWEEN! So why not? 🙂
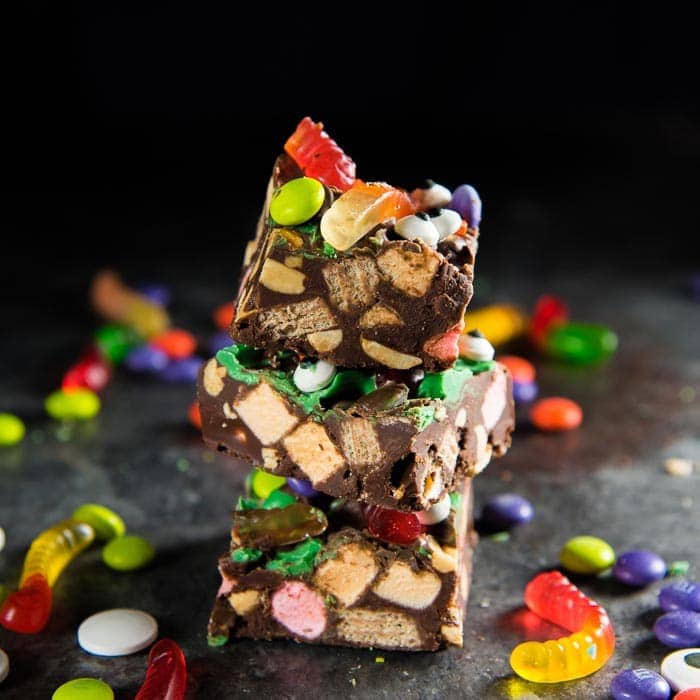
- Classic rocky road slices use larger marshmallows, but I used mini marshmallows for this recipe.
The great thing about these Halloween desserts is that they are very adaptable. For example, if you don’t like peanuts in your Halloween rocky road slices (or want to leave them out for allergy reason), you can remove the peanuts entirely from the recipe, OR substitute them with puffed rice instead.
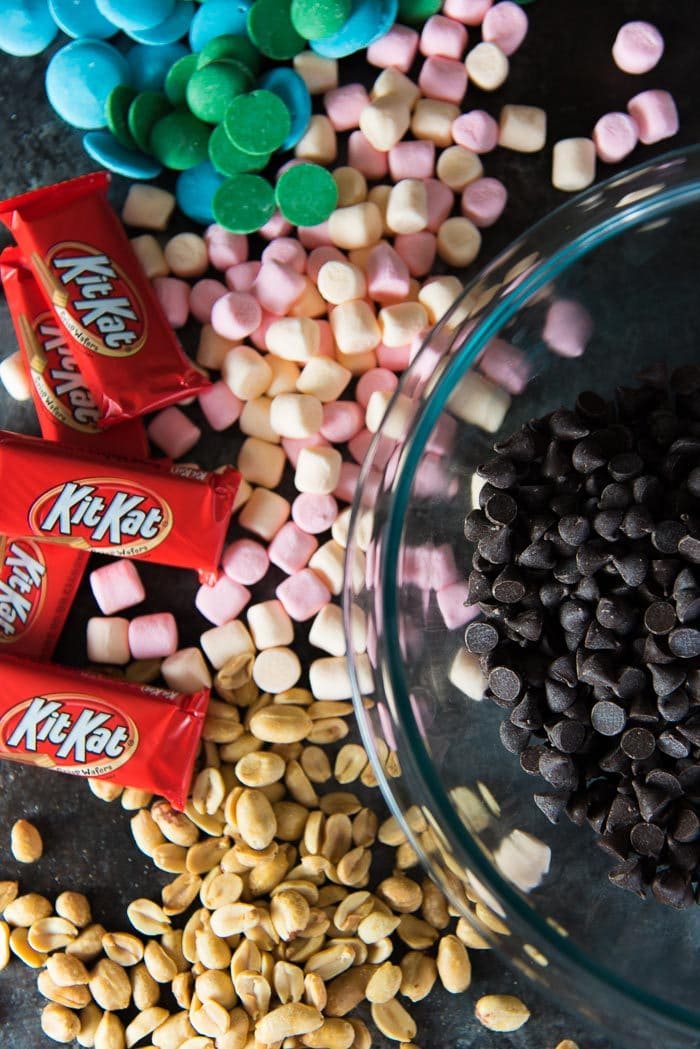
This Halloween rocky road is an amped up version of regular rocky road (which contains chocolate, marshmallow and peanuts). In addition, these also have,
- Candy bars (I used Halloween M&Ms and Kit Kats)
- Gummy worms
- Halloween sprinkles
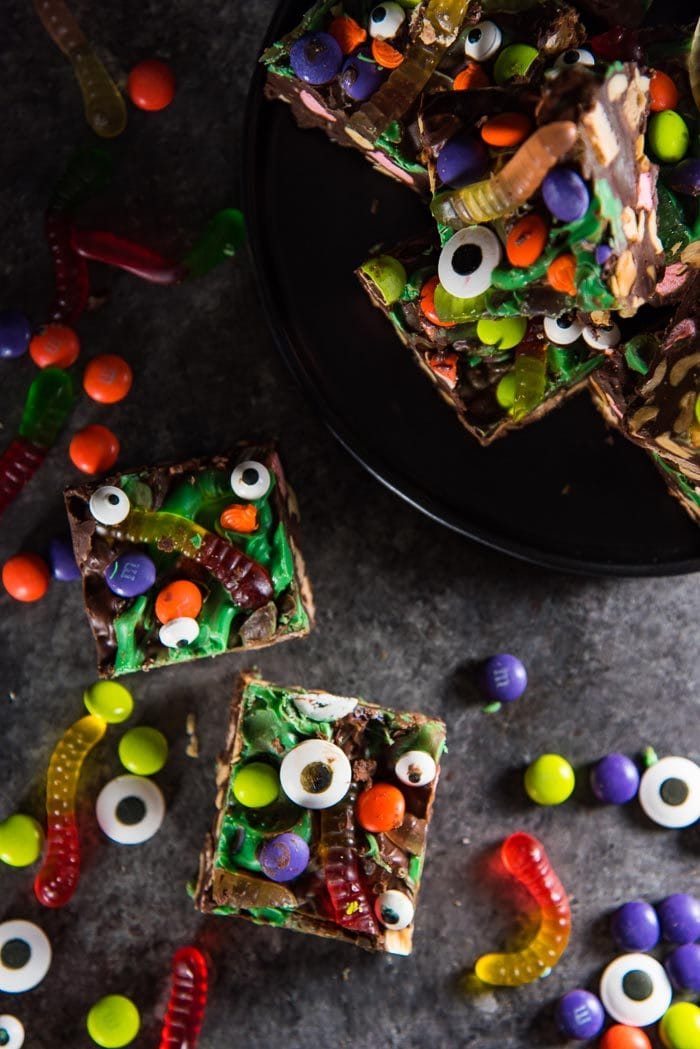
- Candy eyes (to give them a Halloween-appropriate spooky look)
- Colored chocolate
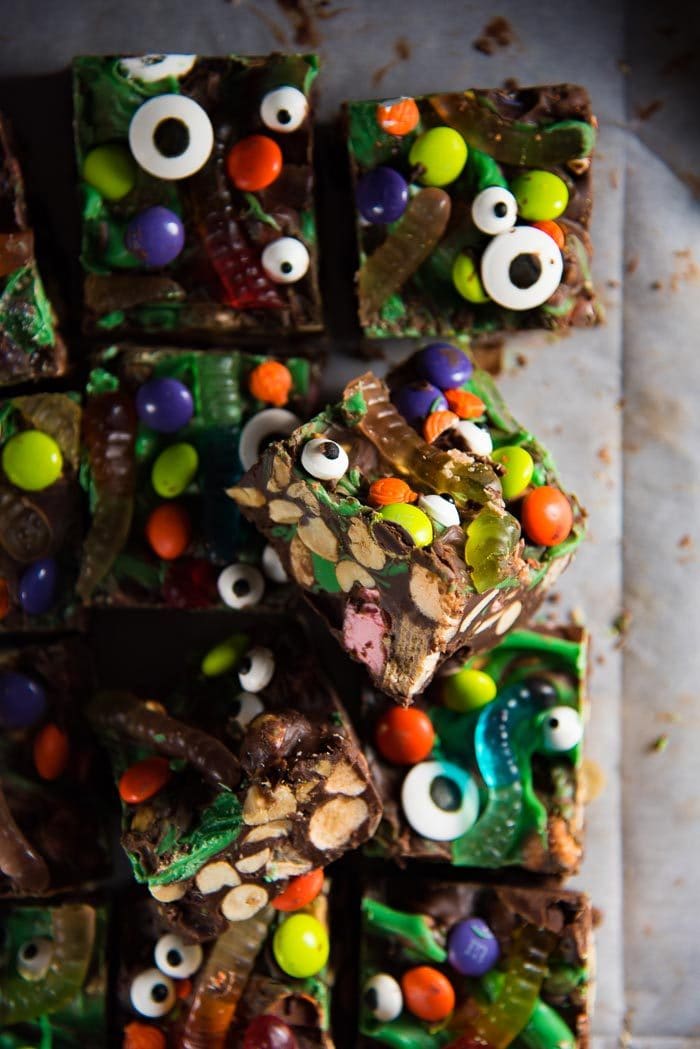
These Halloween deserts are also a great way to use up leftover Halloween candy. The Kit Kat bars, M&Ms and peanuts add plenty of crunch to these rocky road slices, the marshmallows are melt-in-your-mouth soft, while the colorful gummy worms are chewy and tangy. These are an explosion of flavors and textures that kids will go nuts for! The M&Ms and gummy worms also add a lot of contrasting colors that I thought were perfect for these cute Halloween treats.
Here are some tips on making these Halloween Rocky Road Slices.
- After you’ve melted the chocolate and butter mixture, make sure the chocolate isn’t too hot when you’re adding the ingredients.
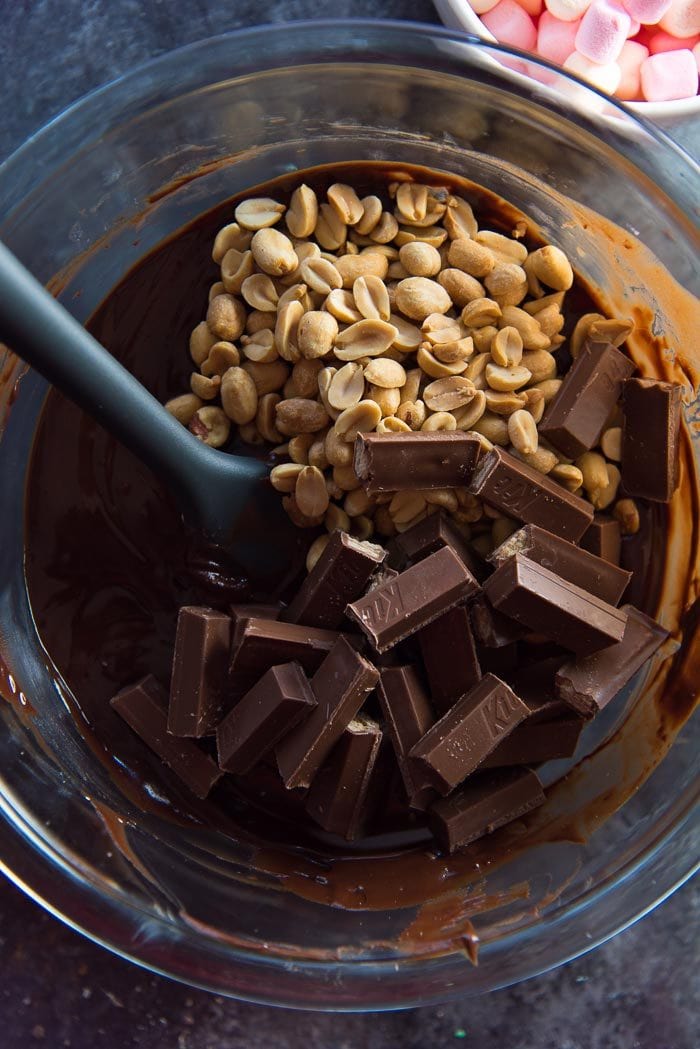
- First add the peanuts. You can use roasted peanuts, or roasted and salted peanuts. Either works well for this recipe.
- You can add the candy bars next (just remember that the chocolate coating of your candy bars will melt in the chocolate butter mix).
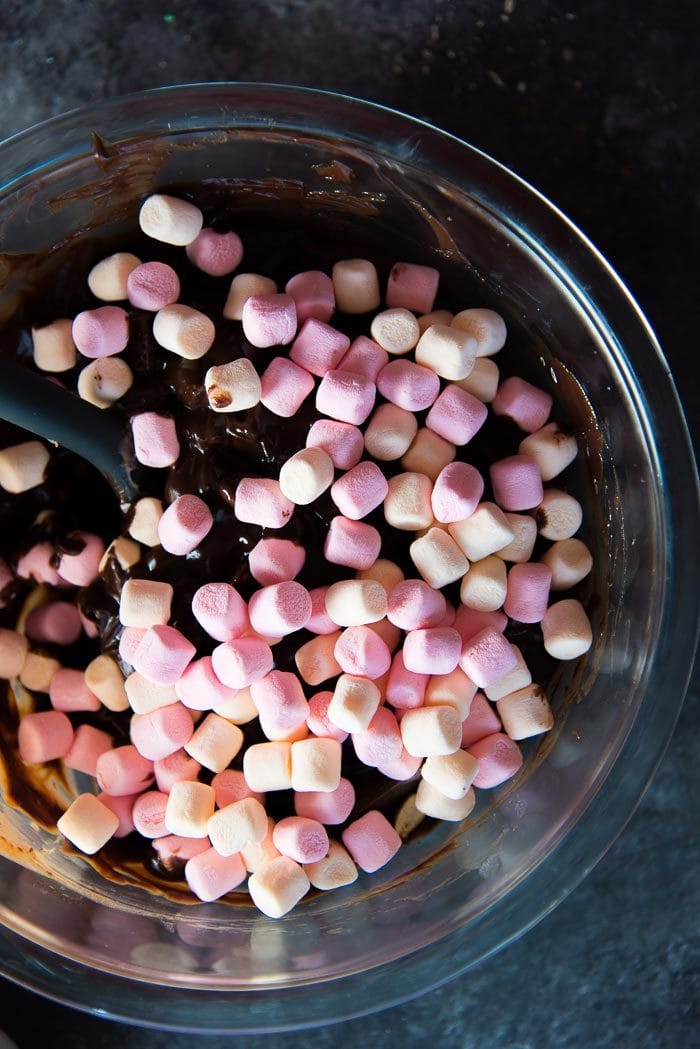
- Add the marshmallows last when the chocolate is at its coolest. This prevents the marshmallows from melting into the chocolate.
If you liked this Halloween rocky road slices recipe (Halloween desserts recipe), don’t forget to subscribe for new (and free) recipes by entering your email address on the side bar (and get all these recipes delivered straight to your inbox), so you don’t miss out on a thing. You can find me on FACEBOOK, TWITTER, INSTAGRAM, PINTEREST, YOU TUBE and GOOGLE-PLUS too.
Recipe
Halloween Rocky Road Slices
US based cup, teaspoon, tablespoon measurements. Weight measurements are recommended for accurate results whenever available.
Common Measurement ConversionsIngredients:
Chocolate Base
- 340 g semi-sweet chocolate chips 2¼ cups
- 170 g of butter ¾ cup, 1½ sticks
- Generous pinch of salt
Additions to the Rocky Road Slices
- 150 g roasted peanuts about 1¼ cups
- 75 g mini marshmallows about 1½ cups. I used mini pink and orange marshmallows, but vanilla is fine too.
- 10 mini kit kat bars or 5 regular kit kat bars, you can use other candy bars too.
- 115 g candy melts, in each color about 1 cup each. in purple or green or orange – don’t use more than 2 colors.
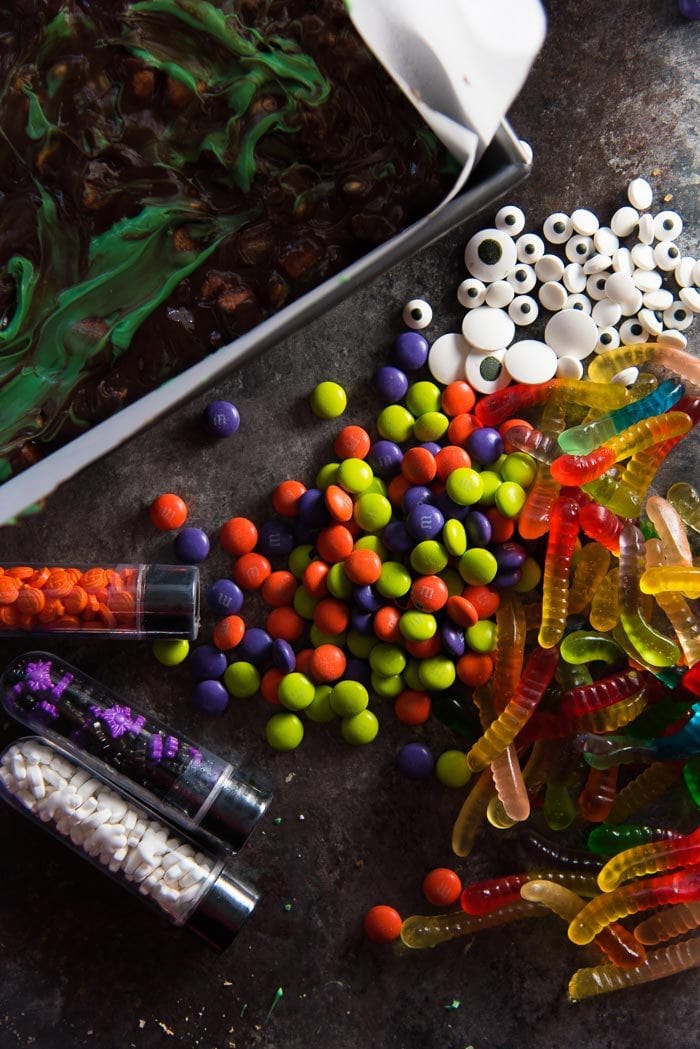
To decorate Rocky Road Slices, use as much or as little as you like
- Gummy worms regular or sour
- M&M candy Ghoul mix
- Candy eyes a mix of small and large eyes
- Halloween sprinkles
- Extra melted semi-sweet chocolate
Instructions:
Chocolate Base
- Line an 8 inch or 9 inch square pan with parchment paper. (8 inch pan for thicker slices, and 9 inch for thinner slices). Set aside.
- In a large bowl, place the butter, chocolate chips and salt.340 g semi-sweet chocolate chips, 170 g of butter, Generous pinch of salt
- Microwave in 30 second intervals, while stirring in between, until the chocolate chips have completely melted.
Additions to the Rocky Road Slices
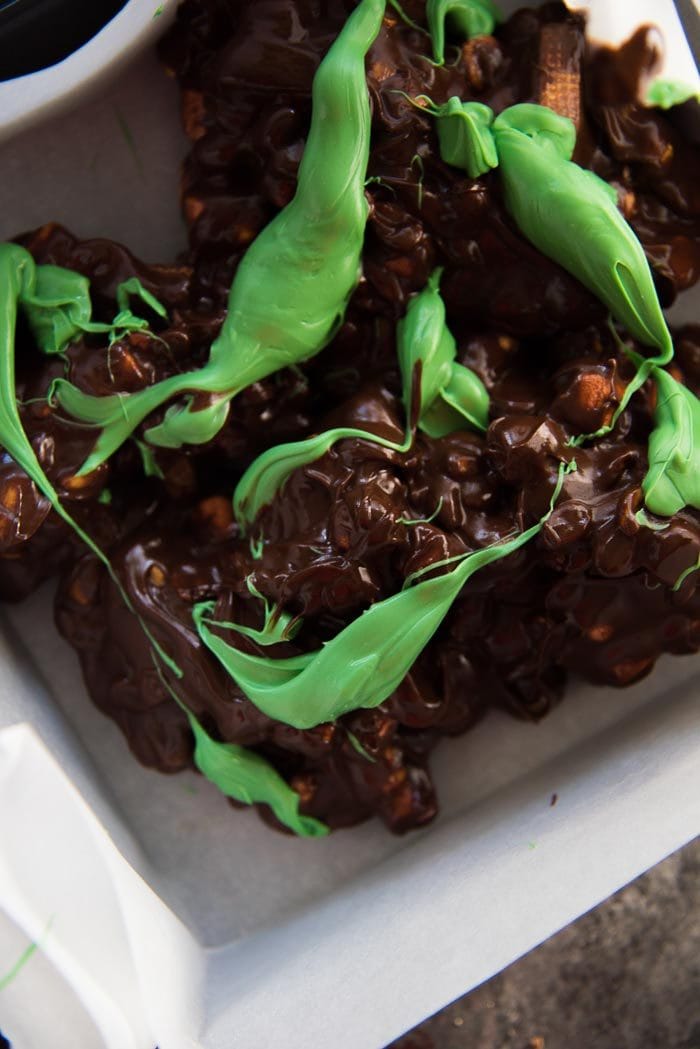
- Melt the candy melts in the microwave in separate bowls (if you’re using different colors), in 20 – 30 second intervals, while stirring in between, until completely melted and smooth. Set aside.115 g candy melts, in each color
- Cut the kit kat bars into pieces (I cut each wafer in half), and set aside. Cut other candy bars you use into similar sized pieces as well.10 mini kit kat bars
- Wait for the chocolate base to cool down slightly. Add the peanuts and chocolate candy bars and stir them through. The chocolate coating of the candy bars will melt, and that’s OK.150 g roasted peanuts, 10 mini kit kat bars
- Add the marshmallows last, to prevent them from melting in the warm chocolate. Mix the marshmallows into the chocolate.75 g mini marshmallows
- Scrape the rocky road mix into the prepared pan, along with dollops of the melted candy melts. Swirl and distribute the rocky road base evenly in the pan. Gently press in the mixture with an offset spatula to make sure it fills evenly and spreads to the edges of the pan.115 g candy melts, in each color
- Decorating the Halloween rocky road slices (see below) should be done while the chocolate mixture is still wet, so that the candies stick to the surface.
Decorating Rocky Road Slices
- Before decorating the surface, I recommend that you use the tip of a knife to mark where you’ll be cutting the slices. You can cut this into 5 x 5 (25) pieces, or 4 x 4 (16) pieces. This is so that you know where NOT to place M&Ms and candy eyes (the gummy worms cut through easily).
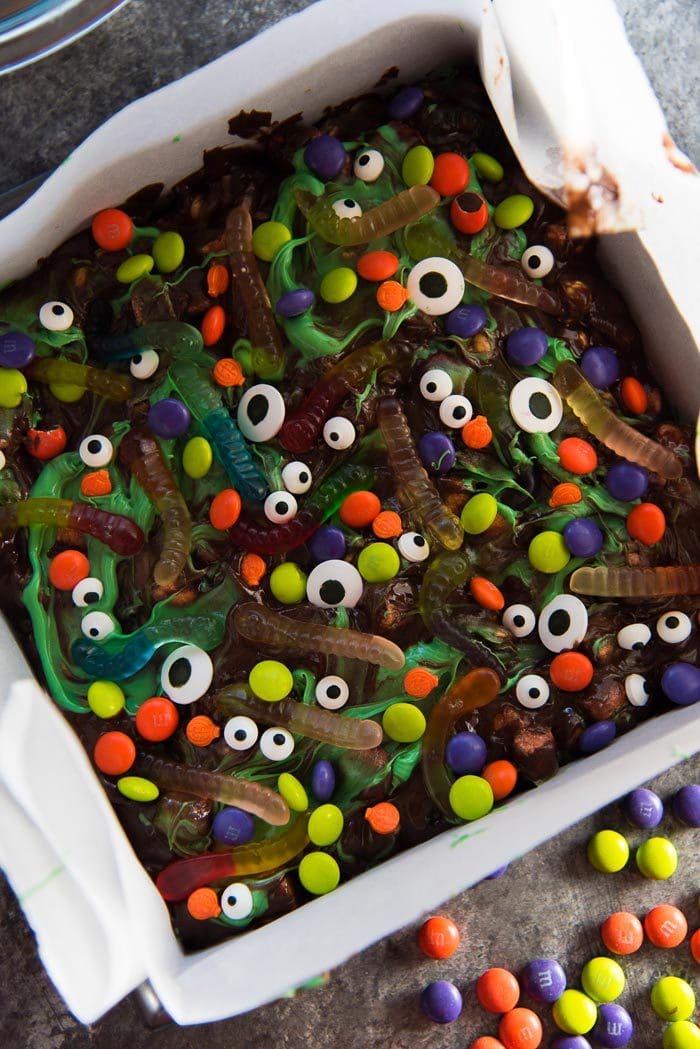
- Place gummy worms wherever you like on the surface. Gently press them in to make sure that they stick to the surface.Gummy worms
- Next, place the Ghoul M&Ms and candy eyes between the gummy worms. Make sure to avoid the cut lines that you’ve marked, so that you don’t have to cut through these when serving these slices. Use Halloween sprinkles to further decorate the surface.M&M candy, Halloween sprinkles, Candy eyes
- You can use a little bit of melted chocolate to help stick all the candy to the surface if you like.Extra melted semi-sweet chocolate
- Refrigerate the pan until the chocolate is completely set (I refrigerate it overnight).
- Next day, remove the rocky road from the pan and cut with a sharp knife along the cut lines that you have already marked. (Warm the knife in hot water to help with cutting, if needed).
- Store rocky road slices in the fridge in an airtight container. Serve as needed.
Nutrition Information:
“This website provides approximate nutrition information for convenience and as a courtesy only. Nutrition data is gathered primarily from the USDA Food Composition Database, whenever available, or otherwise other online calculators.”


Leave a Reply