


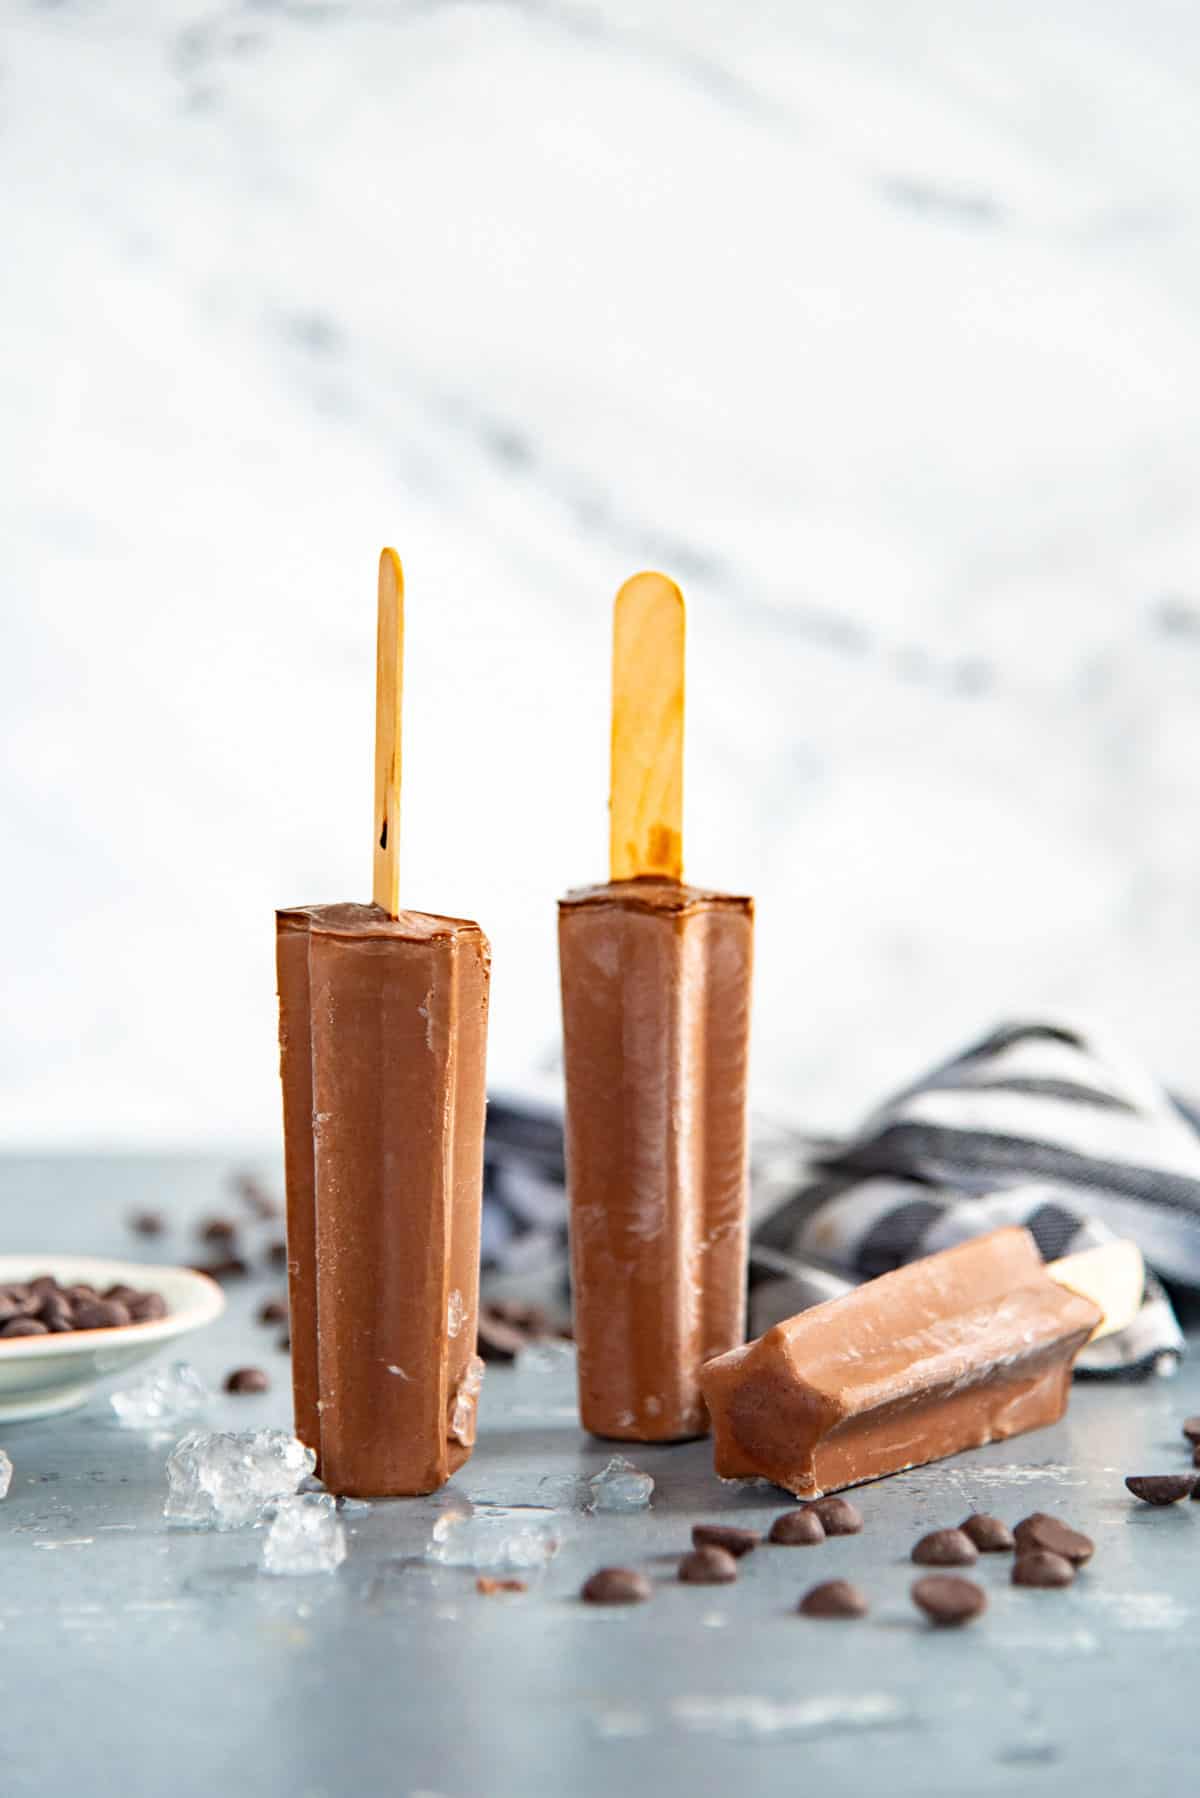
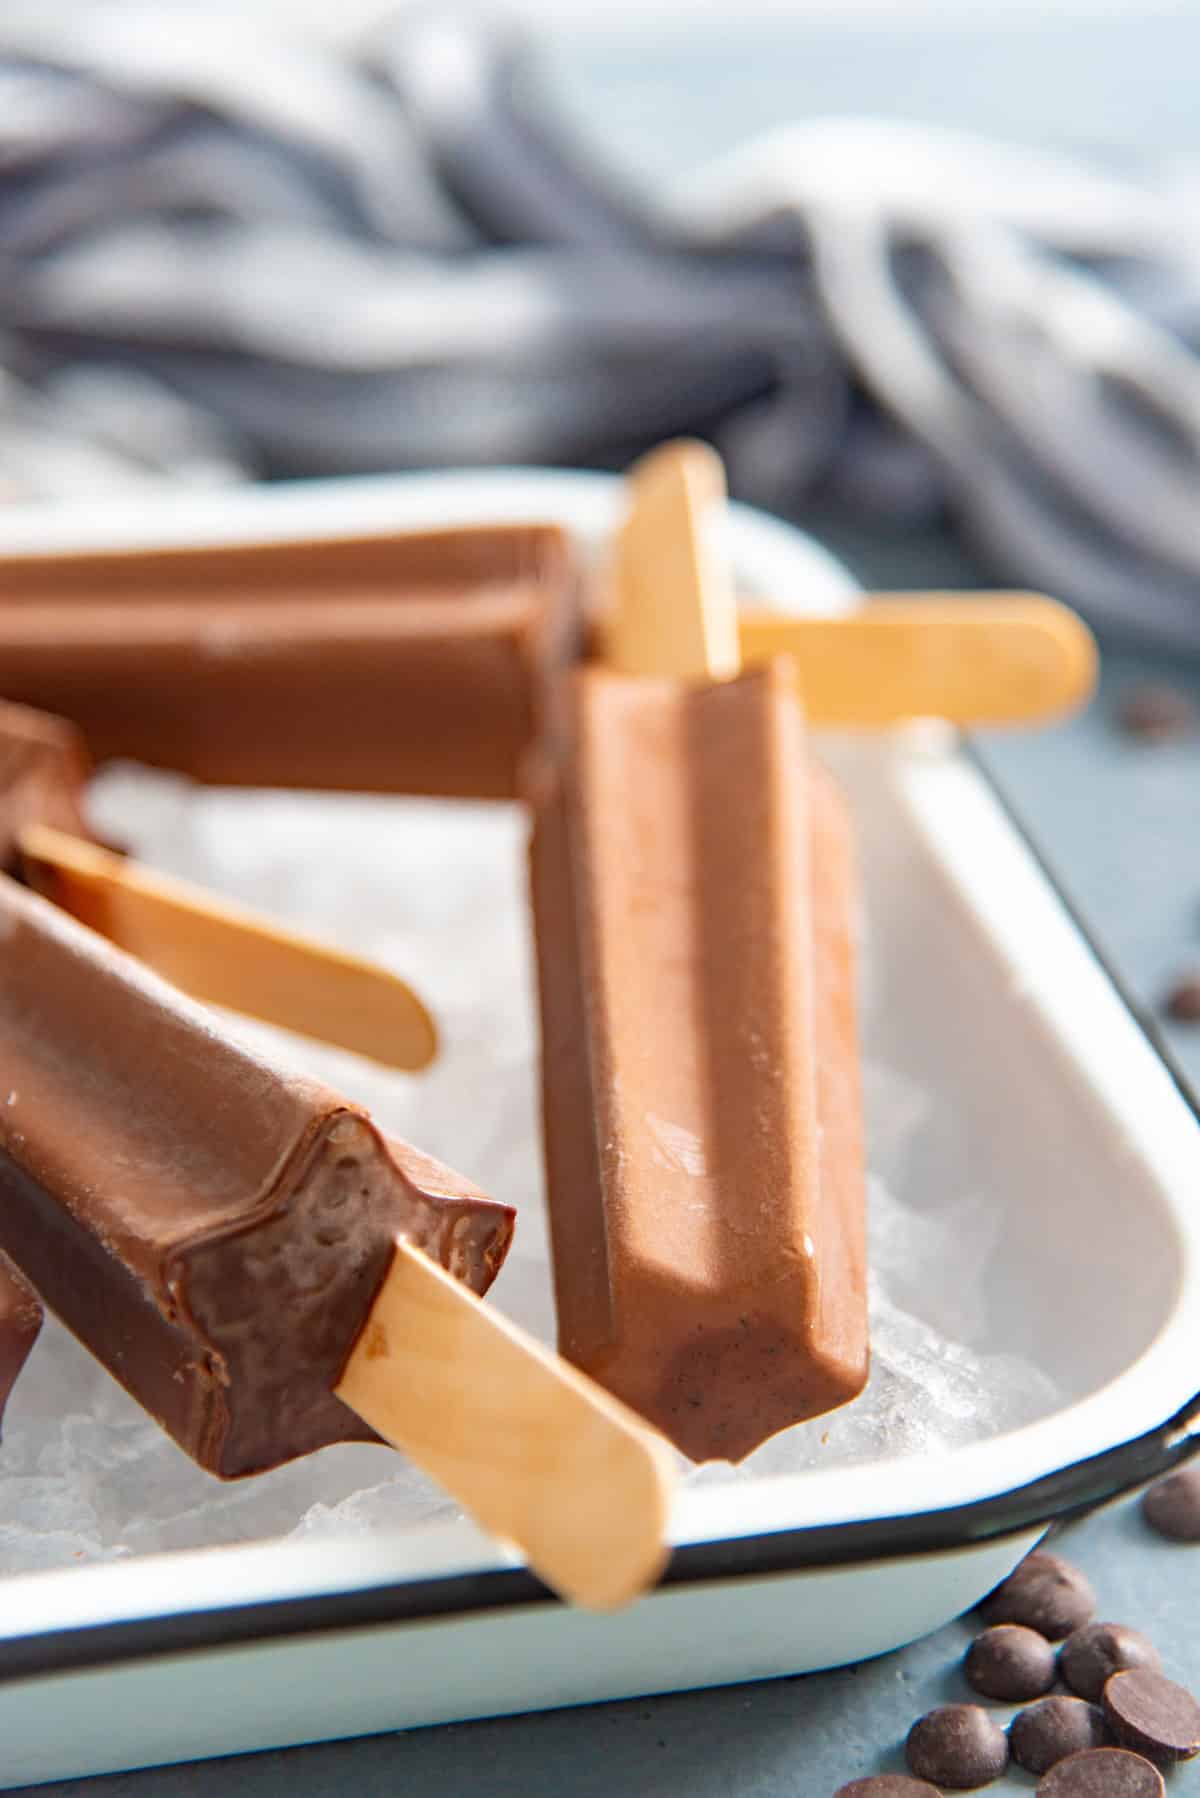
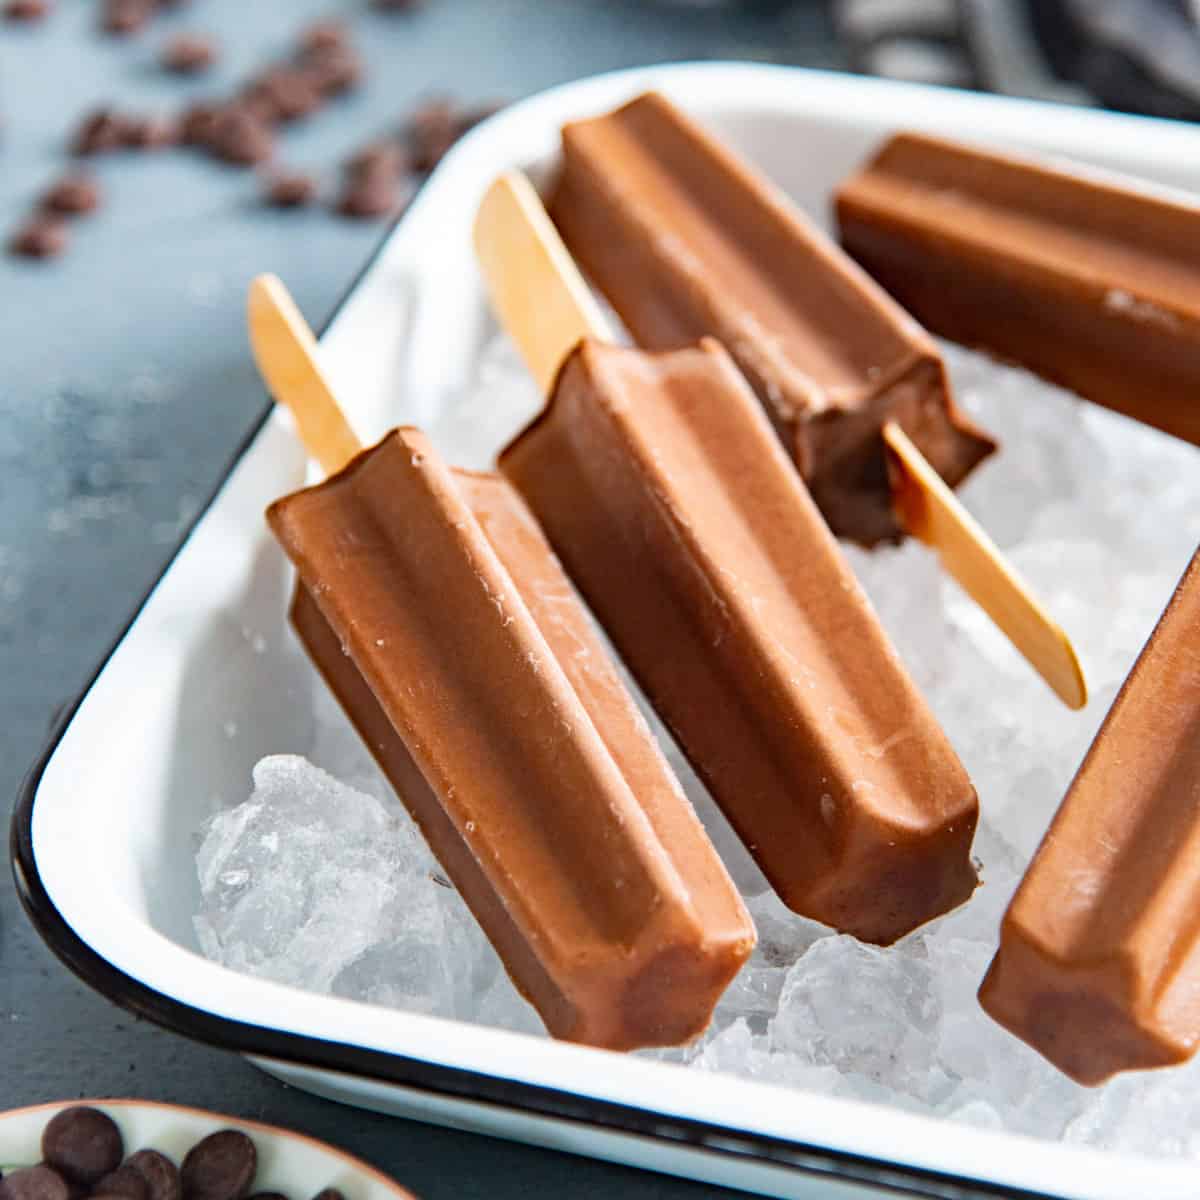
The creamiest, most deeply chocolatey homemade fudgesicles you’ll ever make! I use Dutch cocoa powder in addition to bittersweet chocolate for a thick, rich, luscious texture and fudgy taste! And the heavy cream makes these melt-in-your-mouth creamy.
If you’re looking for fudgesicles that are much less icy, creamier, and richly flavored than store-bought fudge pops, you’ll LOVE this recipe!
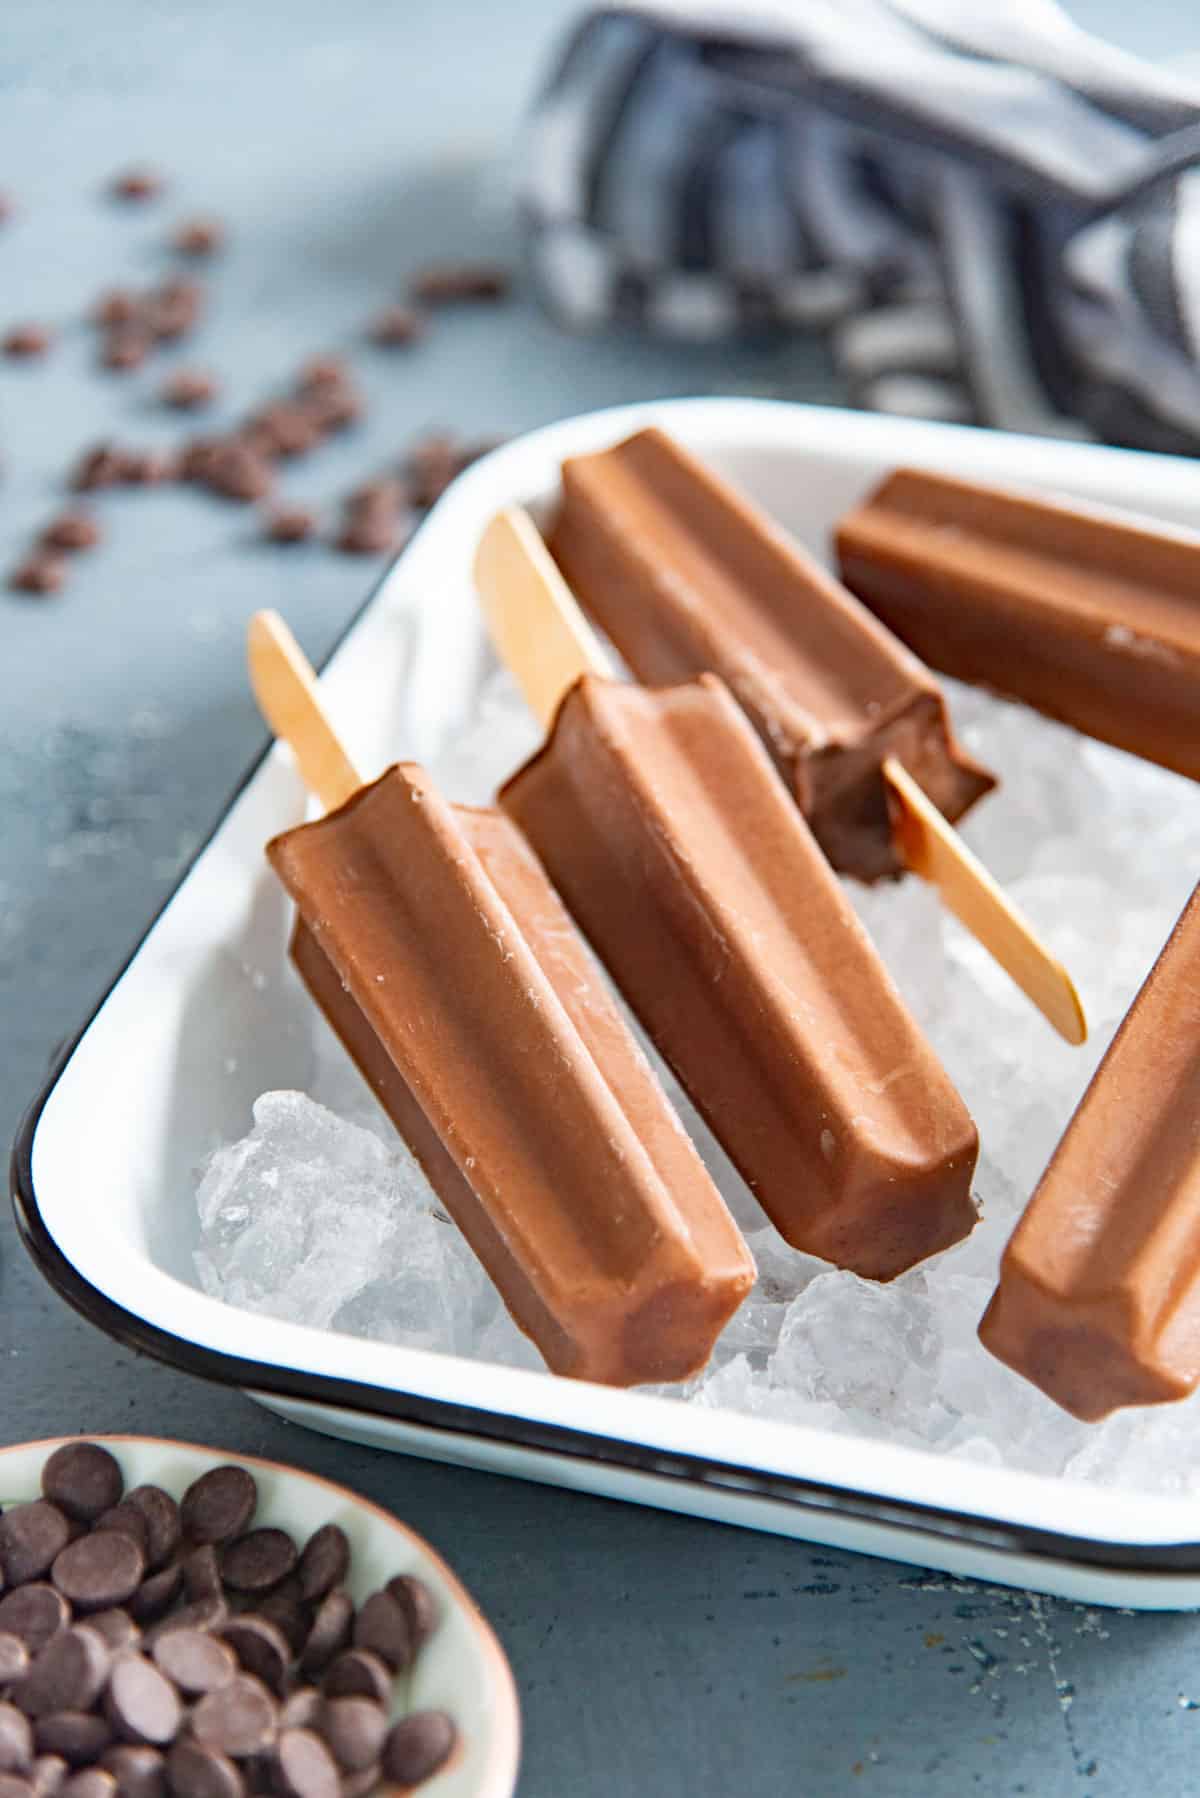
Fudgesicles are such a nostalgic treat for both my sister and I. Except, the fudgesicles we grew up eating were almost like an ice cream bar. So, inspired by that, I make these fudgesicle creamier than store-bought, with a deeper, smooth, bittersweet chocolate flavor!
After all, these are such a kid-friendly frozen summer treat, and no kid ever said no to more chocolate! Or fudge pops that taste even creamier than anything from the store!
Why this recipe works

- Super easy frozen chocolate treat.
- These have a deeper chocolate flavor that gives them a richer texture and taste!
- These fudge pops also have a creamy, melt-in-your-mouth texture, AND they don’t drip everywhere as they melt either.
- Simple ingredients, and you can adapt the recipe to make these vegan as well.
- Delicious summer treat for kids, adults, and all the chocolate lovers in your life!
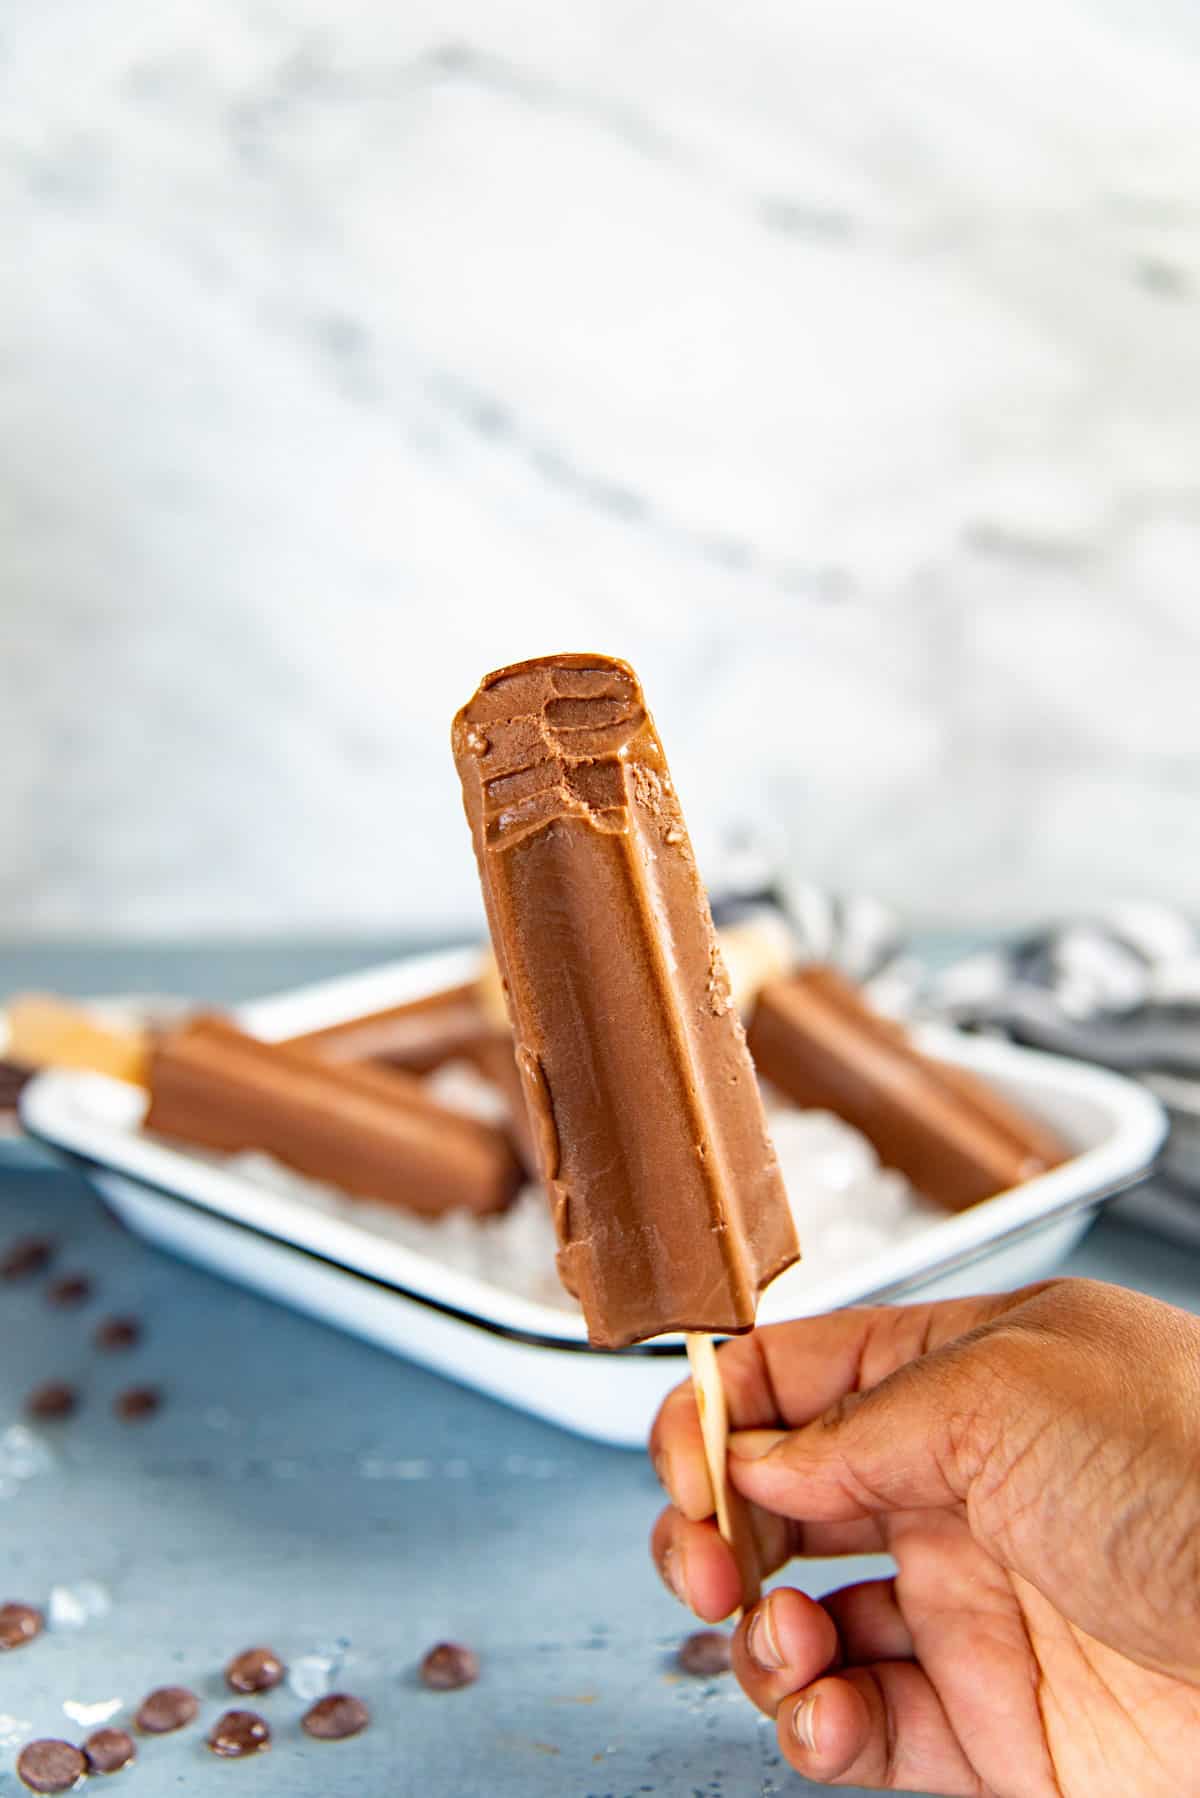
Fudgesicles vs pudding pops
They are both chocolate flavored, but fudgesicles have a slightly more icy texture compared to creamier pudding pops.
Growing up in New Zealand and Australia, we didn’t have fudgesicles, but we did have paddle pops! Which are like a cross between fudgesicles, pudding pops, AND ice cream!
This version of my fudgesicles has a deeper chocolate flavor from the cocoa powder, and a creamy texture due to the cream I use in the recipe. The cocoa powder also thickens the mixture slightly, adding to the creaminess.
So, to me, these fudgesicles are a cross between an American fudgesicle and a chocolate pudding pop. Still icy, but with a more creamy texture, and super chocolatey too!
Compared to that, my chocolate pudding pops have a richer texture with extra melted chocolate in the mixture and are thickened with cornstarch as well. Almost like chocolate pudding, but in popsicle form. It’s this pudding-like texture that separates pudding pops from these fudgesicles.
Ingredients you’ll need (and notes)
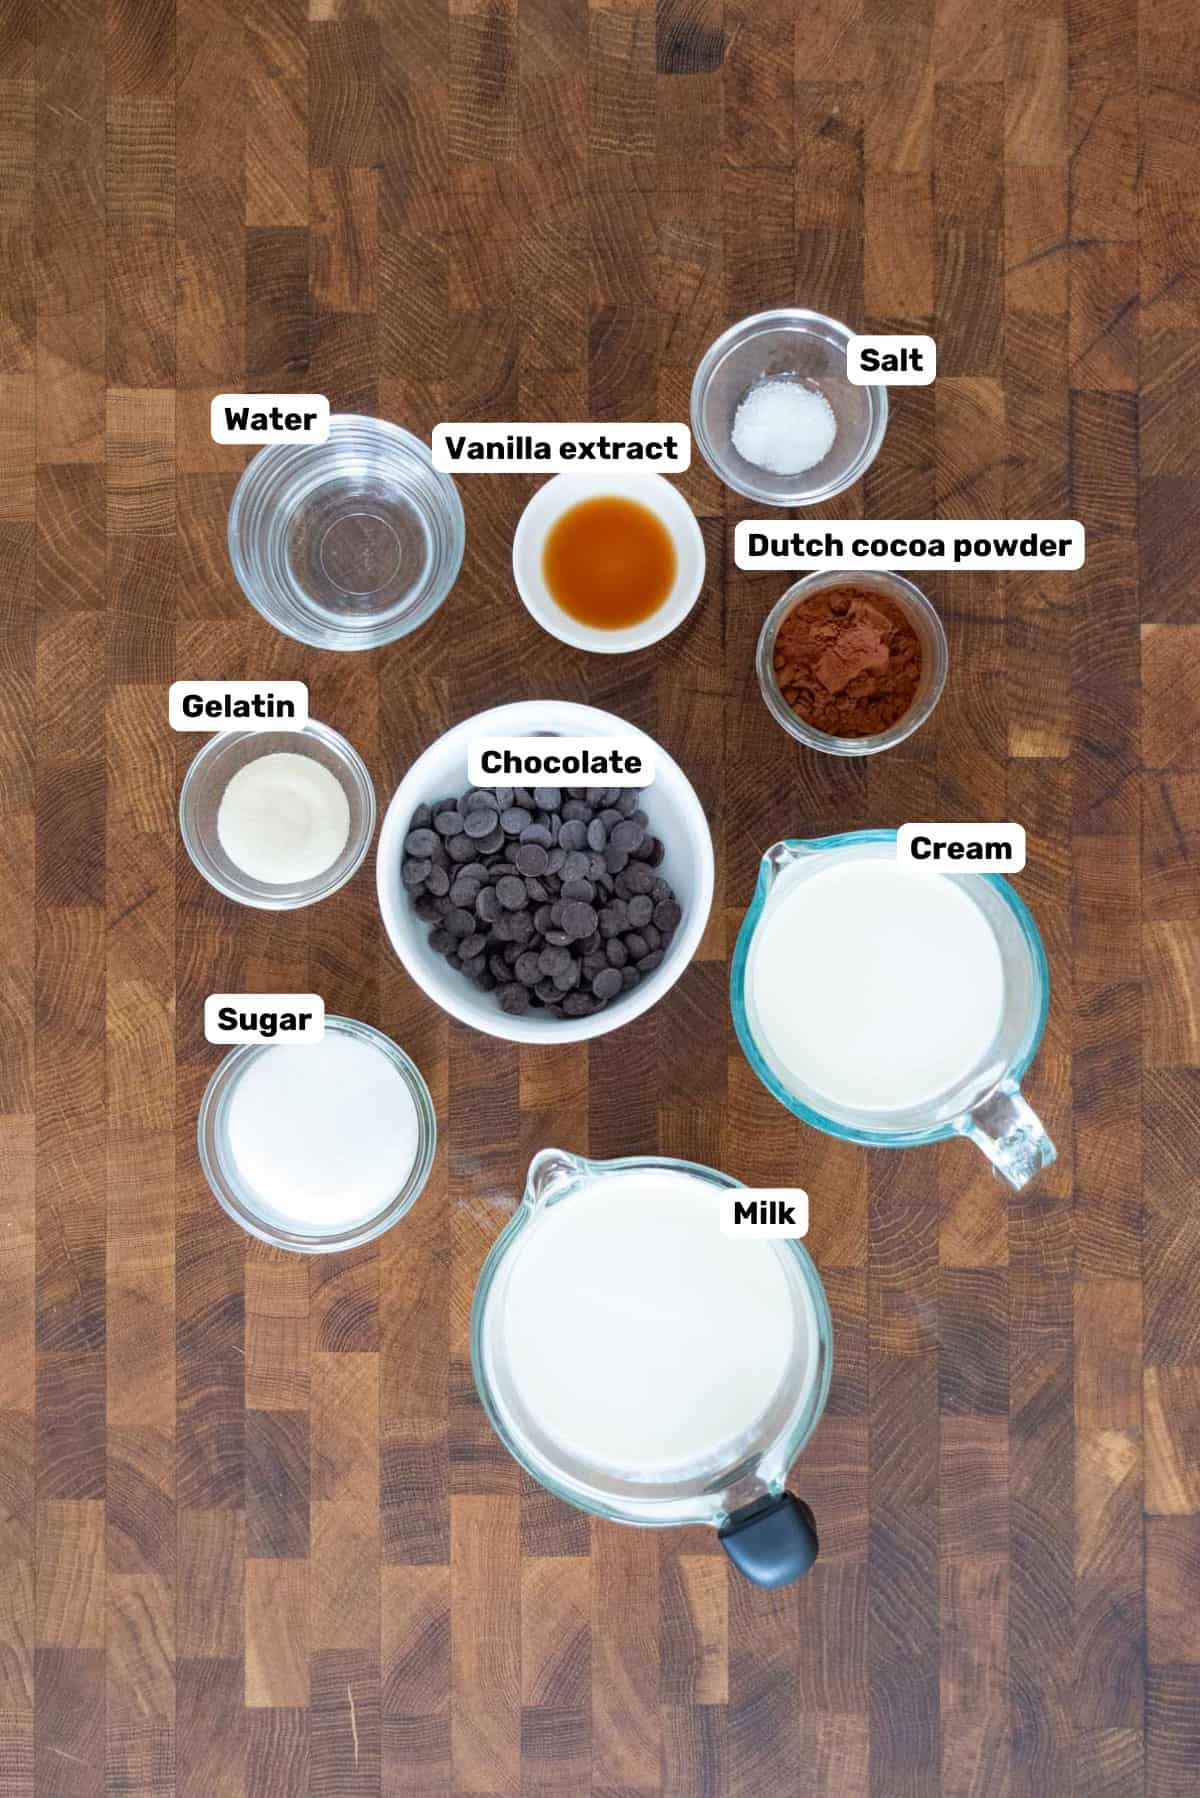
- Milk – Preferably full fat milk.
- Heavy cream – Optional, but adds extra creaminess to the chocolate mixture.
- Sugar – For sweetness.
- Dutch cocoa powder – For a smoother chocolate flavor with minimum bitterness.
- Chocolate – Another layer of chocolate flavor with the added creaminess.
- Vanilla and salt – Both of these ingredients complement the chocolate flavor and sweetness. And make for a more balanced and complex flavor profile.
- Gelatin + milk / water – This is optional, but gelatin helps to keep the shape of the popsicles even as they melt. So that there’s less dripping as the popsicles melt. I love using this technique for my popsicles. Like with these iced coffee popsicles, or occasionally with fruit popsicles like these mango popsicles.
Special tools you’ll need
- Popsicle molds – I have several different sizes and shapes of popsicle molds. You can use any kind of popsicle mold you like. You can even use small paper cups as molds, if you don’t have store-bought molds.
- Blender – This is also optional as these fudge pops can be made with a whisk. However, I do like to use a stick blender so that I can blend the mixture really well for a smoother texture.
How to make fudgesicles (step by step overview)
Step 1 – Hydrate / bloom the gelatin
This step is optional. It helps to maintain the shape of the popsicles and keep them from dripping everywhere as they melt.
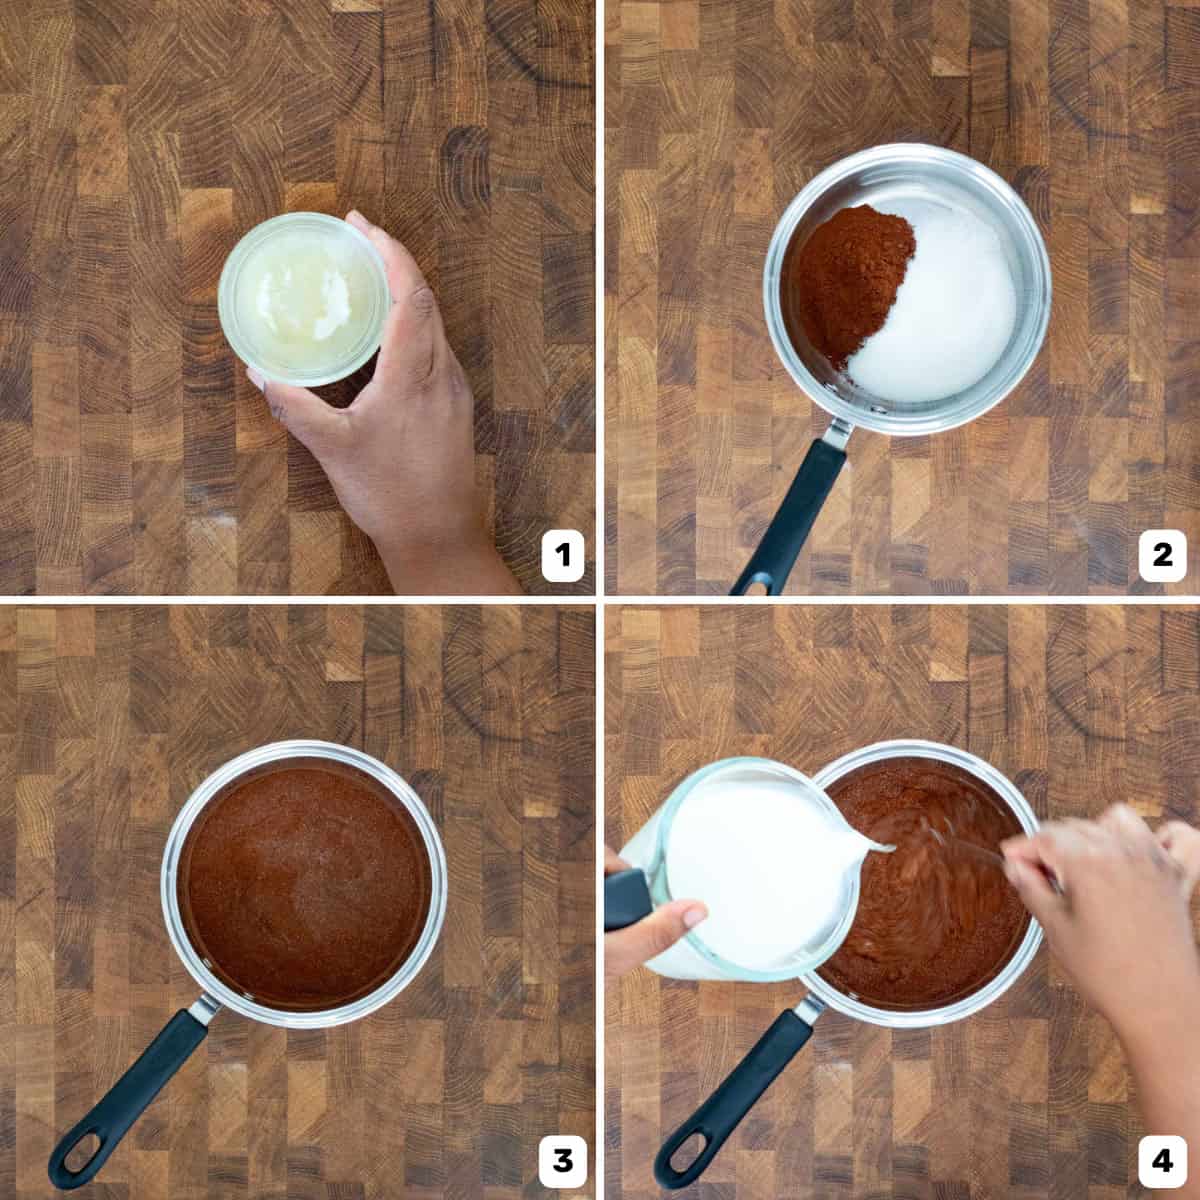
Sprinkle the gelatin in the water or milk (image 1). Let it sit for at least 10 minutes, while you get the chocolate mixture ready.
If you want to skip this step, then you can add the water / milk directly to the chocolate base instead.
Step 2 – Mix the ingredients
In a pot or saucepan, add the sugar, salt, and cocoa powder (image 2). Whisk together to make sure there are no lumps in the cocoa powder (image 3).
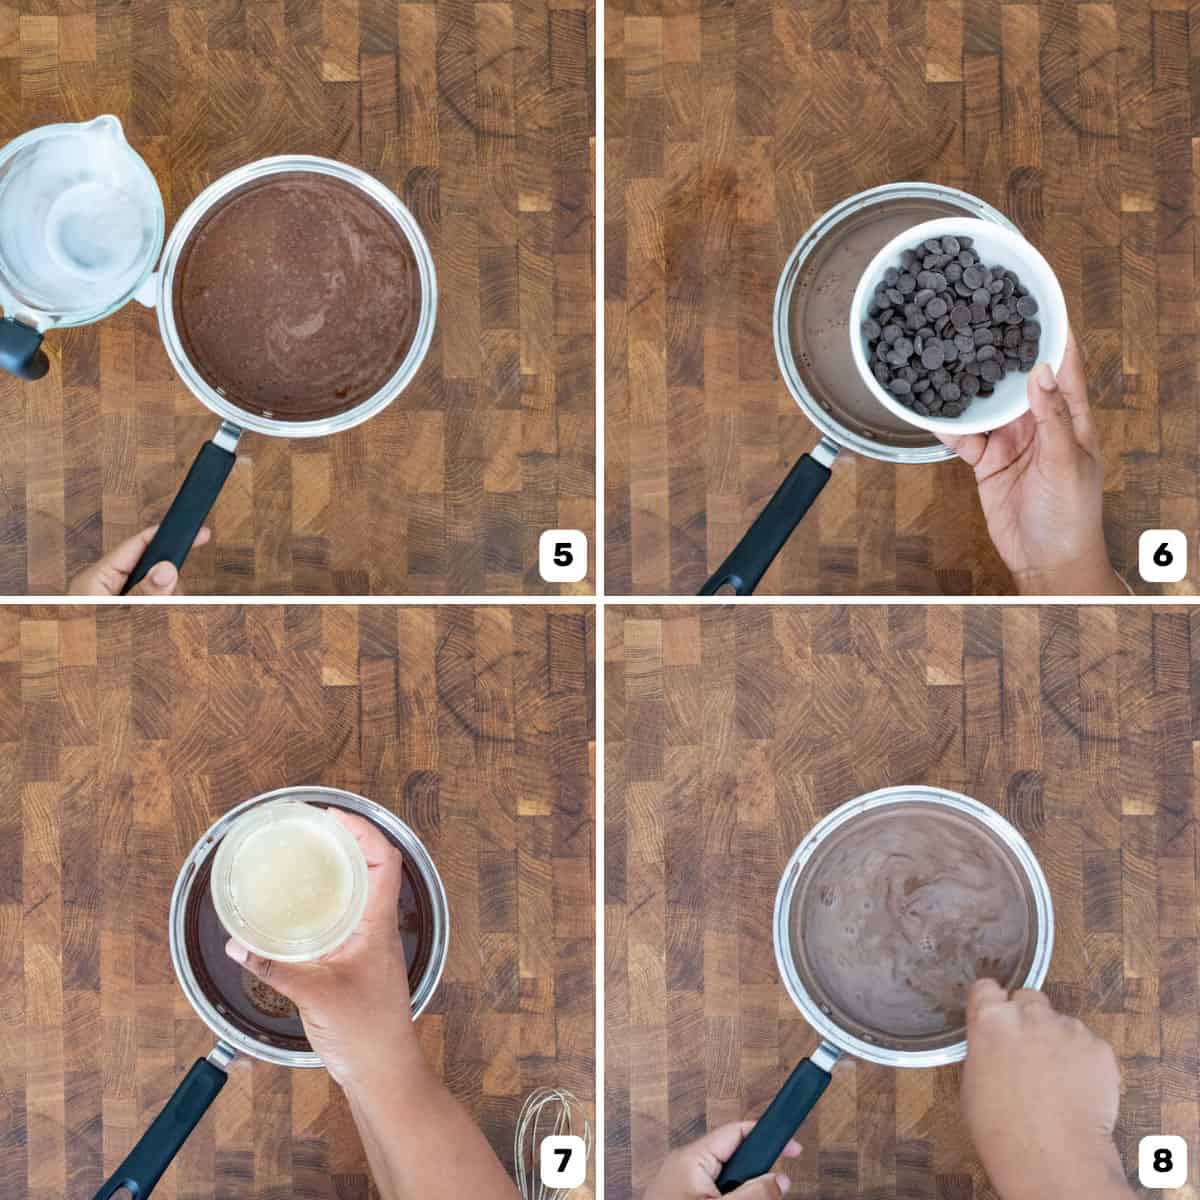
Whisk in the milk and cream (image 4). There might be some lumps, but the lumps should go away as you heat the mixture (image 5).
Step 3 – Heat the mixture
While whisking, heat the mixture over medium heat. As the milk warms up, the sugar and cocoa powder should dissolve in the milk.
Increase the heat to medium – high once the cocoa powder has dissolved, and bring the milk mixture to a boil while frequently whisking to prevent the milk from burning. The mixture should be smooth with no lumps, and just slightly thickened.
Step 4 – Mix in the remaining ingredients
While the mixture is still fairly hot, add the chocolate, vanilla, and bloomed gelatin (if using) (images 6 – 7). Whisk or blend to make sure the chocolate and gelatin fully dissolve (image 8).
Step 5 – Pour into popsicle molds
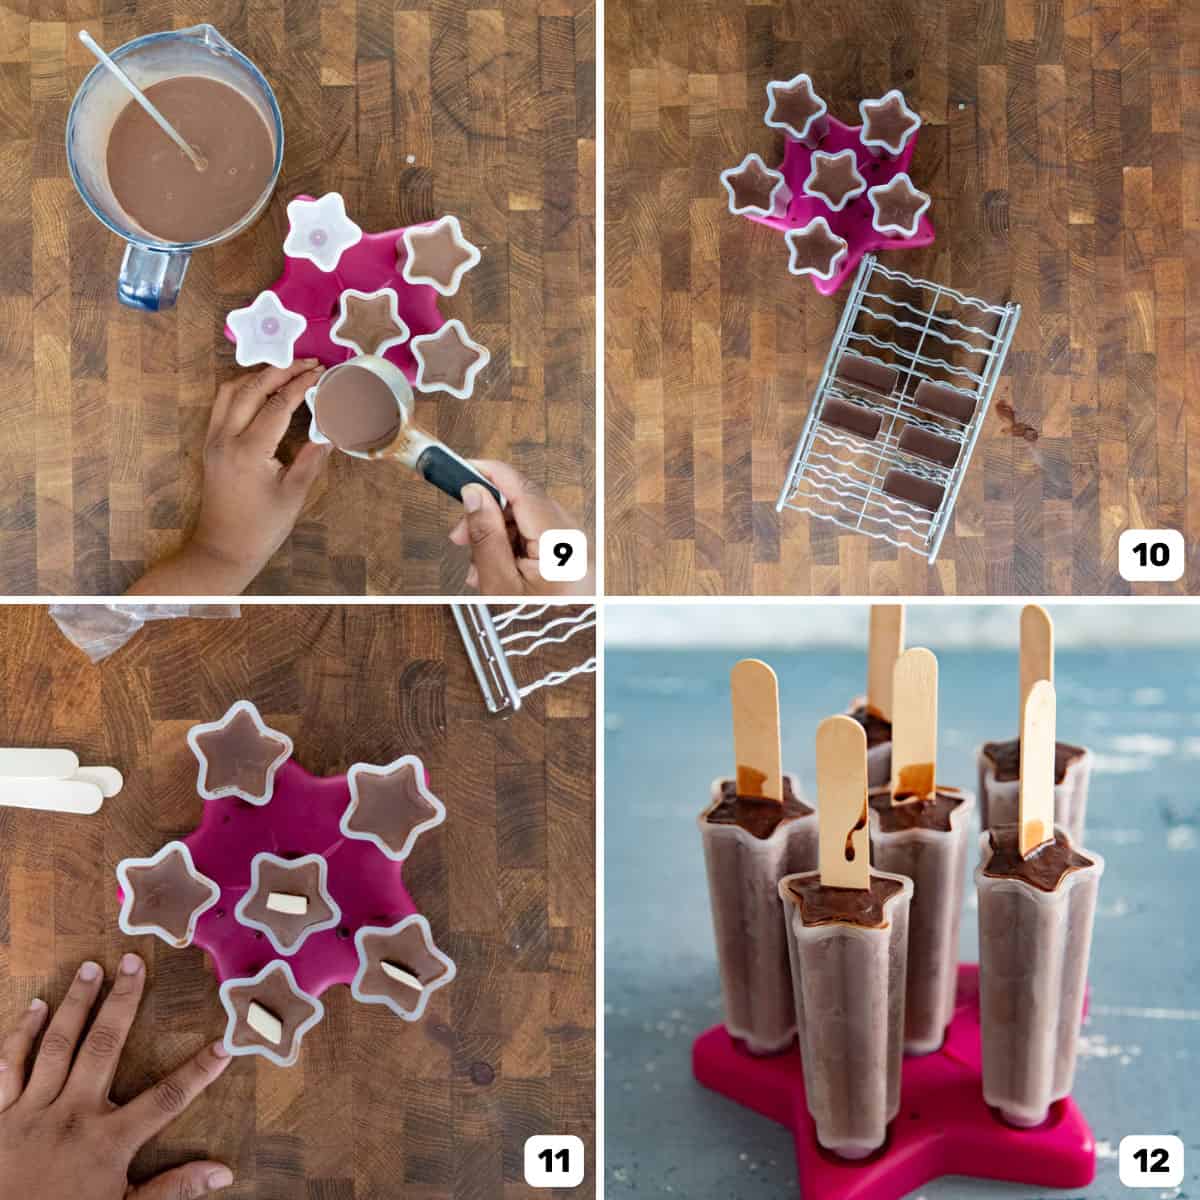
While the mixture is still pourable, pour it into popsicle molds (images 9 – 10). Place the popsicle sticks and the tops of the popsicle molds (image 11). Let the mixture cool down to room temperature before transferring the fudgesicles to the freezer.
Step 6 – Freeze
Freeze the popsicles for a minimum of 8 hours, until they are frozen solid (image 12).
Step 7 – Unmold and enjoy
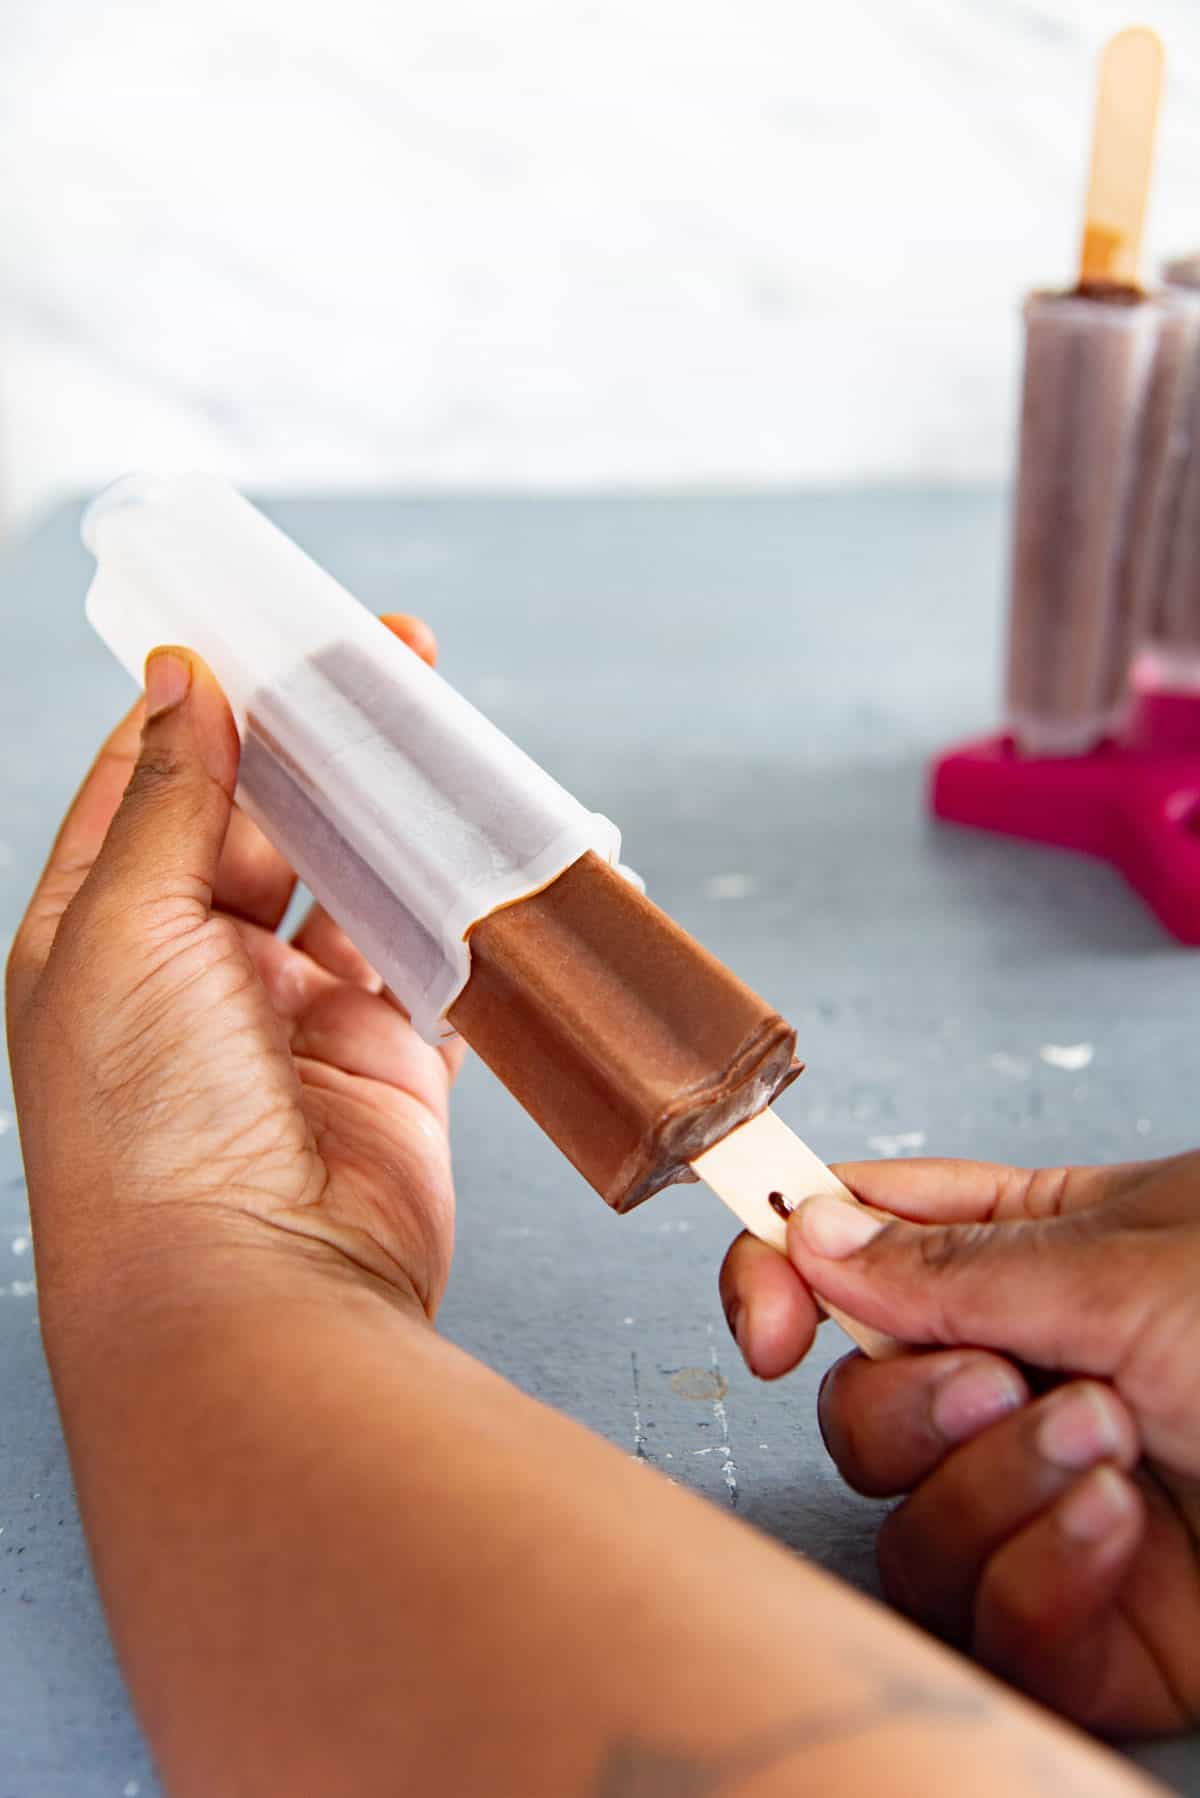
Each type of popsicle mold may require a different method of unmolding. Paper cups can be ripped off. Silicone molds can be “peeled” away.
For plastic molds, I dip or run them under warm water for a few seconds, and then squeeze the mold to release the popsicle from it (an air pocket goes into the mold to help release the popsicle).
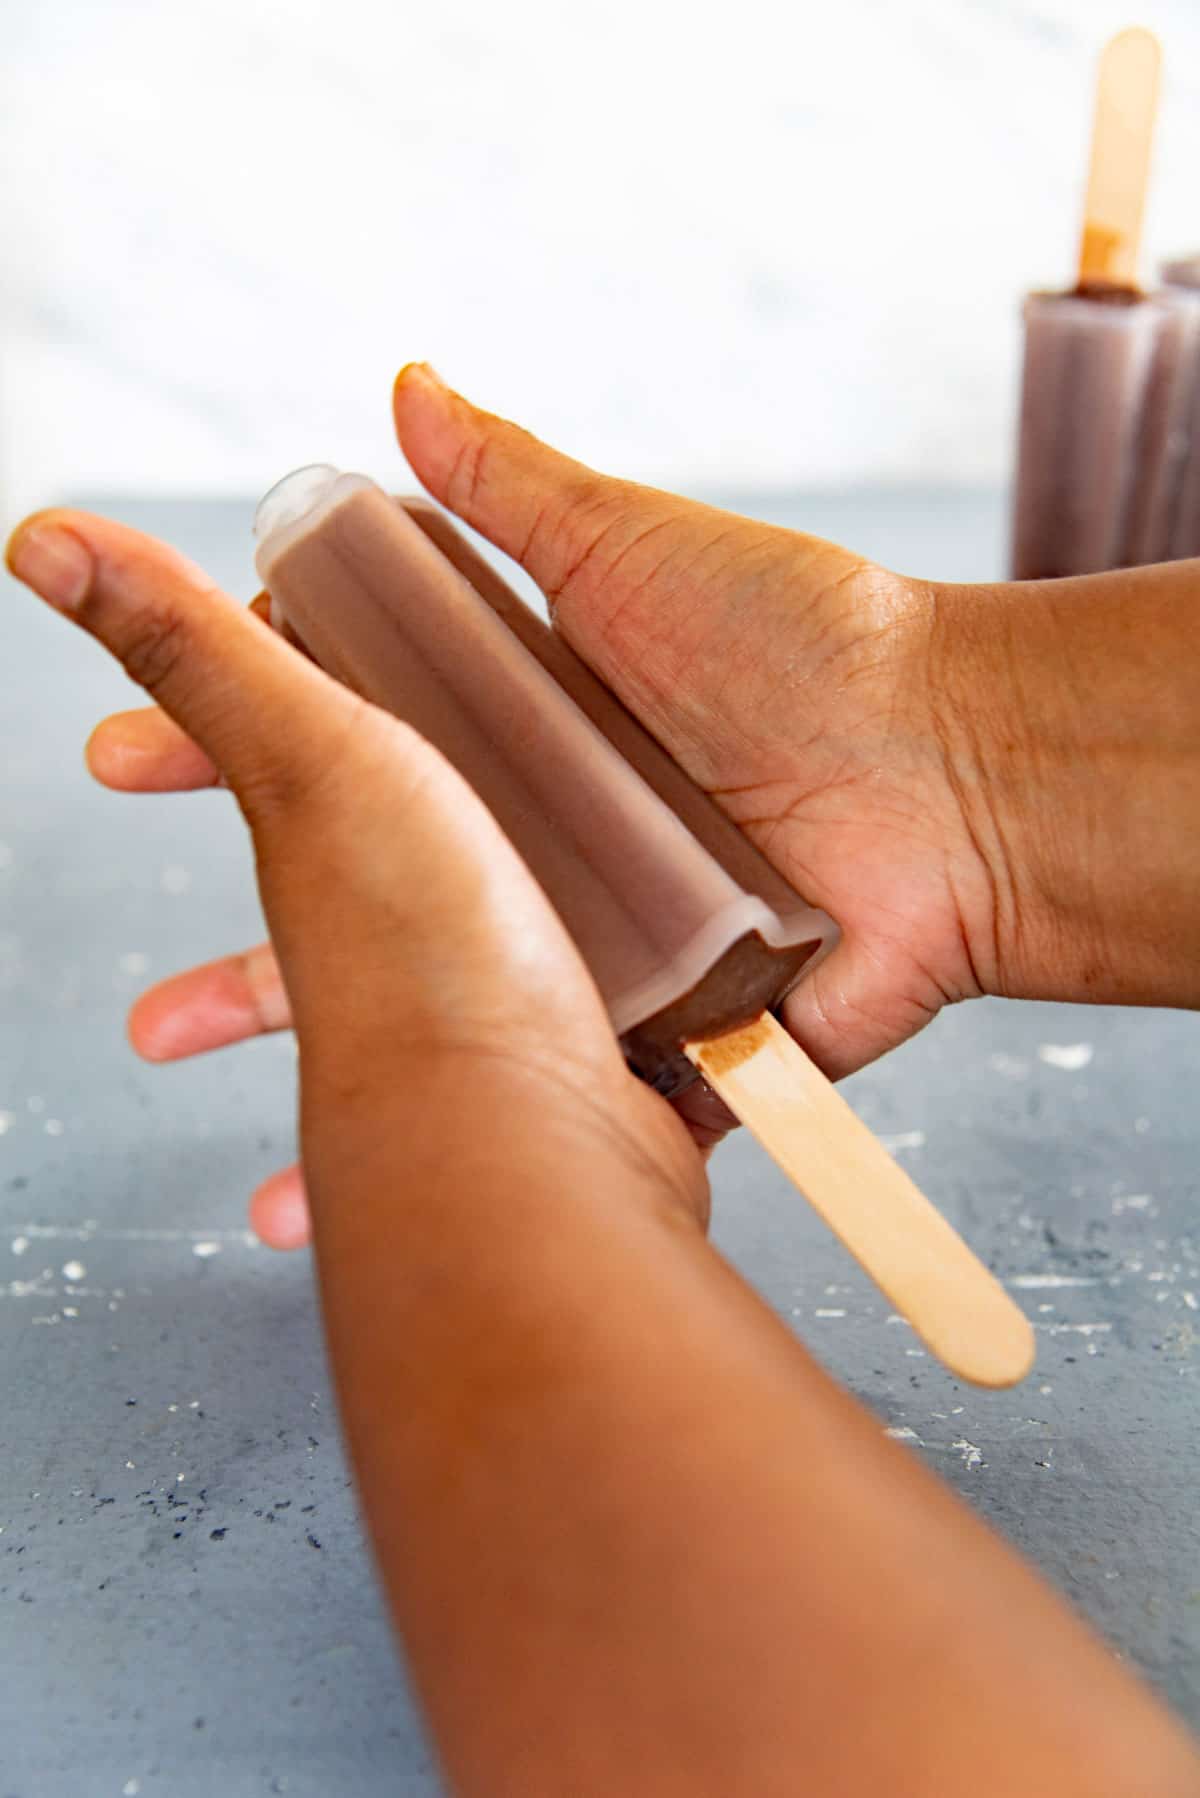
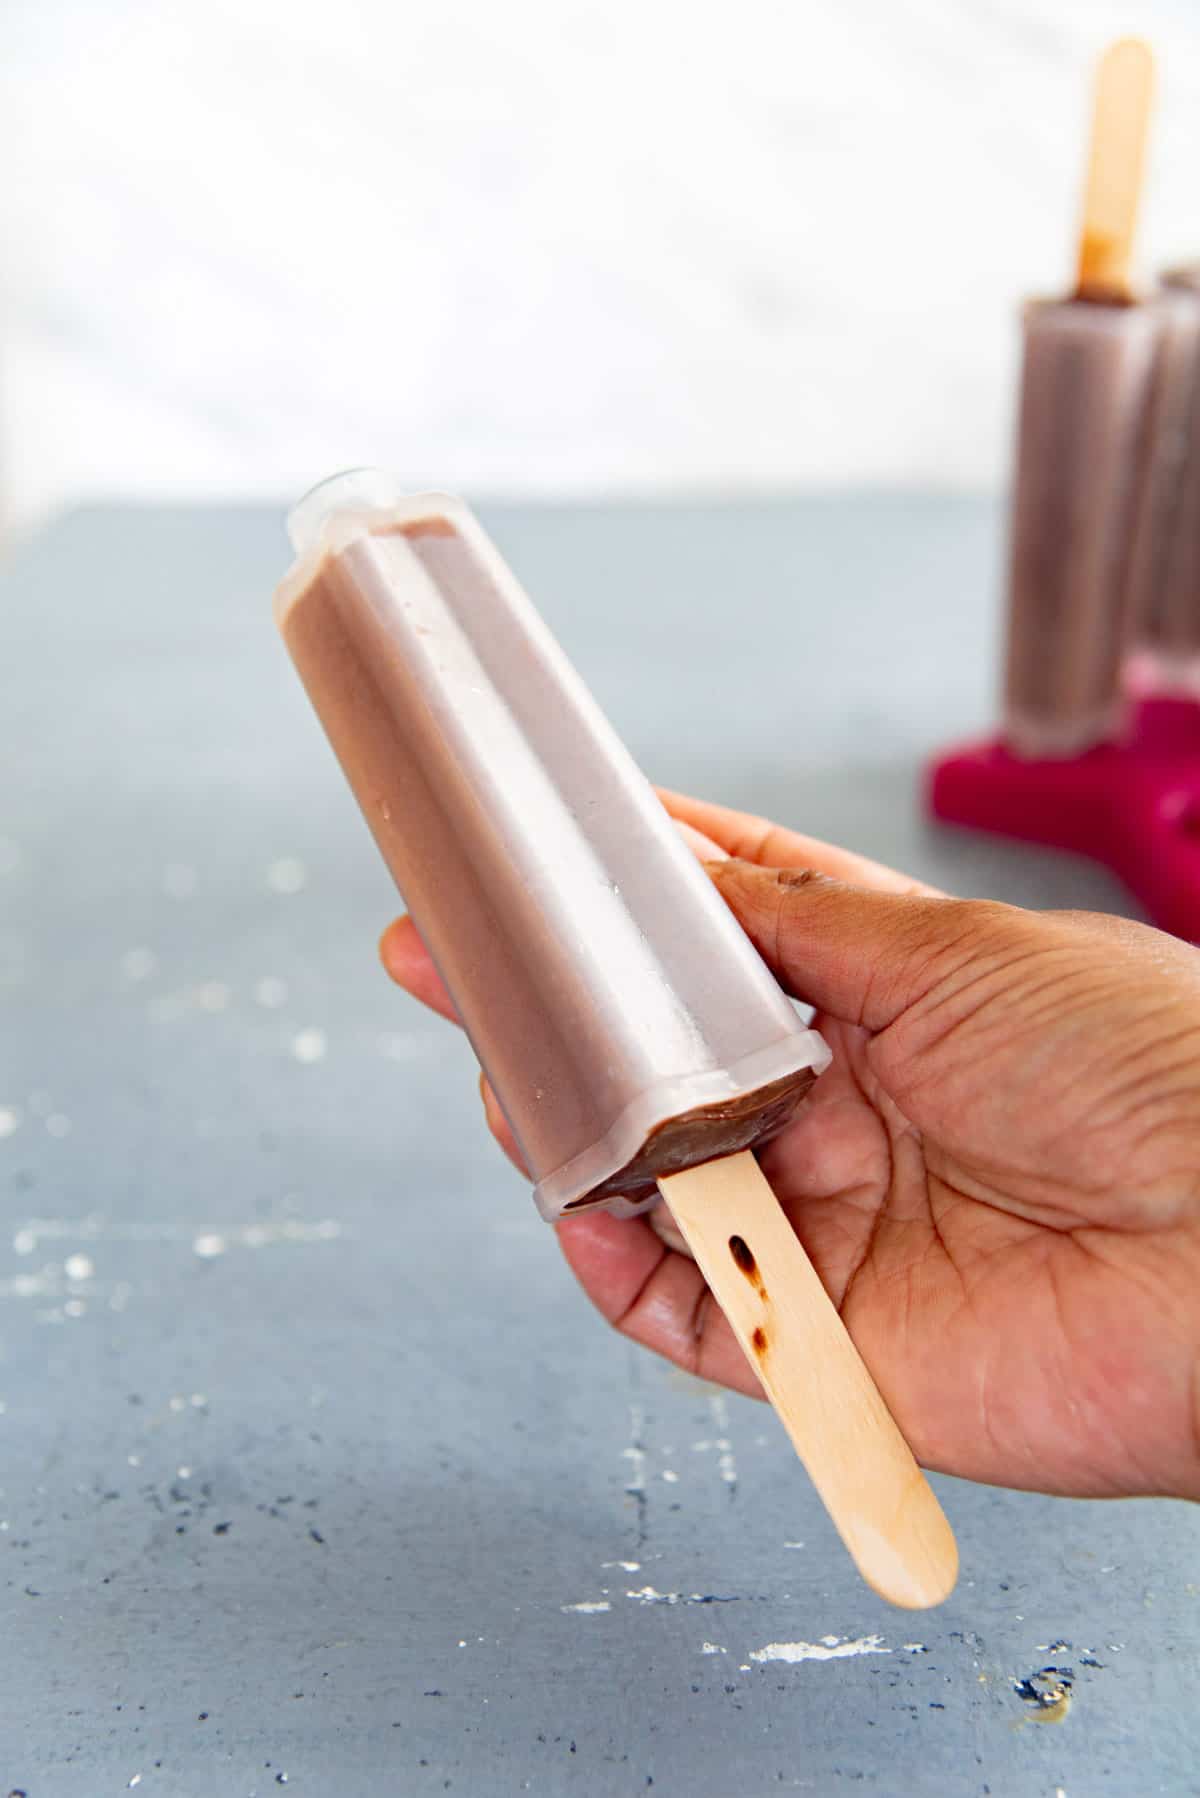
Stainless steel molds can also be dipped or run under hot water to release the popsicles from them.
You can also place the popsicles on a parchment paper-lined tray if the outside of the popsicle is too soft. Then allow the popsicles to solidify in the freezer for a couple of hours. Then wrap them individually and place them in the freezer to enjoy later.
Storage tips
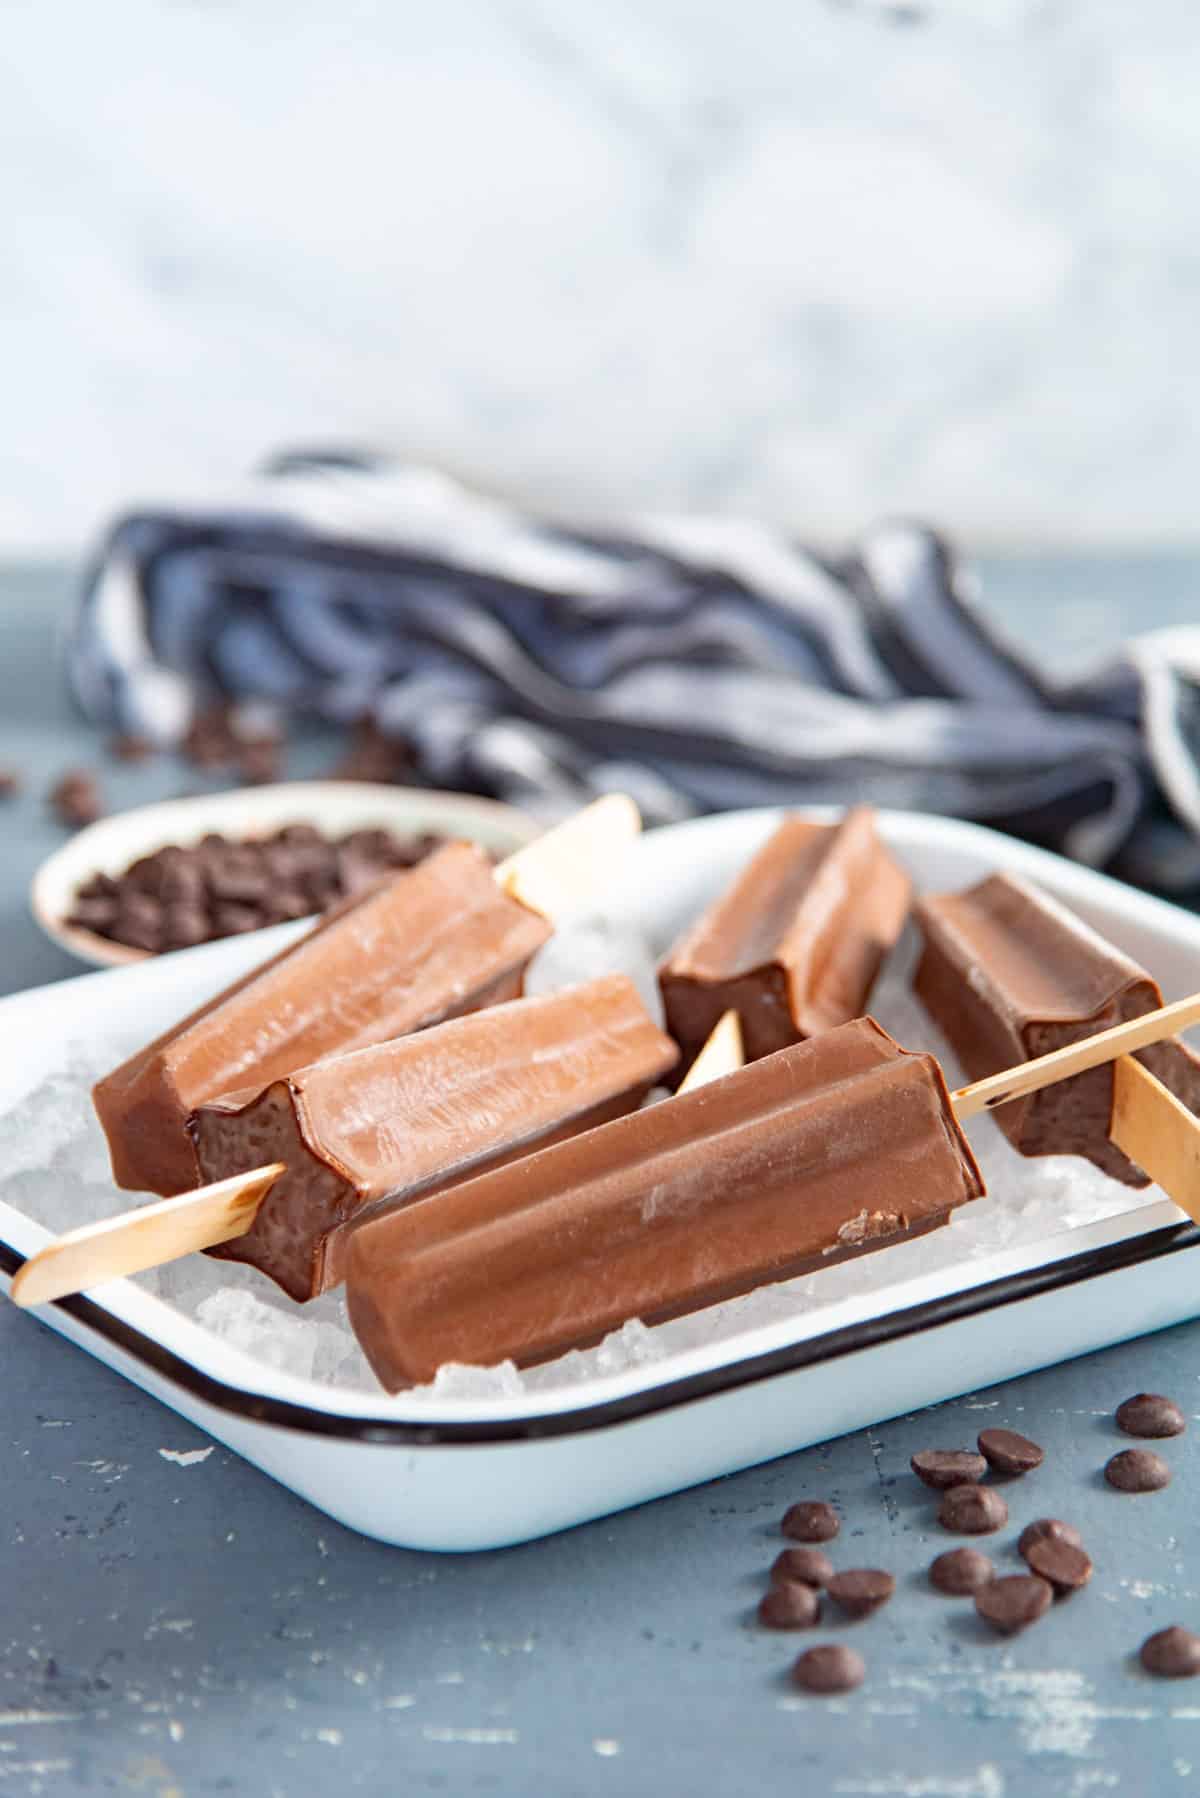
These popsicles will last a whole year in the freezer, if stored properly!
Exposed popsicles can become darker as they dry out in the fridge, so make sure they are properly covered in the freezer by,
- Keeping them in the original mold so that the popsicle won’t be exposed to air. If you’re using silicone molds like these, make sure to place a foil on top to prevent the exposed area from drying out and absorbing freezer smells.
- Alternatively, you can unmold the popsicles and then wrap them with freezer paper, OR place them in individual bags (taping the open ends shut), to keep them covered.

My best recipe tips
- Avoid using 2% milk or any low or non-fat milk for this recipe. Full fat milk adds the creaminess, and using low / non-fat will make the fudgesicles more icy.
- You can use dutch process cocoa powder or regular cocoa powder, BUT the flavor from dutch cocoa powder is much superior here. Natural cocoa powder is bitter, and the bitterness can overwhelm the flavor without adding more sugar.
- Because of the higher cocoa powder amount and semisweet chocolate, these fudgesicles have a really deep chocolate flavor; almost like a dark, bittersweet chocolate flavor.
- To lessen the chocolate flavor, or to make them taste more like milk chocolate, you can reduce the amount of cocoa powder you use.
- The chocolate mixture will thicken as it cools down, so it’s good to pour it into molds while the mixture is still pretty warm.
- You can adjust the amount of sugar in the recipe as well. I personally think there’s a good balance of chocolate and sweetness here, but you can reduce or increase the sweetness to your taste.
- You can substitute the sugar with honey, maple syrup, or sugar alternatives. However, with sugar alternatives, there could be a change in yield and flavor.
Recipe variations
- For vegan fudgesicles, substitute with plant-based milks (I like to use barista-grade oat milk) and vegan dark chocolate (and skip the gelatin too!).
- For double chocolate fudgesicles, add some crushed Oreos to the mixture.
- Substitute white sugar with dark brown sugar to add a molassey flavor.
- Dissolve 1 – 2 tsp of instant coffee to make mocha fudgesicles.
- You can also dip these in magic shell (chocolate magic shell or white chocolate magic shell) to make chocolate dipped fudgesicles!
- Instead of the melted chocolate, add some 100% peanut butter to add peanut butter flavor to your fudgesicles.
- Adding a little rum or whiskey to the fudgesicle mixture turns these classic kid-friendly treats into boozy, adult-friendly treats!
- For a more creamy, pudding-like consistency, you can make chocolate pudding pops! The mixture has less cocoa powder and more cornstarch and more chocolate to thicken the base to make the pops ultra creamy!
Recipe FAQs
How can I make sure my fudgesicles are not icy?
My chocolate fudgesicles are absolutely less icy than store-bought fudge popsicles because of the way I make these.
However, if you prefer even creamier fudgesicles that are not icy at all, then I highly recommend trying my chocolate pudding pops!
Can I make these without popsicle molds?
Yes, absolutely!
I love using 3 fl oz paper cups to make popsicles. Pour the mixture into the paper cups and partially freeze them (for about 1 hour or so), then insert the popsicle sticks into the thickened / partially frozen mixture and return them to the freezer to completely harden.
Then the paper cups can be torn off, which makes unmolding the fudgesicles much easier too!
Recipe
Fudgesicles (Fudge Pops)
US based cup, teaspoon, tablespoon measurements. Weight measurements are recommended for accurate results whenever available.
Common Measurement ConversionsIngredients:
- 100 g sugar ½ cup
- 30 g dutch cocoa powder 3 tbsp
- ¼ tsp salt
- 420 mL full fat milk 1 ¾ cup
- 180 mL heavy cream ¾ cup
- 60 g bittersweet chocolate ⅓ cup
- 1 tbsp vanilla extract
Gelatin (optional)
- 7 g gelatin powder 1½ tsp
- 45 g water 3 tbsp
Instructions:
Bloom the gelatin
- This is an optional step. The gelatin helps to stabilize the mixture and prevents the fudgesicles from dripping too much and getting messy as they melt.
- Place the water in a bowl and sprinkle the gelatin over it. Stir to saturate the gelatin, and let it sit for about 10 minutes, or until you're ready to add the gelatin to the mixture.7 g gelatin powder, 45 g water
Make the chocolate base
- Place the cocoa powder, sugar, and salt in a saucepan or pot, and whisk together to combine.100 g sugar, 30 g dutch cocoa powder, ¼ tsp salt
- Add the milk and cream to the pot while whisking the cocoa powder mixture.420 mL full fat milk, 180 mL heavy cream
- Heat this milk mixture over medium heat (or slightly higher depending on your stove). Whisk frequently as the milk heats up to dissolve the sugar and cocoa powder.
- Continue to whisk as the chocolate mixture is heating, until the milk is starting to simmer or reach a gentle boil.
- When the milk mixture starts to boil, remove it from the heat.
- While the chocolate mix is hot, add the chocolate, vanilla, and the bloomed gelatin (if using).60 g bittersweet chocolate, 1 tbsp vanilla extract
- Whisk well until the chocolate and the gelatin are melted, and the mixture is smooth.
- You can also use a stick blender to blend the chocolate mixture to get a really smooth mix.
- Pour the mixture into popsicle molds. I use molds with 3 fl oz / 90 mL capacity here.
- Place the popsicle sticks in the molds, along with the lids as well. If your molds don't have the ability to center the popsicle sticks, then place the mixture in the freezer for an hour or so to partially freeze the mixture. Then the chocolate mix will be thick enough to insert the popsicle sticks that will stay in place.
- Transfer the filled popsicle molds into the freezer and let the fudgesicles harden completely. I prefer to let them freeze overnight.
- Once frozen, unmold the fudgesicles. To do this, run the mold under hot water from the tap for a few seconds, OR dip the mold in a container with hot tap water for a few seconds, and then release the popsicles. I also like to squeeze the mold to release the popsicle from inside (as this can introduce an air pocket to break the seal inside the mold).
- Serve immediately, or cover and store in the freezer for later. If you're storing in the freezer, make sure the fudgesicles are covered well with minimal contact with air inside the freezer.
Nutrition Information:
“This website provides approximate nutrition information for convenience and as a courtesy only. Nutrition data is gathered primarily from the USDA Food Composition Database, whenever available, or otherwise other online calculators.”










Leave a Reply