Alright guys and gals, let’s talk marshmallows. Sweet, soft, springy, fluffy pillows of deliciousness – homemade marshmallows are easy and so much better than store-bought. This is a long post with plenty of tips on how to make marshmallows – with or without corn syrup, and with or without a sugar thermometer.
The only guide you need to make perfect marshmallows!
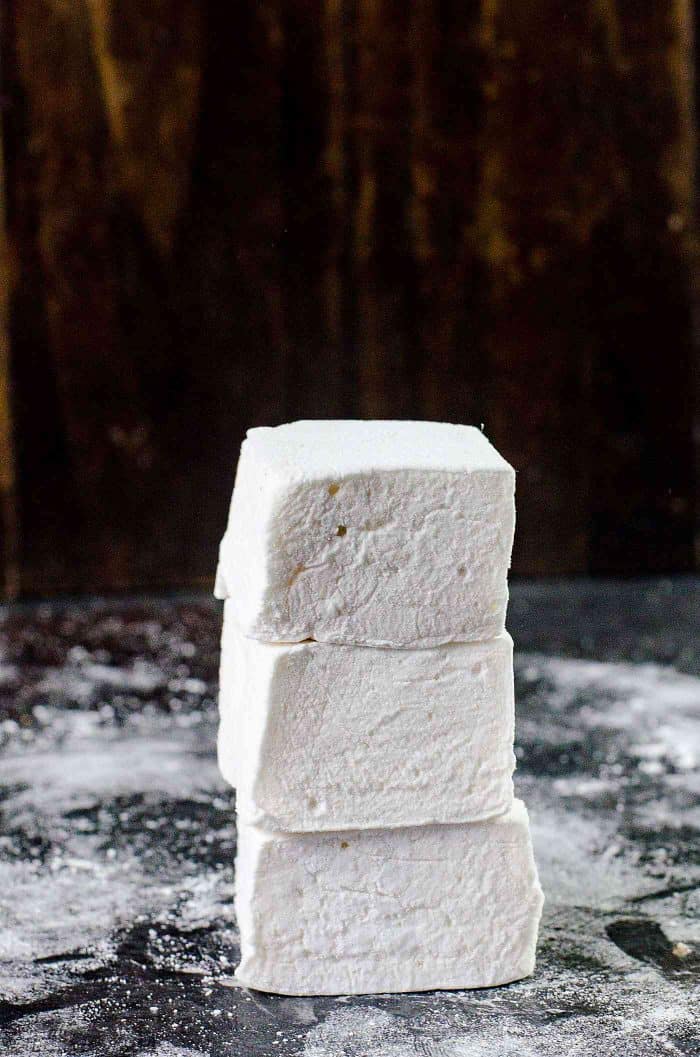
Skip ahead to the recipe if you like, but make sure to read the post for all the tips and to learn the basics of the process.
- So why bother making homemade marshmallows?
- What kind of sugar can I use to make this recipe?
- Can I make homemade marshmallows WITHOUT corn syrup?
- Can I use gelatin or agar?
- What’s the purpose of adding egg whites?
- How can I add flavor?
- RECIPE NOTES, TIPS & TRICKS for making Homemade Marshmallows!
- How to store marshmallows?
When it comes to marshmallows, I’ve been spoiled. I’ve enjoyed PERFECT homemade marshmallows since I was little, because my grandmother was an absolute pro at making them. She passed on the obsession to me, and I’ve been fluffing ’em up for as long as I can remember.
I’ve shared these butterscotch swirled marshmallows on the blog before, but decided it was time to make a detailed, troubleshooting post with all tips and tricks I’ve learned along the way, so that I can show you how easy it is to make the fluffiest, most divine marshmallows in the comfort of your home.
So why bother making homemade marshmallows?
Well, as cliche as this sounds, they really are SO MUCH better than any store-bought marshmallows. Store-bought marshmallows just don’t have that pure, irresistible, marshmallow flavor or the melt-in-your-mouth fluffiness. And if you try making s’mores, you’ll find that homemade marshmallows have a really desirable melting quality that store-bought marshmallows don’t have.
Homemade marshmallows can be made in any size you want and you know exactly what goes in. And if you store them in an air-tight container, it’ll keep pretty much for ever. I mean, seriously. There’s nothing in it that can go bad over time, so they’ll keep for a really long time!
And if all that wasn’t enough to sway you, how about this? Homemade marshmallows are really simple to make! 🙂 True story. And even if you’re nothing like me, I have a feeling if you try it once, you just might get hooked, just like I did!
So, let’s get to it. Here I’m going to show you step by step, how to make marshmallows at home. I’ll be sharing how to make homemade marshmallows WITHOUT corn syrup, as well as WITH corn syrup (and corn syrup substitutes). And then WITHOUT a sugar thermometer, and WITH a sugar thermometer.
Yes, it does make your life easy if you have a sugar thermometer (candy thermometer), but it’s not essential. After all, my grandmother slayed it without a thermometer for decades.
This post is for anyone who wants to understand the process, and even adapt the recipe to what you have at hand. If you want to skip right ahead to the recipe, please do so. But if you do have questions about the technique, please make sure to take your time and read the post.
First let’s talk about the ingredients.
What kind of sugar can I use to make this recipe?
I always use white cane sugar and this is what I recommend. Cane sugar tastes better, but granulated white sugar (that can be derived by other means, like beet) is OK too. You can use any kind of granulated white sugar.
Substitutions – There are ways to use unrefined sugar too. You can make marshmallows with unrefined raw sugar, or brown sugar too. Again, you need to boil the raw sugar to the same stage as you would the white sugar. You can use maple syrup or honey too. Since these sugar substitutes have a higher water content, the process and quantities will be different.
Can I make homemade marshmallows WITHOUT corn syrup?
YEP! Although, it CAN be a little trickier to make marshmallows without corn syrup. The main reason why corn syrup is added is to prevent crystallization of the sugar syrup. When the sugar is melted and boiled to the point where it has 0% water, the syrup can revert back to it’s crystallized state in a hurry. All it takes is some cold water, one grain of sugar, or agitating the sugar syrup.
The inverted sugar in the corn syrup helps prevent this from happening. It’s not fool-proof, but definitely helps protect the sugar syrup.
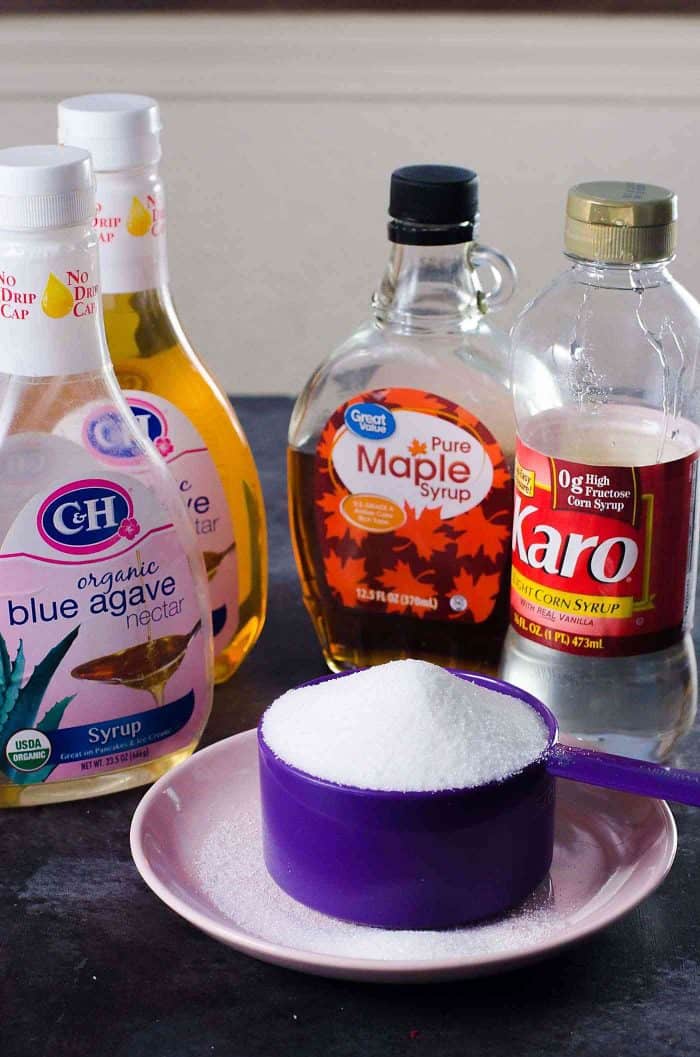
If you prefer not to use corn syrup, you can leave it out OR substitute it with other inverted sugars like,
- agave syrup OR
- golden syrup (which will add some flavor) OR
- maple syrup OR
- honey instead.
This will also help prevent the syrup from crystallization.
However, if you’re making homemade marshmallows only with sugar (i.e. no corn syrup or agave), you can still totally do it. BUT, you need to be extra careful to make sure that you do not re-introduce sugar crystals, or cold water. And definitely DO NOT stir the sugar syrup. I mean it.
Can I use gelatin or agar?
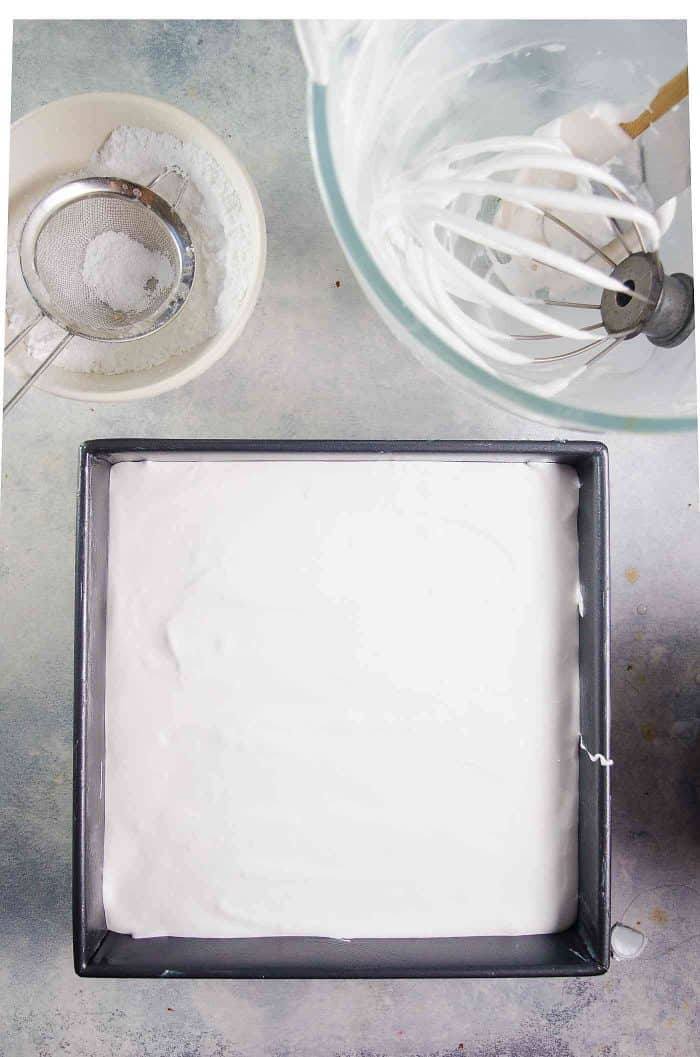
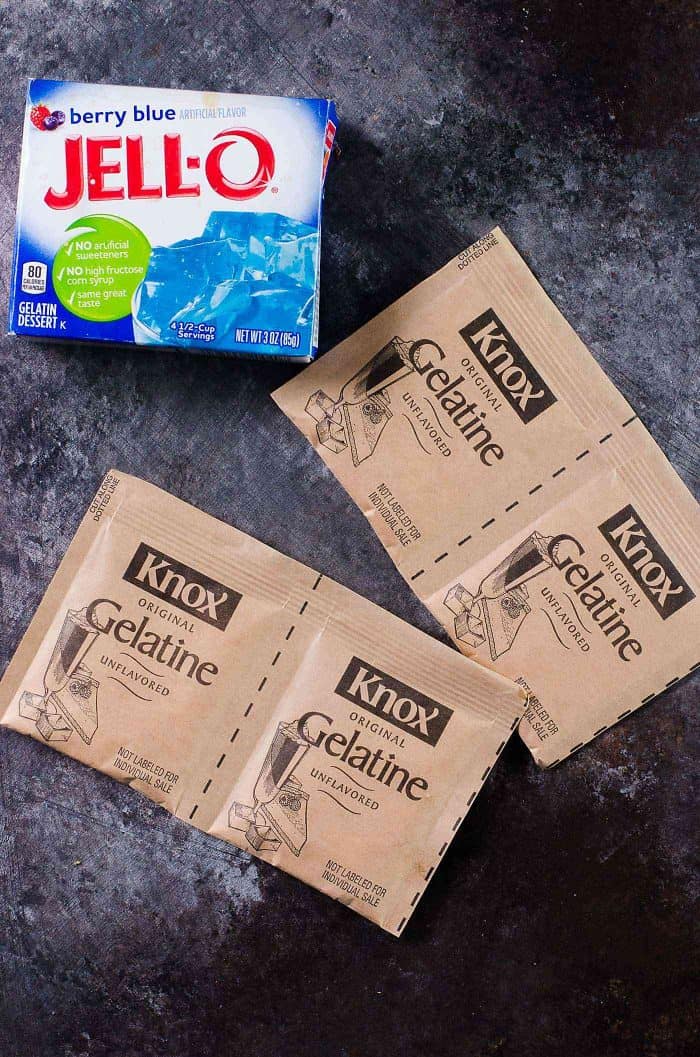
Gelatin is the setting agent for marshmallows. If you’re vegan or vegetarian, you can use a recipe that uses agar instead. But just be aware that the texture will change. The texture is very important for me with these homemade marshmallows and that’s why I prefer using regular gelatin.
Here is a good vegan marshmallow recipe from serious eats.
One thing to note with gelatin is that it loses some of its setting properties at high temperatures. This is a problem when making marshmallows, because you’re basically adding very hot sugar (hotter than the boiling temperature of water) to gelatin here.
So once the sugar has heated to the right temperature, let it cool down ever so slightly (until the bubbles subside), and then add the sugar syrup along the wall of your mixer bowl, while whisking the gelatin. This cools down the sugar further, while still melting and mixing the gelatin uniformly.
I also prefer to WEIGH the gelatin, over using the packets. This is because I have noticed that gelatin packets can vary ever so slightly in weight, between brands and the size of the gelatin granules.
What’s the purpose of adding egg whites?
Whisked egg whites are sometimes added to marshmallows. This is especially popular among the French. The whisked egg whites make the marshmallows extra light and fluffy and a little more manageable, especially if you want to pipe shapes with the marshmallow.
- As soon as the marshallow mix is whisked to its full capacity, it starts to set very quickly. The addition of egg whites slows down this process a little, making it easier for you to pipe shapes, like peeps or rosettes.
- The addition of egg whites makes the marshmallows softer. They have less of a “bite” than egg-less marshmallows (because there’s less gelatin per egg white marshmallow vs egg-less marshmallow).
- They melt even more easily!
I personally don’t like to add egg whites, unless I’m planning on piping marshmallow shapes. It’s just an additional step and honestly, most of the time I’m just too lazy to do it. Plus, I actually prefer the taste and mouthfeel of vanilla marshmallows made without egg whites.
Another reason is that marshmallows made with egg whites will not keep for as long, since you’ve got egg whites in there which can go bad fairly quickly. Whereas regular vanilla marshmallows made without egg whites will keep for a VERY long time (unless you eat it all right away, of course), and it’s safer for kids and pregnant women too.
How can I add flavor?
This is one of my favorite things to do, and you can get super creative with it! 🙂
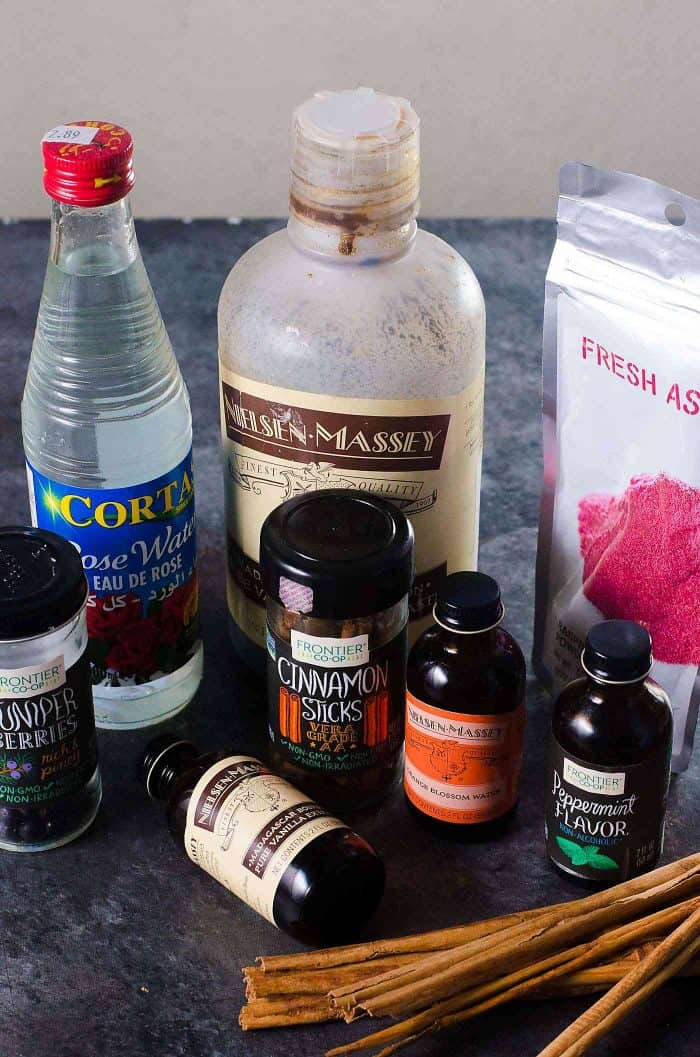
Usually, flavoring is added at the end. The high temperature of the sugar syrup can ruin the flavoring, so it’s better to add it when the marshmallow mix has cooled down. This is especially true for extracts and alcohol-based flavors. During the whisking stage, make sure to add some salt as well. This salt will balance out the sweetness and make your marshmallows taste that much better.
My go-to flavor is vanilla. I love homemade vanilla marshmallows. I ALWAYS add salt and vanilla to my marshmallows no matter what other flavors that I’m going to introduce later.
Vanilla marshmallows are just a great canvas to work on. They are perfect for basic homemade marshmallows. So make sure to use a good-quality vanilla extract, or my favorite – a good vanilla bean paste. I like using Madagascar bourbon vanilla, but a Tahitian or Mexican vanilla works well too.
You can use other extracts like peppermint, almond, lemon, orange and alcohol-flavored extracts (rum or bourbon essence). If I’m not making them for kids, I usually like to add alcohol as well to get some artisan boozy marshmallows.
For certain flavors, you can add the flavoring to the sugar syrup. Like for lemon zest (or other citrus flavors) or maple or other fruity marshmallows, you can substitute the liquid or sugar with the flavoring ingredient and proceed with the rest of this recipe.
But if you do add a substantial amount of flavoring like fruit puree, or cocoa powder, you may need to add extra gelatin to make sure your marshmallow sets properly.
Another way to add flavor is to substitute some of the liquid of the water used to bloom the gelatin. I’ve had some fantastic readers letting me know that they have made some creative tea flavored marshmallows, by substituting the gelatin blooming water, and some of the water in the sugar syrup too!
You can also make awesome swirled marshmallows like these butterscotch swirled marshmallows that I shared last year. They taste part marshmallow and part toffee, and very delicious. 🙂
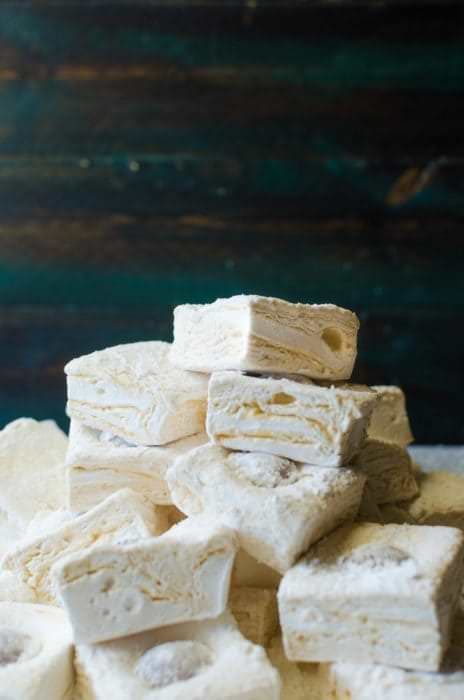
But this recipe is on how to make homemade vanilla marshmallows, so I will show you how to make basic homemade marshmallows WITHOUT corn syrup (using agave syrup) and with real vanilla flavor. I will cover more complicated flavored marshmallows in a different post, but will add some simple flavor variations in the NOTES section of this recipe.
RECIPE NOTES, TIPS & TRICKS for making Homemade Marshmallows!
Step 1 – making the sugar syrup.
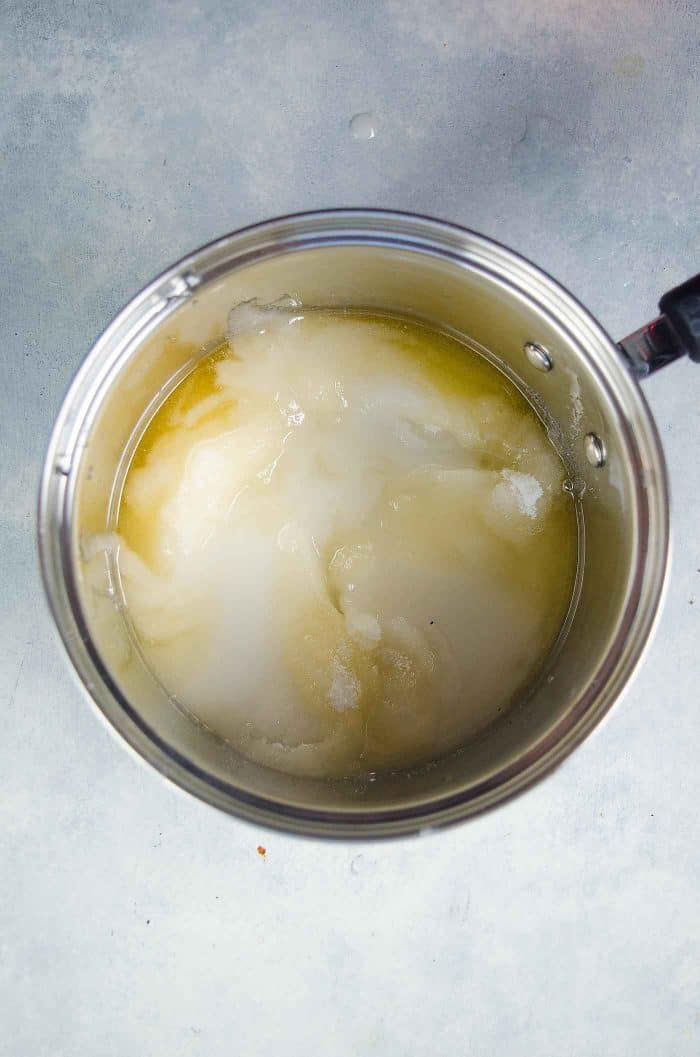
Whether you use all sugar OR sugar and a syrup, once the sugar dissolves in the mixture, it’s really important to make sure that the sugar on the side of the pot has dissolved completely too. You can do TWO things to make sure this has occurred.
- Liberally brush the sides of the pan with warm water using a CLEAN pastry brush (cold water is fine if you used corn syrup or a substitute), to dissolve the sugar into the sugar syrup. OR
- Cover the saucepan with a lid and let it “cook” for about 2 – 3 minutes. The condensation that collects on the lid will slide down the sides of the wall of the pan, washing down the sugar crystals.
I usually follow method number two because it’s easier. Especially if I haven’t used corn syrup or agave in my sugar syrup. But you can use both methods if you do use corn syrup.
Tip for first time marshmallow makers
If you can find corn syrup (also called glucose syrup) or a substitute, USE IT. It’s less stressful knowing that your sugar syrup is less likely to crystallize. Having said that, with my method of making homemade marshmallows (vanilla marshmallows), it’s easier to not crystallize your sugar syrup which ever way you choose to make them.
Step 2 – making sure the sugar syrup reaches the right temperature.
This step is easy if you have a sugar thermometer (or candy thermometer). Set it to 240° – 245°F (firm-ball stage), and swirl the pan from time to time (gently) to dissipate the heat evenly. You’ll know the sugar mixture is ready when the thermometer reaches 240°F – 245°F. If you have an alarm on the thermometer, set it to about 238°F, because the sugar mixture will get hot very quickly
If you’re not using corn syrup (or a substitute), make sure not to agitate the sugar syrup. This means that if you are using a sugar thermometer, do not move it around in the syrup too much. This can cause the syrup to crystallize.
Make sure the candy thermometer is clipped to the side of the saucepan, with the probe immersed in the sugar syrup but without touching the bottom of the pan. If you just place the thermometer in the pot (with the probe touching the bottom of the pan), you won’t get an accurate reading. Remember to swirl the pan gently from time to time to distribute the heat evenly, and prevent hot spots!
Even if you don’t have a candy thermometer, you can still check the sugar syrup stage as follows. Every 5 minutes or so, take a small amount of the sugar syrup and drop it into a small bowl of cold water.
- If the sugar dissolves in the water completely – it’s not ready.
- The sugar forms a cohesive shape in the cold water, but it can be completely flattened in your fingers, then it is not ready – this is the soft-ball stage.
- If the sugar has reached firm-ball stage, then it will form a cohesive shape in the water. You can form a firm and pliable ball with the sugar using your fingers too. It will also hold the shape it’s pressed into without dissolving. THIS IS THE RIGHT STAGE.
- But if the sugar forms a cohesive ball that is too firm and is not easily pliable, then it’s gone a little too far. You can still make marshmallows with this sugar syrup, but it will be slightly chewier. If you want to, you can add a little hot water to the sugar syrup and “re-cook” the syrup to reach the right temperature again.
This is how my grandmother used to check the stages of the sugar syrup of the marshmallows she made. And the fact is even with a sugar thermometer, I still use this test to absolutely make sure the syrup is ready to be used. Even if your thermometer isn’t working, the sugar syrup will not lie.
Step 3 – preparing the gelatin.
The gelatin is mixed with cold water to let it bloom or hydrate. This stage is important because without blooming the gelatin, you may still end up with “blobs” of undissolved “raw” gelatin in the marshmallow. The blooming process ensures the gelatin will dissolve evenly and easily as you whisk in the sugar syrup.
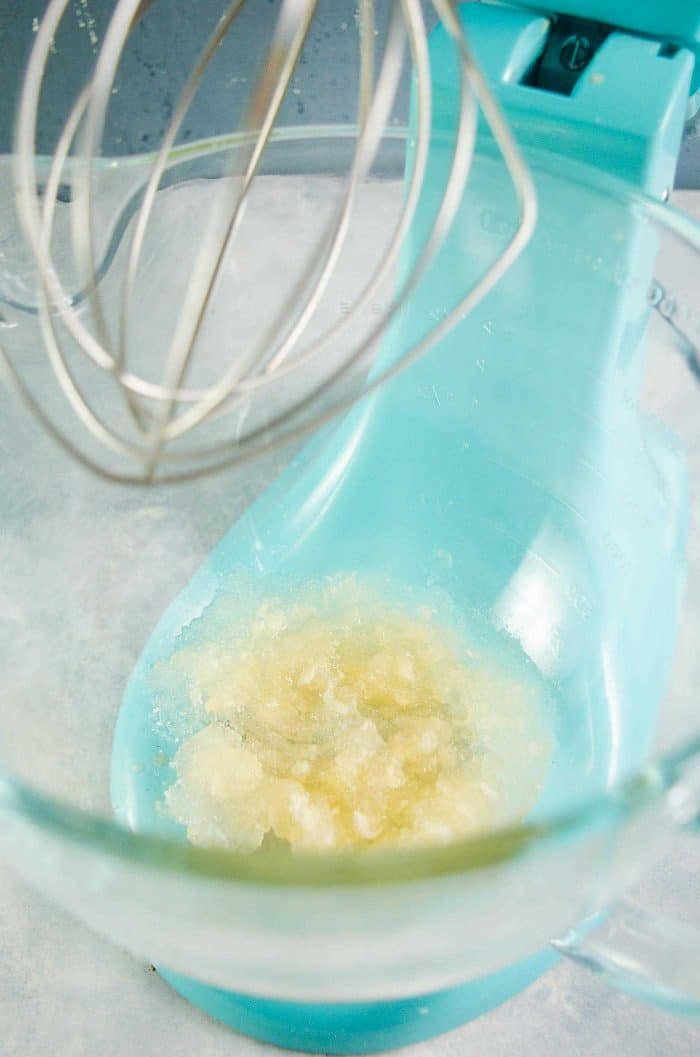
Optional step – adding egg whites.
Whisk the egg whites while the gelatin-sugar mix is being whisked to make the marshmallows.
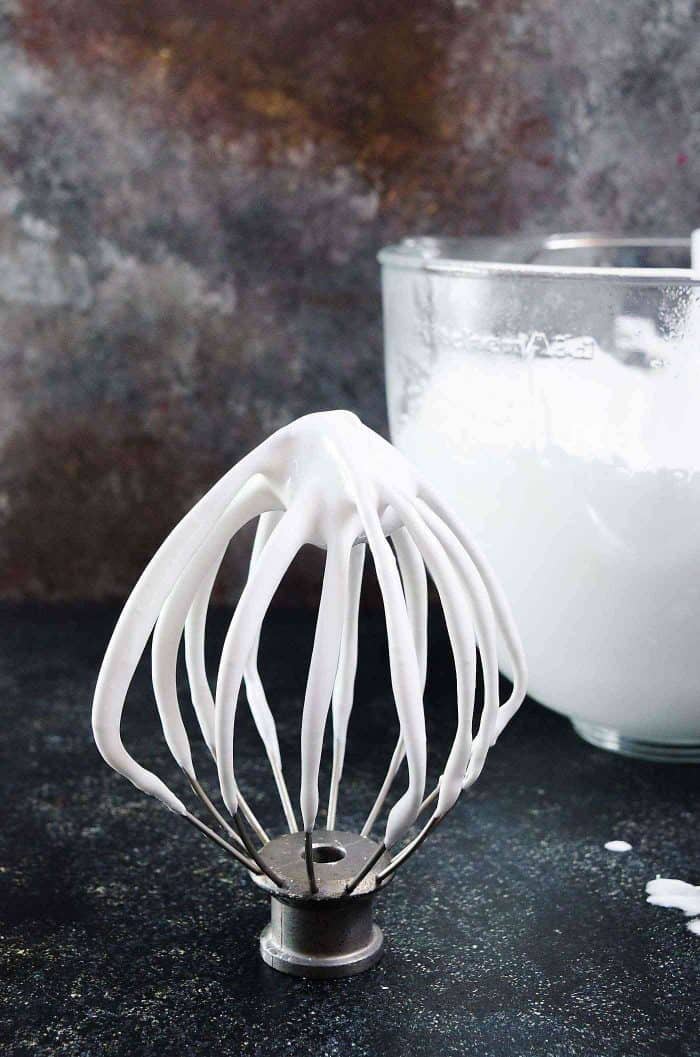
Step 4 -Making the Marshmallow mixture.
Place your mixer bowl with the bloomed gelatin in your stand mixer fitted with the whisk attachment. Slowly pour the sugar syrup into the mixer on low speed. This allows the gelatin to dissolve, while starting to cool down the sugar syrup too.
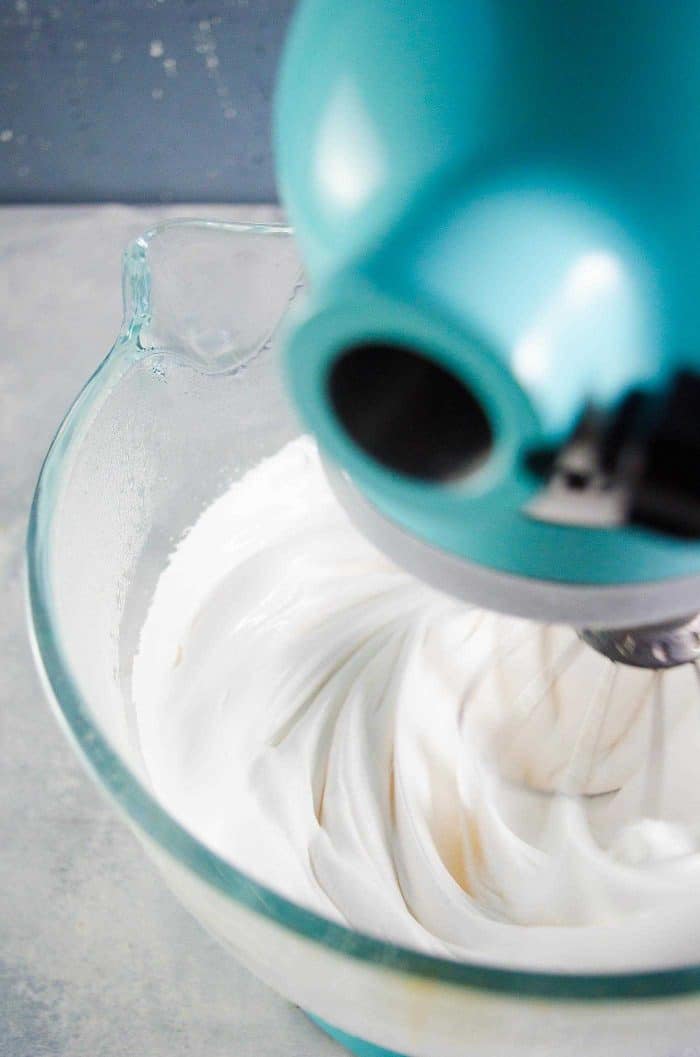
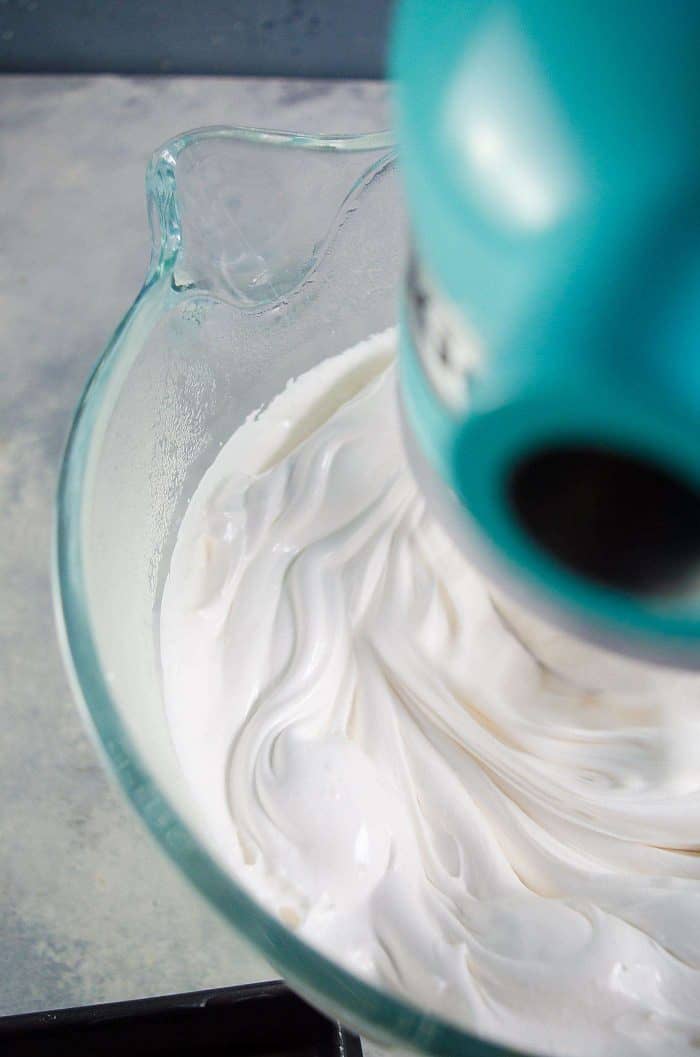
Once the sugar syrup has been added, turn the speed to high to mix the gelatin and sugar mix for about 6 – 10 minutes (for 1 batch). I mix this until I see the base start to pull away from the sides as thick strings.
At this stage, I add the flavoring and the whisked egg whites and whisk to combine.
Step 5 – setting the marshmallow.
The marshmallow is spread into a prepared pan (square 8 x 8 inch pan or quarter sheet pan -9 x 13 inch pan). This pan needs to be prepped to make sure the marshmallow doesn’t stick.
I prefer to rub the pan with shortening, solidified coconut oil or butter. I don’t like brushing it with vegetable oil UNLESS I line the pan with parchment paper too, because the marshmallow tends to stick to the pan if you brush the pan with a liquid oil or fat.
The marshmallows have more height with an 8 x 8 inch pan, or 9 x 9 inch pan and they’ll be shorter if you use a 9 x 13 inch pan (ideal if you want to make shallow marshmallows or want to cut out shapes)
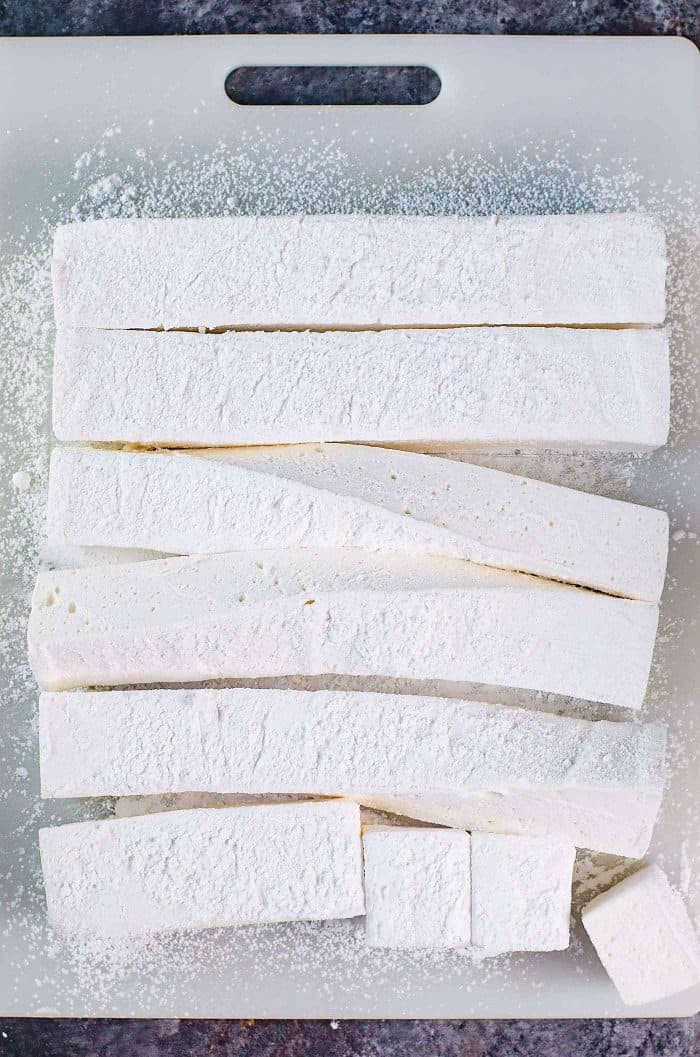
Remember to ALWAYS rub butter, or shortening or coconut oil (solid coconut oil) on all the utensils you will be using too. This includes spatulas and knives or scissors that you will be using to cut the marshmallows.
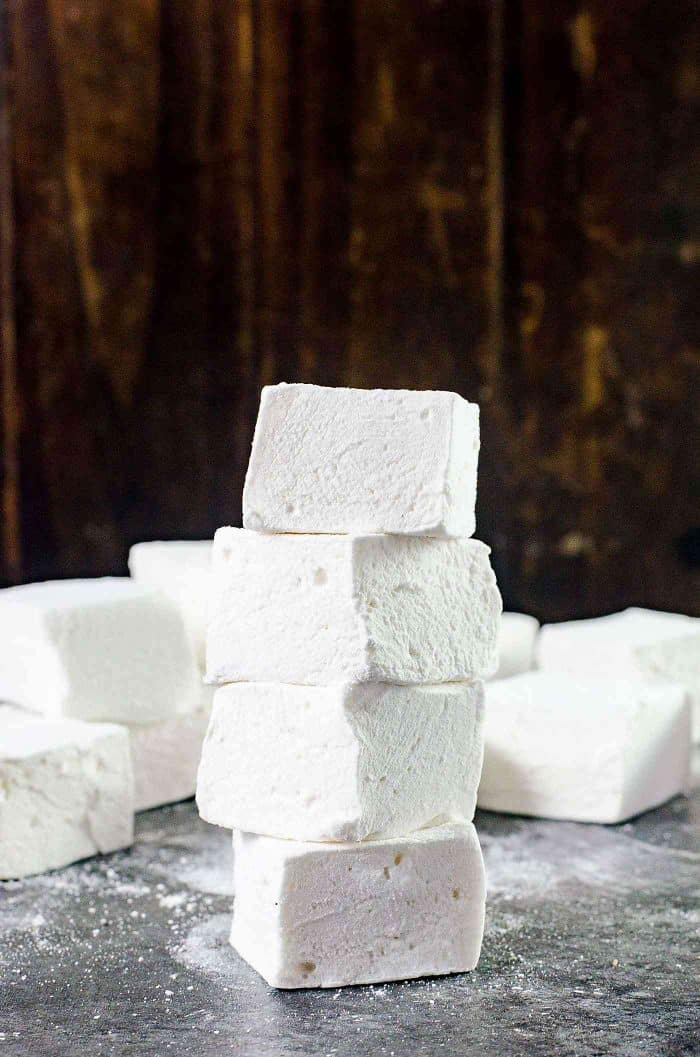
The next part is the hardest. WAITING.
You have to wait at least 6 hours for the marshmallow base to “cure”. I’m not sure what the purpose of this is, but I find that marshmallows are easier to cut and have the right texture after it has set properly. DO NOT RUSH THIS PROCESS.
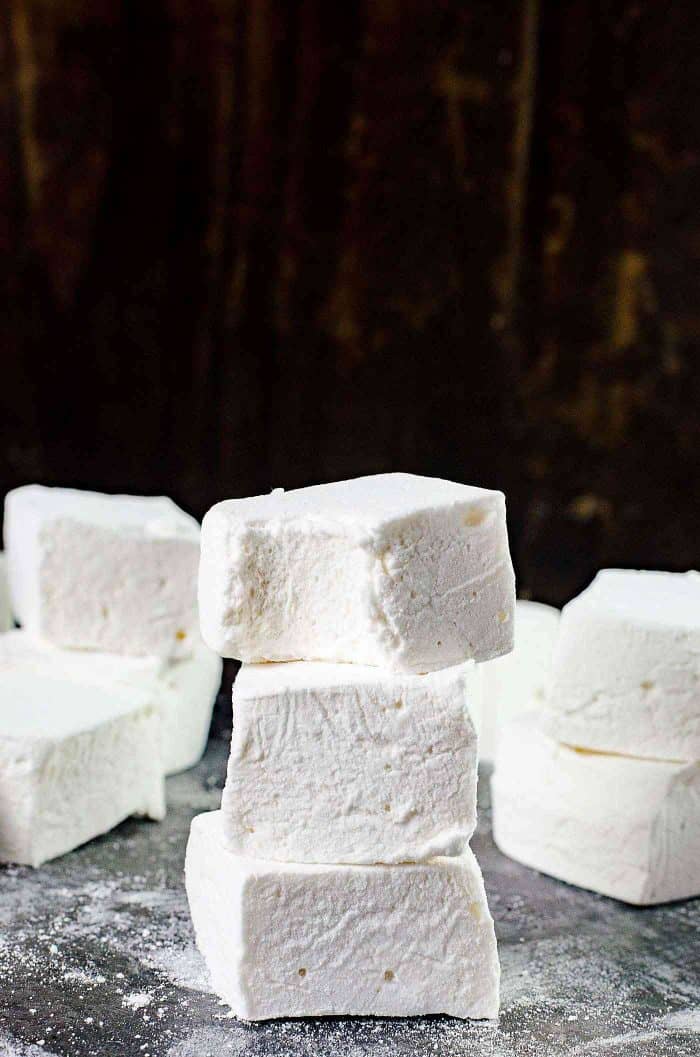
Once you cut the marshmallows, you can toss them in the sugar mix, which is confectioners sugar and corn starch mixed together, or dip them in chocolate (yum!). Then the marshmallows are ready to be eaten.
How to store marshmallows?
It’s important to store the marshmallows in an air-tight container, AT ROOM TEMPERATURE. NEVER IN THE FRIDGE OR THE FREEZER. For extra measure, add some confectioners sugar into the same container to keep the marshmallows lightly coated.
If you store these in the fridge or freezer, they will harden. And as they thaw out they can melt or get really really sticky.
What else can I do with these homemade marshmallows?
I promise you these marshmallows will be the softest, fluffiest, springiest little pillows of deliciousness you’ve ever had! 🙂 Once you know the ins and outs of making marshmallows, you can do all sorts of things with it. You can add coloring and flavorings and plenty more.
You can also get your kids involved with the addition of colors and flavors, and then cutting shapes out of the marshmallow. And they will most likely remember all that fun for the rest of their lives, as I can attest to. 🙂 These homemade vanilla marshmallows are the real deal. They are so much better than store-bought.
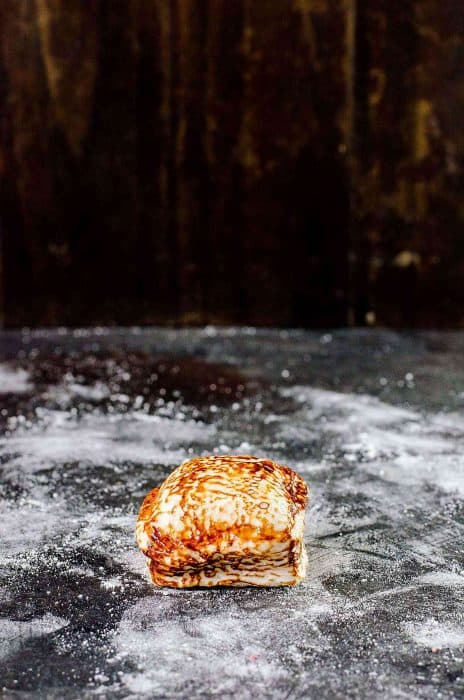
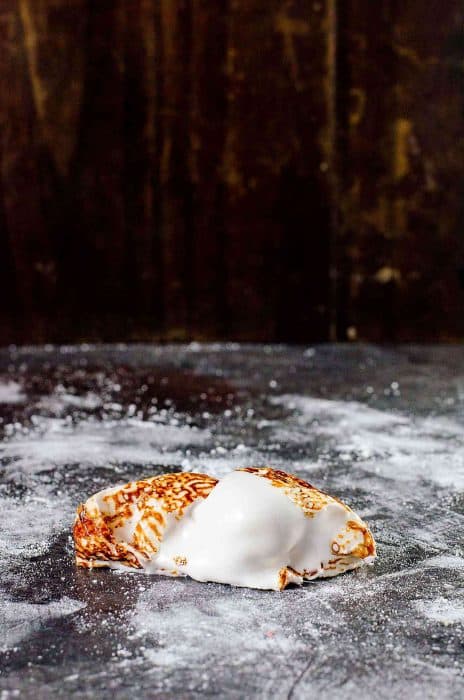
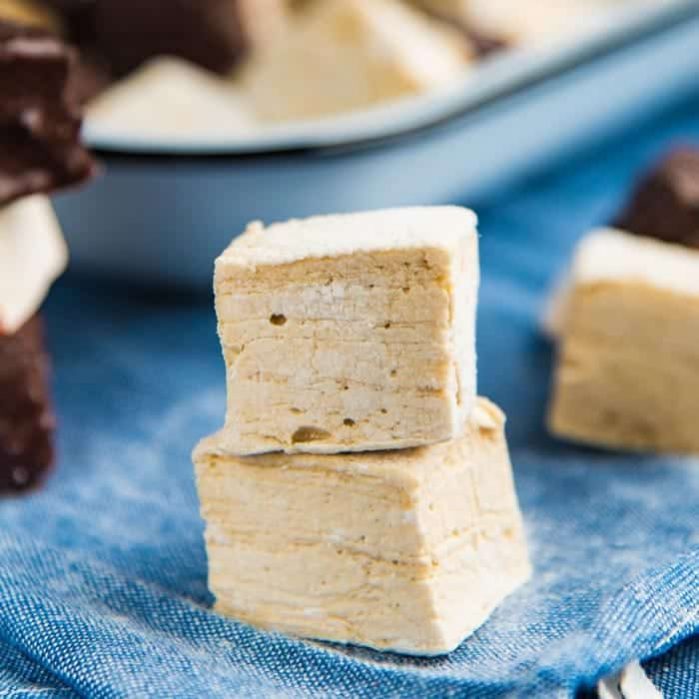
My FAVORITE way to enjoy these marshmallows though? TOAST THEM! Look how gooey these marshmallows become?
If you like marshmallows, then you will LOVE these other marshmallow recipes too!
Orange blossom marshmallows with pistachios
Butterscotch swirled marshmallows
Buttered Rum Marshmallows (or Butterscotch Marshmallows)
EQUIPMENT & TOOLS I USED FOR THIS RECIPE
Stand Mixer – I highly recommend using a stand mixer for making marshmallows. You need to whisk it for a LONG time, so it’s easier to have a stand mixer for this purpose.
Silicone Spatula – I used at least 2, and it was lightly rubbed with butter / coconut oil to prevent it from sticking to anything.
Cooking thermometer – I use this as my candy thermometer too. I now make marshmallows with my thermometer monitoring the sugar syrup temperature. It just makes the process so easy and takes the guesswork out of the process.
8 x 8 inch square pan – for the marshmallows to set
Looking for more recipes?Sign up for my free recipe newsletter to get new recipes in your inbox each week! Find me sharing more inspiration on Pinterest and Instagram.
Basic Homemade Marshmallows
Ingredients:
Homemade Marshmallow Base
- 14.5 oz white sugar (2 cups + 1 tbsp) increase the sugar to 500 g / 2½ cups, if you’re not using agave or corn syrup
- ⅓ cup agave syrup or 1/4 cup corn syrup
- ½ cup water increase water to ⅔ cup if you’re not using agave or corn syrup
- ½ cup water for the gelatin
- 7 tsp gelatin about 3 packets of Knox gelatin (21. 6 g)
- Pinch of salt
- 1 ½ tsp pure vanilla extract
Dusting powder
- 1 cup confectioner’s sugar sifted
- ½ cup cornstarch (cornflour)
Instructions:
Homemade Marshmallow Base
- Place the sugar, agave syrup (or corn syrup), and water in a pot. Stir until the sugar is moistened and mixed with the water.
- If you’re not using agave or corn syrup, place the sugar in the saucepan and pour the water along the edge of the saucepan. Make an “X” in the sugar using your finger – wall to wall, to let the water spread and moisten the sugar.
- Heat over medium-high heat until the sugar syrup comes to a boil. Gently swirl the pan to evenly distribute the heat.
- Cover the saucepan with a lid and lower the heat to medium. Let the syrup cook for 2 minutes. Do not lift the lid at this point.
- After 2 minutes, remove the lid and check to make sure there are no sugar crystals on the side of the saucepan. If there are crystals, then cover the saucepan for a further minute to allow the condensation to wash down the sugar crystals into the syrup.
- Clip the sugar thermometer to the side of the saucepan, and set the temperature between 242 – 245°F. Let the sugar syrup cook until it reaches this temperature. If you don’t have a sugar thermometer, please check the sugar stage every 5 minutes until it reaches the firm-ball stage (please read the recipe notes in the post to learn how to do this).
- While the sugar syrup is cooking, prepare the gelatin. Place ½ cup of water in the mixer bowl. Add the gelatin to the water and mix to moisten the gelatin. Set aside to allow the gelatin to bloom while the sugar syrup is cooking (at least 10 minutes). Place the bowl in your mixer, with the whisk attachment.
- When the sugar syrup reaches the right stage, remove it from the heat and let the bubbles subside. While the mixer is running on medium – low speed, pour the sugar syrup into the gelatin, along the wall of the bowl (this is to prevent the gelatin from being scorched by the hot sugar syrup). Add the salt and increase the speed to medium – high.
- Whisk on medium – high for 3 – 5 minutes until the marshmallow base is doubling in size and is white, fluffy and smooth. Mix for a further 3 -5 minutes on high speed, allowing the marshmallow to volumize more (upto 3 times). Do not mix if the marshmallow base is already cooled down, as this will create tough marshmallows. (You can whisk the marshmallow on high for about 5 – 6 minutes to shorten the time as well, just make sure the base is fluffy, white and upto 3 times more than the initial volume)
- While the marshmallow base is whisking, prepare the pan and utensils you will be using. Rub an 8 x 8 inch pan with shortening or butter (you can line this pan with parchment paper if you prefer). Brush all the utensils – spoon, spatulas with the same fat as well.
- Optional – whisk the 2 egg whites in a clean metal bowl until you have stiff peaks. Set aside until needed.
- Add the vanilla, (and egg whites – if using) to the marshmallow base and whisk for a further minute on high speed to combine the vanilla (and egg whites).
- Scrape the marshmallow base into the prepared pan using an oiled cake spatula or flexible scraper. Spread the marshmallow evenly in the pan using the oiled spatula.
- Sieve confectioner’s sugar over the top of the marshmallow and allow the marshmallow to set for at least 6 hours.
- Turn the set marshmallow out onto a work surface dusted with dusting powder. Cut the marshmallows with an oiled knife or a pair of scissors. Toss the marshmallow in the dusting powder and store in an air-tight container.
Dusting Powder
- Mix the confectioner's sugar and cornstarch together until well combined. Set aside until needed. There is more than enough for multiple batches. I like making extra so I can store my marshmallows with some of the dusting powder and store the rest for another batch.
Tips & Tricks
- Chocolate marshmallows – get the recipe right here.
- Lemon marshmallows – add lemon zest to the sugar syrup. Substitute 1/4 cup of the water used to make the sugar syrup with strained lemon juice. Then proceed as normal with the rest of the recipe.
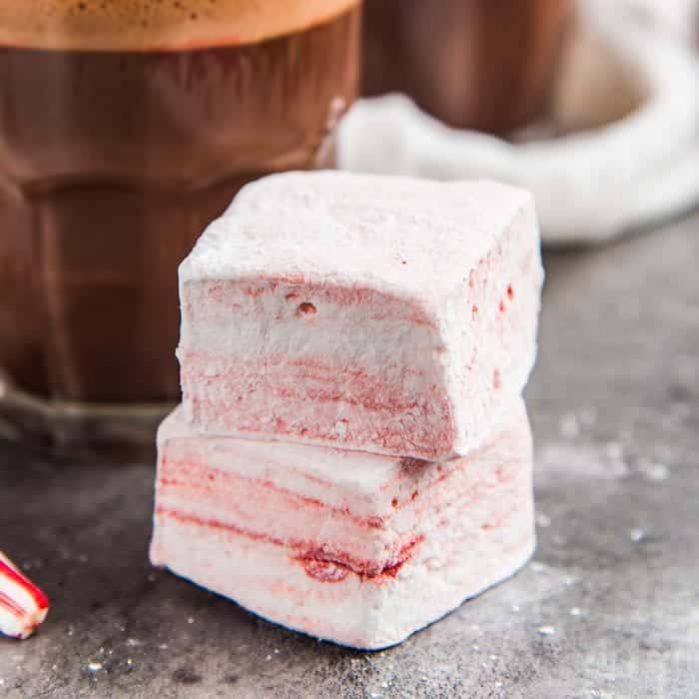
- Peppermint marshmallows – get the recipe right here.
- Butterscotch marshmallows – get the recipe for butterscotch marshmallows (buttered rum marshmallows) right here.
- Tahini marshmallows – get the recipe right here.
- Chocolate chip mint marshmallows – add 1/2 cup of grated milk chocolate (or finely chopped chocolate) and 2 tsp of pepper mint extract to the marshmallow base and mix to combine.
- Unicorn marshmallows – you will need to work quickly for these. Divide the marshmallows into 3 portions. Color each portion with pink, blue, and purple. Swirl the colors together and spread them in the prepared pan.
- Orange blossom marshmallows with pistachios.
- Butterscotch swirled marshmallows.
- If you’re using Knox gelatin, you will need 3 packets, which is equal to 6 3/4 – 7 tsp (or 21.6 g ).
- If you’re using other gelatin brands, measure out the packet content to make sure you have 6 3/4 – 7 tsp of gelatin. This is because I’ve tried a generic brand of gelatin, and each packet contained 3 tsp of gelatin.
- If you’re using loose gelatin powder, then you can easily measure 6 3/4 – 7 tsp of gelatin for this recipe.
Nutrition Information:
“This website provides approximate nutrition information for convenience and as a courtesy only. Nutrition data is gathered primarily from the USDA Food Composition Database, whenever available, or otherwise other online calculators.”
Alexandria Urgo says
I would these marshmallows work with rice crispy treats?
Aili says
This was so helpful! I can’t thank you enough. I made this with chicken pasta. It was delicious!
Dini says
Hi Aili
I am glad that you found this helpful and that you enjoyed it 🙂
I must say I have never heard of marshmallow with chicken pasta before, but I am glad you enjoyed it! 🙂
Rona V Segura says
Love it!!!
Penne Jaster says
Any idea why the marshmallows are white when vanilla is added and brown in color!
Dini says
Hi Penne
Vanilla is brown in color. However the color is not strong enough to color the huge amount of white marshmallow base. So it remains white. I used Nielsen Massey vanilla here.
Jenn says
I really like these! I was concerned they wouldn’t work because I’ve never made candy using a candy thermometer before. The directions were perfect. I just let the gelatin sit in water before I heated the sugar to ensure it would be combined well when I needed to add the sugar syrup. They are much better than store-bought. More fluffy. Better texture.
Dini says
Thanks so much for letting me know Jenn! They really are better than store-bought. 🙂 I’m so glad you liked the recipe.
Laura McNeill says
I tried making these twice today. Not sure what I am doing wrong. When I add the syrup o the gelatin and mix, they just aren’t whipping up much volume. I mixed for a long long time on each batch, I used a candy thermometer and water tested the syrup, I used a stand mixer and then switched to a faster hand blender for the second batch. The first batch I waited about a minute after boiling the syrup to mix it into the gelatin. The second batch I waited longer until it was almost not having any bubbles. Ahhhhh, help!
Dini says
Hi Laura
That sounds very frustrating!
Could you let me know if you’re using regular gelatin? And are you making sure there is no fat in the bowl or in the mixture as well?
It also sounds like you might be waiting too long to add the syrup. Add the syrup along the wall of the bowl so it has a chance to cool down slightly before hitting the marshmallow.
Beth says
These were soooo good! I have never made candy or marshmallows, and all of the instruction helped make it a success on the first try!
I used corn syrup, and did not add egg whites. I did not have a candy thermometer, but the water test worked fine.
Jenny says
Hello, I was wondering can I make this with gelatin sheets? If so what is the process and how much will I need. Thank you
Dini says
Hi Jenny
I haven’t made marshmallows with gelatin sheets, so I cannot be 100% certain of the ratio. However, I did read here, that 0.25 oz (1 packet) of gelatin is equal to 3 gold strength gelatin leaves.
The only difference will be the process of “blooming” the gelatin leaves. This is done by soaking the gelatin leaves in cold water until they have completely softened. Then squeeze out the excess water, and place the softened gelatin leaves in the mixer bowl. Then proceed with the recipe.
I hope that helps!
Sherb says
I use gelatin sheets and they come out perfect. 1 sheet = 1 t but I like the consistency I get with 9 sheets. Hope that helps!
Akex says
No egg white in recipe?
Dini says
Hi,
I prefer not to use egg whites in my marshmallows. However in the recipe instructions I’ve indicated when and how to add egg whites if you choose to. I hope that helps!
Temiloluwa says
This is so detailed and informative! Thank you! I just wonder if these homemade marshmallows could be used to make marshmallow fondant. It’s difficult to find marshmallows where I live. Thanks in advance ❤️
Dini says
Hi Temiloluwa!
I haven’t made it myself, so I’m not sure. I think it may require some trial and error to figure out what the right ratios would be to make marshmallow fondant from homemade marshmallows. I’m sorry I couldn’t be of more help…
Shawne says
Do you butter the top of the parchment paper if using it? Or if you use plain parchment paper will it stick?
Dini says
Hi Shawne
Technically marshmallow shouldn’t stick to a good quality parchment paper. However I’ve never used parchment paper with this because it can wrinkle underneath the marshmallow mix because of the warm mixture and I try to avoid that. But it shouldn’t stick to parchment paper (without using butter) if you choose to use it.
Samanthia says
I made this for my 4 year olds ski and cocoa birthday party, and they were great! This was my first time making marshmallows, and it was easy. We used the agave syrup and no egg. I did put some of them in a heart shape candy mold. I really pushed the marshmallow in to make sure it was full, and I was pleasantly surprised that it worked. We also rolled the hearts in sprinkles before dusting with sugar. Worked perfect!
Samantha says
I’ve used this recipe (and the peppermint one!) a couple of times now to great success. I love the texture of homemade marshmallows! I can’t go back to store bought now! I was wondering, could the uncured marshmallows be used to make rice krispie treats?
Dini says
Hi Samantha
I’m so glad that you like this recipe!
I haven’t tried to use the uncured base to make rice krispie treats before, so I’m not sure. I’m sorry I couldn’t be of more help! If you do try it, let me know how they turn out?
Cheers,
Dini
Christine says
I used Irish Cream to bloom the gelatin…I didn’t get much volume though. 🙁 Is that because of the liquor?
Dini says
Hi Christine
It’s very likely that it was the irish cream. I don’t recommend using any liquid that has dairy or fat to bloom the gelatin. You could potentially use irish whiskey instead of irish cream though. If you want to add any fat based flavoring, gently fold it into the marshmallow mix at the end.
Hope that helps!
Julie Williamson says
Absolutely brilliant!!
Sheyii says
I loved this recipe very much. I have a doubt that, should we keep the marshmallow in room temperature or in refrigerator for setting and after for storage