

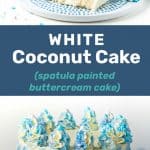
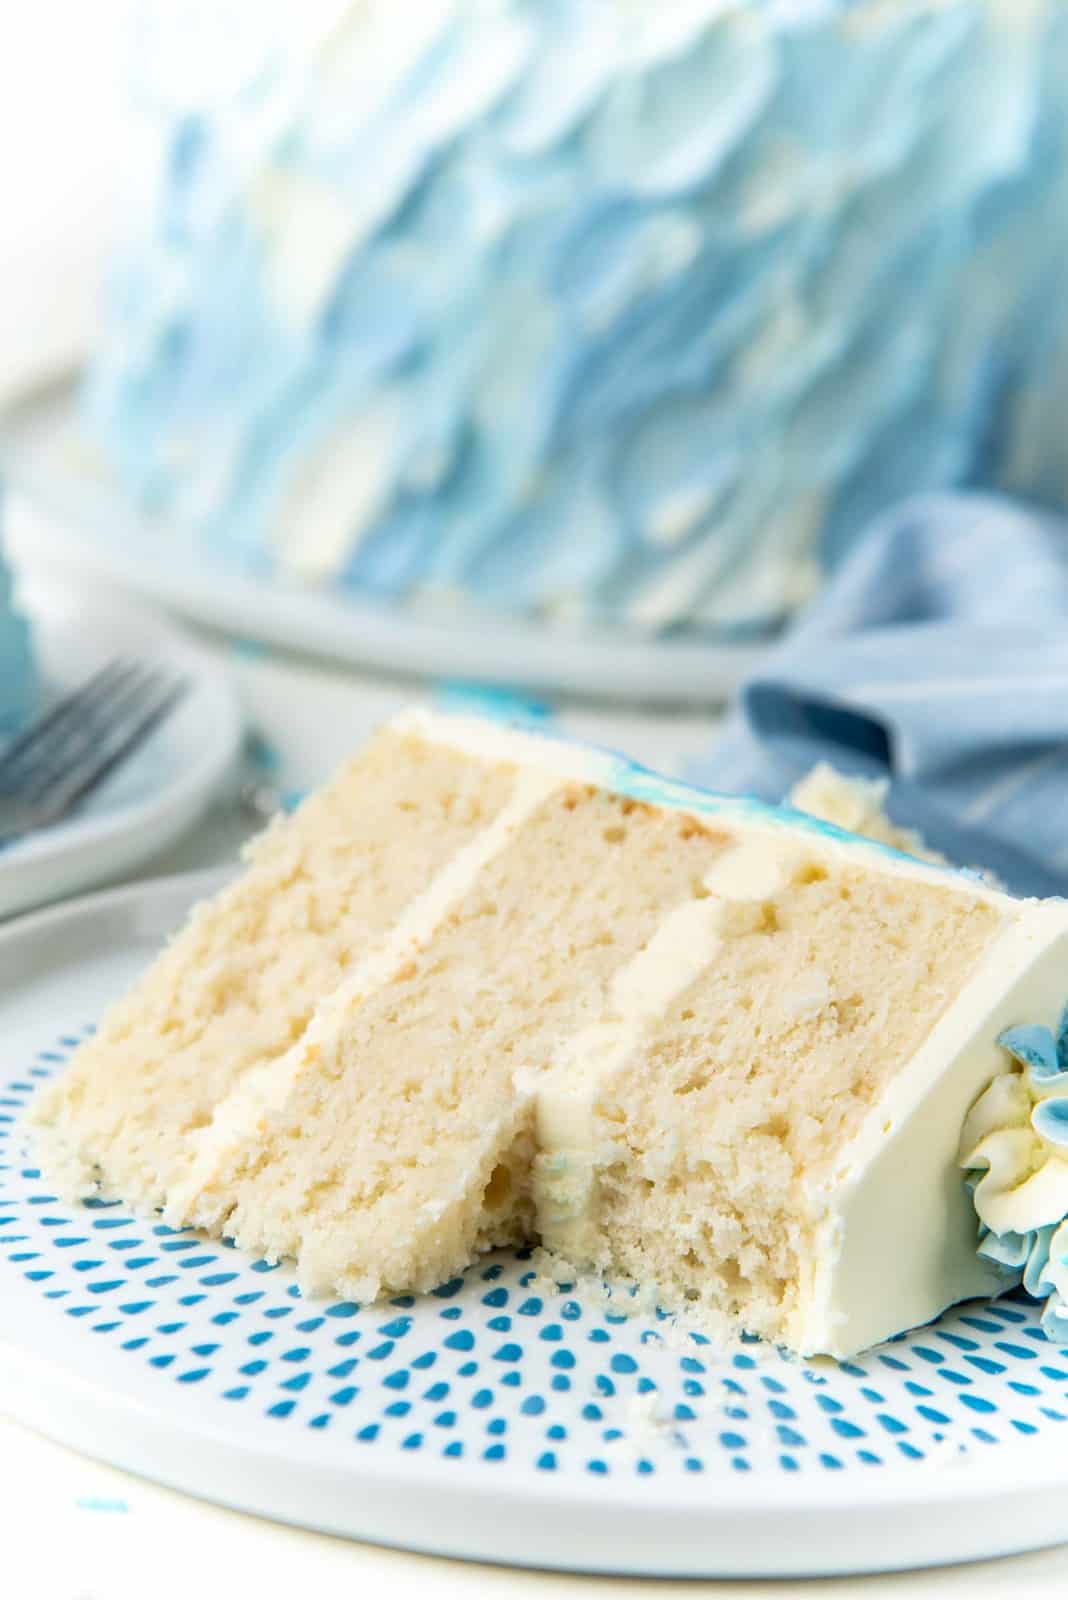
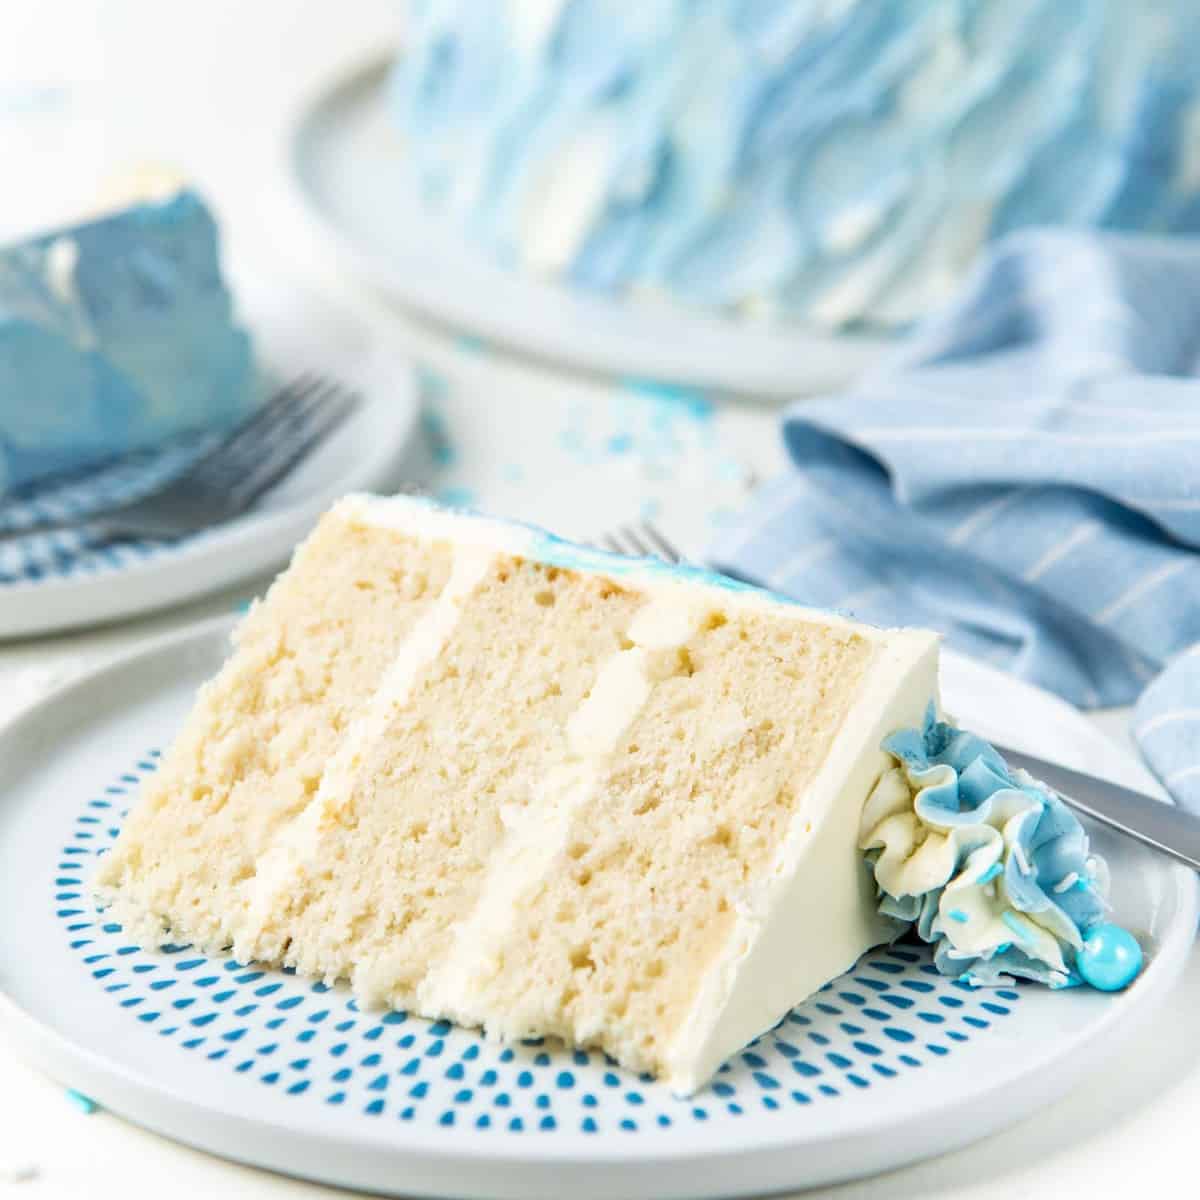
This white coconut cake is deliciously soft and full of coconut flavor! Perfect as a birthday cake, or even as a winter wonderland cake!
This White Coconut Cake is made using my classic white cake recipe. and the delicious Lemon Swiss Meringue Buttercream is adapted from my perfect Swiss meringue buttercream recipe!
This post was supposed to be shared in December… but my laptop broke down! So I didn’t have access to any of my photos or software until January. I made this beautiful winter-themed cake as a festive Christmas recipe. But hey, I’m in Ottawa, and it’s -25°C outside as I write, with mounds of snow, so a celebratory winter cake is still just as appropriate!
This coconut cake was made using my classic white cake recipe. White cakes aren’t big in New Zealand or Australia, so I didn’t know about them until I moved to the US. After testing and developing many white cake recipes, I finally got it just the way I like it! So I modified my recipe to make this coconut cake.
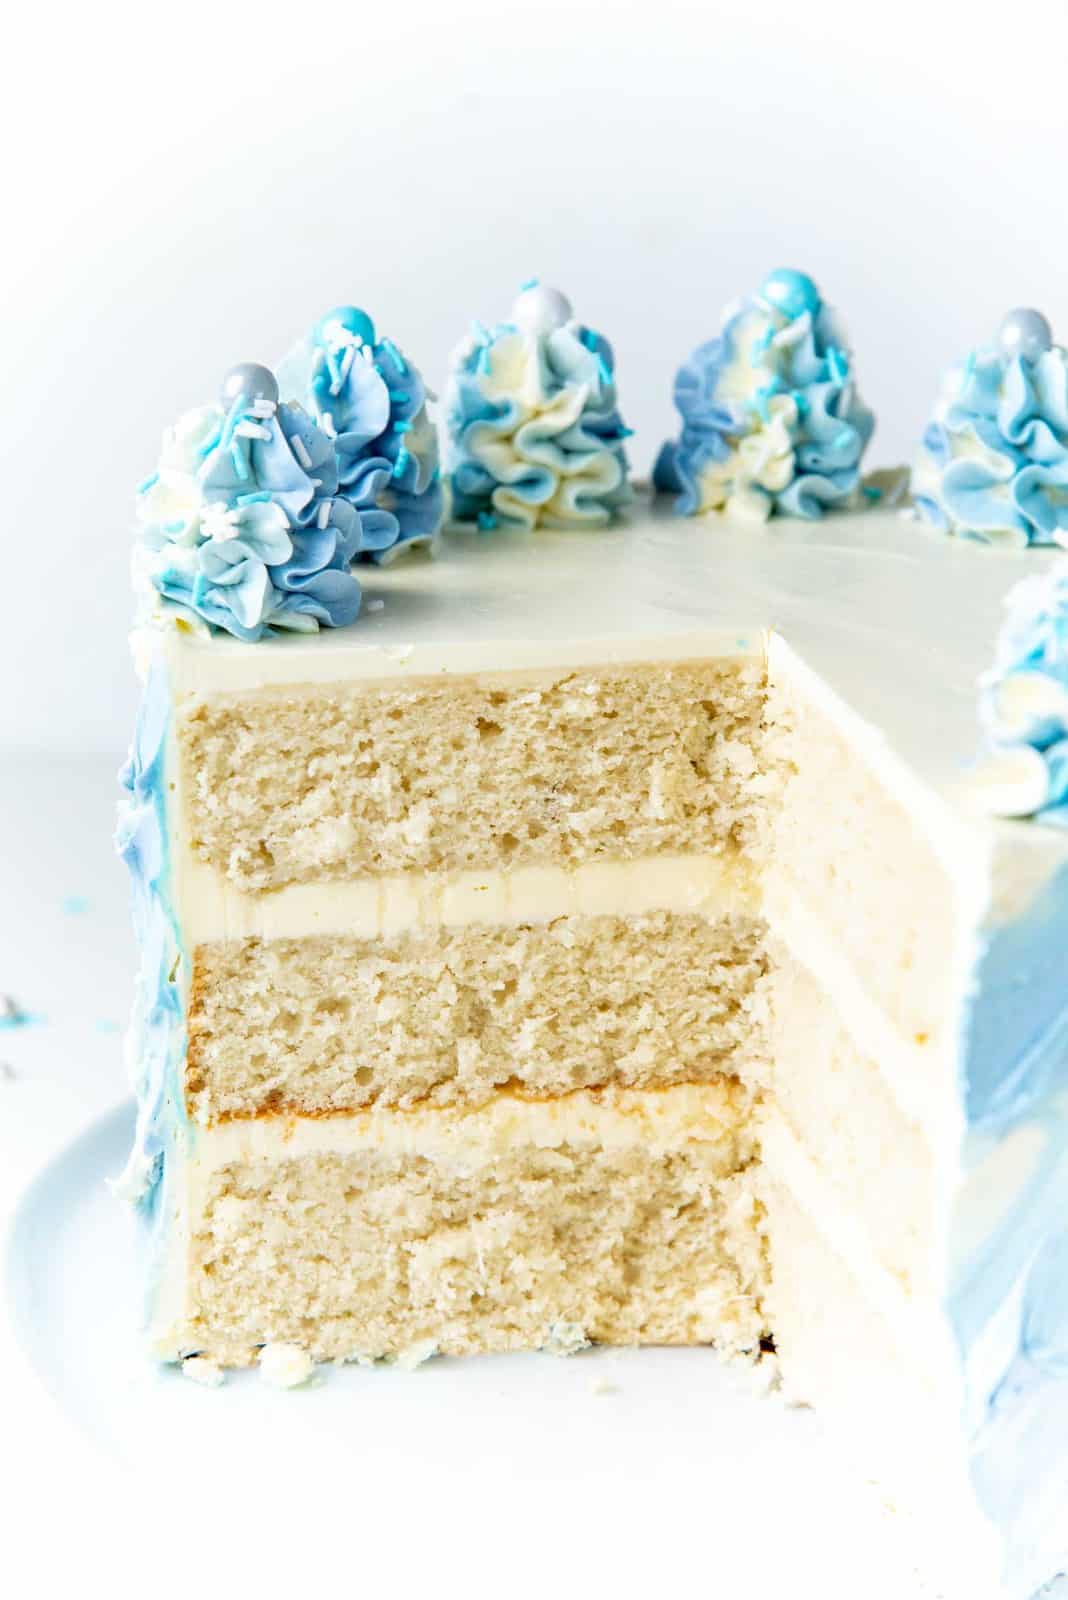
Just like a white cake, this cake is made entirely with egg whites instead of whole eggs. So without egg yolks, this cake maintains a lovely white color.
Why you’ll love this cake
- Perfectly white cake that is moist and delicious.
- Lots of coconut flavor. This cake has desiccated coconut AND coconut milk.
- It’s perfect for winter, with bright, white cake and white and blue buttercream.
- Delicious, tropical flavors like coconut and lemon to make you long for summer in the dead of winter!
- Fluffy and buttery Swiss meringue buttercream, flavored with lemon extract and lemon juice.
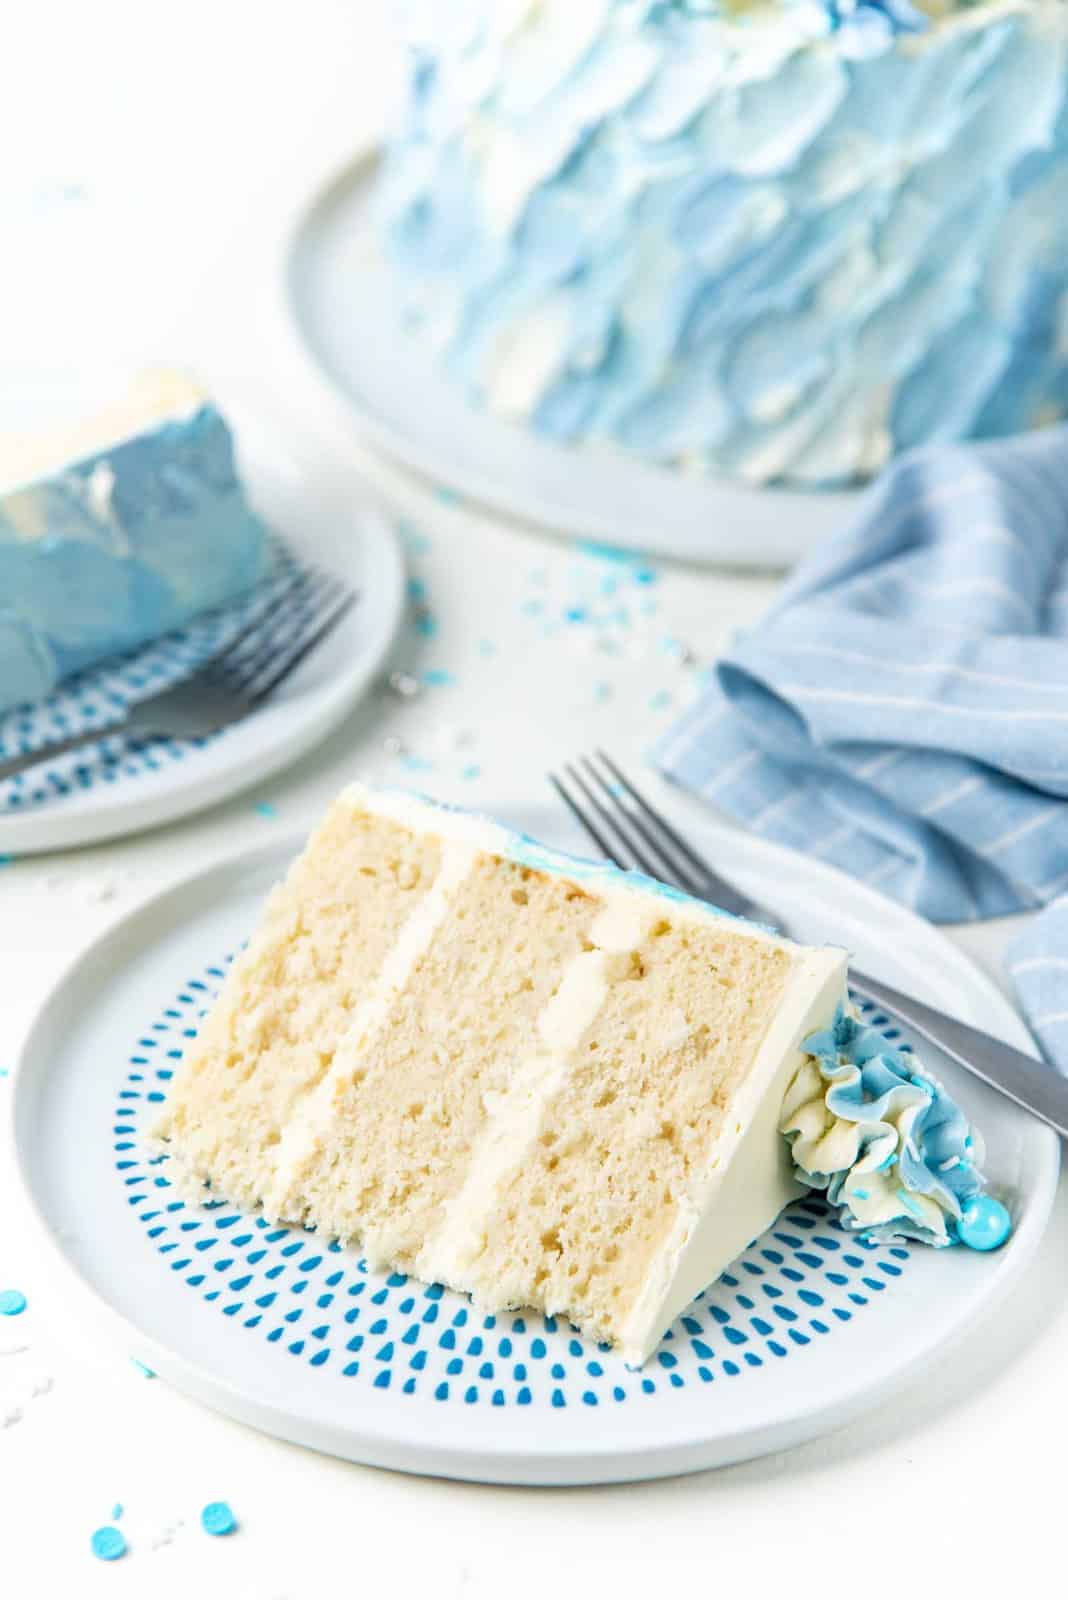
How to cut and serve this cake
This cake serves 12 people if sliced as wedges. It would serve a lot more if it’s sliced “wedding cake style”. That is to slice the cake into 1 inch strips, and then cut each strip into 2 inch pieces. The edge pieces will be smaller due to the rounded edges. Check out the visual here as an example.
Three layer cake or two layer cake?
You can also serve this cake as a 2 layer cake instead of a 3 layer cake.
Change the servings number in the recipe to 8 slices and the quantities in the recipe will then be enough for 2 layers.
The cake can still serve 12 people, but just in smaller portions, since the slices will be shorter.
How to make white coconut cake
Alright, so let’s talk about how to make this delicious white and blue cake for winter!
The base for this coconut cake is my white cake. It’s flavored with desiccated shredded coconut and coconut milk. It’s also flavored with a simple coconut syrup made with coconut milk and sugar. This not only enhances the coconut flavor, but keeps the cake moist.
Coconut syrup
This is an optional step, but I love the results of adding this syrup to the cake layers. I make this ahead of time since it can be used at room temperature or warm.
This simple syrup is very easy. Just cook the coconut milk and sugar together in a saucepan until the sugar has dissolved, and let the syrup simmer for about 1 minute. Then allow it to cool down before using.
Prep the ingredients for the cake
First get the dry ingredients ready. I prefer weighing my ingredients (as I always recommend). This is especially important for this cake. This is because any extra dry ingredients or too much wet ingredients can cause the cake to have a strange texture.
For this coconut cake, I prefer using cake flour (or any low gluten flour). This will reduce the “gumminess” of the cake and make it light and fluffy. All purpose flour can be used as well, but be mindful to not over-mix the cake batter.
Whisk the cake flour, baking powder and baking soda together in a bowl and set aside until needed.
Have all the wet ingredients measured and ready to go too. The egg whites need to be whisked gently until frothy. I explain why in the tips section below. Unlike when making meringue, getting some yolk in the egg whites is NOT a deal-breaker, since we are not going to be making an egg foam.


Making the cake
I use the creaming method here to make this cake.
The butter and sugar are creamed together in the mixing bowl with a stand mixer until light and fluffy. Then the whisked egg whites and coconut milk mix with coconut are added.
Along with the coconut milk, add the vanilla extract (clear vanilla to keep it white), and lemon extract (if using). To increase the coconut flavor you can add coconut extract as well.
Once the wet ingredients are mixed, it’s time to fold in the flour mixture. Make sure to fold it in very gently. If you over-mix the flour, it can result in a gummy cake.
You should end up with a beautiful, smooth white cake batter with flecks of coconut.


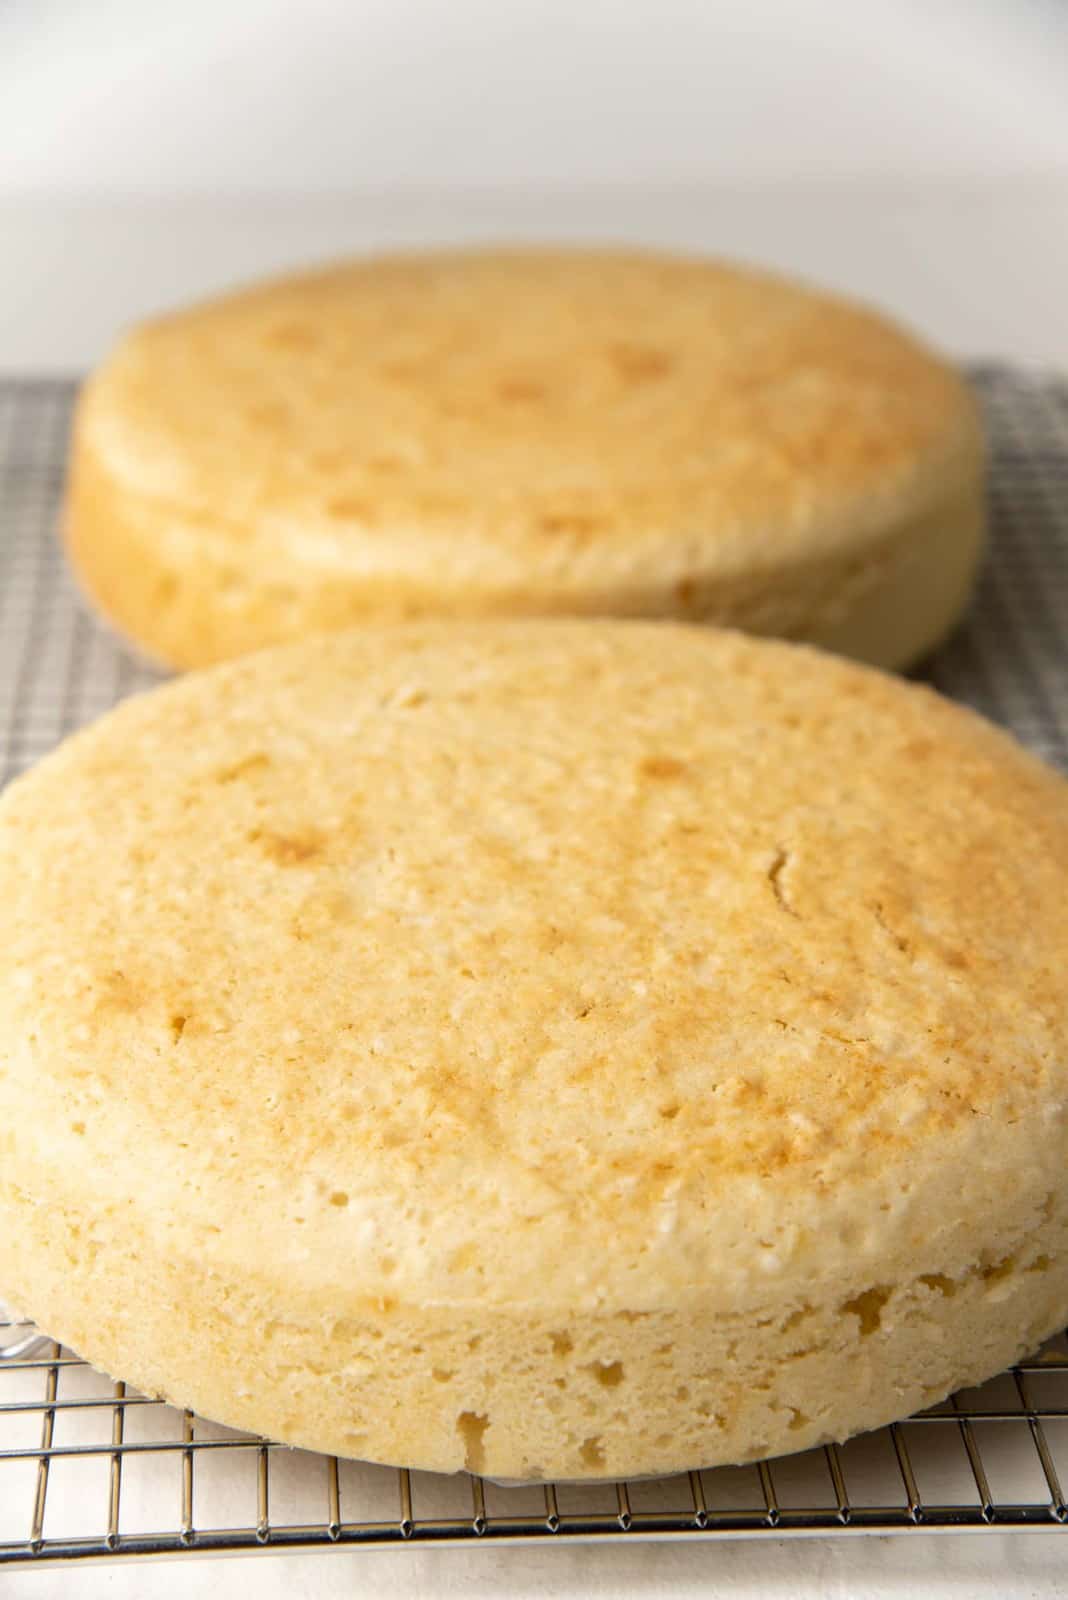
Baking the cake
This is a 3 layer cake, so you will need three 8 inch round pans. Prep the pans by lightly buttering them and lining the bottom with parchment paper and dusting the sides with flour.
Evenly divide the batter into the 3 pans before baking in a preheated oven. Bake until the cake is springy to the touch and a toothpick inserted comes out clean.
Once the cake layers are baked, remove from the oven and the baking pan and let the cake layers cool completely to room temperature. While the cake layers are still warm, drizzle the coconut syrup over them. Preferably on both sides of the cake.
You can make the frosting, while the cake layers are cooling. You can even make the frosting the day before, if you’d like to. If you want to prep the cake later, then you can wrap the cooled cake layers and store them for later too.
Frosting the cake
The lemon Swiss meringue buttercream (SMBC) is easy! I’ve previously shared all the tips you need to make perfect Swiss meringue buttercream (you can also check out my EASY Swiss meringue buttercream recipe for an even easier cheat’s version of this buttercream). To keep the frosting white, I add lemon extract and lemon juice, and skipped the lemon zest.
I divided about 3 cups of buttercream into 3 separate bowls (1 cup each). Each portion was colored a different shade of blue and set aside until it was time to decorate the cake.
Sandwich the cake with the white SMBC, making sure it’s as even as possible. To keep the buttercream layers even, I measure out how much buttercream I add to each layer. I add about 3/4 – 1 cup of buttercream for each layer.
Once the cake layers are filled, it’s time to crumb coat the cake. Crumb coating is adding a very thin layer to the top and sides of the cake to trap all the loose cake crumbs. You can do this with any frosting, but for this cake, I’m using the same lemon Swiss meringue buttercream. The cake is then refrigerated for about an hour until the frosting sets. This ensures that the final cake looks clean and perfect, with no loose cake crumbs sticking out.


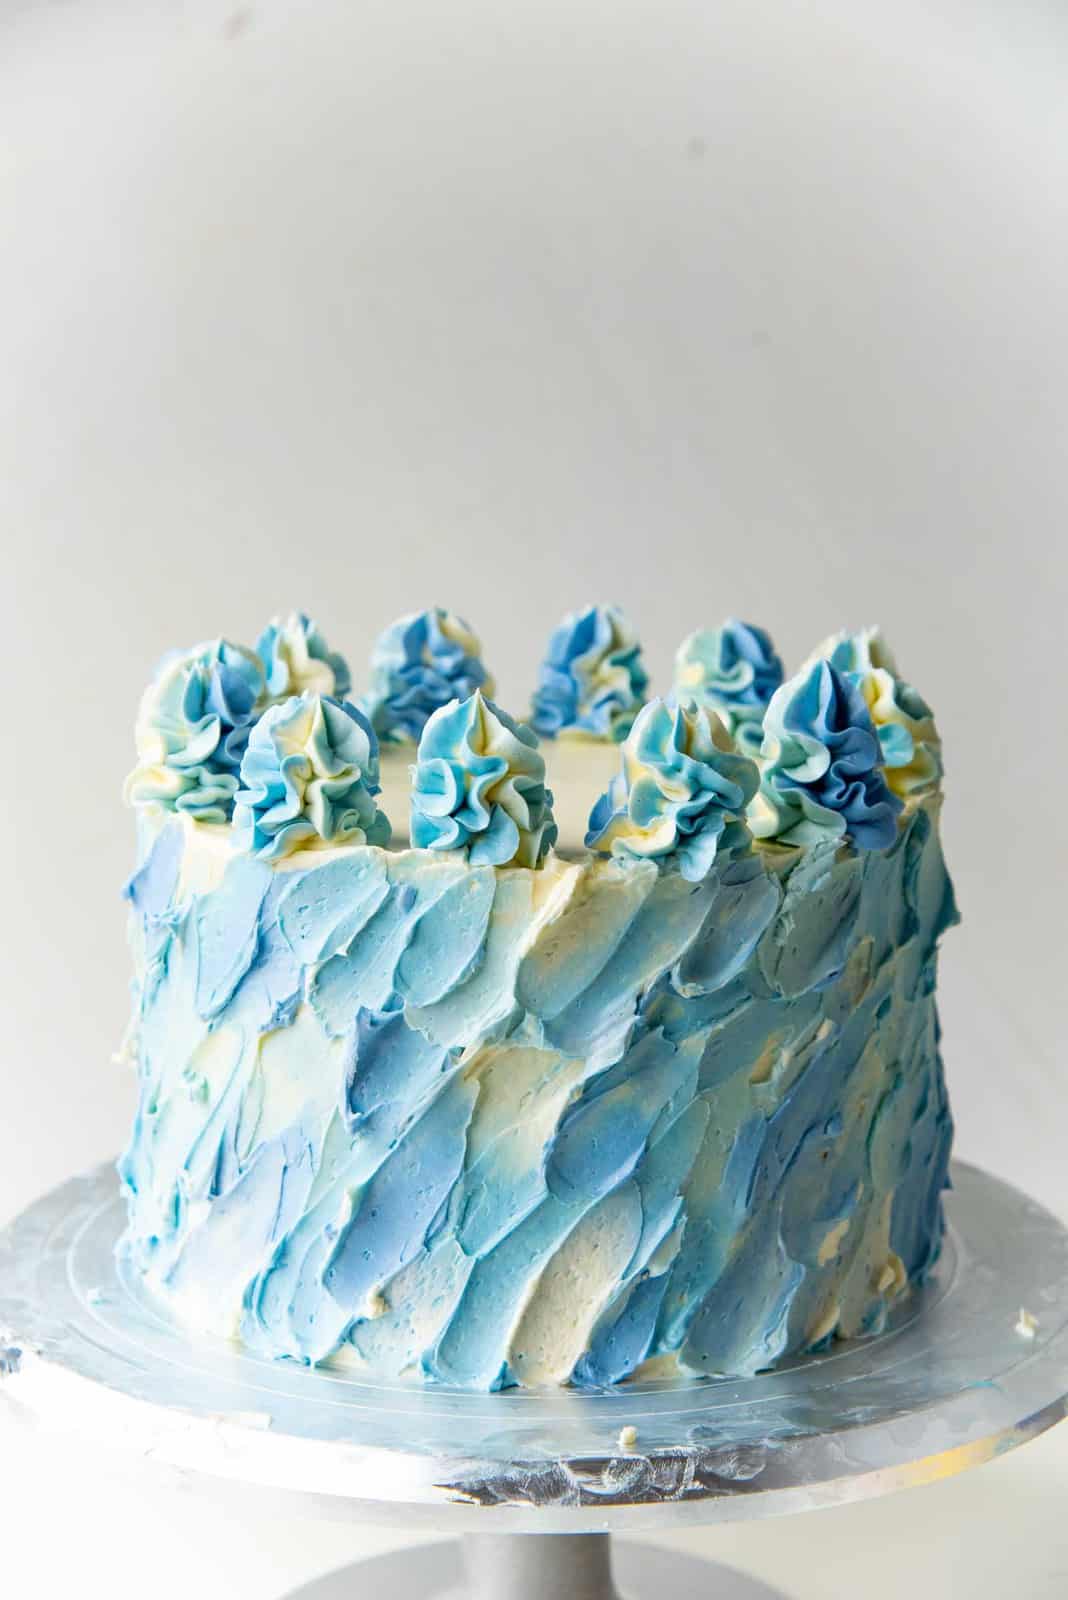
How to create the brush stroke buttercream look (or the Spatula paint effect on buttercream)
Frost the cake with another thin layer of the white Swiss meringue buttercream. This doesn’t need to be thick or smooth on the sides, however make it as smooth as possible on the top of the cake. The cake is now ready for the final brush stroke look.
Choose the direction you want the strokes to go in. It can be going up at an angle in either direction, or straight up. But stick with the same direction as much as you can throughout the process.

Have a small bowl of water and a cloth napkin or paper napkins ready. You will also need a small offset spatula.
Using the spatula, take a little bit of the blue colored SMBC. Place it gently on the cake and then in one stroke (in the direction you like) “paint” the frosting onto the cake. You will end up with frosting that is thick and rounded on one end, and spread out at the other end.
Repeat this process with the different blue shades and more of the white SMBC. The color placement should be random. Some mixing is OK. Dip the spatula in the water and wipe it clean whenever you need to.
Don’t make the strokes too long. Vary the length of the strokes to keep the design interesting. Once you get the hang of this technique, it’s SO EASY, and the pattern will look beautiful!


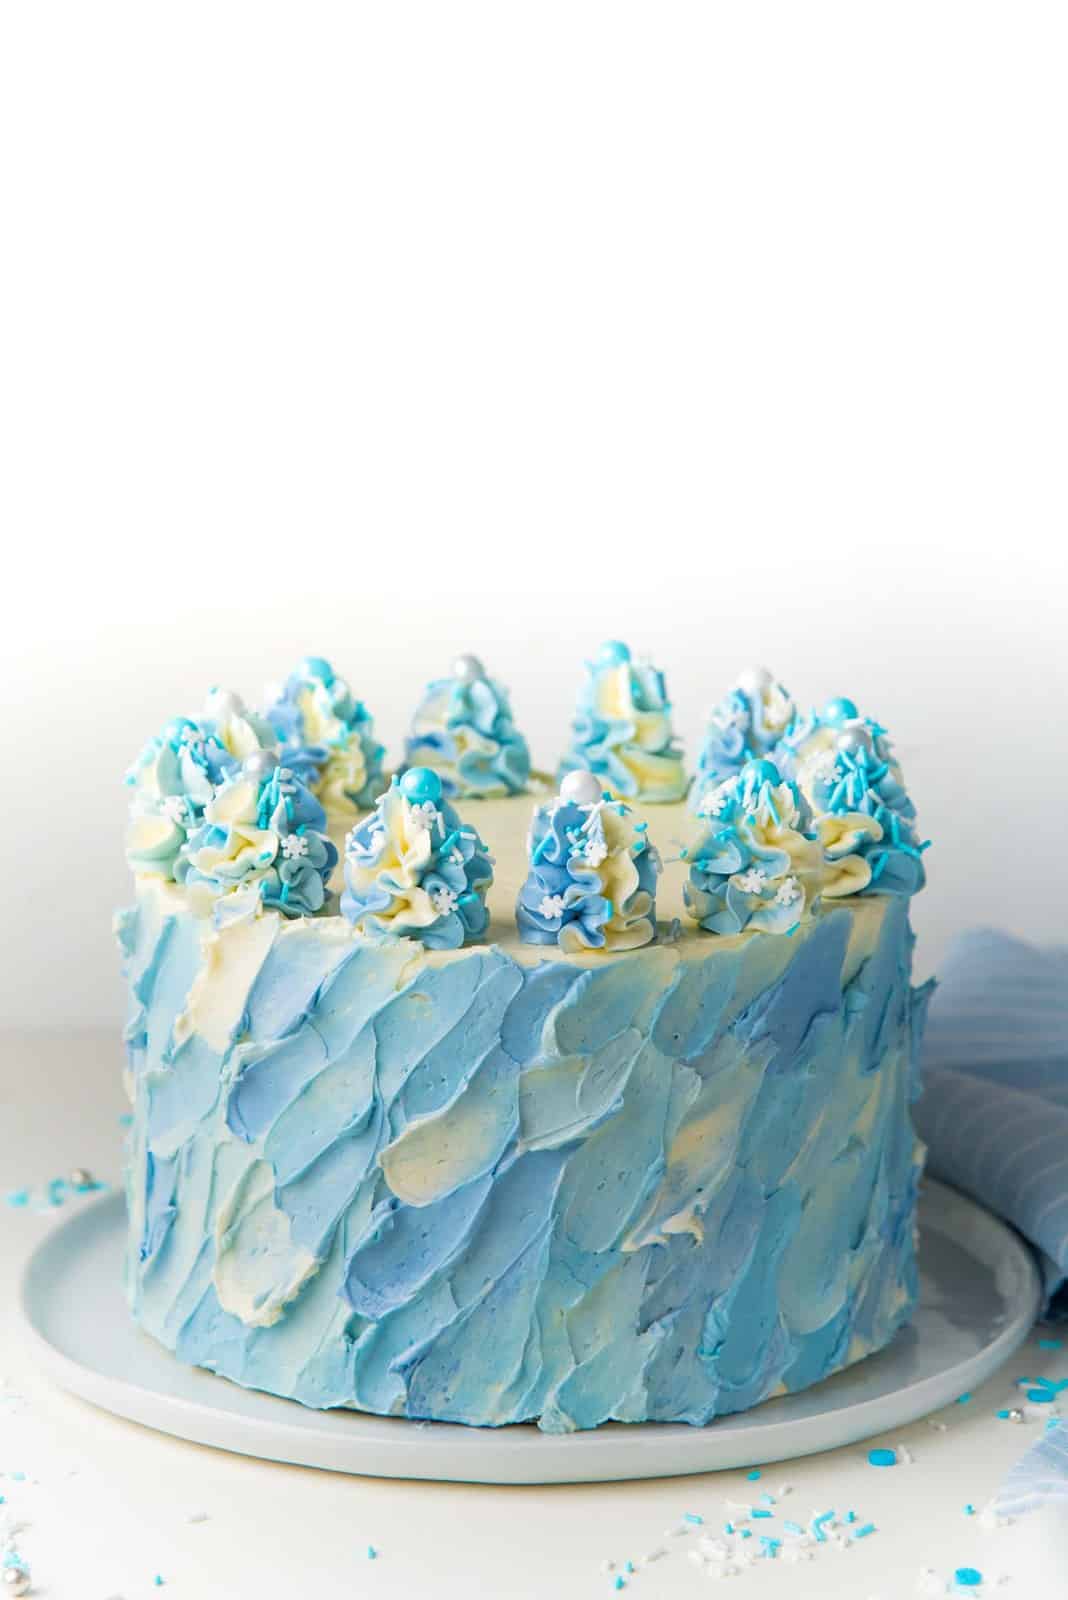
How to create the ombre swirls on top of the cake
Once you’ve finished decorating the whole coconut cake, you should still be left with some white and blue shades of frosting. You can use this to create ombre swirls on the top of the cake.
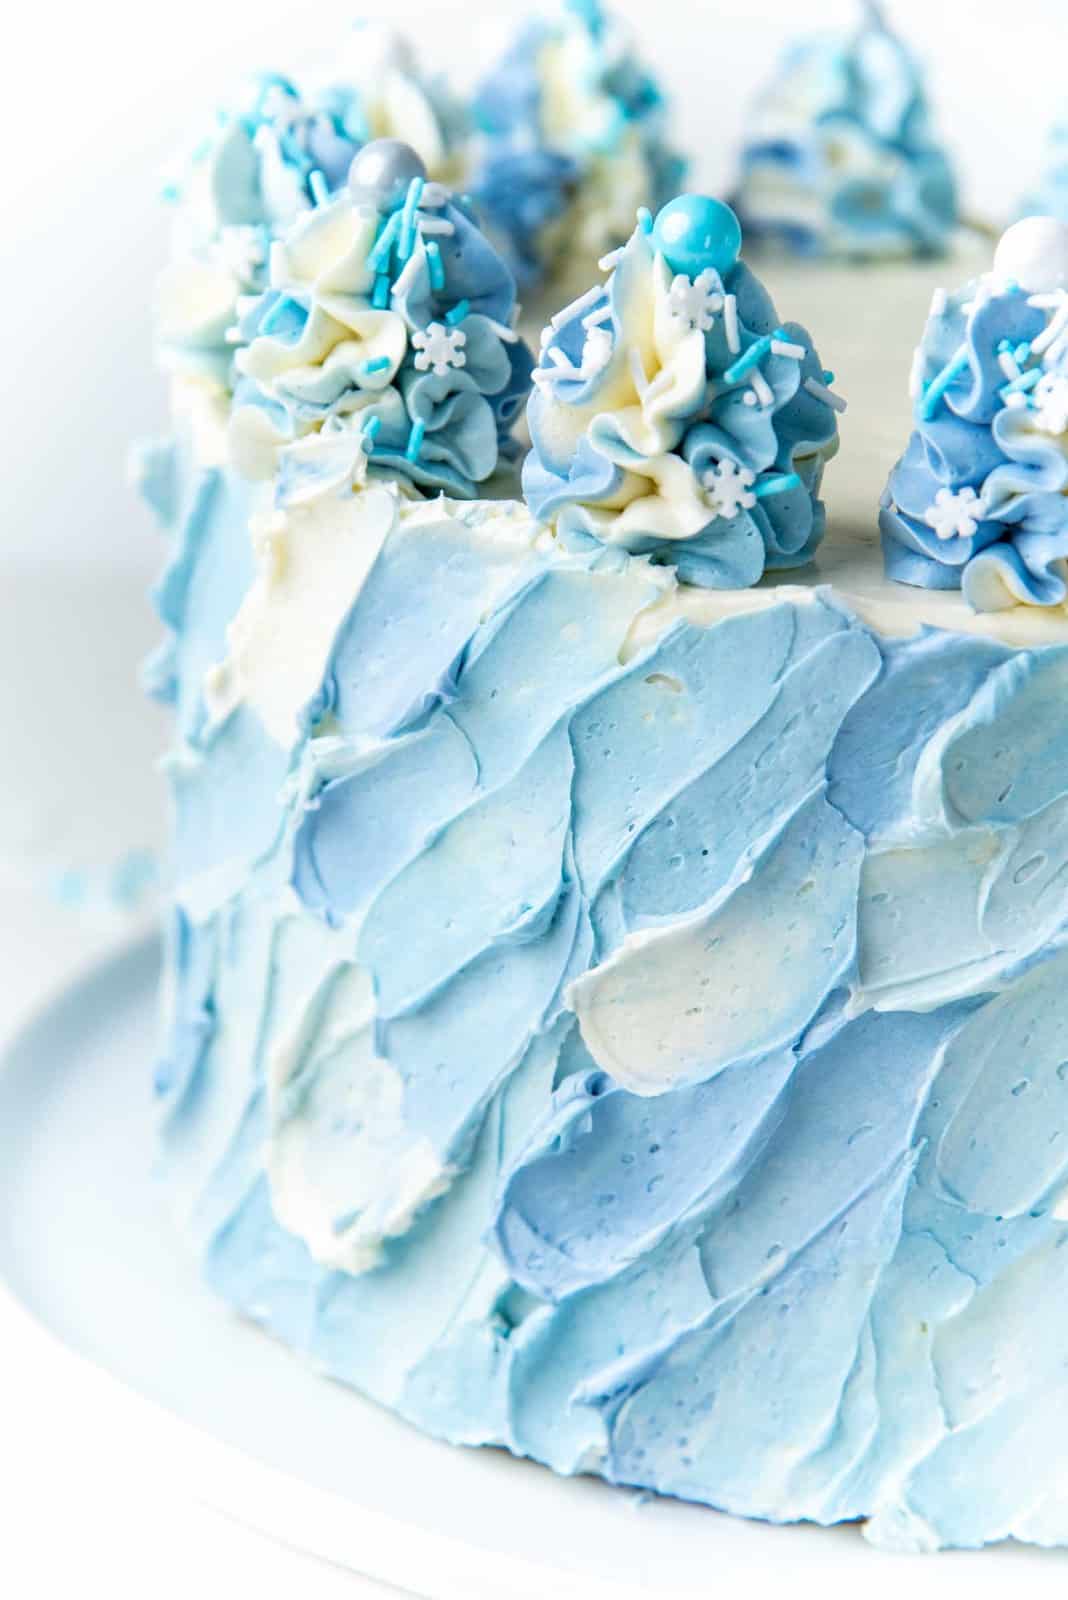
Lay out a piece of plastic wrap on your table. Add the different blue colors on the plastic wrap side by side, along with some of the white SMBC as well. Roll up the plastic wrap to form a tube. Tie up the ends with knots and set aside.
Attach a large open or closed star tip to a 16 inch pastry or piping bag. Cut one end of the frosting tube and place it inside the piping bag, with the cut end pointing towards the tip opening.
When you squeeze the bag you should now get a mixture of all the blue and colored frosting coming out of the piping tip. Use this to create big, beautiful swirls on the top of the cake.


Start first with a swirl at the 12 o’clock position, then 6 o’clock, then 3 o’clock and finally 9 o’clock. Once you have piped swirls in these four spots, fill in the middle with 2 swirls each, to create 12 evenly spaced swirls along the edge.
Decorate with blue, white and silver sprinkles. The cake is now ready to be served! For a more celebratory winter cake, decorate with snowflake sprinkles too.
You can also add shredded coconut to the top if you like! How you decorate the cake is totally up to you!
Tips to perfect this coconut cake recipe
- Make sure all ingredients are at room temperature. This ensures that all the ingredients mix well.
- The egg yolks and egg whites will separate easily if the eggs are cold. If you choose to do this, then allow the egg whites to come to room temperature before adding it to the cake batter.
- Whisk the egg whites till they’re frothy before adding to the cake batter. This is to break the protein bonds in the egg whites. If you add the egg whites without whisking them, they won’t mix as well into the batter. They will if you whisk them long enough, however, you want to avoid over-mixing the batter. IF the egg whites aren’t mixed well, you’ll end up with a strange, uneven cake texture. This is not an issue when using whole eggs because the egg yolks act like an emulsifier.
- Do NOT OVER-MIX the flour. Use low gluten flour, like cake flour, to keep the cake soft. Add it in 3 additions, adding the second measure of flour just before the first measure is mixed in. Repeat with the third addition. Make sure it’s all mixed in, and scrape the bottom to make sure there are no dry spots.
- To bake the cake layers evenly, and to lessen the browning on the sides, you can use cake strips to insulate the cake pans. Make sure to SOAK the cake strips for at least 15 minutes before wrapping them around the cake pans. This is an optional step though.
- To keep with the winter cake theme, and to keep the cake as white as possible, make sure not to mix in any yolk with the egg whites. Also, try to use colorless flavor extracts, like clear vanilla extract and clear lemon extract.
Perfect cake for any celebration!
This cake will be a hit for any occasion! Change the lemon Swiss meringue buttercream colors to match the occasion. Use warm colors for a spring or Summer recipe version. This blue and white color is perfect for a Fall recipe. Or keep it white and use rainbow sprinkles for a birthday cake.
The moist coconut cake, with creamy, light and fluffy lemon Swiss meringue is a great flavor combination with tropical vibes! So it’s perfect to jazz up gloomy, cold winter days. I guarantee your family and friends will ADORE this cake! 🙂
If you like this recipe, then you may also like
Recipe
Coconut white cake with lemon Swiss meringue buttercream
US based cup, teaspoon, tablespoon measurements. Weight measurements are recommended for accurate results whenever available.
Common Measurement ConversionsIngredients:
Coconut white cake
Dry ingredients
- 480 g cake flour / pastry flour 4 cups, measured by spoon and level method
- 3 tsp baking powder
- ¾ tsp baking soda
Wet ingredients (all at room temperature for best results)
- 270 g sour cream 1⅛ cup
- 200 g coconut milk about ¾ cup (from a can, and not coconut cream)
- ¾ cup unsweetened desiccated coconut
- 5 mL coconut extract 1 tsp, optional
- 10 mL clear vanilla extract 2 tsp
- 5 mL lemon extract or almond extract
- 340 g unsalted butter 3 sticks, softened
- 500 g white sugar 2 ½ cups
- ½ tsp sea salt
- 9 egg whites from large eggs about 270–288 g . Room temperature
Coconut syrup (optional)
- 200 g white sugar 1 cup
- 267 g coconut milk 1 cup canned coconut milk
Lemon Swiss meringue buttercream
- 10 egg whites from large eggs about 310 g. Separated while cold, and then brought to room temperature
- 620 g white sugar 3⅛ cups
- ½ tsp sea salt (generous ½ tsp)
- 850 g unsalted butter softened to about 68°F (7 ½ sticks)
- 15 mL lemon extract 1 tbsp
Instructions:
- Prepare the cake pans – line the bottom of three 8 inch cake pans and butter and flour the sides. For best results you can use cake baking strips for white sides. Baking strips need to be soaked in cold water ahead of time (at least 15 minutes). After 15 – 30 minutes of soaking, wrap the prepared cake pans with the soaked baking strips and set aside until needed.
- Preheat the oven to 325°F.
Coconut cake
- Sift all the dry ingredients together and set aside. This includes the cake flour, baking powder and baking soda.480 g cake flour / pastry flour, 3 tsp baking powder, ¾ tsp baking soda
- In another bowl or jug – combine the sour cream, coconut milk, desiccated coconut and the flavor extracts. Stir to combine and set aside until needed.270 g sour cream, 200 g coconut milk, ¾ cup unsweetened desiccated coconut, 5 mL coconut extract, 10 mL clear vanilla extract, 5 mL lemon extract or almond extract
- Place the butter, salt and sugar in the bowl of your stand mixer. With a paddle attachment, cream the butter and sugar mix together until light, creamy and fluffy. This can take about 5 – 10 minutes depending on the texture and temperature of the butter and the ambient room temperature.340 g unsalted butter, 500 g white sugar , ½ tsp sea salt
- Whisk the egg whites separately until slightly frothy. This is to break up the egg whites and to make them loose. They do not have to be whisked into a meringue.9 egg whites from large eggs
- Add the whisked egg whites to the butter-sugar mixture. Mix for 2 – 3 minutes until the egg whites have completely incorporated into the butter.
- Next, add in the rest of the wet ingredients and mix until well incorporated. If the mixture becomes grainy, do not worry. This can happen if the ingredients are at different temperatures, but it will come together after the dry ingredients have been added.
- Gently fold in the sifted dry ingredients. Be careful to NOT OVER-MIX the dry ingredients.
- Divide the cake batter equally between the 3 cake pans. Use an ice cream scoop to evenly divide the batter, or use weight measurements to divide the batter with more precision.
- Use an offset spatula to spread the batter evenly in the cake pan. Knock the pans on your kitchen countertop 2 – 3 times, firmly but not too hard, to knock out any air bubbles stuck in the batter.
- Bake the cake pans in the preheated oven for about 25 – 35 minutes, rotating once, halfway through the baking time. Baking time is 25 – 30 minutes without cake strips, and up to 35 minutes with cake strips.
- The cake is done when a toothpick inserted comes out clean, or when the surface of the cakes are just starting to be springy to the touch.
- Remove the cake layers from the oven and let them cool for 5 – 10 minutes. While the cake is still warm, gently remove the cakes from the pans and keep them on cooling racks.
- While still warm, soak the cakes with the coconut syrup, using a squeeze bottle (about 3 – 4 tbsp per cake layer).
- Let the cakes cool completely.
- While the cakes are cooling, you can make the Swiss meringue buttercream (you can also make this the day before too).
Coconut syrup – this can be made a day ahead, or just before the cake is being made.
- Place the sugar and coconut milk in a saucepan. Heat over medium-high heat and stir to dissolve the sugar. Heat until the mixture comes to a boil. Lower the heat and let it simmer for 2 – 5 minutes and then remove from the heat.200 g white sugar, 267 g coconut milk
- Let the syrup cool down completely. Store the syrup in a squeeze bottle until needed. You can use the syrup while warm or at room temperature.
Swiss meringue buttercream – can be made ahead of time.
- Use my perfect Swiss meringue buttercream recipe to make the lemon Swiss meringue buttercream. Use the quantities given in this recipe, and add the lemon extract in place of the vanilla extract.10 egg whites from large eggs, 620 g white sugar, ½ tsp sea salt, 850 g unsalted butter, 15 mL lemon extract
Frosting and decorating the cake
- Once the cakes have cooled down, they are ready to be frosted. If needed, trim and level the cake tops to make them evenly flat.
- Place a cake layer on your cake turntable (or platter). Measure and place about ½ – ¾ cup of Swiss meringue frosting on top of the cake and use an offset spatula to spread it evenly. Leave a small margin along the edge of the cake.
- Place the second cake layer on top and repeat with an equal amount of frosting.
- Place the final cake layer on top, with the bottom side facing up (this is to create a flat surface on top). Place about ¾ – 1 cup of frosting and spread the frosting along the top and sides of the cake, filling any gaps between cake layers. Make sure the frosting is spread very thin, over the top and sides, to create a flat surface and straight sides. This will be your crumb coating (which catches and seals in any loose crumbs).
- Let the frosting “set” in the fridge or in a cool place for about 30 minutes.
- Once the crumb coating is “set”, apply another thin layer of white frosting. It doesn’t have to be smooth, but make sure it’s as even as possible.
- Next, in four bowls – place 1 to 1 ½ cups of frosting each. Color one bowl with a deep blue color. Color the second bowl with a lighter blue color and the third bowl with a pastel blue color. You can use the same blue color, but add fewer drops of blue coloring to match the gradient. Keep the final bowl plain white.
- Using a small spatula, take small dollops of the blue frosting and create spatula strokes of the buttercream on the white cake surface. Alternate between the different blue colors and white to create a blue and white spatula painted cake. Read the post for more tips on how to do this.
- Place the remaining frosting on plastic wrap, and roll it up to create a tube of frosting with all the remaining colors. Cut one end of the tube of frosting. Place this inside a pastry bag, which is attached with a large closed star piping tip. When you squeeze the pastry bag, you should now get blue and white swirls of frosting coming out of the piping tip.
- Pipe large swirls of white and blue frosting on the top of the cake. Read the post for more tips on how to do this.
- Decorate with matching sprinkles.
Recipe Notes
Nutrition Information:
“This website provides approximate nutrition information for convenience and as a courtesy only. Nutrition data is gathered primarily from the USDA Food Composition Database, whenever available, or otherwise other online calculators.”


Leave a Reply