Honeycomb toffee, sponge toffee, cinder toffee, seafoam candy, hokey pokey… Honeycomb candy is a delightful confection and has many names, but we can all agree that it’s one of a kind! Crunchy, light, sweet toffee pieces, guaranteed to take you right back to your childhood!
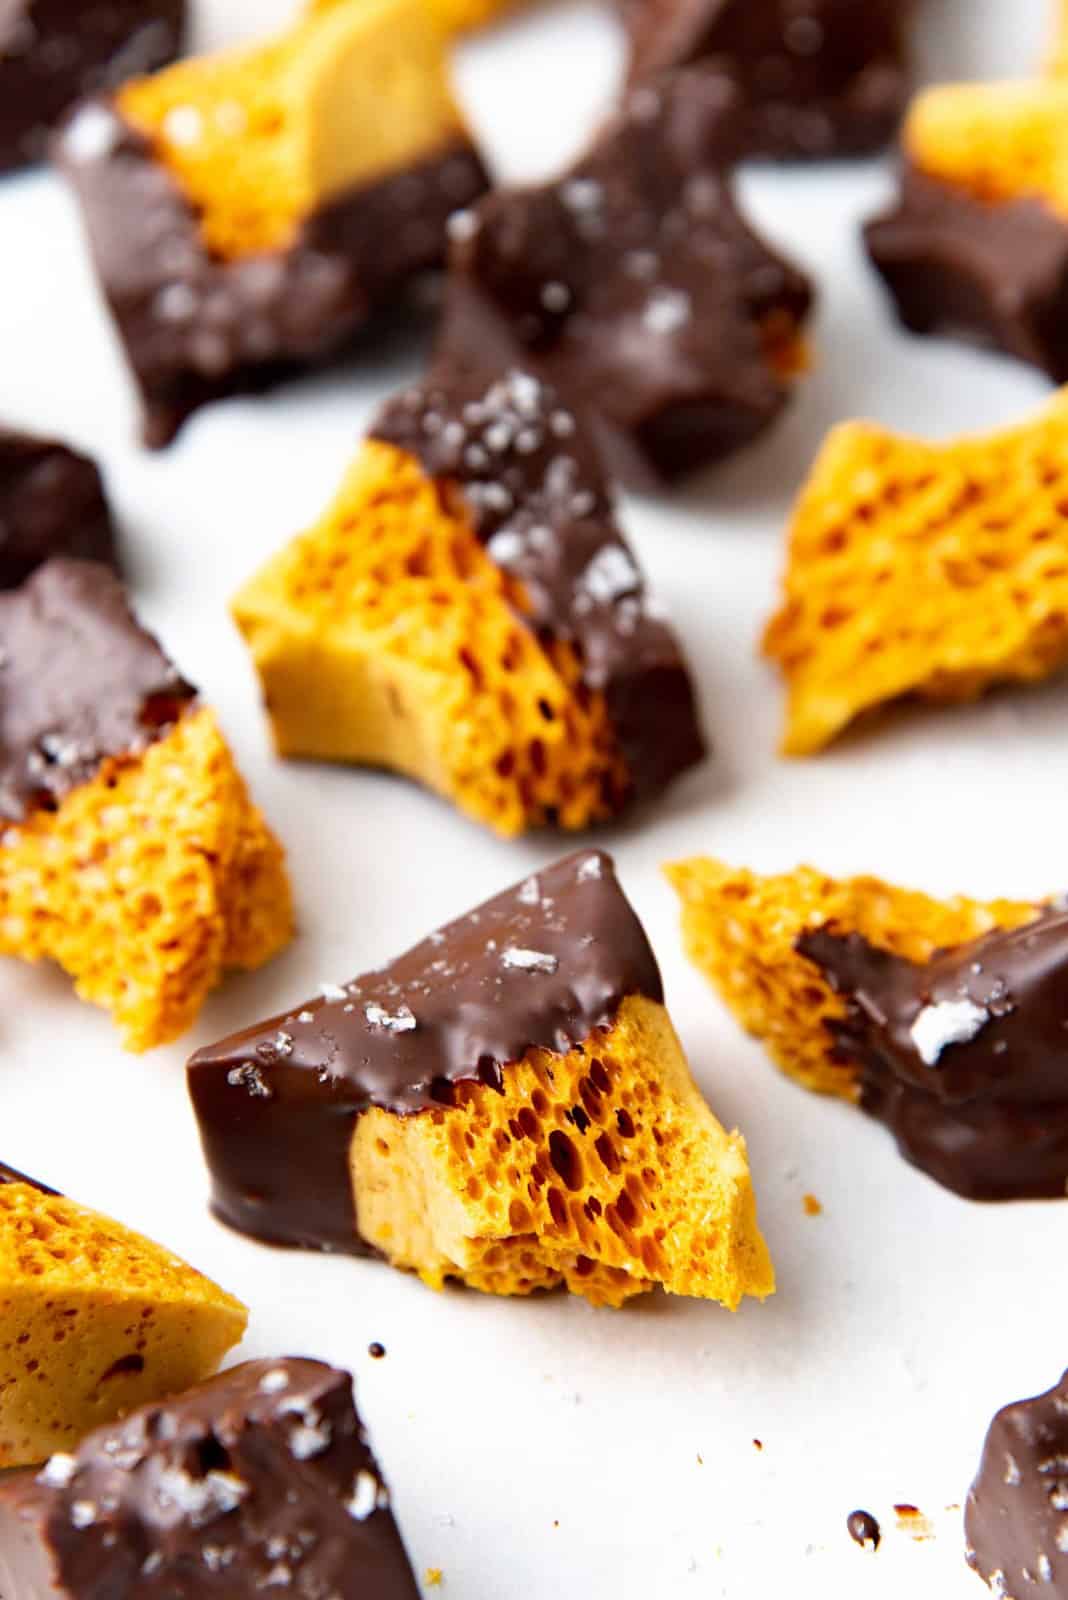
Crunchy honeycomb candy coated in chocolate. This homemade honeycomb toffee recipe is easy and addictively delicious!
- What is honeycomb candy?
- Why this recipe works
- What you’ll need to make this recipe
- How do you make honeycomb candy from scratch
- Honeycomb candy vs sponge candy (vs seafoam candy or cinder toffee or hokey pokey)
- Serving suggestions
- How to store honeycomb candy for later
- Recipe tips
- Frequently asked questions
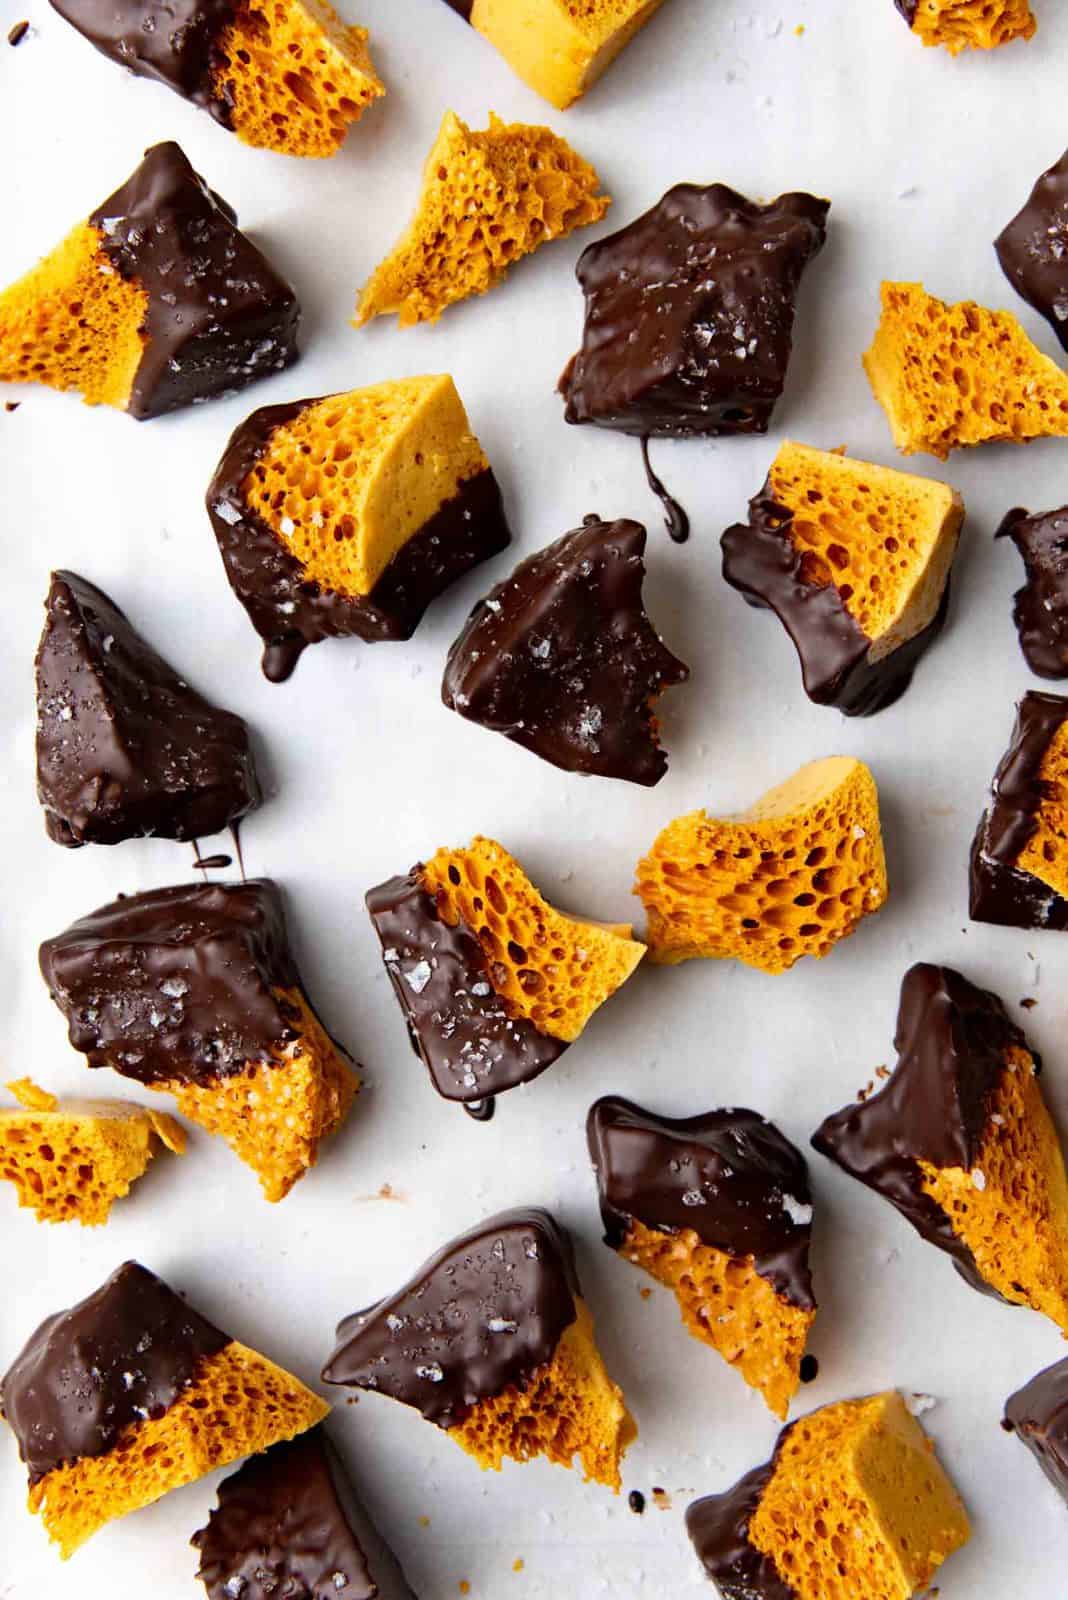
Crunchie chocolate bars were my favorite growing up. But now they are a little too sweet for my liking. So, as an alternative, I came up with this dark chocolate coated, homemade honeycomb toffee (aka homemade crunchie), sprinkled with sea salt.
These have the perfect balance of sweet, caramel, crunchy, salty, and bittersweet chocolate!
Honeycomb is of course sugar based, so it’s always going to be sweet, but balancing that sweetness with salt and chocolate is crucial, and helps to take the edge off all that sugar in honeycomb candy.
And this is so easy and fun to make! They make EXCELLENT treats in candy boxes for Christmas. Plus, you can use the same recipe to make either honeycomb toffee or sponge toffee (see below).
What is honeycomb candy?
Honeycomb candy is a sweet and airy candy with a very crunchy texture and a lovely golden syrup or honey-like flavor! Most US recipes use honey for a honey-forward honeycomb candy, while in Australia and New Zealand, golden syrup is used for a more unique and delicious flavor.
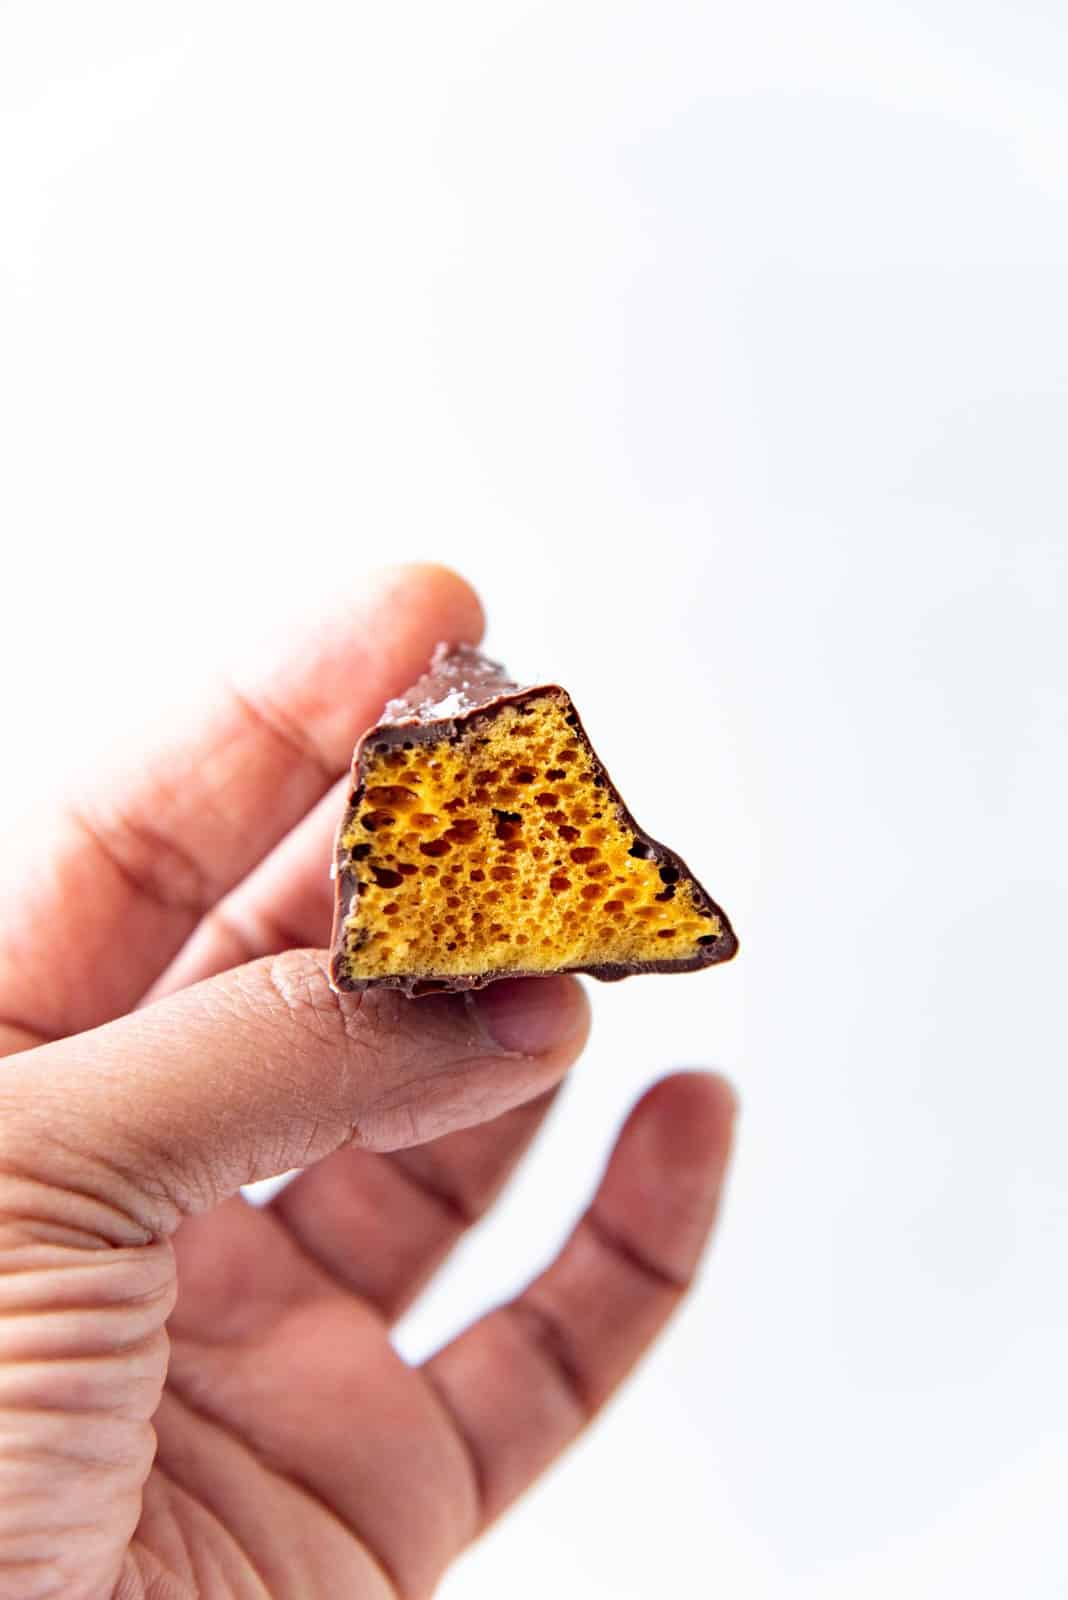
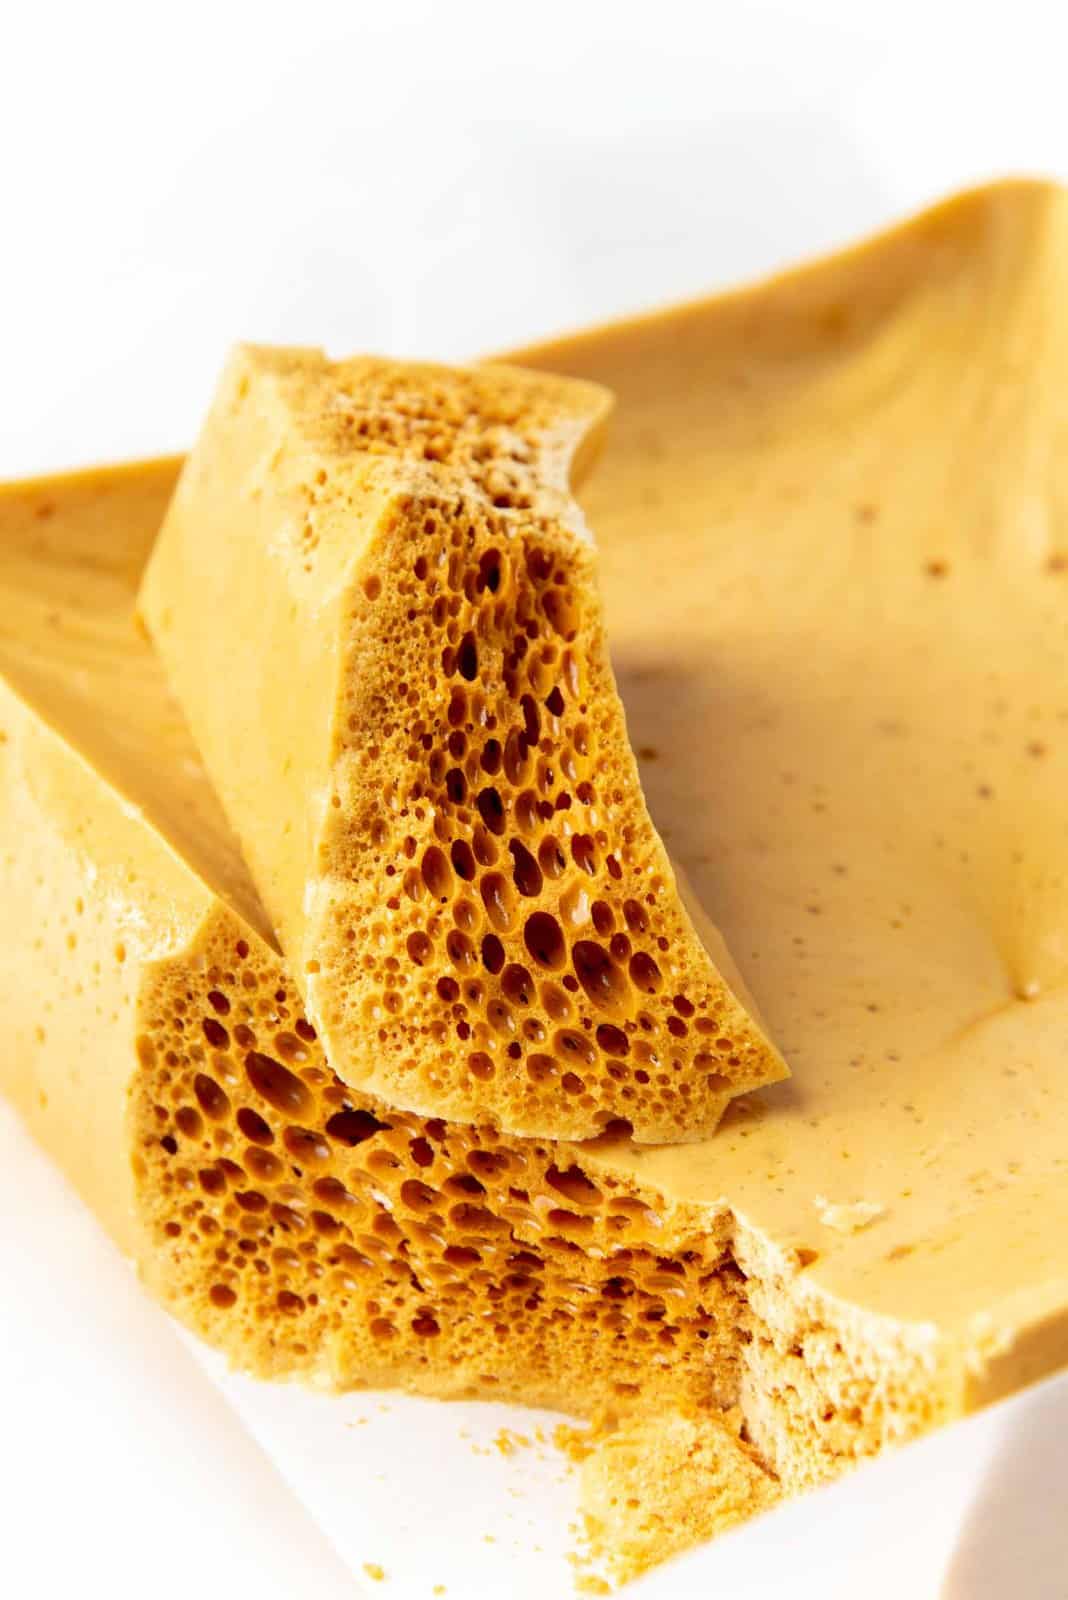
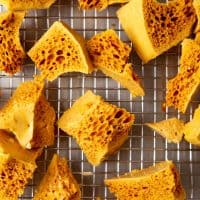
Honeycomb candy is known for its golden color and porous sponge-like texture.
Why this recipe works
- Made with golden syrup for a more authentic flavor. But I also provide other substitutes.
- I show two methods to make honeycomb candy – the first creates large honeycomb holes (classic honeycomb), and the second makes smaller sponge like holes (sponge candy).
- I’ve been making this recipe for years, so it really is foolproof!
- You can coat them in chocolate to make this candy last longer.
- Plus, this honeycomb recipe doesn’t require any corn syrup, because corn syrup isn’t traditionally used to make honeycomb candy.
What you’ll need to make this recipe
Equipment
This homemade honeycomb recipe is fast-paced. So, it’s crucial to read the recipe well to know what to expect BEFORE making it. It’s also a good idea to have all the equipment you need, and the ingredients measured and ready to go.
- A large pot – Since the sugar base will foam and become triple in size, you need to use a large pot that will hold the mixture at its highest volume. Otherwise, the mixture will overflow and even cause burns.
- A candy thermometer – Absolutely necessary to keep track of the temperature of the sugar syrup. Otherwise, you may end up with soggy honeycomb candy, or burnt candy.
- Silicone spatula – A heat-resistant spatula will help you to scrape out the candy from the pot.
- Whisk – A good whisk will help to mix the baking soda into the hot syrup. Make sure to use a whisk with a good-sized handle, so that your hand will not be near the hot syrup.
- A baking pan lined with parchment paper or silpat – You can use a large tray for thinner honeycomb candy, or an 8 – 9 inch cake pan with higher sides for thicker candy. Make sure it’s heat resistant, otherwise it could melt or crack.
- A trivet or pot insulation pads – The candy mix will make the pan very hot, very quickly. You can use a trivet or insulation pads to keep the baking sheet on them, so that your kitchen countertop won’t get damaged by the heat.
Ingredients
For the honeycomb candy
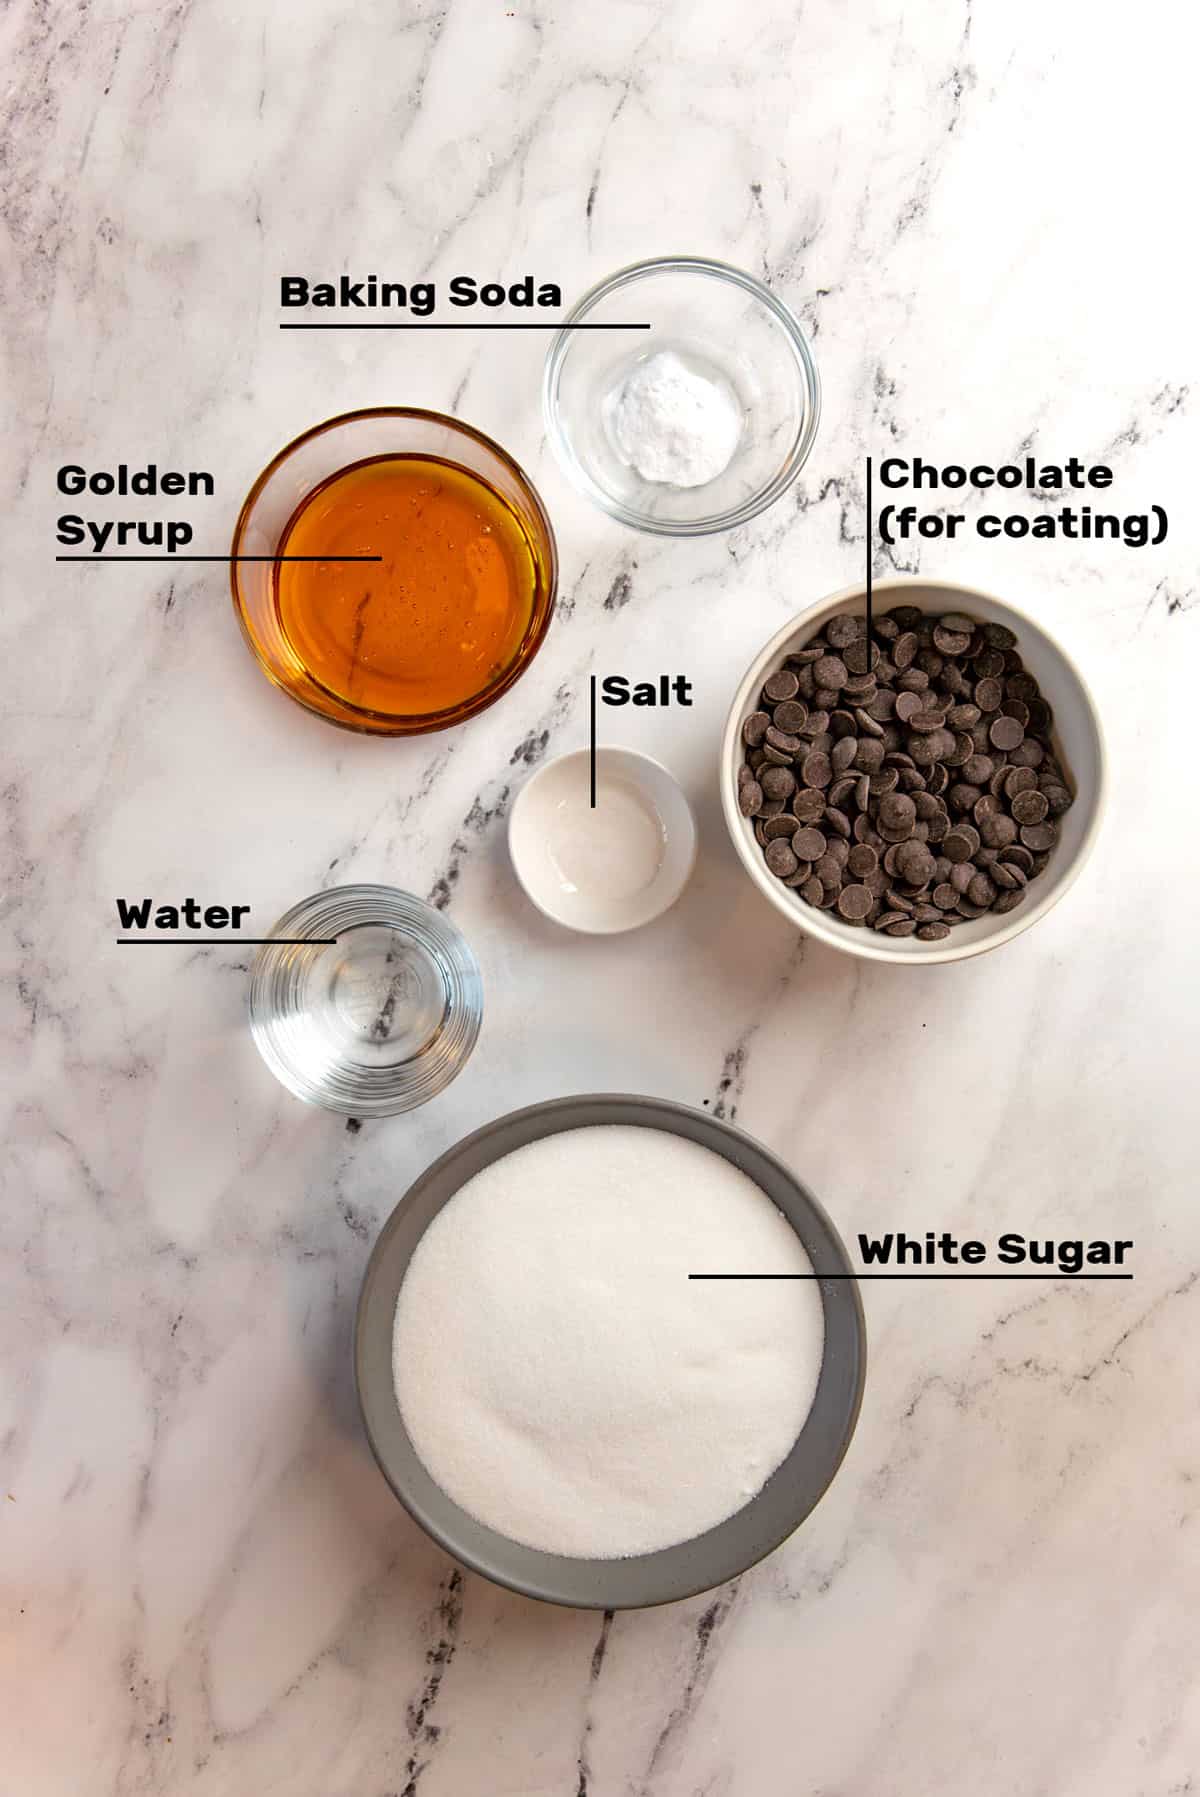
Granulated white sugar – White sugar is absolutely required for this honeycomb recipe. Unfortunately, there is no substitute for this. You could use caster sugar, but it should still be white sugar. Brown sugar has molasses, and has more moisture which can affect the sugar syrup for this recipe. See my guide to types of sugar for more information.
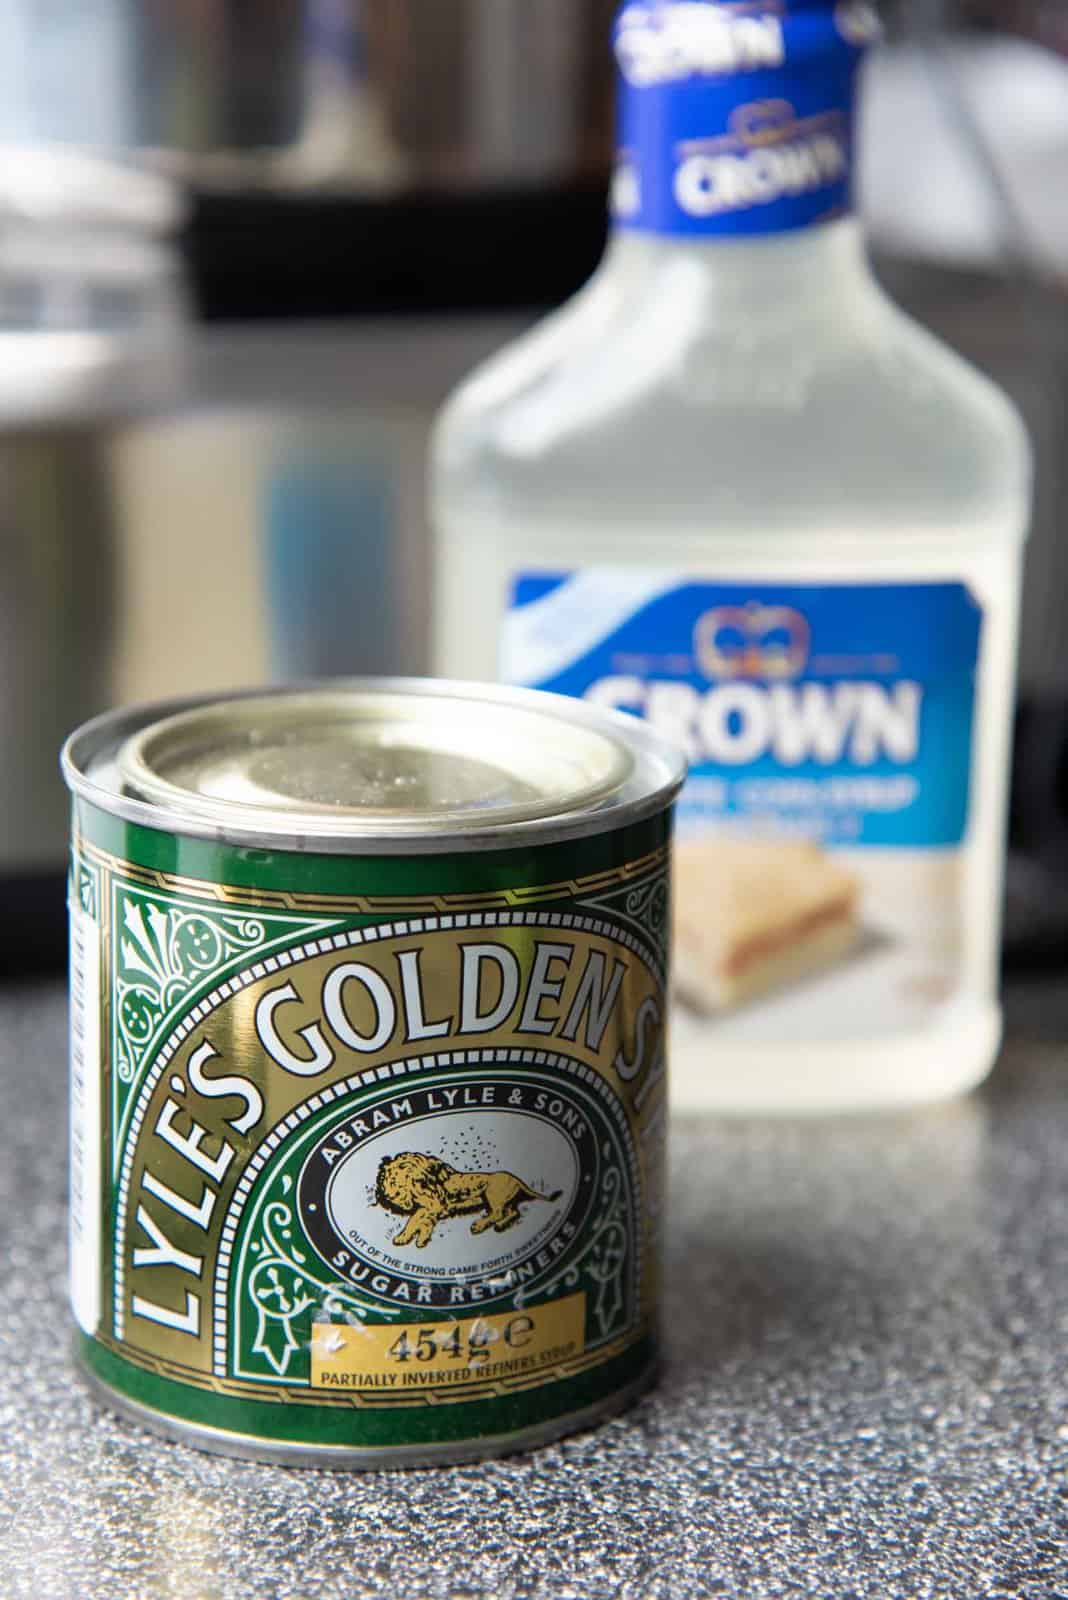
Golden syrup – Golden syrup is the traditional invert sugar syrup that is used in New Zealand and Australia. It’s absolutely delicious, and has a caramelized, buttery flavor with a very light tanginess (from citric acid). It adds a unique flavor, which in my opinion is vital for proper honeycomb candy.
If you cannot find golden syrup, you can use,
- Corn syrup – This is also an invert sugar, but will not add the same flavor as golden syrup.
- Honey – Honey is also an invert sugar, and will add flavor to the candy as well. But it’ll still be different from golden syrup. Honey is the best substitute to make this candy in the absence of golden syrup.
- Glucose syrup – I know from experience that it’s hard to find corn syrup in some countries. The closest alternative is glucose syrup. However, this syrup is much thicker than corn syrup.
- Maple syrup – Maple syrup is not a strong invert sugar, so you must be careful not to let the syrup recrystallize. But it can be used with care. Maple syrup will also add flavor to the candy.
Water – Just regular room temperature water to make the sugar syrup. Do not substitute with any other liquids, as this will affect the sugar syrup consistency.
Baking soda – Baking soda will react with the heat and the acidity in golden syrup to make the classic honeycomb texture of the candy. Baking soda is a chemical leavener that reacts with heat and acid to make CO2 that makes the bubbles in the honeycomb toffee.
Salt – Salt is optional, but helps to balance the sweetness a little.
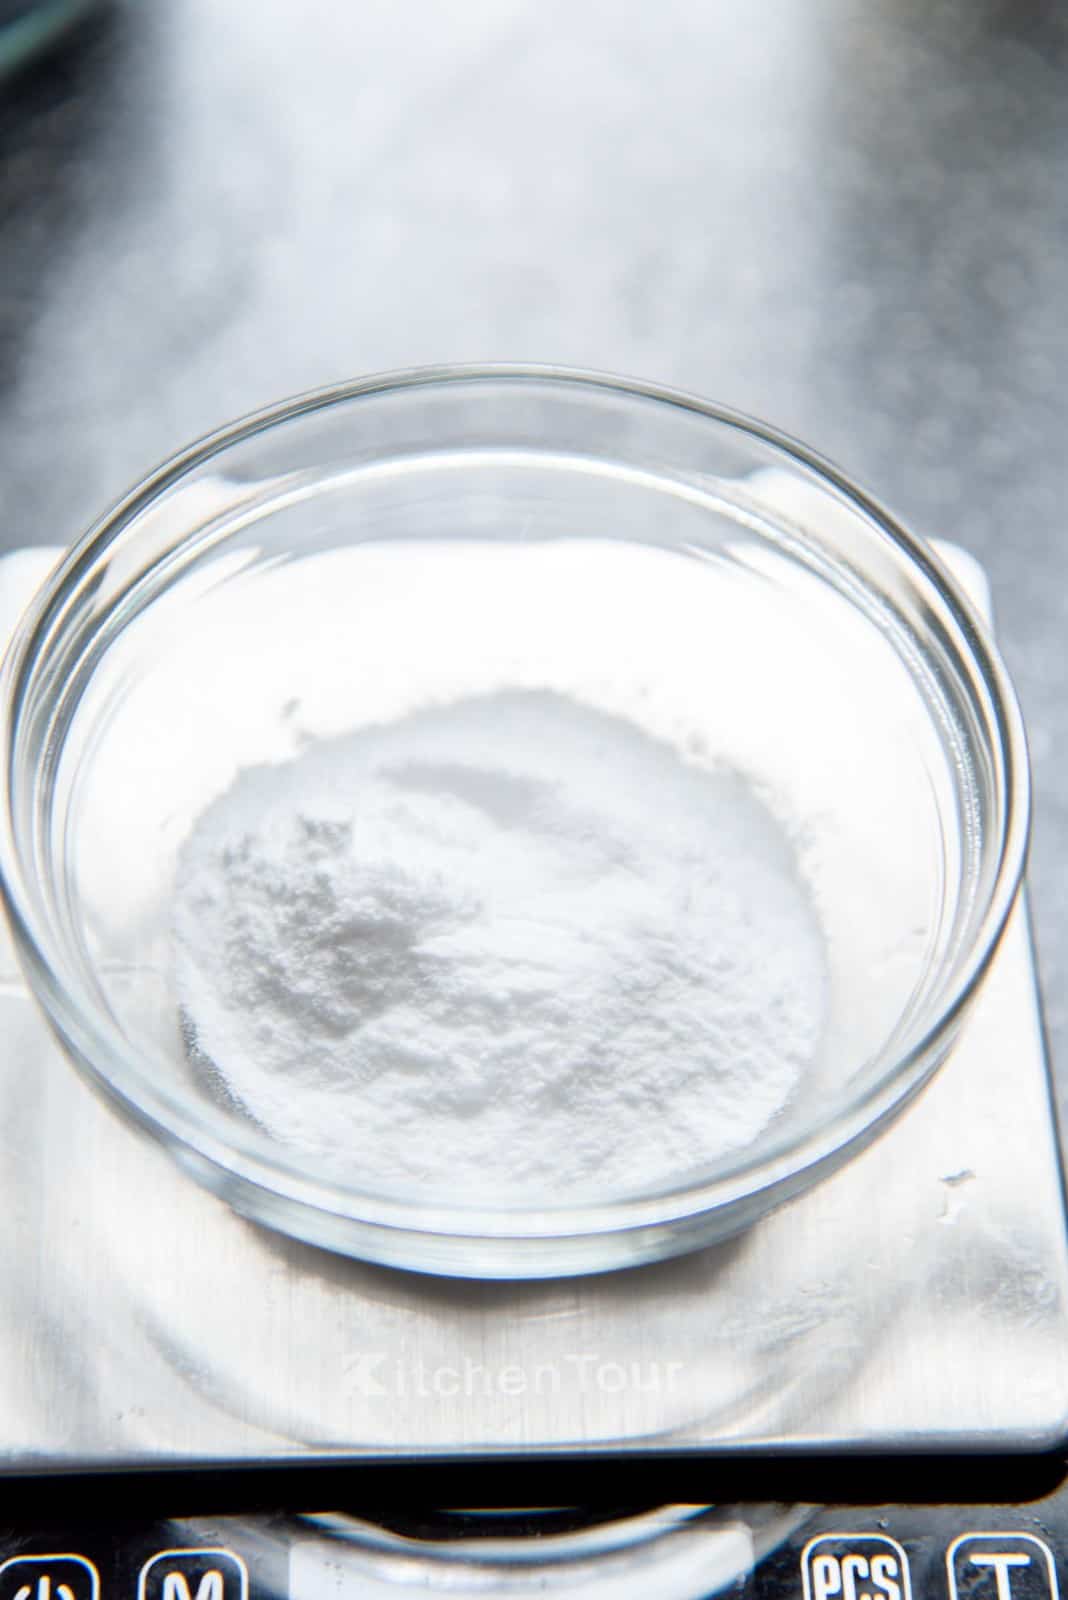
Gelatin and water – Also optional, but the gelatin provides extra structure to the honeycomb candy, and also helps to make the structure more fine and dense / compact, with smaller holes (scroll down to see a side-by-side comparison with regular honeycomb candy).
To coat the candy
Tempered bittersweet chocolate – If you’d like to coat the honeycomb candy (for your own homemade crunchie!), or half dip the candy, then you will need to use tempered bittersweet chocolate. You can also use candy melts, but I find these to be too sweet for this honeycomb recipe. Bittersweet chocolate provides balance to the inherent sweetness of this candy.
Sea salt flakes – Sprinkle some sea salt flakes on the chocolate before it sets. This makes the candy look more impressive! It also adds a salty crunch, which is such a nice contrast to the bitter chocolate and sweet candy.
How do you make honeycomb candy from scratch
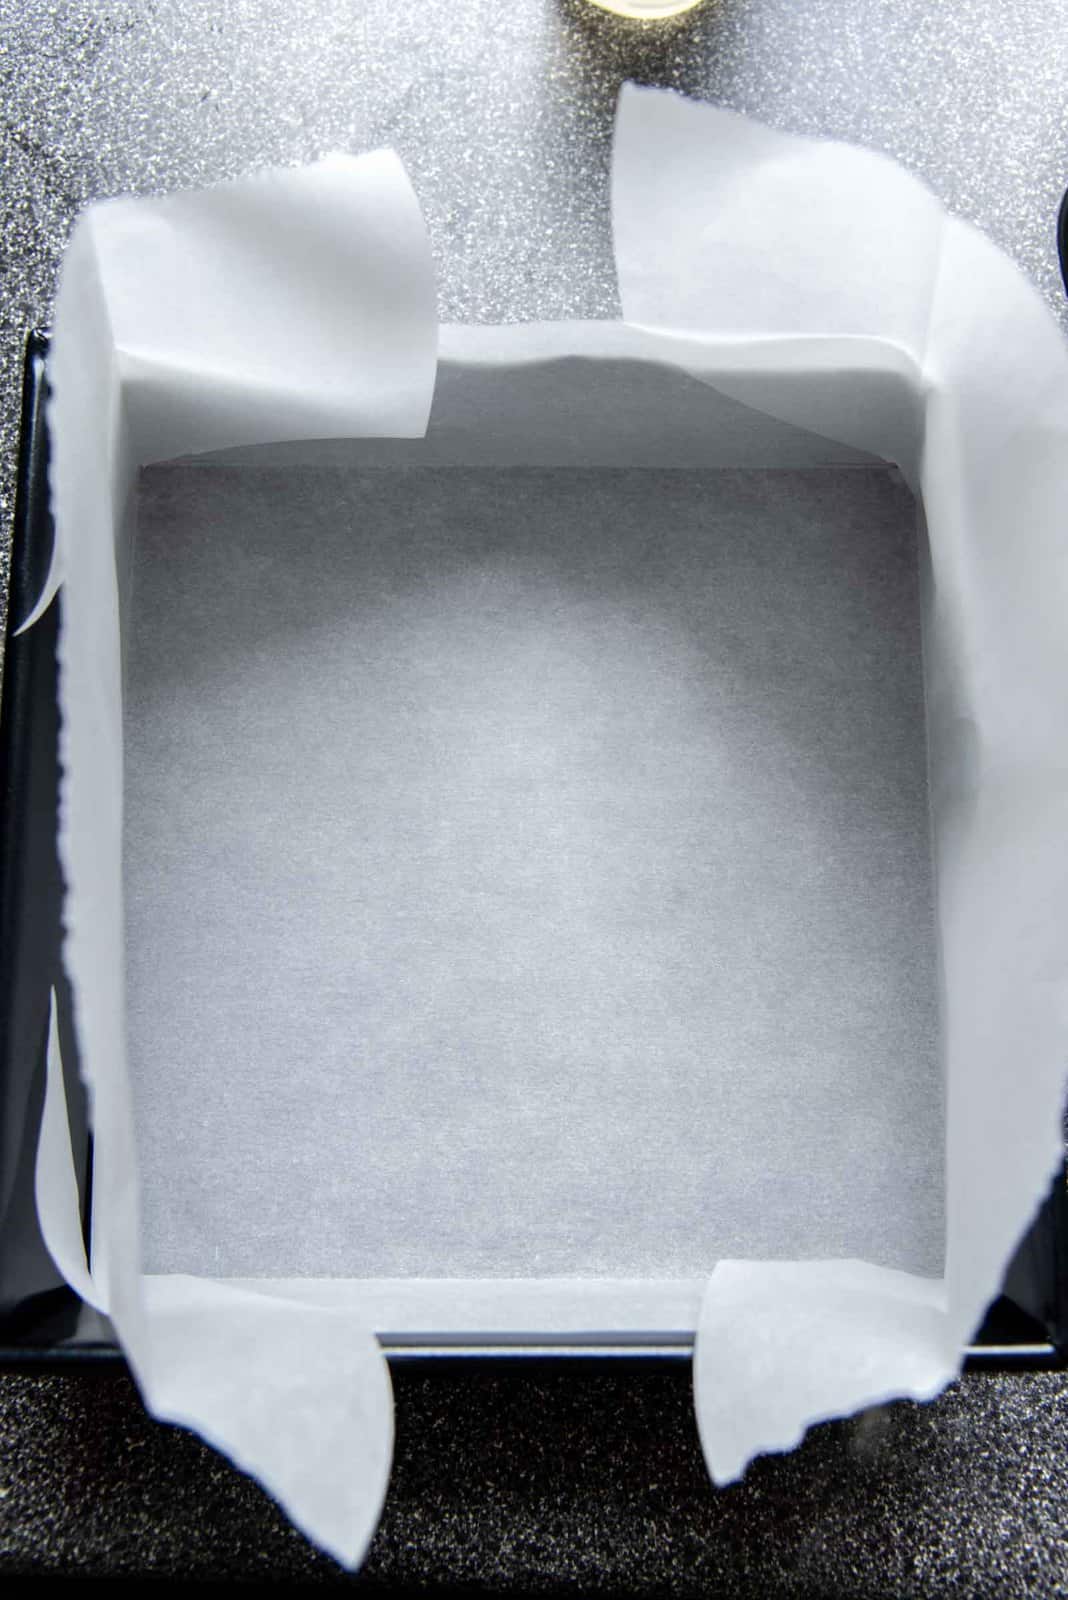
- Line an 8 or 9-inch square pan with parchment paper. You can also use a 9 x 13 inch pan, but then the honeycomb mixture will be thinner.
- Place all the ingredients, EXCEPT for the baking soda, in a large saucepan.
- Gently stir the ingredients to saturate all of the sugar with water.
- Heat the sugar syrup to dissolve the sugar. Swirl the saucepan, instead of stirring, to melt the sugar.
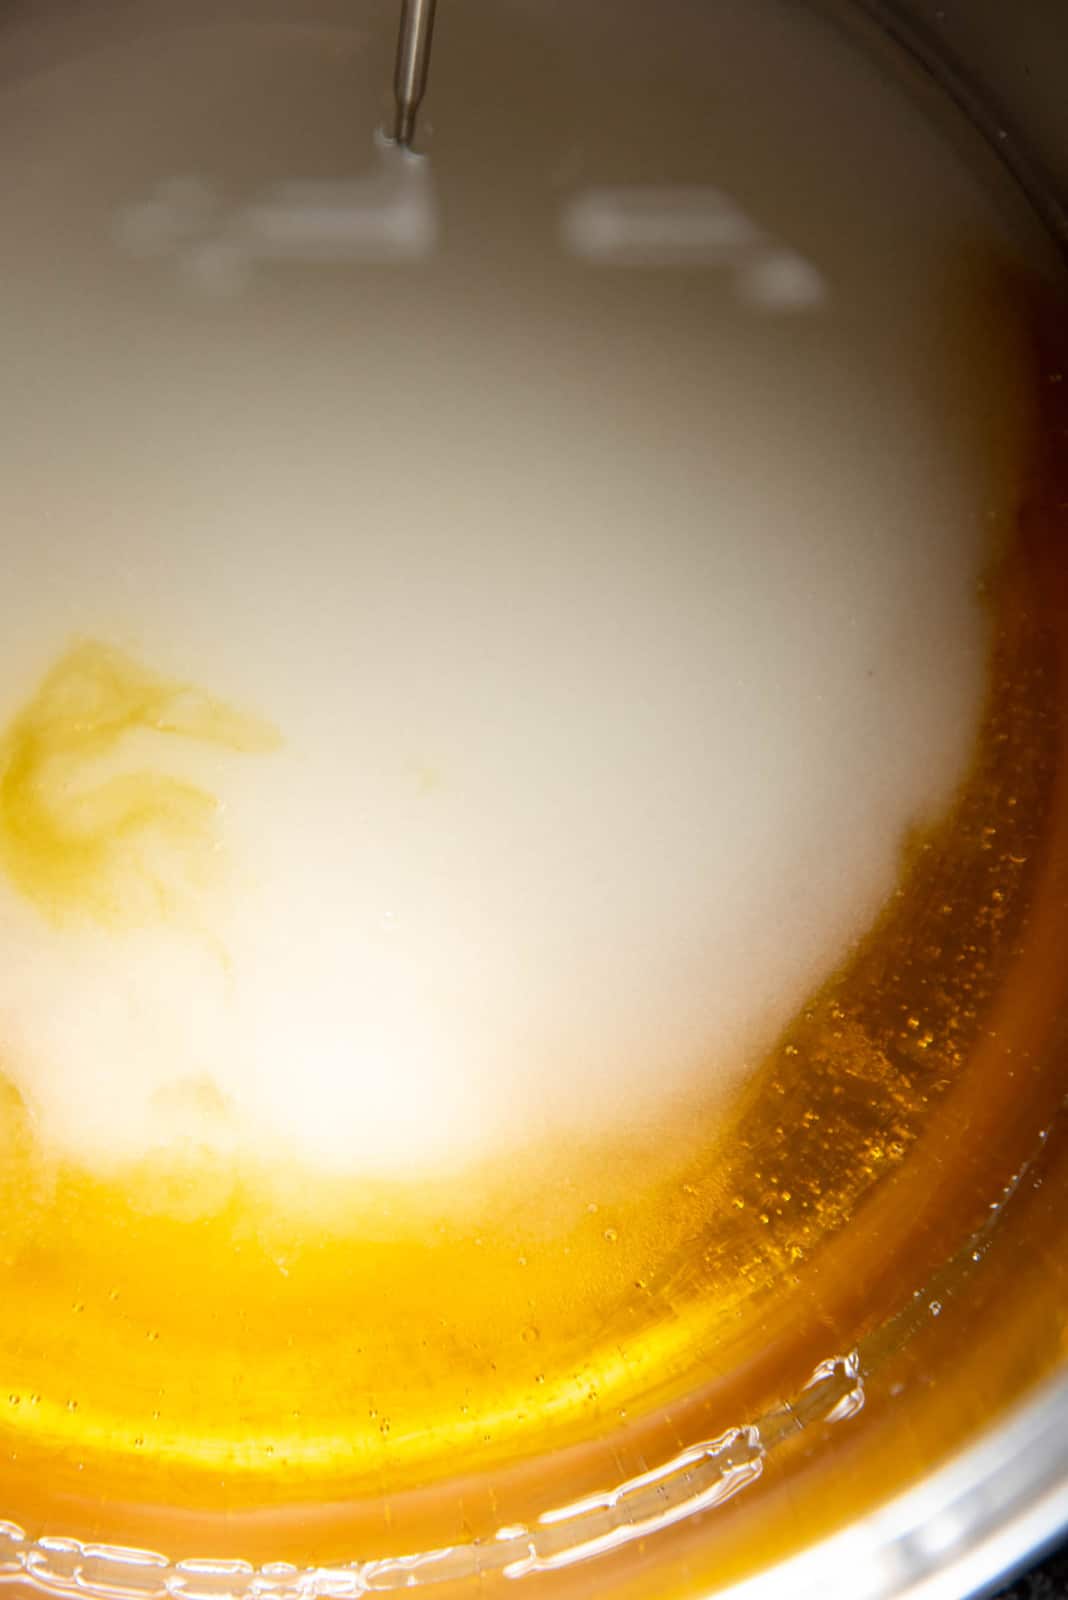
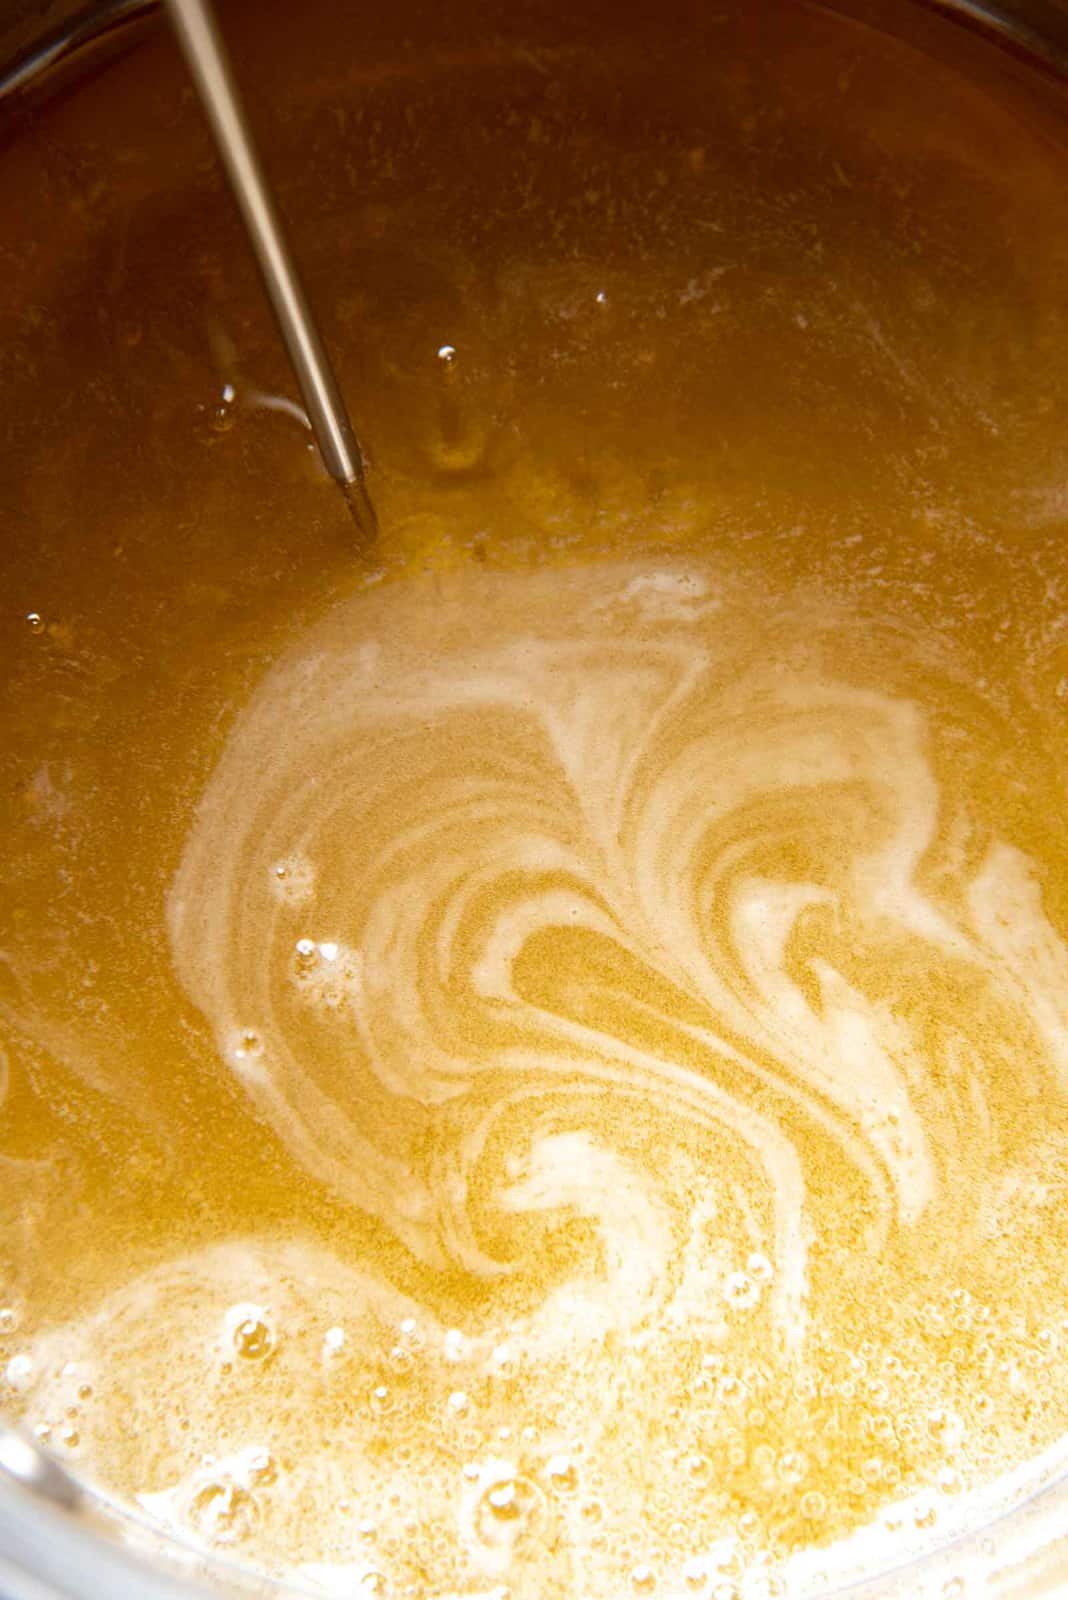
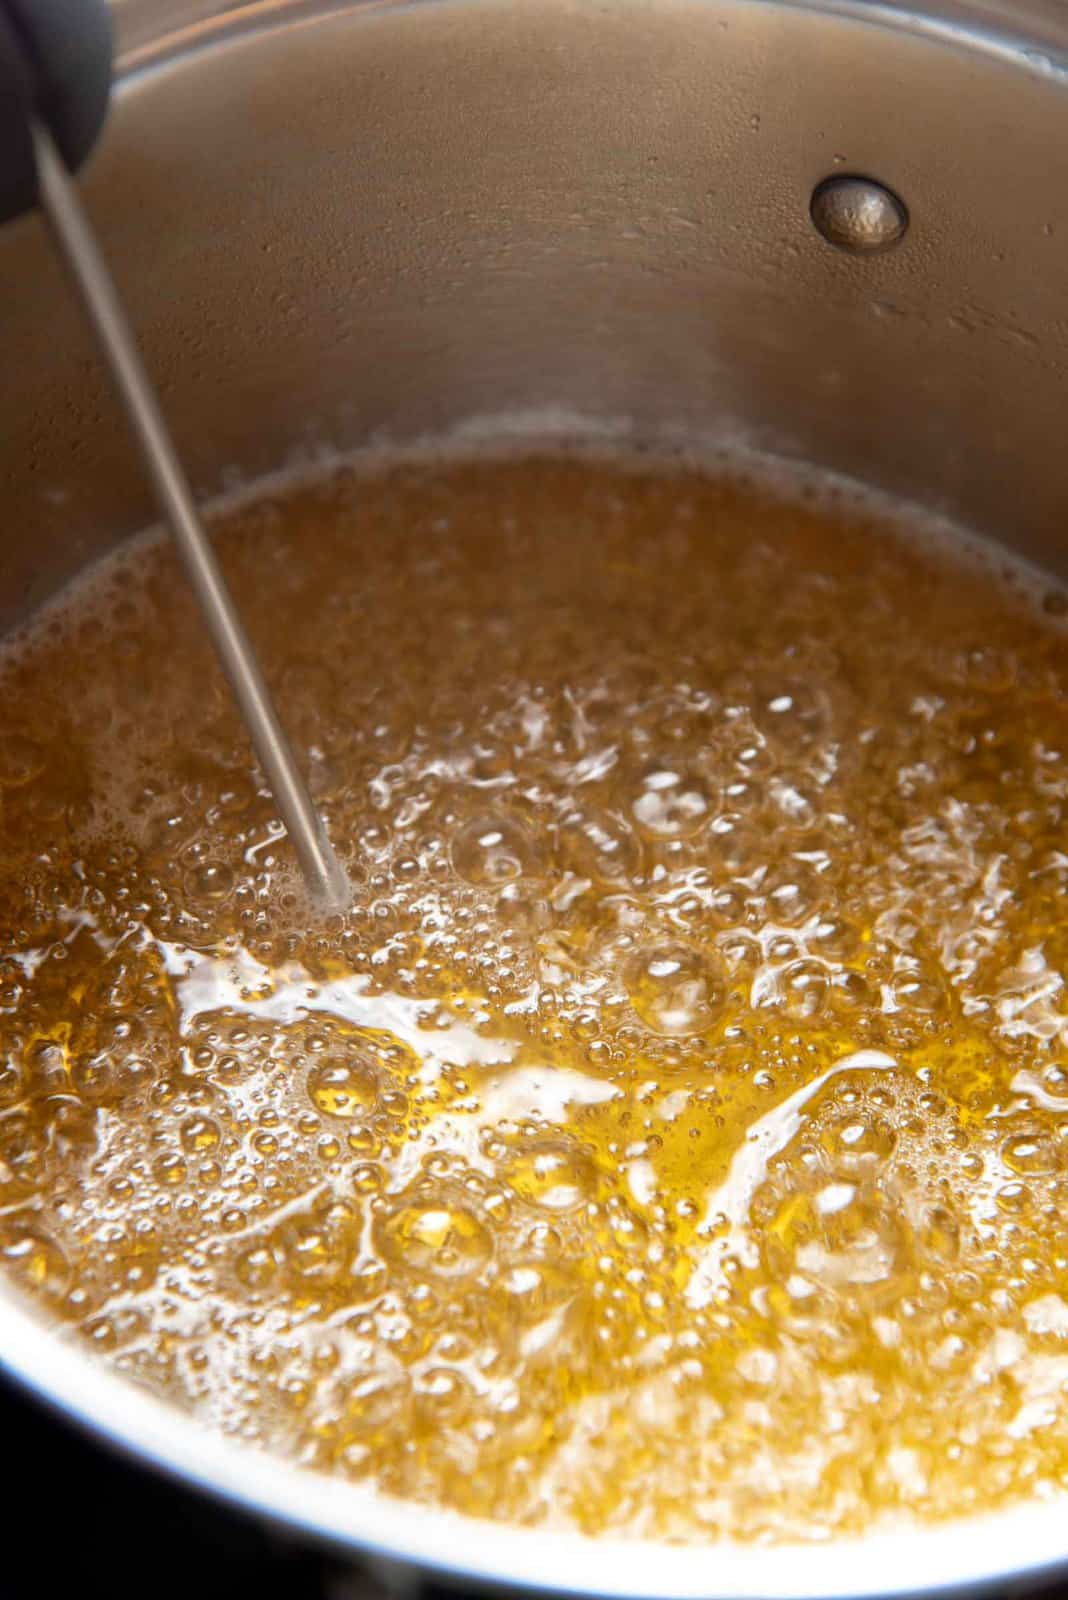
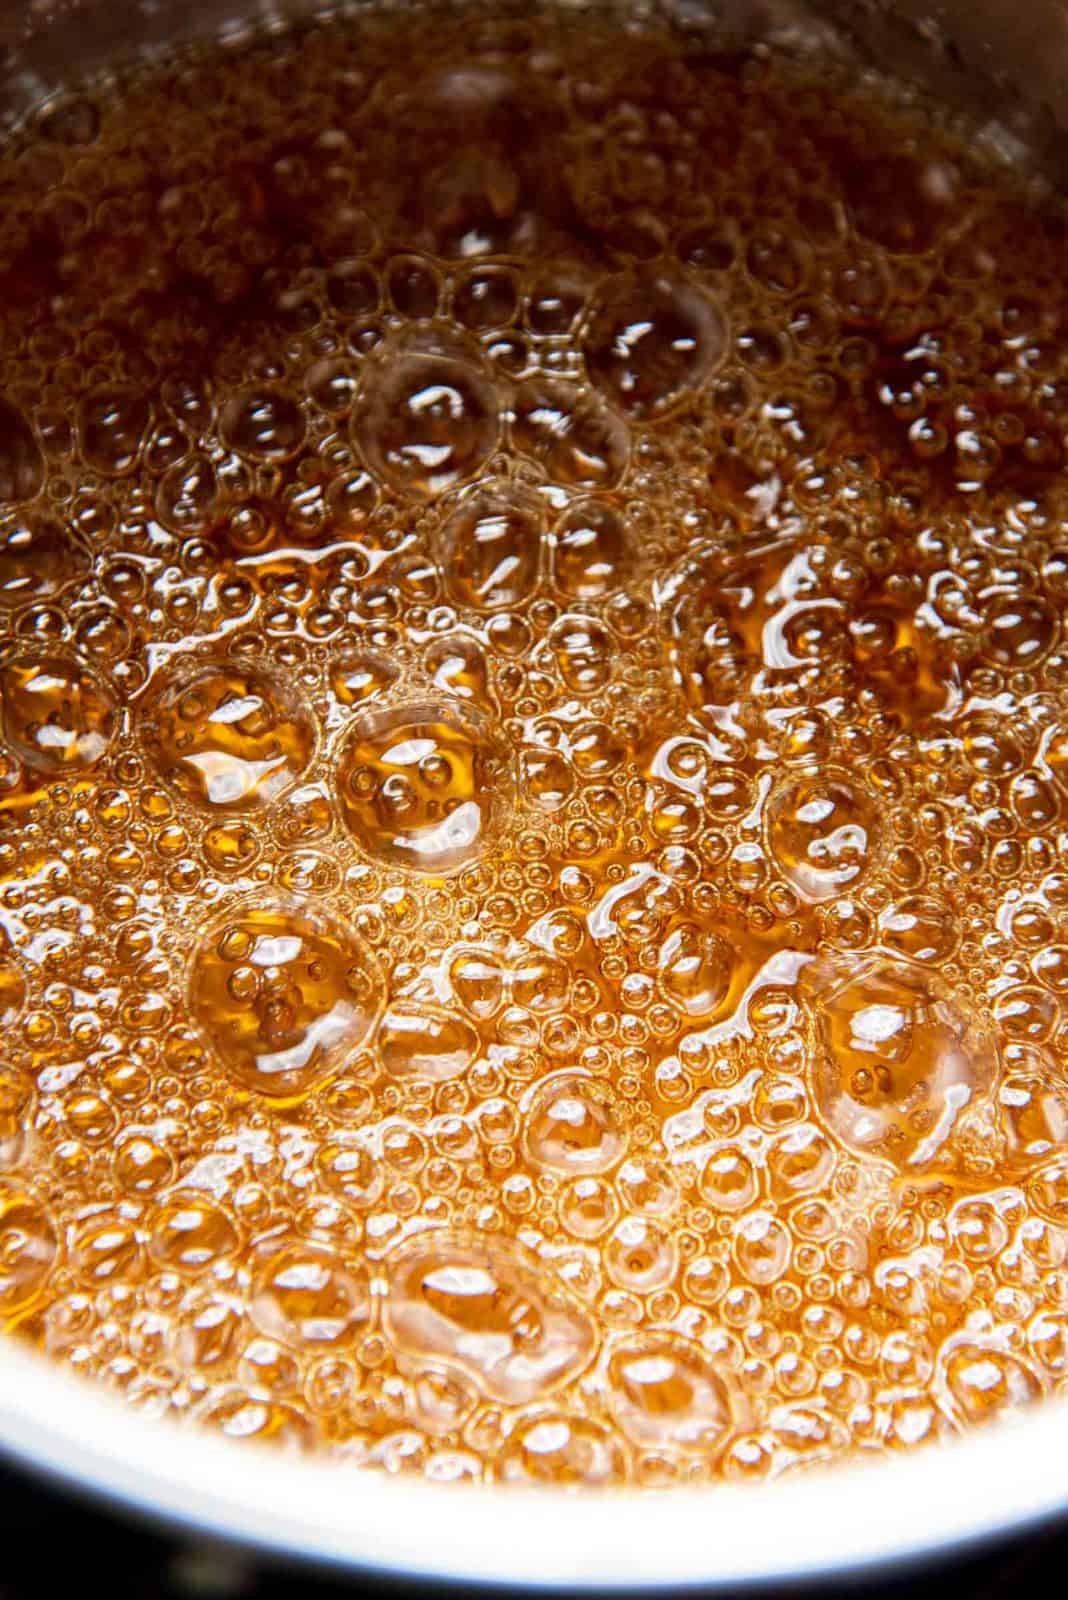
- Clip on a candy thermometer and heat the sugar syrup until it reaches 300 F (hard crack stage – see my cooked sugar stages article for more information about candy temperatures etc.).
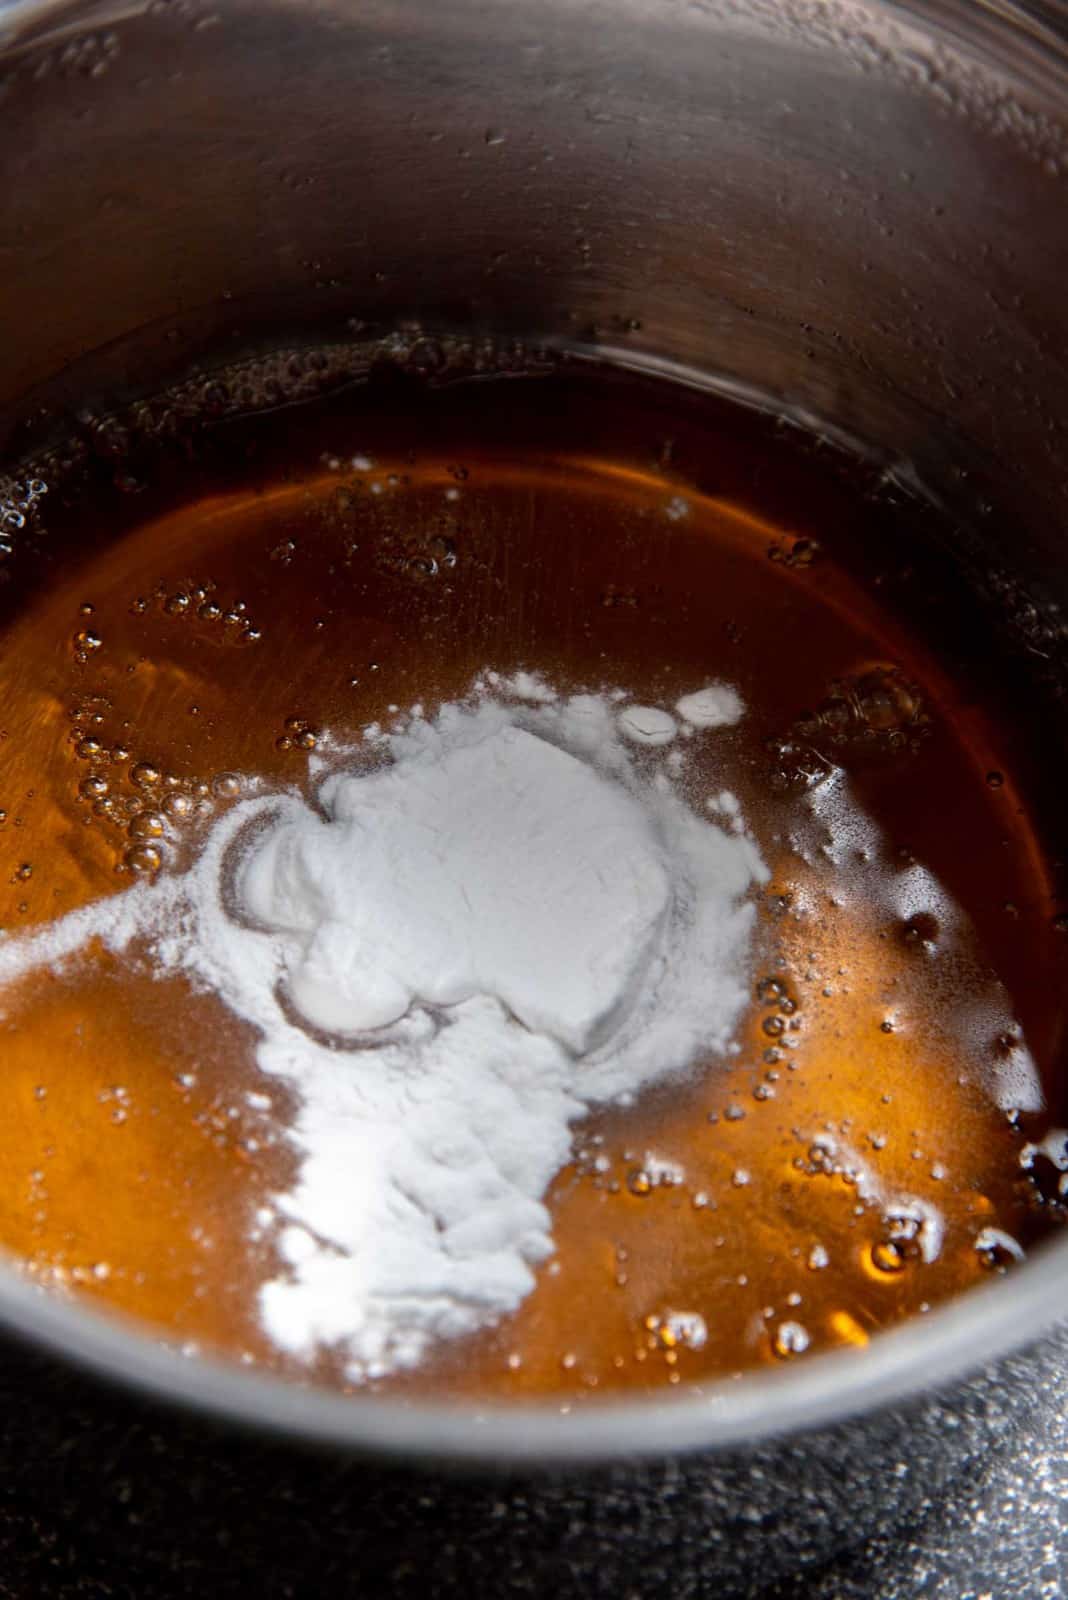
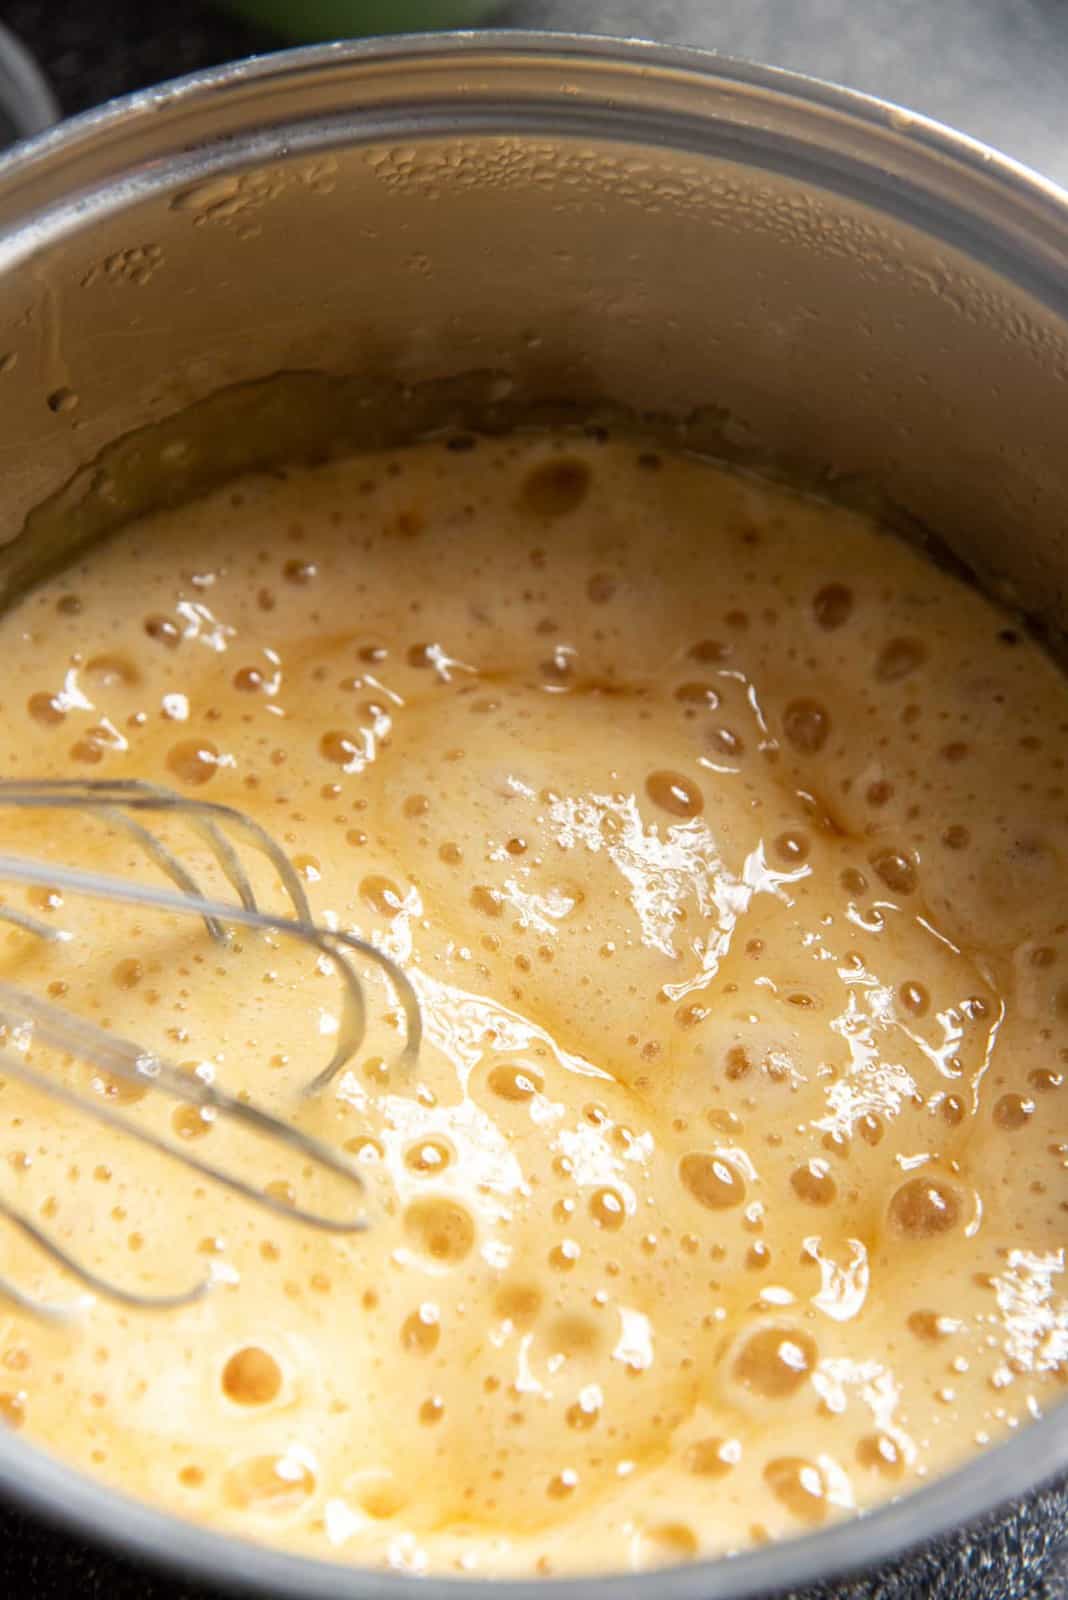
- As soon as the honeycomb toffee syrup reaches the correct temperature, remove the saucepan from the heat. Immediately add the baking soda, and vigorously whisk it in. Be CAREFUL not to burn your hands!
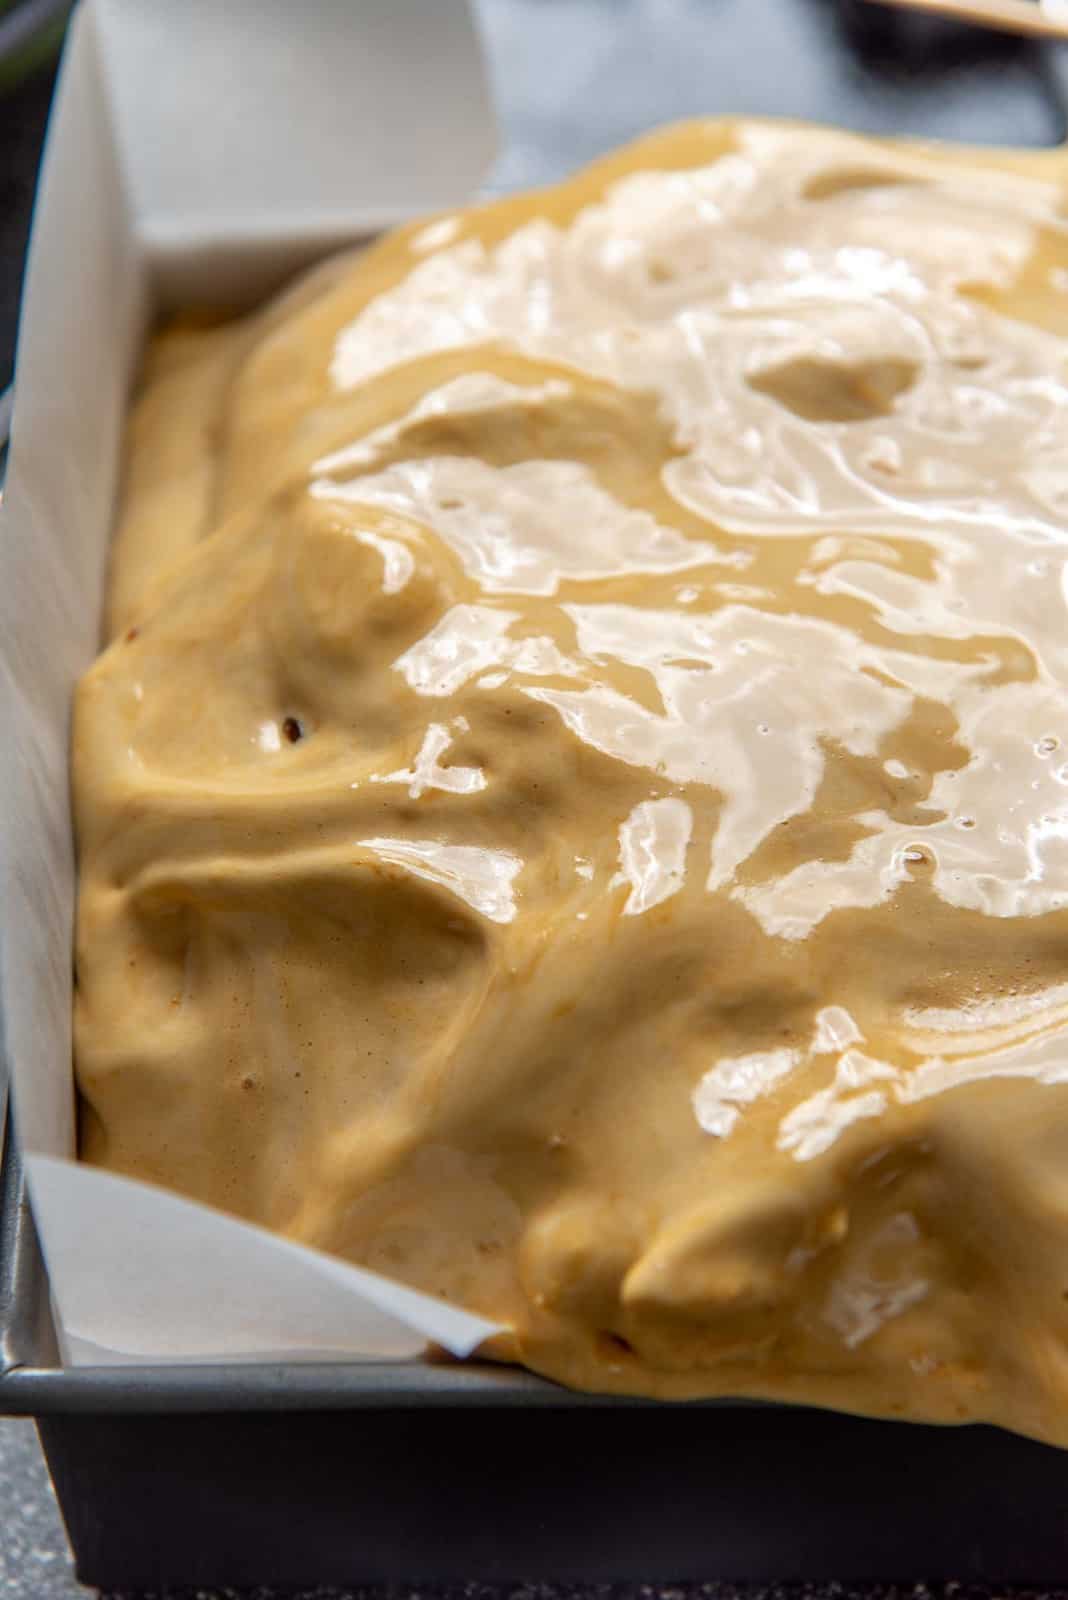
- The sugar mixture will foam and expand a lot. When the baking soda has been mixed in and the sugar mixture has fully expanded, immediately pour it into the prepared pan.
- Now let the honeycomb candy mixture completely cool and set.
Honeycomb candy vs sponge candy (vs seafoam candy or cinder toffee or hokey pokey)
Honeycomb candy goes by many other names! Some of these names include hokey pokey, sponge candy, seafoam candy, and cinder toffee (or honeycomb toffee or sponge toffee).
There really isn’t a difference between these, other than the regional origin of said names.
In the US, this candy is usually called honeycomb candy, or sponge candy, or fairy food. Usually this is made with sugar and corn syrup or honey, and baking soda.
In the UK, they might be better known as cinder toffee or honeycomb toffee or sponge toffee. This version also widely uses golden syrup or honey.
In Canada, they are called sponge toffee or sponge candy.
In Australia and New Zealand, this candy is called honeycomb or honeycomb toffee, but it’s also known as hokey pokey.
Hokey pokey however is mostly reserved as a descriptor for a flavor that uses honeycomb. For example, hokey pokey ice cream, hokey pokey chocolate (honeycomb chocolate), hokey pokey biscuits (golden syrup flavored cookies or chocolate covered cookies with crunchy honeycomb – Squiggles!).
In Korea, honeycomb candy is called dalgona. The famous sweet popularized worldwide by the Netflix show Squid Game. Dalgona is made with sugar and baking soda only.
In the US, seafoam candy can also mean divinity candy which is very different from honeycomb.
However, in my experience of making this candy for years and years, the honeycomb recipe made with golden syrup is so much superior to any other type that’s more common in the US (typically made with honey).
Honeycomb candy vs sponge candy texture
Honeycomb toffee has that beautiful open honeycomb texture (crunchy texture).
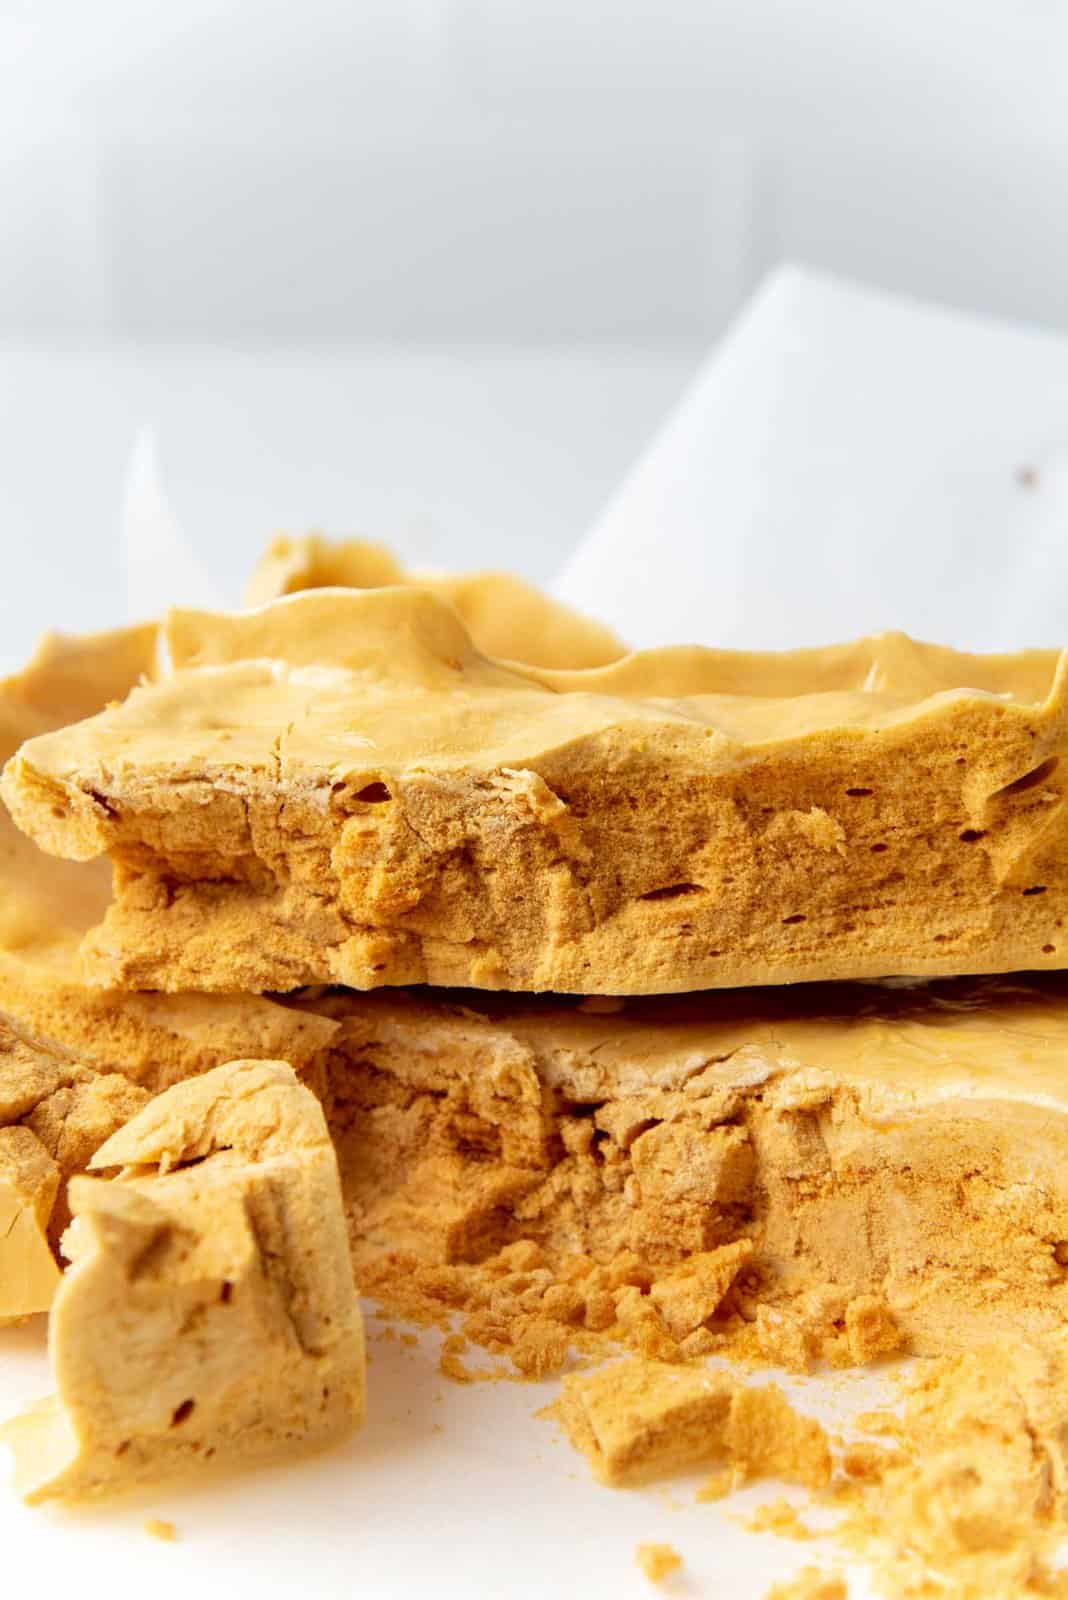
Sponge candy, as the name suggests, has more sponge-like texture. This happens because of the addition of the gelatin mixture.
To make sponge candy, you need to bloom the gelatin in a little water. Add this to the sugar syrup after it reaches the correct temperature, followed by the baking soda. Whisk in both, until the mixture foams up.
Pour the mixture into the prepared pan and let it harden.
Serving suggestions
The best way to enjoy honeycomb candy is for sure with a coating of dark chocolate! Like a dark chocolate violet crumble or homemade Cadbury crunchie bar!
But there are lots of other ways to eat/serve this candy too.
Hokey pokey ice cream – Vanilla ice cream with pieces of hokey pokey (honeycomb toffee) in it. So, you can fold through pieces of honeycomb candy in vanilla ice cream to make this delicious ice cream flavor.
This is an ice cream flavor that is unique to New Zealand, and is a much-loved ice cream flavor by kids and adults alike. It was my favorite ice cream flavor as a kid too, and I still wouldn’t ever turn it down if I were to go back and have some!
Dalgona flavored drinks such as dalgona latte – Since honeycomb is essentially “dalgona”, crushed honeycomb toffee is the perfect topping for dalgona flavored coffee or milkshakes.
As a topping for this dalgona pudding, to add crunch and texture.
Pieces of honeycomb toffee can be used to decorate cakes (such as vanilla cake, coffee layer cake, classic white cake, white coconut cake aka winter cake, butter pecan cake, raspberry cake etc.) as well. They add a lovely crunch and flavor, and make the cakes look spectacular with the gold-colored candy pieces on top.
How best to break the candy into pieces
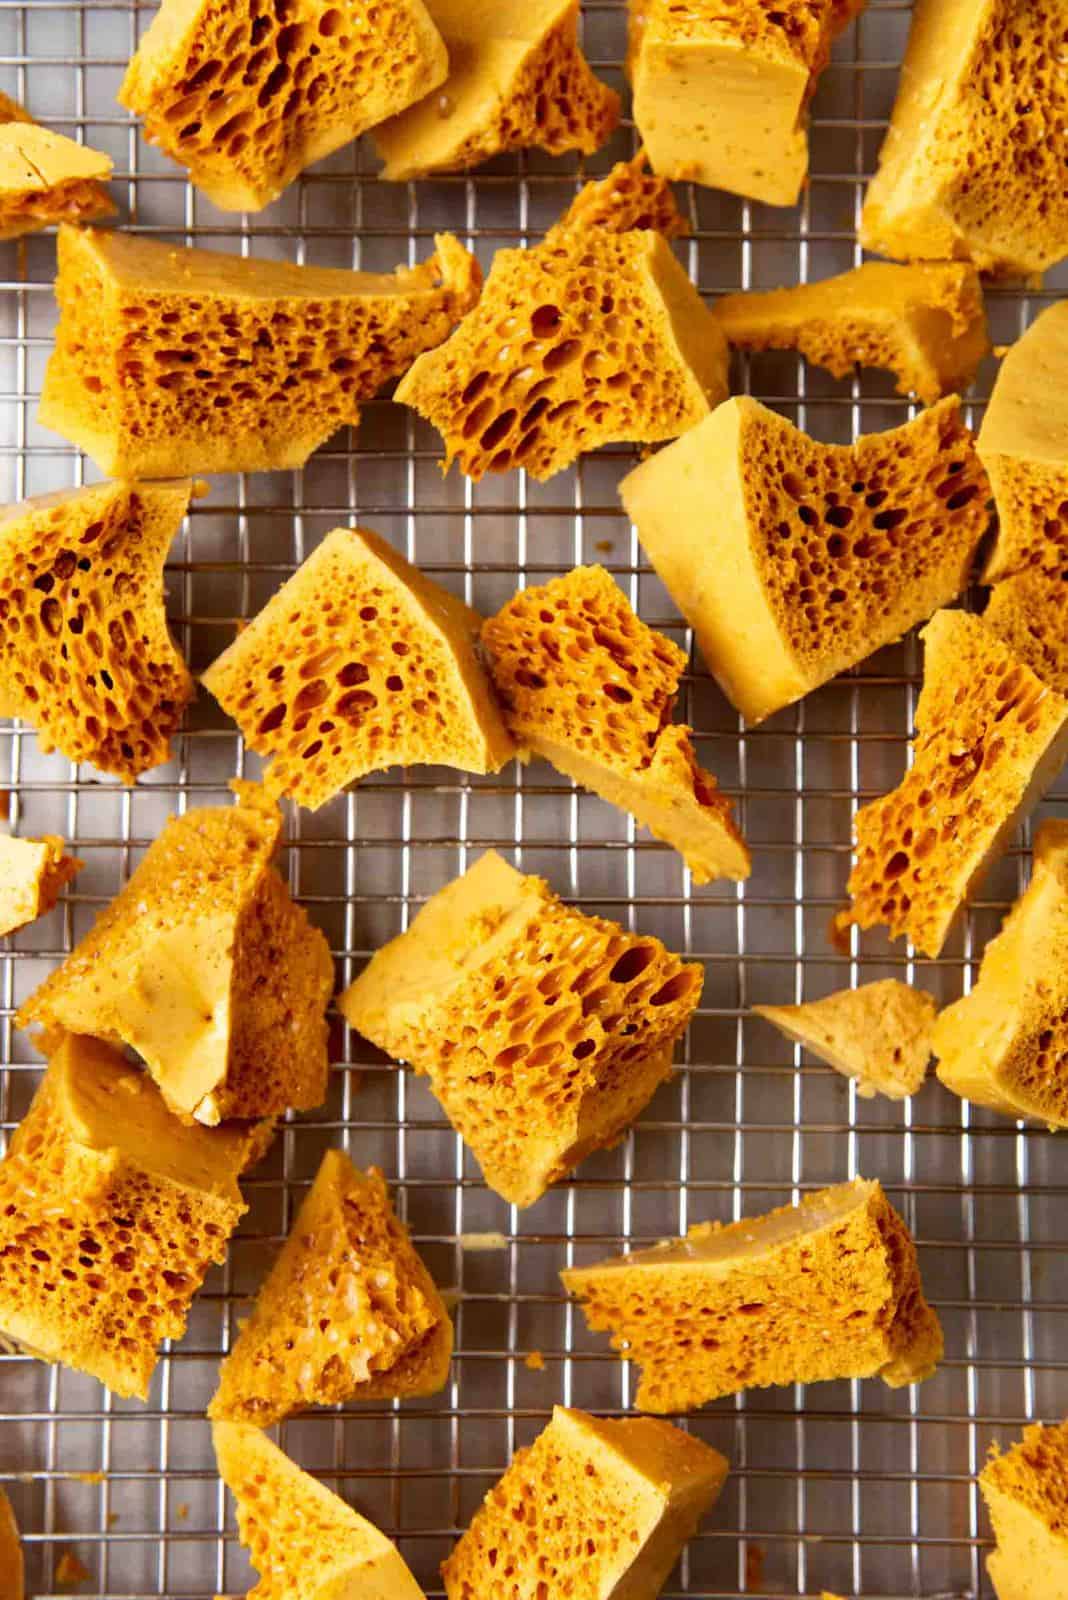
When the honeycomb toffee is hardened, remove it from the pan and place it on a chopping board. Use the tip of a very sharp knife and gently push it into the honeycomb toffee – it’ll shatter into pieces. Then break any large pieces into smaller ones.
Don’t discard any honeycomb toffee pieces that get crushed or are too small. You can add that to your coffee, hot chocolate, or vanilla steamers because they dissolve easily and add incredible flavor!
How to coat honeycomb candy in chocolate
I prefer to coat my honeycomb with dark chocolate. Anything between 60 – 70% cocoa content is my favorite option to balance the sweetness of the toffee. But you can choose any chocolate you prefer.
Temper the chocolate using this article as a guide.
You can either brush the melted chocolate on the honeycomb / sponge candy using a clean, dry pastry brush, OR you can dip the candy in the chocolate.
And don’t forget to sprinkle some salt on top. I like to use Maldon sea salt flakes.
How to store honeycomb candy for later
Uncoated honeycomb
These will keep in an airtight container for about a week (maybe longer depending on the container). Make sure to separate the candy pieces with parchment paper or wax paper in between them.
The more they are exposed to air, the more sticky and soft the candy will become.
Chocolate covered honeycomb
These will last much longer. The chocolate prevents the honeycomb toffee pieces from being exposed to air, so these will stay crisp for much longer. I’ve kept mine for up to a month (could be even longer, but ours usually finish before that).
Honeycomb candy or sponge candy should NOT be stored in the fridge. They last longer at room temperature in a cool, dark place.
Recipe tips
- Remember to use a large pot to make this honeycomb recipe. Once you add the baking soda, it’ll expand significantly, so all that space will be needed.
- Have all the ingredients weighed and measured before you start, especially the baking soda. This way, the baking soda is ready to go as soon as the sugar syrup comes to the correct temperature.
- Wear gloves to whisk the sugar mixture, if available. The mixture releases a lot of steam, and the gloves will provide you protection. You won’t need gloves once you get used to the process though, because you’ll know how to avoid the steam.
This honeycomb candy is incredible! Sweet, yes, but perfectly balanced with the bittersweet chocolate and salt. You’ll be surprised at how much of it you could easily put away!
This homemade candy is perfect for gift giving during the holidays as well, because they are super easy to make and very impressive too!

Frequently asked questions
Honeycomb candy is delicious with a unique texture! It tastes like caramel, but not like other caramel candies. Because of the addition of golden syrup, honeycomb toffee has a caramel, buttery flavor!
If you make honeycomb with honey, then the honey flavor will come through in the candy too, and it’ll be the same if you use maple syrup.
Golden syrup adds a lovely and unique flavor to the honeycomb recipe, which makes this version better than that made with honey or maple syrup.
This entirely depends on where and how you store the candy. Ideally, it should last about 1 week in an airtight container, at room temperature. If the candy is exposed to high humidity, it’ll become soggy (and even dissolve) much faster.
If the honeycomb candy is completely coated in chocolate, it can last longer because the chocolate will protect the candy from moisture in the air.
Do not freeze or refrigerate this candy. The candy will soften and become soggy if you do so.
If your honeycomb candy is chewy, then the candy has absorbed moisture. Excess moisture in the candy causes the candy to become “soggy”, turning it from a crisp, crunchy candy to one that doesn’t have much crunch, and is more chewy.
Unfortunately, no. Baking powder and baking soda are very different products. Baking soda is more potent than baking powder, and you will need to add more baking powder to get the same results as baking soda.
This can result in the candy having an undesirable flavor in it. Read more about the difference between baking soda and baking powder here.
If the candy tastes bitter or is burnt, it’s very likely that your sugar burned in the process of making honeycomb candy.
This is why it’s so crucial to use a candy thermometer to make sure the candy is heated to the correct temperature.
The sugar syrup can also burn if the stove temperature is too high. Sugar syrup goes through the caramelization stages very quickly. So, this is another reason to have all the ingredients measured and ready to go, so that you’re able to add the baking soda as soon as the right temperature is reached.
Looking for more recipes?Sign up for my free recipe newsletter to get new recipes in your inbox each week! Find me sharing more inspiration on Pinterest and Instagram.
Honeycomb Candy Recipe
Ingredients:
Honeycomb candy base
- 350 g granulated white sugar or brown sugar (1 ¾ cup)
- 160 – 170 g golden syrup or honey. Use corn syrup only if neither is available. (½ cup)
- 120 mL water ½ cup
- ½ tsp salt use only ¼ tsp if you don’t want to taste the salt flavor
- 1 tbsp baking soda
Gelatin mix (optional – for a more dense sponge-like texture)
- 2 tsp water
- ½ tsp gelatin
To coat
- 300 g tempered bittersweet chocolate approximate weight, you can also use milk chocolate or semisweet chocolate instead
- Sea salt flakes (I use maldon sea salt flakes)
Instructions:
Honeycomb candy
- Line a 9 inch square pan with parchment paper (sides and bottom). Set aside until needed. For flatter honeycomb candy, line a half sheet baking pan with parchment paper or silpat.
- Keep a spatula and a whisk ready, as you will need them towards the end of the cook time.
- Place the sugar, golden syrup, water, and salt in a large saucepan (this mixture will expand a lot, so use a large pot with enough space). You can use honey if you do not have golden syrup. Or corn syrup if you have neither.350 g granulated white sugar, 160 – 170 g golden syrup, 120 mL water, ½ tsp salt
- Gently stir to saturate the sugar with the water.
- Heat over medium high heat, while swirling the pot frequently to ensure the sugar is dissolved.
- Brush the sides of the pot with a pastry brush dipped in cold water to dissolve the sugar crystals on the side of the pot. Do NOT stir the sugar syrup.
- When the sugar syrup comes to a boil and all the sugar has dissolved, clip a candy thermometer to the side of the pot.
- Heat the sugar mixture until it reaches 300°F / 150°C. Swirl the pot as you heat the sugar to make sure the syrup is evenly heating (check several spots in the syrup with the candy thermometer to make sure it's evenly heating).
- Get the prepared pan, whisk, and spatula ready when the sugar syrup is close to 300°F. You can use an oven mitt for whisking the sugar base in the following steps, if you like.
- When the sugar syrup reaches 300°F, remove the pot from the heat and immediately add all of the baking soda.1 tbsp baking soda
- Whisk the baking soda well into the sugar syrup. Make sure to reach all the corners of the pot. The sugar syrup will expand into a foamy honeycomb mixture.
- As soon as the baking soda is thoroughly mixed in and the mixture has expanded, scrape the honeycomb mixture into the prepared pan.
- Allow the mixture to harden for a few hours.
- Once the candy is hardened, remove it from the pan and peel off the parchment paper. Place it on a cutting board.
- Use the tip of a sharp knife to break the honeycomb into pieces. These will be uneven pieces.
For more dense, sponge candy texture
- While the sugar syrup is cooking, bloom the gelatin in the water in a small microwave-safe bowl. Let it bloom for 10 minutes.2 tsp water, ½ tsp gelatin
- Microwave the gelatin for just a few seconds to dissolve the gelatin. Do NOT let it boil.
- Add the dissolved warm gelatin mixture into the sugar syrup, followed by the baking soda. Whisk vigorously, and then transfer the mix into the prepared pan (as per instructions above).
To coat honeycomb with chocolate
- Temper the chocolate using this guide.300 g tempered bittersweet chocolate
- Dip the honeycomb candy in tempered chocolate (you can dip them either fully or partially). Alternatively, you can brush the chocolate on the toffee pieces with a clean, dry pastry brush.
- Place them on a parchment paper-lined baking sheet. Sprinkle salt on top before the chocolate sets.Sea salt flakes (I use maldon sea salt flakes)
- Allow the chocolate to set at room temperature (do not put them in the fridge).
Tips & Tricks
Storage instructions
Do NOT store honeycomb in the fridge or freezer. Uncoated honeycomb toffee – Store these honeycomb pieces in an air-tight container at room temperature for about 1 week (or 2 weeks if it’s not humid). Place parchment paper or wax paper in between layers of the honeycomb to prevent them from sticking to each other. Chocolate coated honeycomb toffee – These can be stored at room temp for much longer (up to a month) in an air-tight container.Nutrition Information:
“This website provides approximate nutrition information for convenience and as a courtesy only. Nutrition data is gathered primarily from the USDA Food Composition Database, whenever available, or otherwise other online calculators.”

Corinne says
I tried this recipe twice and it burned on the bottom before ever getting close to 300 degrees. I was cooking it at medium heat. Should I try even lower? Not sure I want to keep wasting ingredients.
Dini says
Hi Corinne
As I mention in the recipe it is really important to swirl the pot to mix the sugar mixture. The liquid at the bottom of the pot will be hotter than the liquid on the surface. If the sugar syrup is burning, that means the syrup is not heating evenly and the bottom is heating faster and MUST be swirled to evenly spread the heat. I also recommend in the post to check several spots to make sure that the syrup is heating evenly.
If the syrup is still burning before it reaches 300F, then please check if the thermometer is calibrated or being used properly (not an infrared thermometer gun). There is no possibility for the sugar syrup to burn even at 300 F. Light caramel stage is achieved at 312 F. At 350 F it is a dark caramel, and then it will burn beyond this stage.
I hope that helps!
Lind says
Hello, Just a bit of advise to avoid burning the candy. Be sure to use a heavy bottom pan. Cheap thin pans do not cook the same. The difference is extremely noticable in candy making and puddings. My sister kept burning things until I bought her some copper bottomed pots like I use at a thrift store. She said she thought it was her…not the pot. Electric stoves the heat is more powerful at the coils and really burns food in thin pans. Hope this helps. Enjoy candy making.
susan paquette says
It was difficult for me not to stir this mixture but I practised restraint throughout, just swirled as directed. I have a gas stove so it reached 300 degrees quickly while the mixture became a lovely golden colour. It turned out amazing! I going to dip some in tempered milk chocolate. Thank you for this recipe! Merry Christmas
Mercy asukwo says
I love the recipe
Dominique says
Great recipe and kid-friendly prep. My daughter loved helping me measure out the ingredients and seeing the sponge toffee “puff up” after adding the baking soda. The recipe yields a VERY tall sponge toffee in a 9×9″ pan. I’d suggest a 9×13″ pan if you want more pieces that aren’t about 1.25″ tall.
Char says
My guy loves sponge toffee and i’ve made it a few times…but i hadn’t made any in a while and then i ventured upon your recipe! I did a half batch, but otherwise followed everything to a “t” including the temperature. The mixture kept bubbling even after it was poured in the pan, and it bubbled and bubbled, overflowed from the pan and onto my counter. Then it proceeded to deflate. So i had a huge mess to clean and now i’m wondering if the deflated honeycomb will set 🙁 I sampled from the this dried edges and they taste lovely. Any ideas as to what i might have done wrong?
Mac says
you might have added slightly too much baking soda or used too small of a pan. I almost had the same problem, but I managed to catch it in the second pan before it bubbled over when I added the baking soda. I used a 9 x 13 pan instead of a 9×9 and it fit perfectly. I noticed mine deflated slightly as well, but I think that’s just how it starts to settle down. Mine was still light and bubbly on the inside after all was said and done.
Sara says
Your recipe instructions were excellent, and everyone was amazed at how perfect the seafoam (which is what my family calls it) turned out! I was concerned when the temperature didn’t rise for awhile, but it got to 300 F eventually.
I used light corn syrup and all of our leftover bits of chocolate – so delicious!
Thanks for the great recipe!
Dini says
Thank you Sara, so glad everyone enjoyed the recipe! 🙂
Lisa says
Can you use maple syrup instead of honey?
Dini says
Hi Lisa
The purpose of the honey is to prevent crystallization. Maple syrup doesn’t have as much invert sugar as honey, so may not be as good at preventing crystallization.
You CAN use maple syrup, but you have to be more mindful about not causing the syrup to crystalize.
I hope that helps!
Roxanne Ledoux says
I’m going to try it
I loved this aa a child.
Sarah says
How long does it last? Can you freeze it?
Dini says
Hi Sarah
If you completely coat the toffee with chocolate, they can last for about 10 days, depending on the weather. Without chocolate, they would only last about 5 days because they will soften as they absorb more moisture.
I don’t recommend freezing this, as it will definitely melt as it thaws out.
I hope that helps!
Mark says
For some reason, I can’t get the temp to 300F. Seems to max out at 210F. Any suggestions? How long would it normally take to hit 300F? I thought maybe putting a lid on but then the candy thermometer is in the way. Any help would be much appreciated. Thank you for you’re time.
Dini says
Hi Mark
Usually the sugar syrup temperature rises as the water evaporates and the sugar becomes more concentrated. If you close the lid, the water won’t be able to evaporate and it will actually interfere with the syrup cooking process.
212 F is the boiling point of water, so if the syrup is stuck there that unfortunately means that you probably need to cook the syrup longer. This process can take some time depending on the stove and saucepan you are using. Once the water starts to evaporate more, the temperature of the syrup should start to go up.
Hope that helps
Michelle says
Was in a rush to taste it so stuck it in the fridge to cool. I didn’t use chocolate to coat. Such a great recipe. Made it years ago with another recipe & it didn’t work. This turned out well.
Maryanne says
Thankyou for the great recipe.
Katie says
This has such amazing flavor! I love it as a topping for vanilla ice cream!
Michelle says
I have always wanted to try this recipe and finally made it, and it is the most amazing this I have tasted! No wonder they make this on the Great British Bake Off all the time!
Noranda Arnett says
This turned out so good, and was really fun and easy to make! I used golden syrup, and white sugar, and dipped them in dark chocolate with a sprinkle of sea salt, I don’t think they’re going to last very long, they are so tasty!
Dini says
I’m so glad you enjoyed them Noranda, thank you so much for letting me know! 🙂