



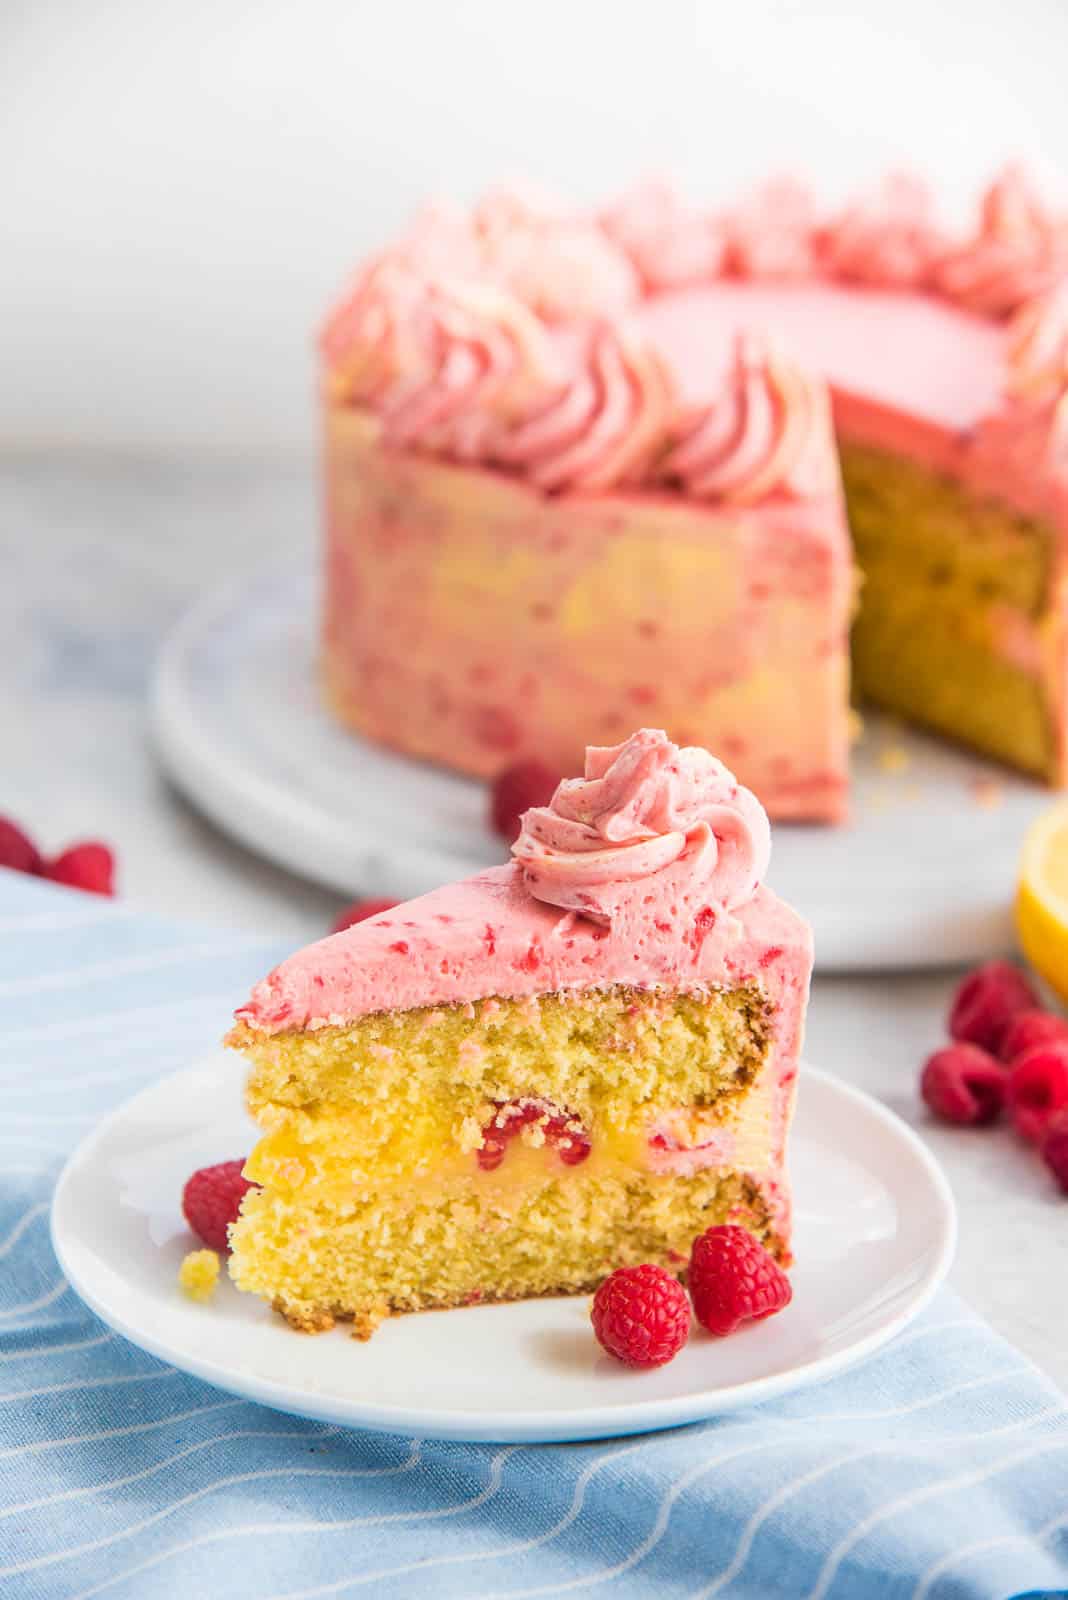
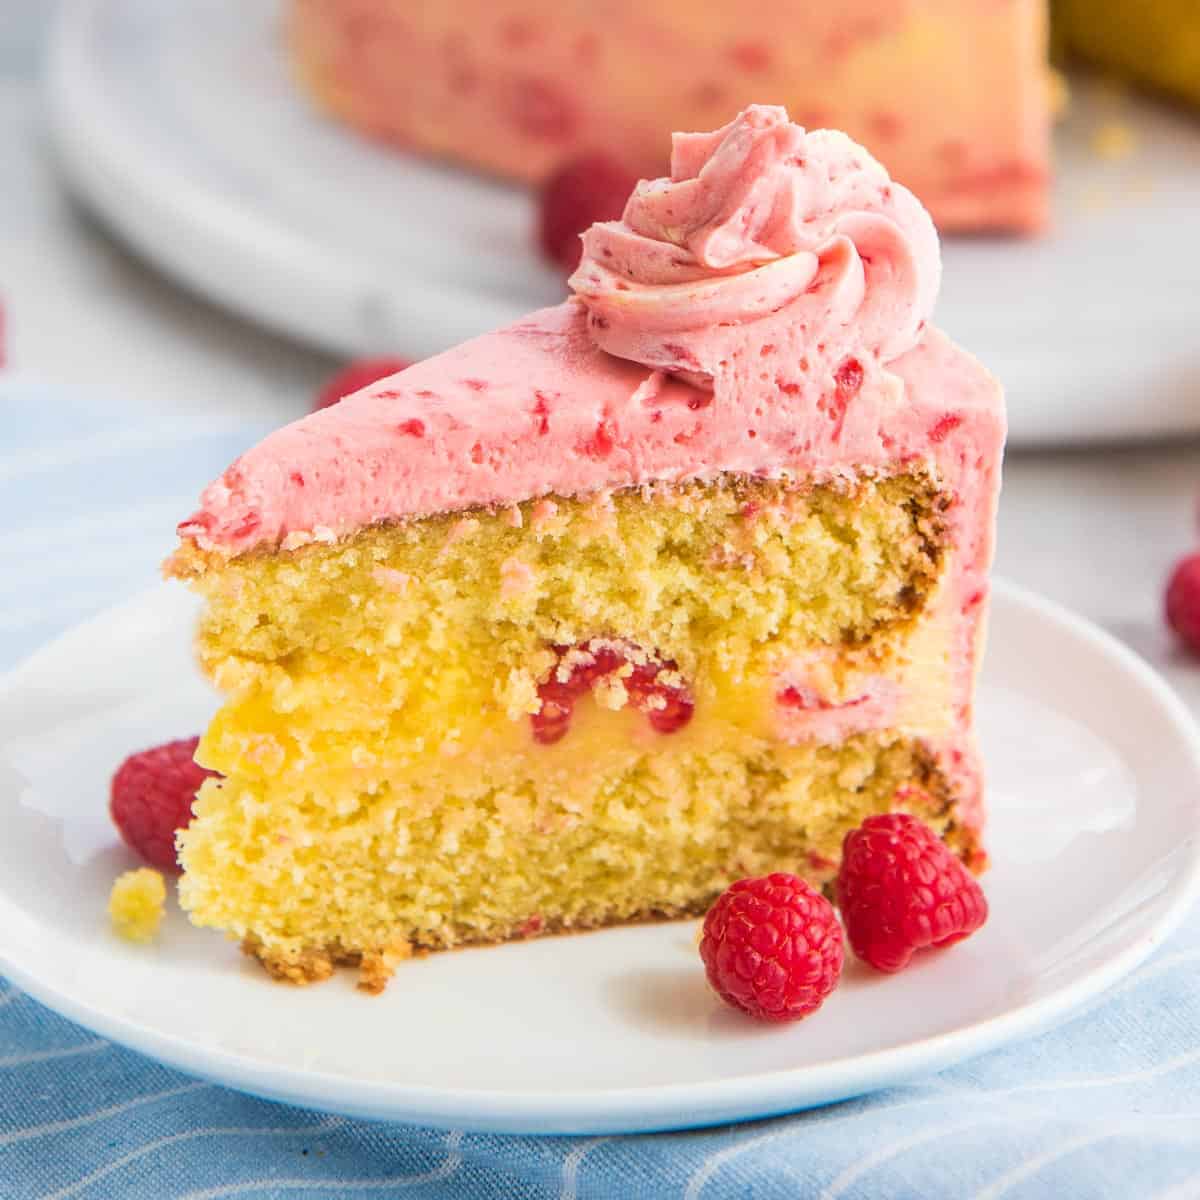
This lemon raspberry cake is a soft, light, airy, yet deliciously moist lemon layer cake, filled with bright lemon curd and fresh raspberries, and frosted with a fruity raspberry buttercream frosting.
It’s full of refreshing lemon flavor, deceptively easy to make, and perfect for birthdays, spring and summer celebrations, Easter, Mother’s day, or anytime you want a fresh, fruity, showstopping dessert!
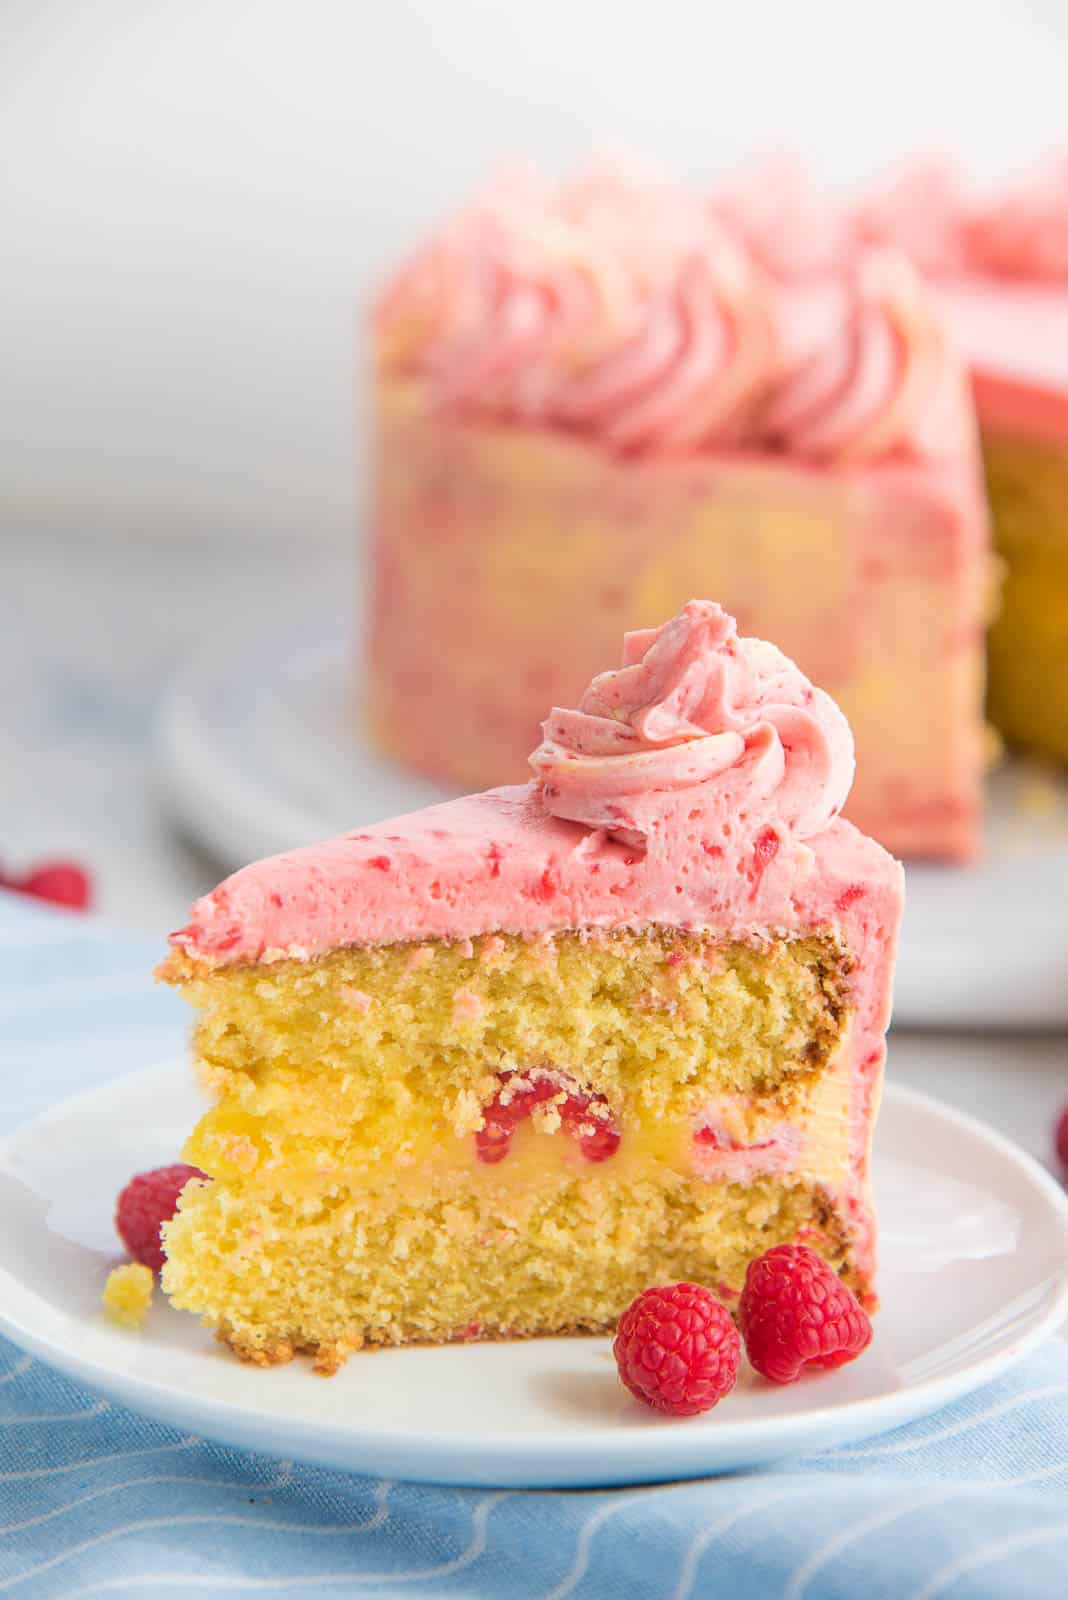
When we were invited for a potluck BBQ last week, I knew I wanted to take something bright, summery, and citrusy. The result? This incredible lemon raspberry cake (with lemon curd) that was the highlight of the spread!
This soft, moist, tender, and very springy and summery lemon raspberry cake is actually deceptively easy to make. Simply measure out the wet and dry ingredients and mix ’em all together! It’s one of my favorite spring desserts to make every year with seasonal produce.
No creaming butter and sugar, or adding flour to wet ingredients a little at a time. This cake works well as a vanilla cake too, but I’ll share that recipe another time.
Why this recipe rocks

- This lemon cake is made with lemon zest, sugar, and lemon juice for a deliciously refreshing and summer-worthy dessert.
- The lemon curd adds a tangy, creamy, buttery, sweet tartness that pairs so well with the tender, moist, airy cake!
- The raspberries balance the flavors with a fresh, fruity sweetness.
- I share ALL my tips on perfecting the lemon cake, the lemon curd, the raspberry buttercream, and even how to perfectly frost the cake too.
- If you love lemon (or citrus flavors) in cake, this is probably the most lemony cake you’ll ever make!
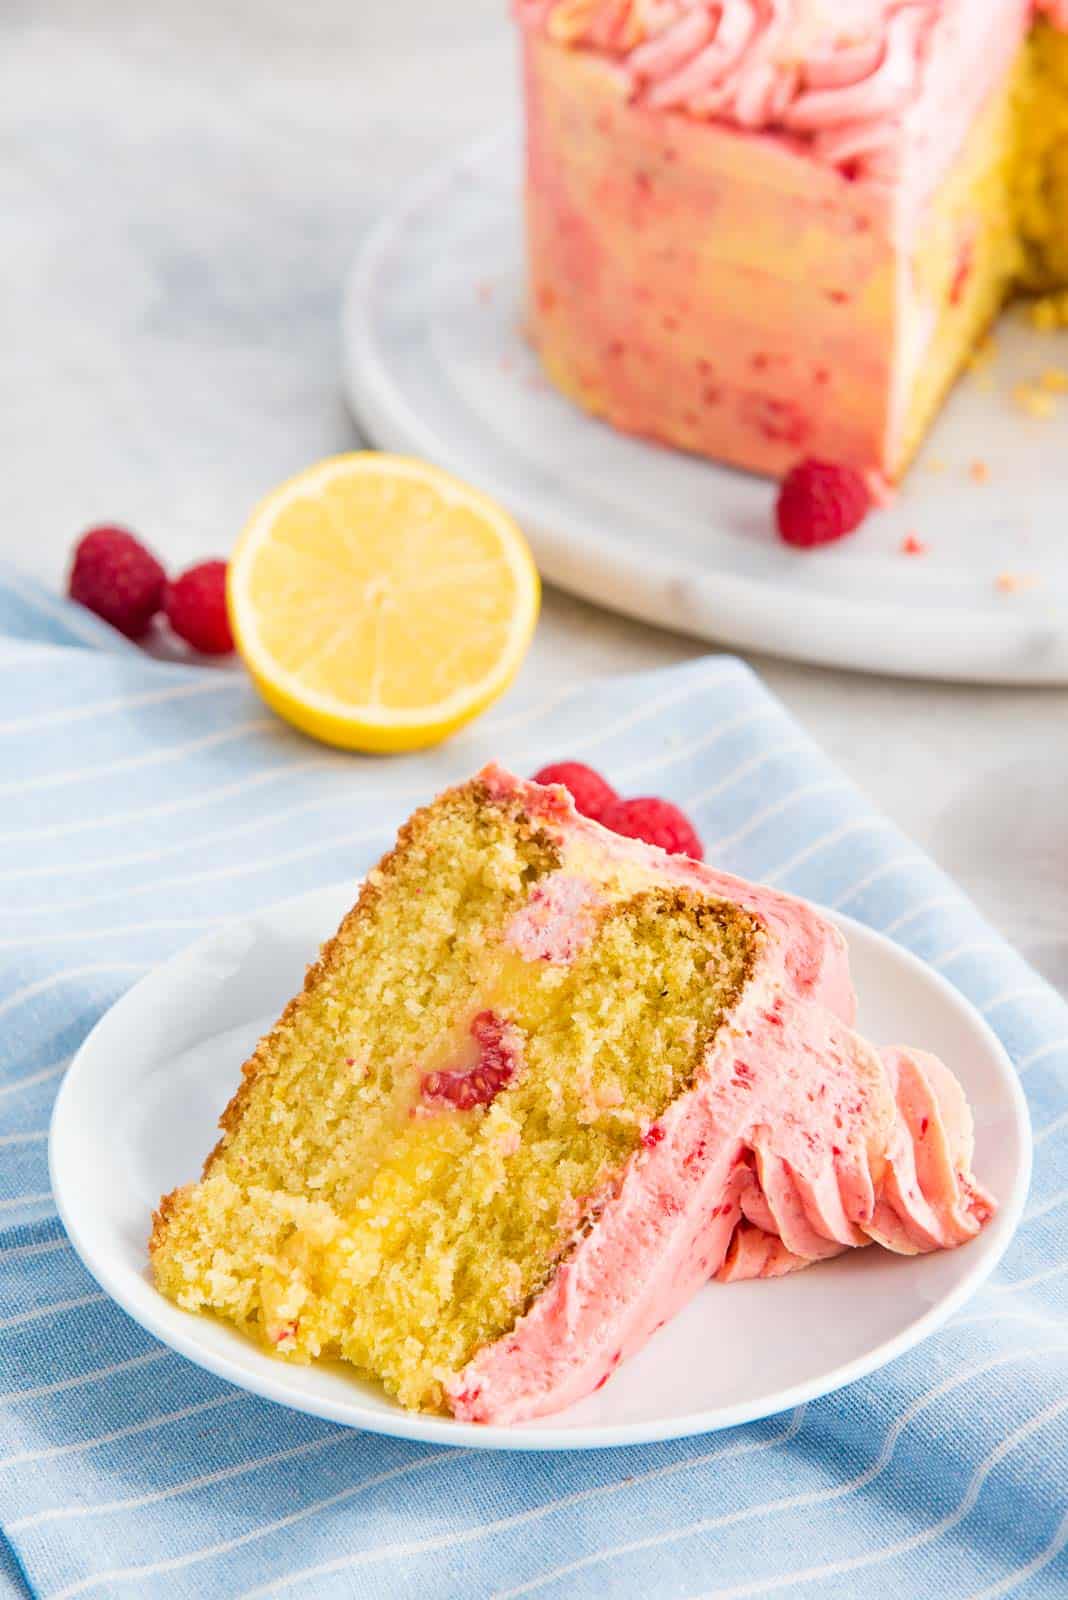
Three components of this cake
- Lemon layer cake – I process lemon peel and sugar together until finely processed to get a robust lemon flavor in the cake. I use the lemon zest of 2 lemons, but I only use the juice of 1 lemon (¼ cup). Mostly because I prefer using zest over lemon juice when baking cakes, because the zest adds a more fragrant flavor in baked goods. However, if you’d like an even stronger lemon flavor in your cake, you can make a lemon syrup and drizzle it over the cake.
- Lemon curd and fresh raspberry filling – My homemade lemon curd has a spoonable consistency that is thick and luscious, yet still soft. If you cook this further, you get a lemon curd that’s even thicker and pipeable. If you’re storing this cake in the fridge, then you can choose either option. However, if the cake is going to be sitting outside and it’s a hot day, then use the thicker, pipeable lemon curd. It’ll be more stable, and will not seep out when you cut the cake into slices. Fresh raspberries in the filling are optional, but they do add even more fresh, fruity flavor to the cake!
- Raspberry buttercream frosting – This frosting is based on my classic American vanilla buttercream. Instead of the cream in that recipe, I add raspberries here. If you add both, the buttercream would be too soft and may split.
How to make lemon raspberry cake (step by step overview)
Lemon curd filling
Step 1 – Make the lemon curd
Make the lemon curd the day before, so it has time to cool down and chill in the fridge.
I like to cook down the lemon curd until it becomes semi-translucent. This lemon curd cools down to a very thick consistency that’s even pipeable. However, it requires a longer and slower cook time to prevent the eggs from curdling.
Alternatively, you can add some gelatin to the lemon curd to make it more stable.
Let the lemon curd chill in the fridge until the cake layers have baked and cooled down, and the frosting is made as well.
Lemon cake
Step 2 – Prep the cake pans
Preheat your oven to 350 F / 180 C. Then take two 8 inch baking pans and line them with parchment paper on the bottom. Grease and dust the sides of the pan with flour, and set aside.
Step 3 – Make the lemon sugar
Wash and pat dry two lemons. Then use a peeler to thinly peel 2 lemons. Make sure the peel doesn’t contain any of the bitter white pith.
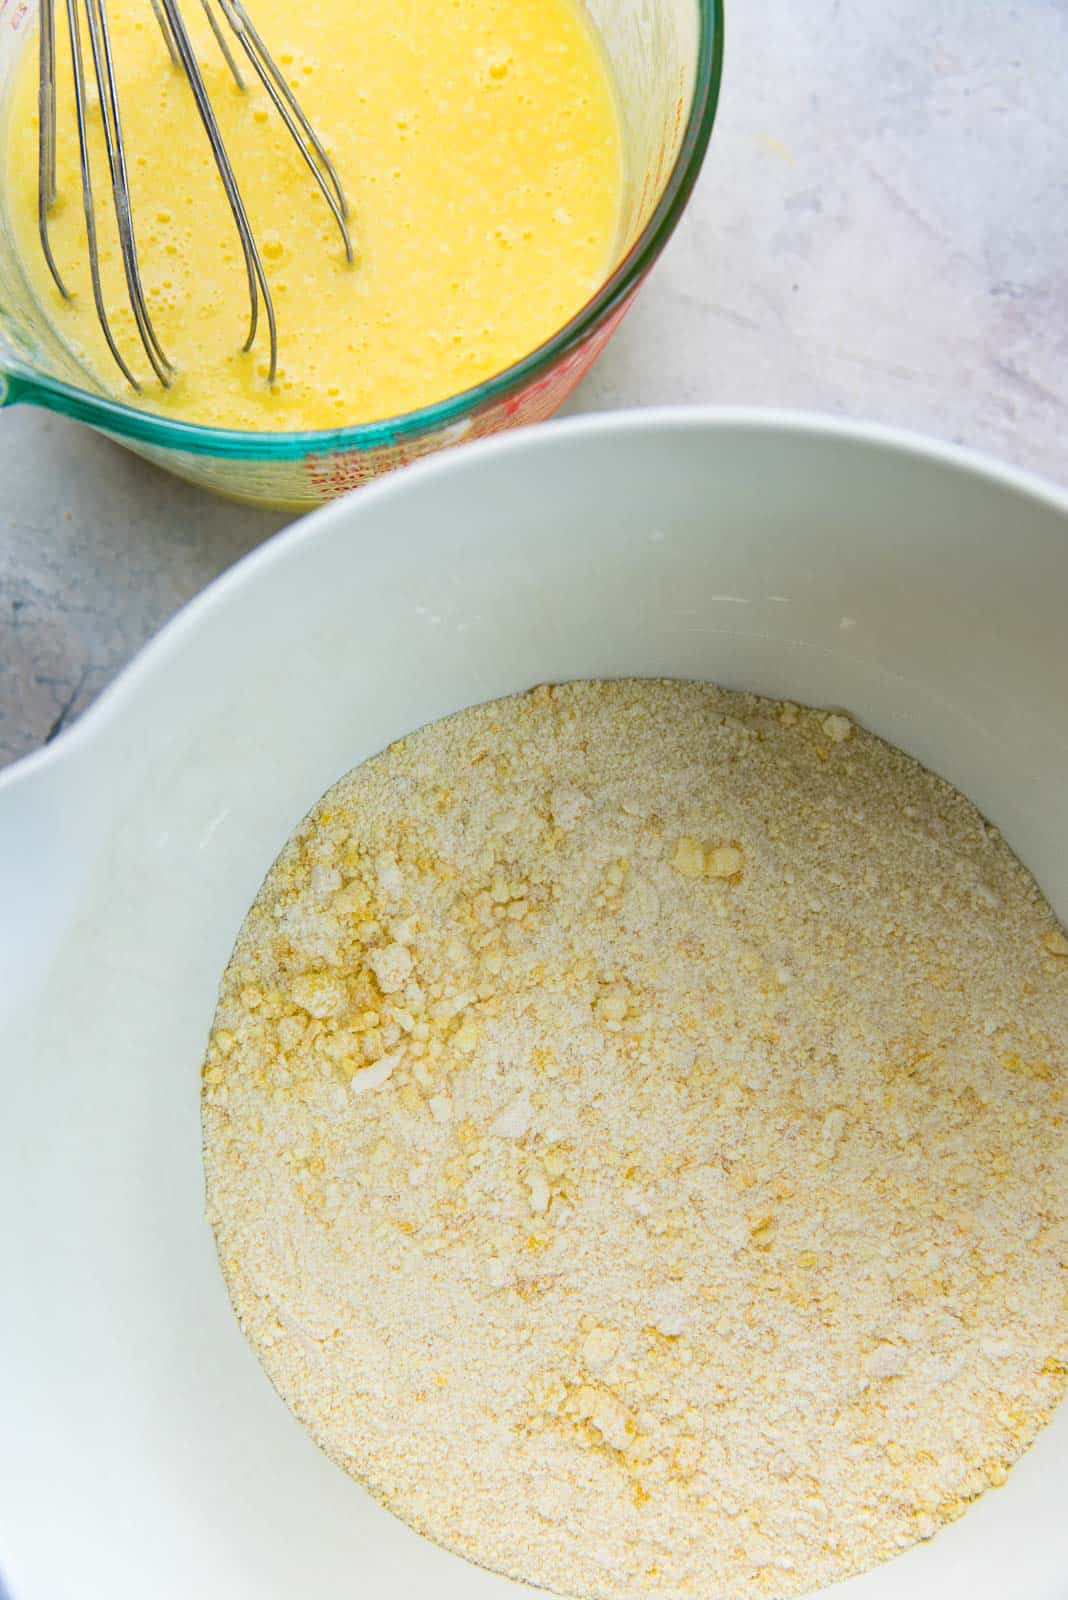
Then place the sugar and lemon peel in a food processor and process until the zest is very finely minced and mixed with the sugar. The sugar will be lumpy, but the peel should be finely minced.
Now place this in a large bowl. This is your lemon sugar.
Step 4 – Prepare the dry ingredients
To the lemon sugar, add the flour, baking powder, baking soda, and salt. Whisk to mix and set aside.
Usually sugar is a wet ingredient in cakes, but I’m using the sugar to break up flour lumps in the dry ingredients here.
Step 5 – Prepare the wet ingredients
Melt the butter in a microwave-safe bowl, and place it in a separate bowl. Make sure the butter cools down slightly before adding the other wet ingredients.
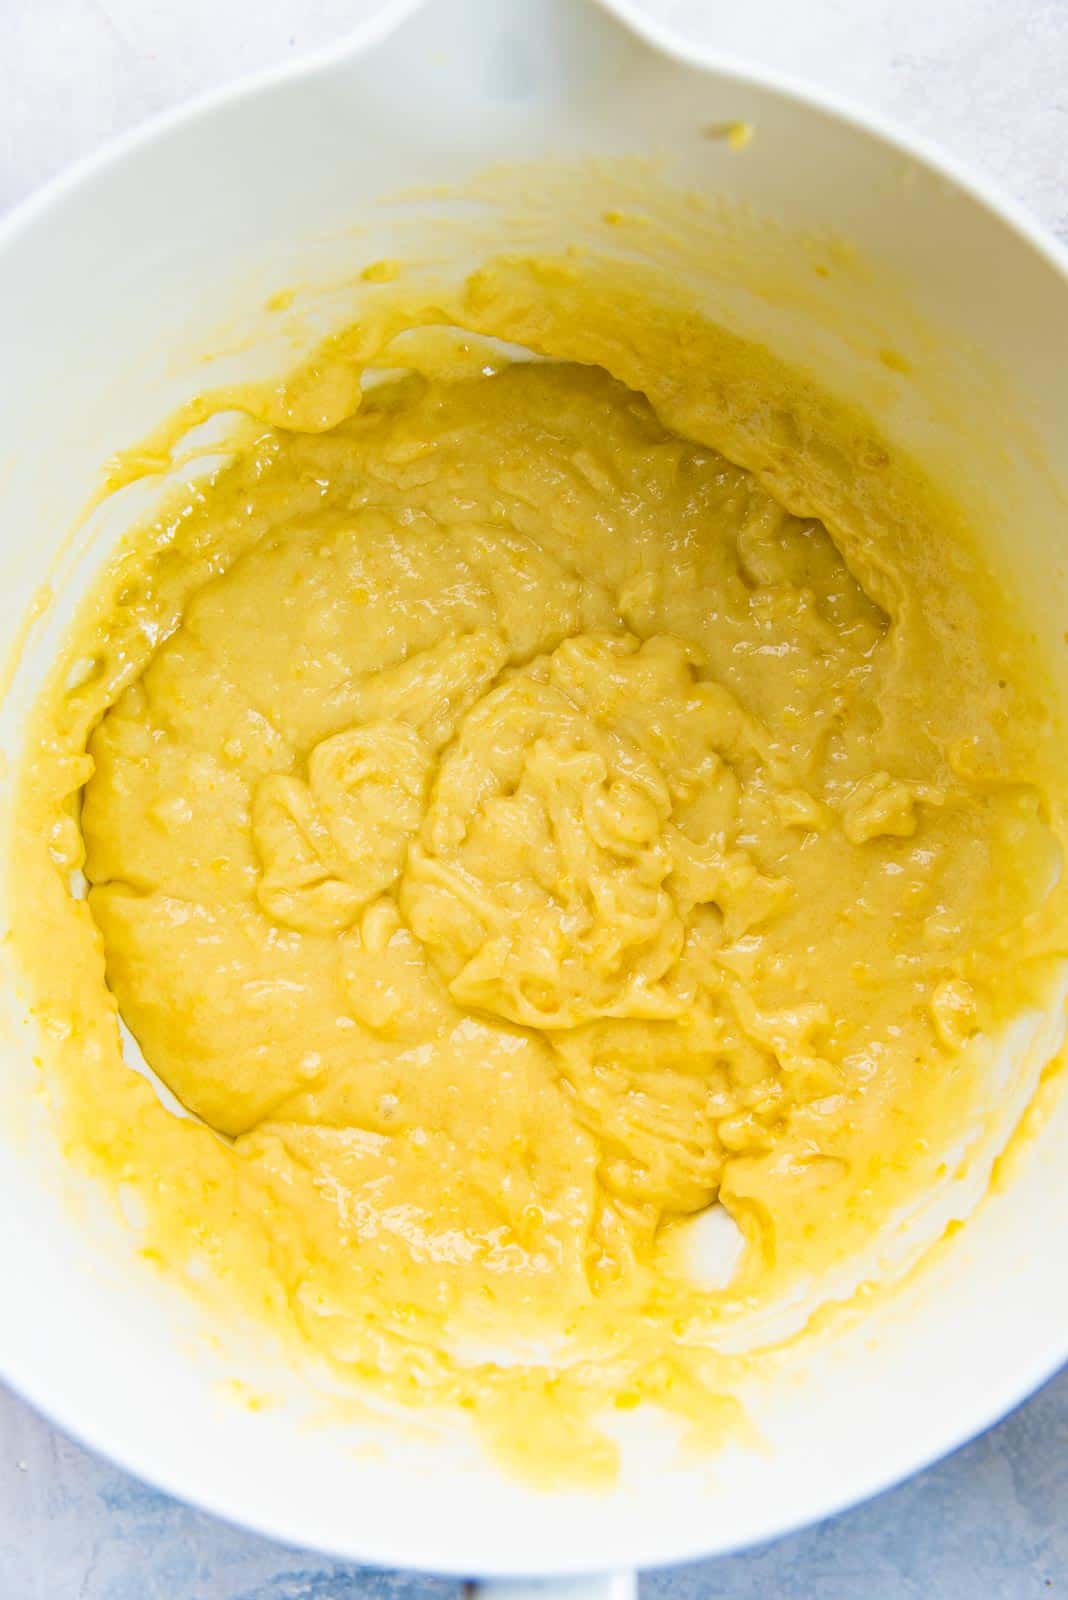
Combine the melted butter, oil, vanilla, eggs, and lemon juice together in a bowl or jug. Whisk well until everything is combined.
Step 6 – Make the lemon cake batter
Add the wet ingredients to the dry ingredients. To avoid over-mixing, add the wet ingredients in 2 – 3 batches. Carefully fold it all in.
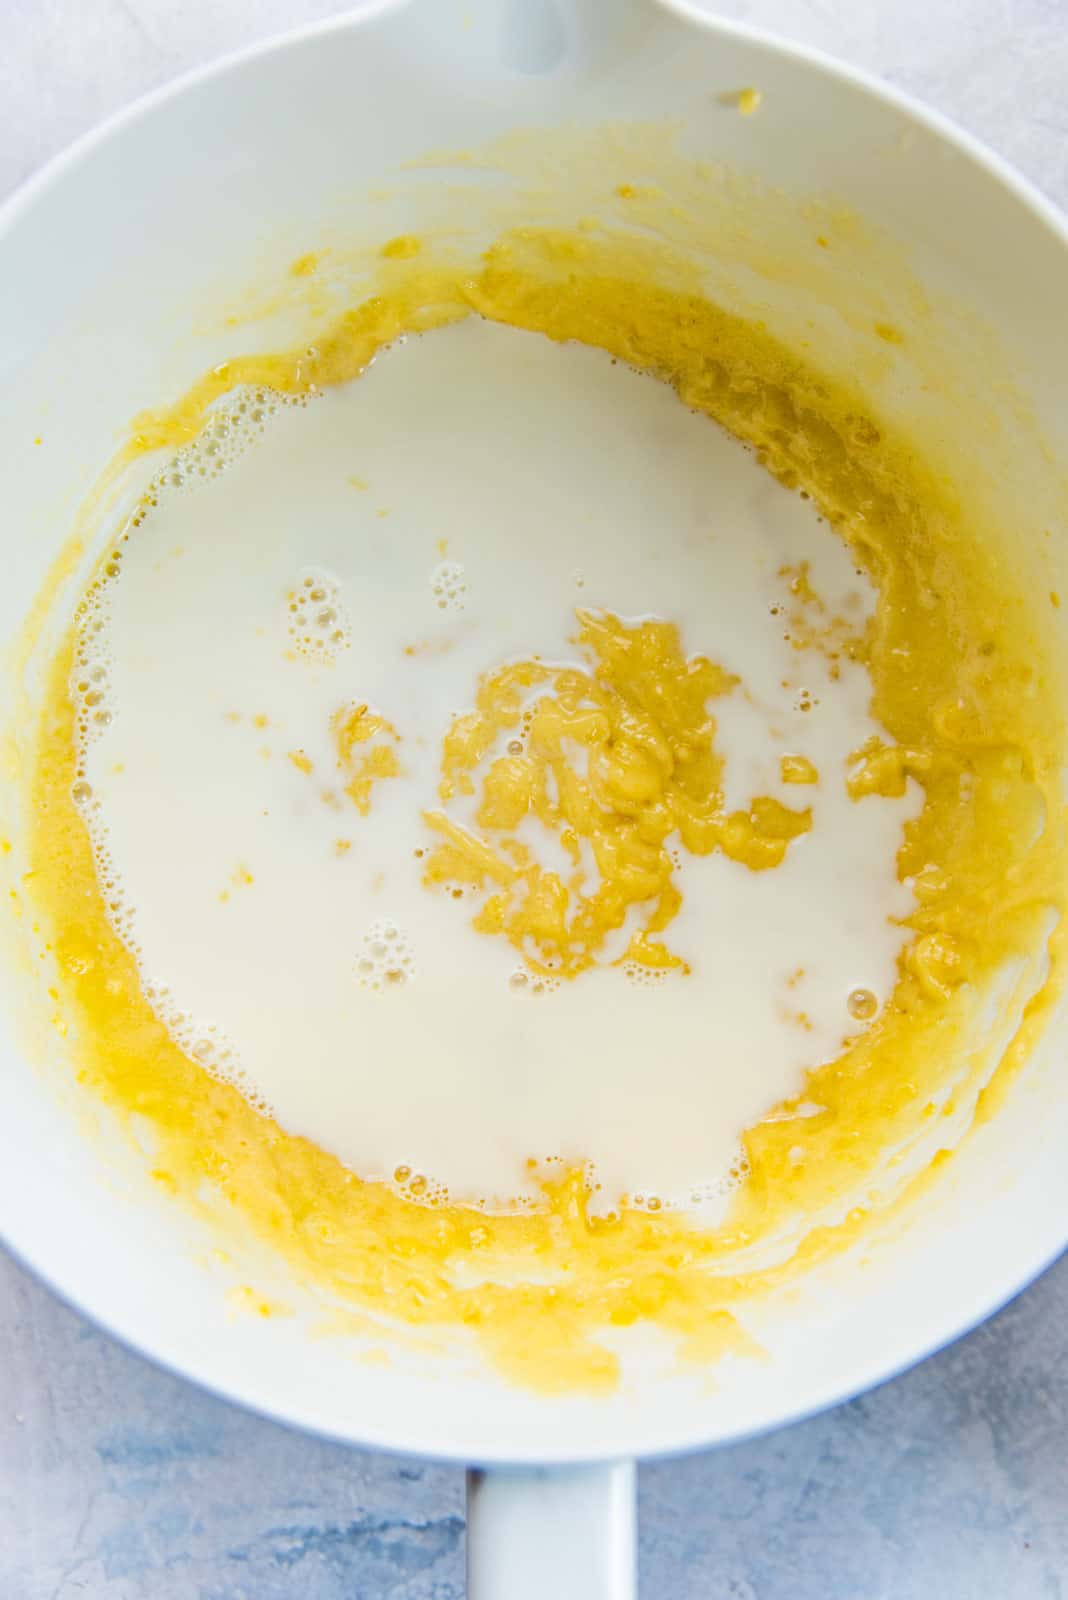
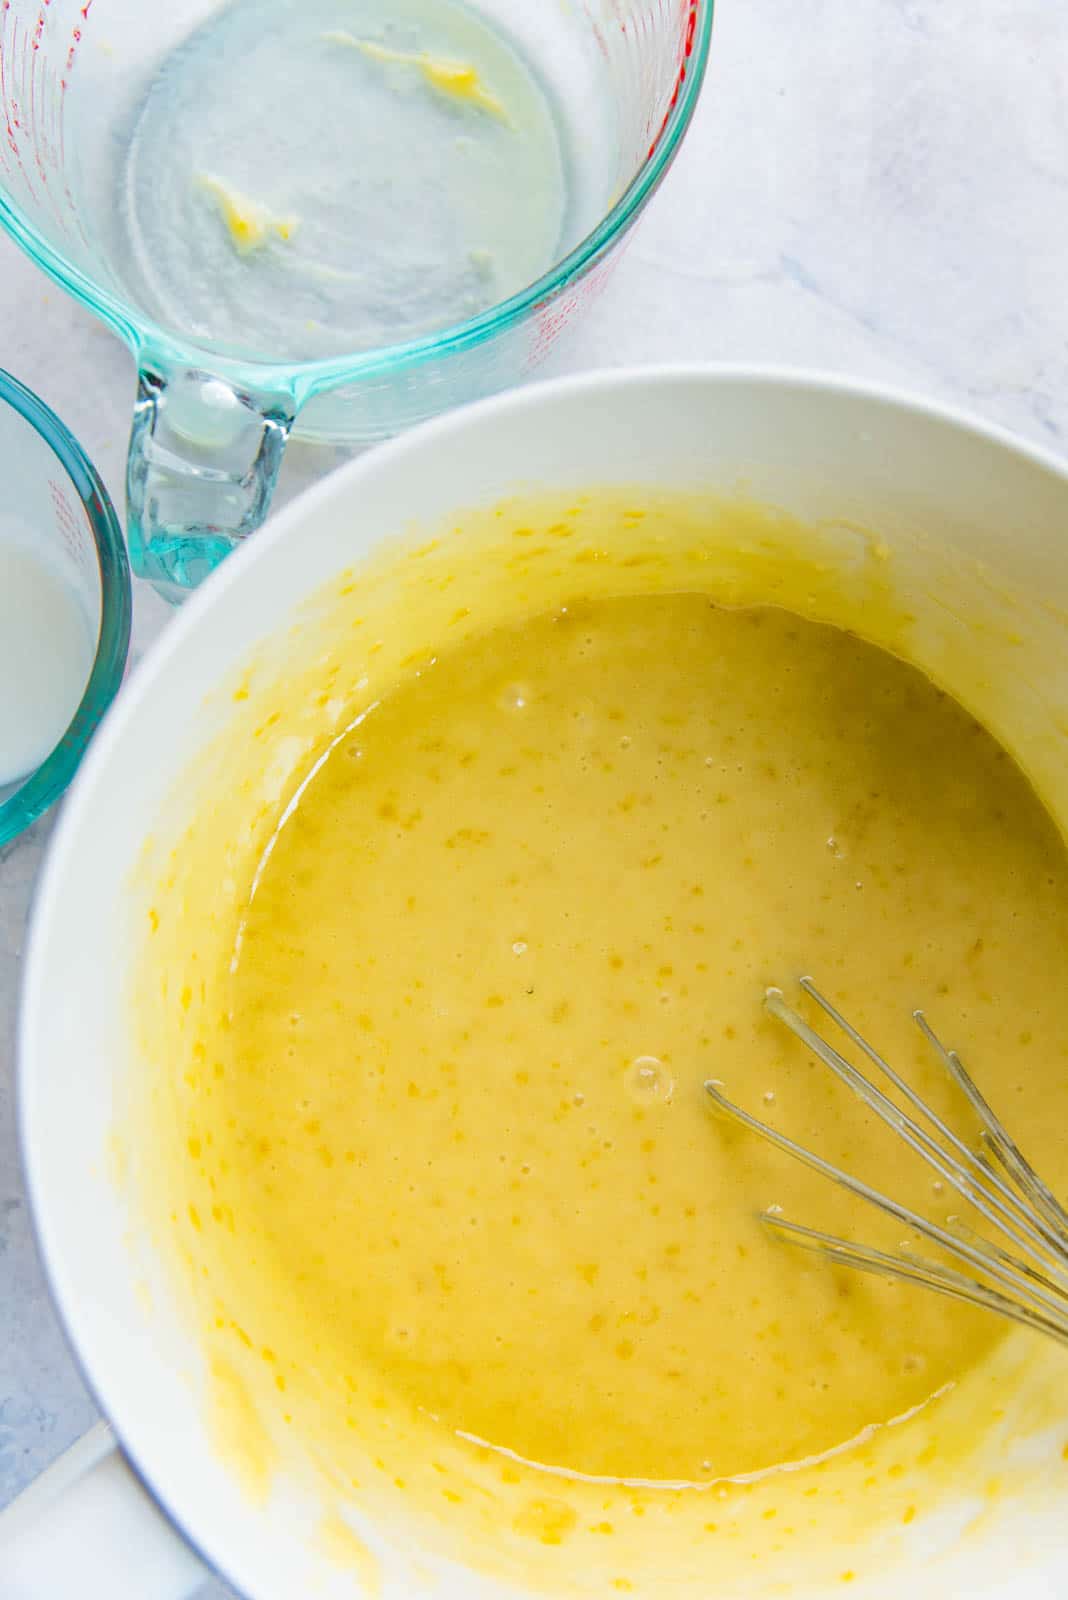
Finally, add the hot milk and stir it in.
Step 7 – Fill the pans and bake
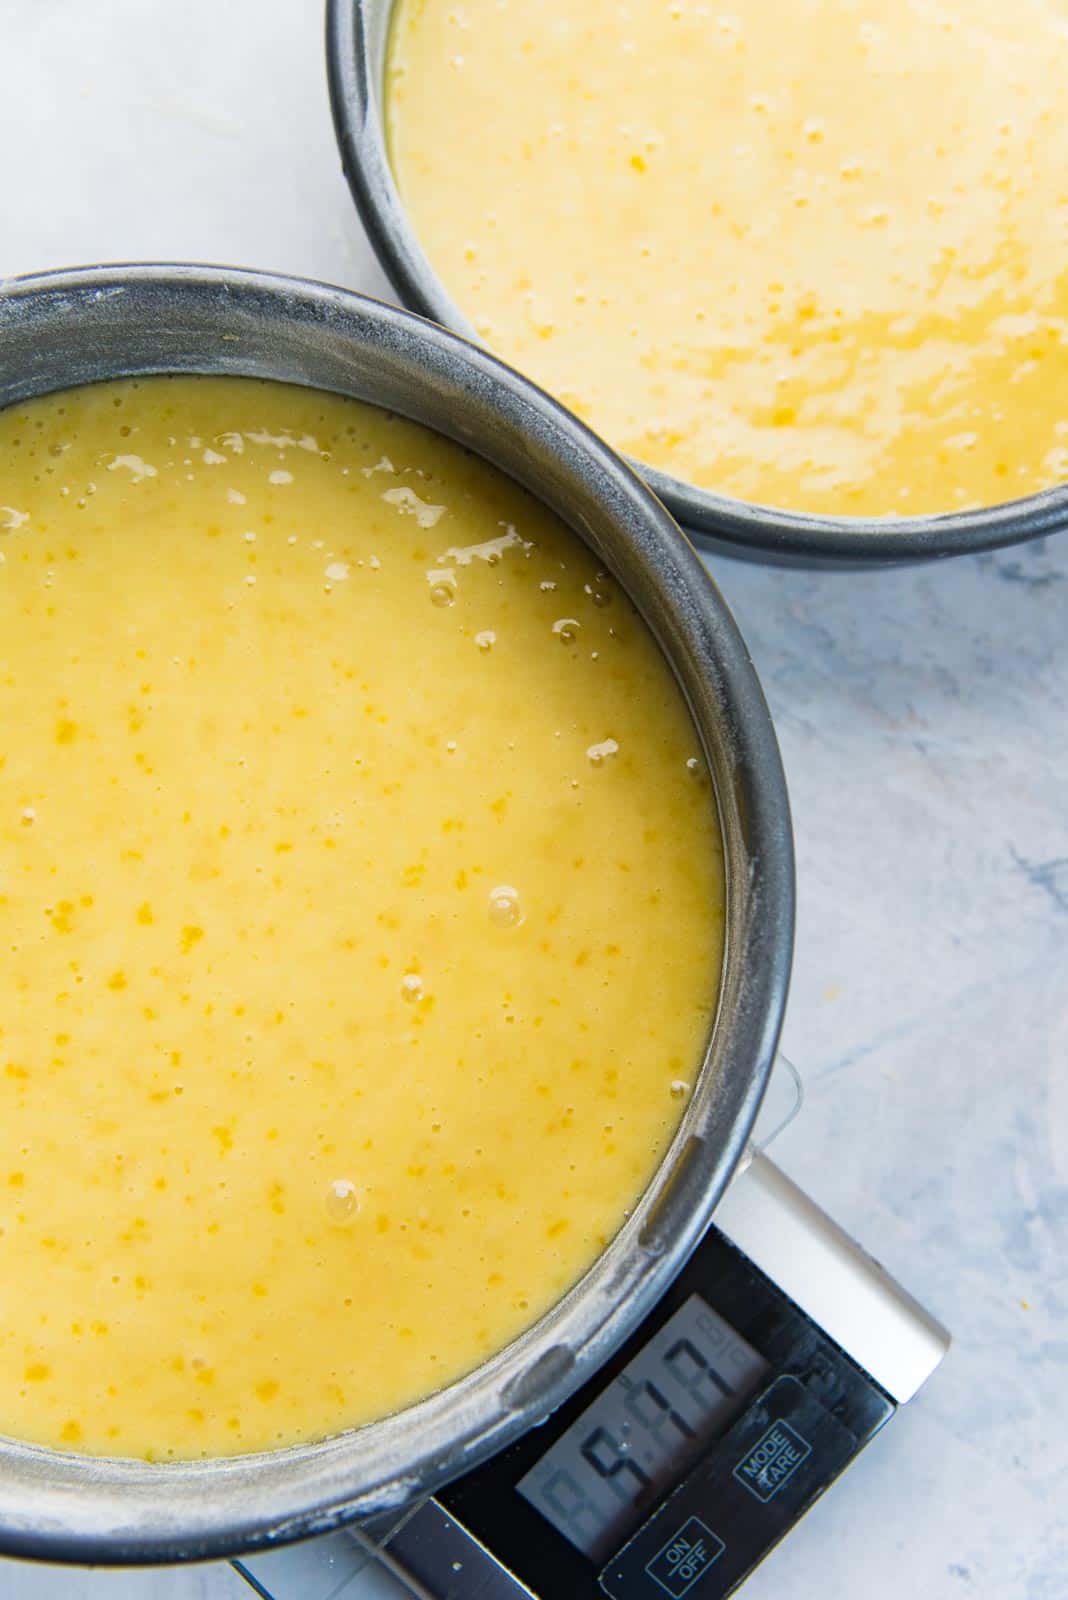
Evenly divide the batter between the two cake pans. Make sure the batter is spread evenly, and knock each pan on the counter to remove any air bubbles.
Bake the cake pans in the middle of the oven for about 25 – 30 minutes, until the cake is done. If your oven bakes unevenly, make sure to rotate the cake pans halfway through the baking time.
Step 8 – Allow to cool down
Remove the cake pans from the oven and let them cool down for a few minutes. While the cakes are still warm, flip the cakes onto a wire rack to cool completely.
Raspberry buttercream
Step 9 – Prepare the raspberries
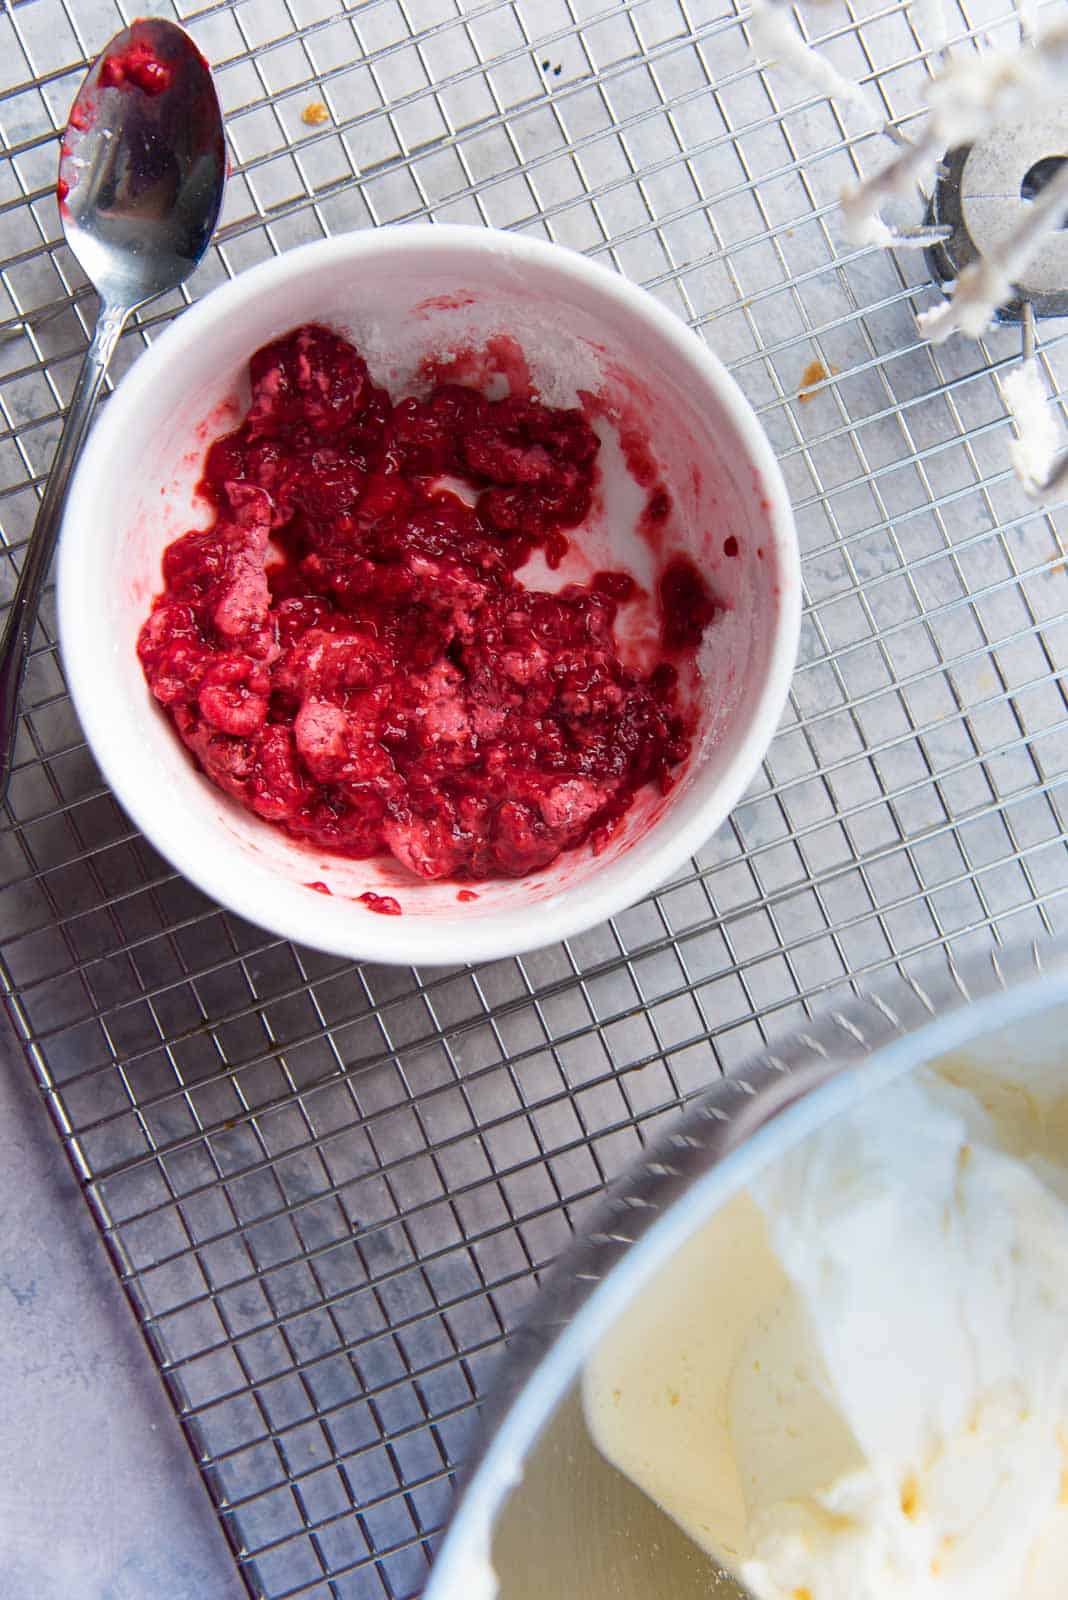
You can use fresh raspberries, as they are. However, frozen raspberries tend to release more moisture as they thaw out, so I recommend thawing them over a paper towel to absorb excess moisture, and then whisking them with a little cornstarch.
You can also add some freeze-dried raspberry powder to enhance the raspberry flavor!
Step 10 – Whip the butter
To prep the butter for the buttercream, it’s important to whip the butter until it’s light and fluffy before adding other ingredients.
This step takes patience, but makes a big difference in the texture of the buttercream! Whisk the butter for about 5 minutes until the butter is paler in color and is fluffy.
Then add the salt and vanilla, and whisk it further to combine everything.
Step 11 – Making the buttercream
Lower the speed of the mixer and start adding the sugar to the butter mixture. I add sugar in small increments to prevent the confectioner’s sugar from flying off everywhere.
After you add all the confectioner’s sugar and it’s mostly mixed in, increase the speed to whip the sugar and butter together until it’s fluffy and soft.
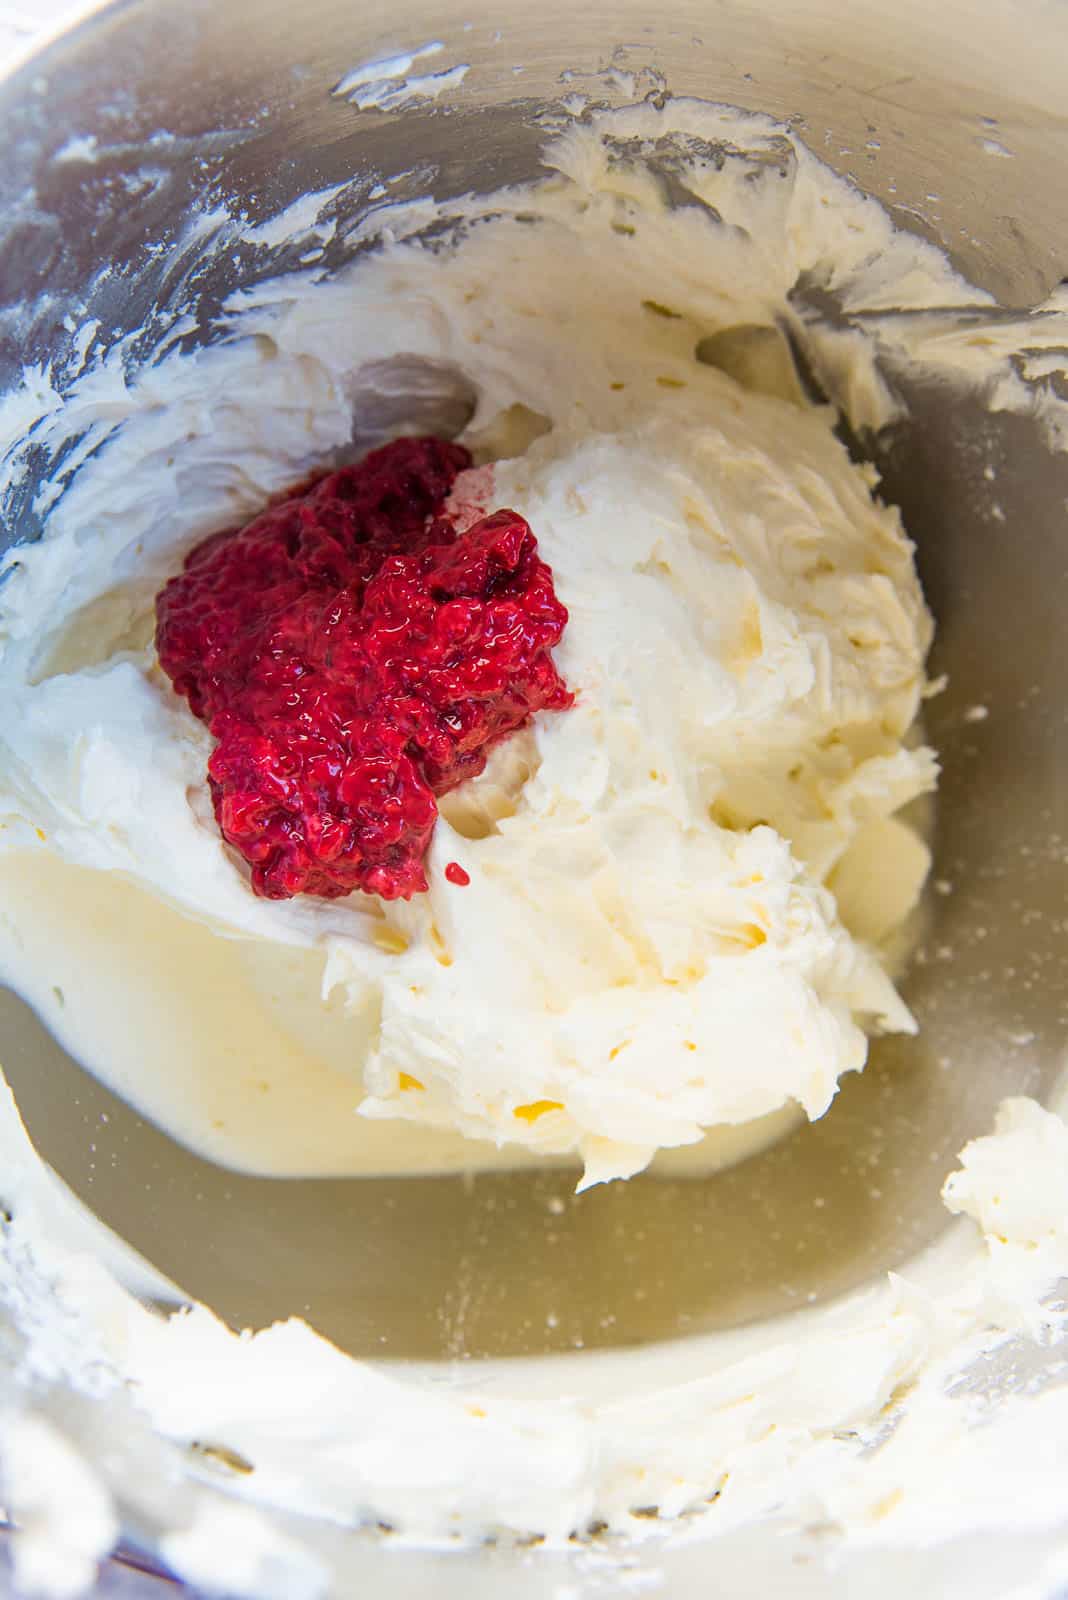
Then you can add the raspberry puree and whip the mixture into the buttercream.

You can see how I created a yellow-pink ombre frosting on the cake in these pictures. To do this, remove some of the frosting BEFORE adding the raspberry puree and color it with some yellow gel food coloring.
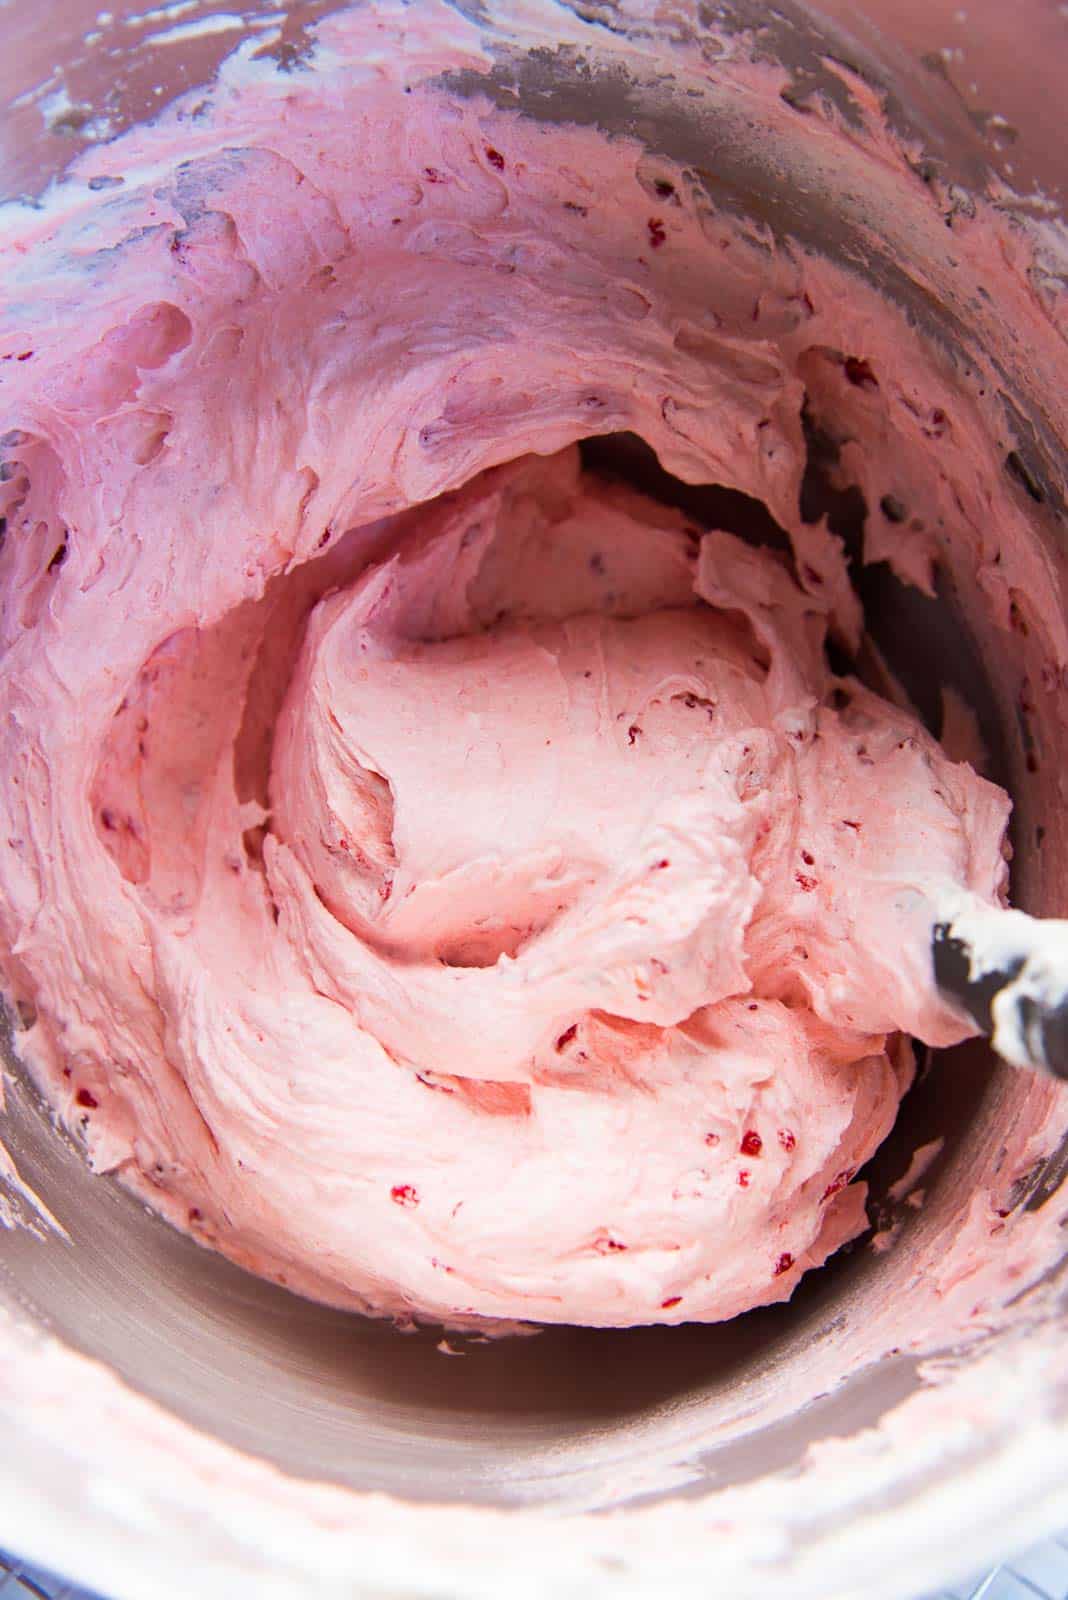
Scrape some of the raspberry buttercream into a large piping bag, with a round tip attached. The tip should be about ½ inch or 1 cm wide. This is to pipe a “dam” when sandwiching the cake layers.
The buttercream is now ready.
Step 13 – Filling the cake layers
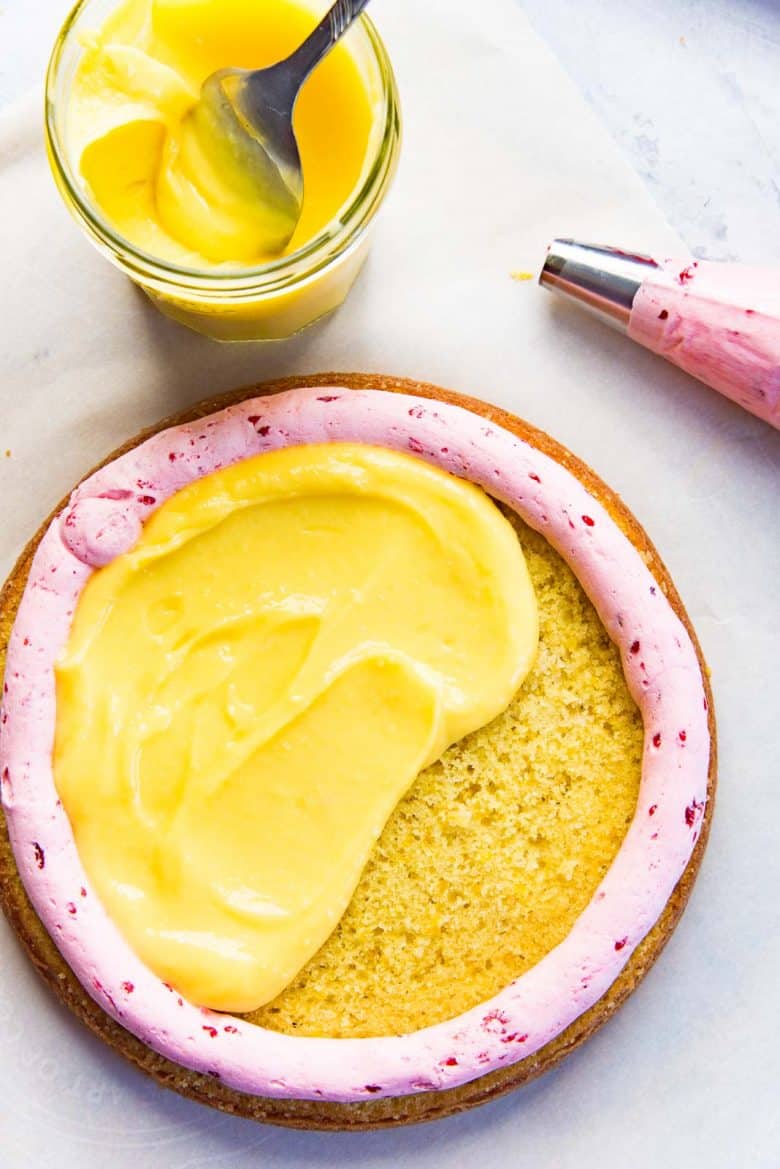
Place one cake layer on a serving tray, with the top of the cake facing up. Pipe a ring of the raspberry frosting all along the edge of the cake layer to create a frosting dam.
Use a small spatula to flare out the inside edge of the buttercream border to make sure the buttercream is stuck to the cake well. Then spread the lemon curd in the middle to fill the dam. This should be an even layer.
You can also add some fresh strawberries to the filling by adding them along the outer edge of the lemon curd.
Then place the second cake layer on top, with the top of the cake facing down. This way, the flat, even bottom of the cake is facing up.
The cake should be stable enough to frost, but if it’s very hot, you can chill the cake for a bit to let the filling become firm.

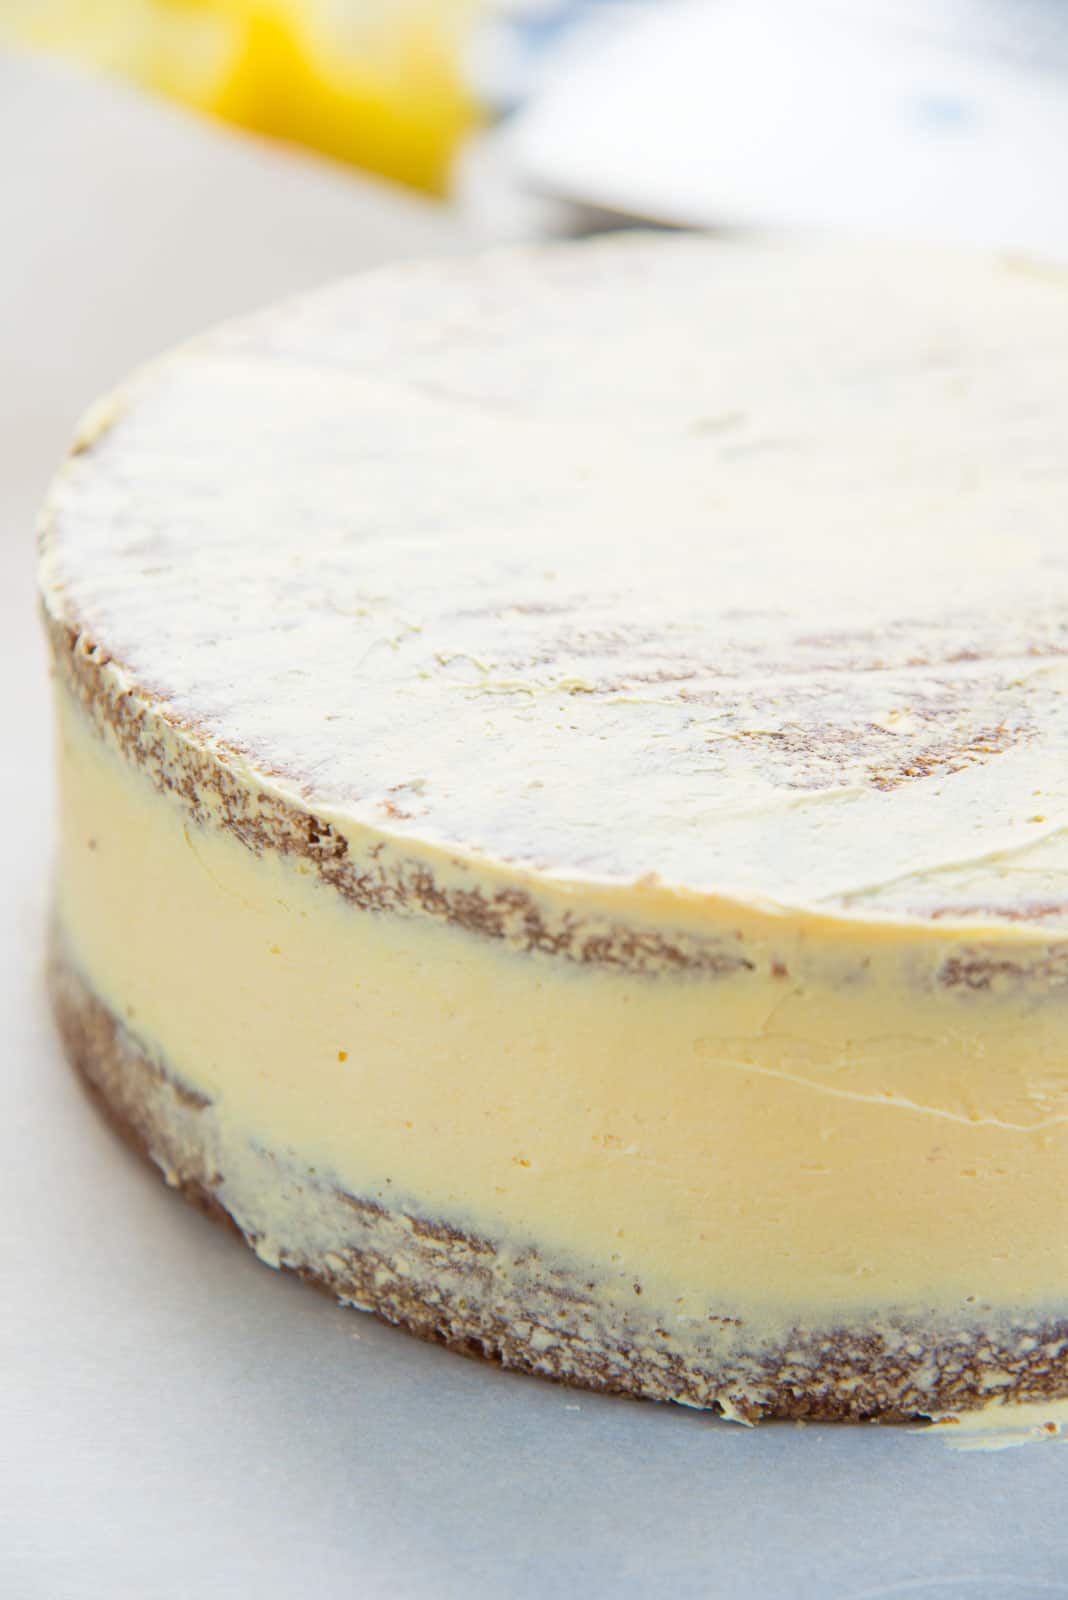
Step 14 – Crumb coating
The crumb coating is non-negotiable if you like a really smooth, cake crumb free frosting!
Just spread a thin layer of raspberry buttercream all over the two layer cake. You can use the crumb coat to fill the space between the two cake layers, to create the straight sides on the cake. You can also use it to make sure the cake is nice and level on top.
After applying the crumb coating, let it dry or harden for about 30 – 60 minutes. I prefer to do this in the fridge, but the freezer will harden the crumb coating faster.
Step 15 – Frost and decorate
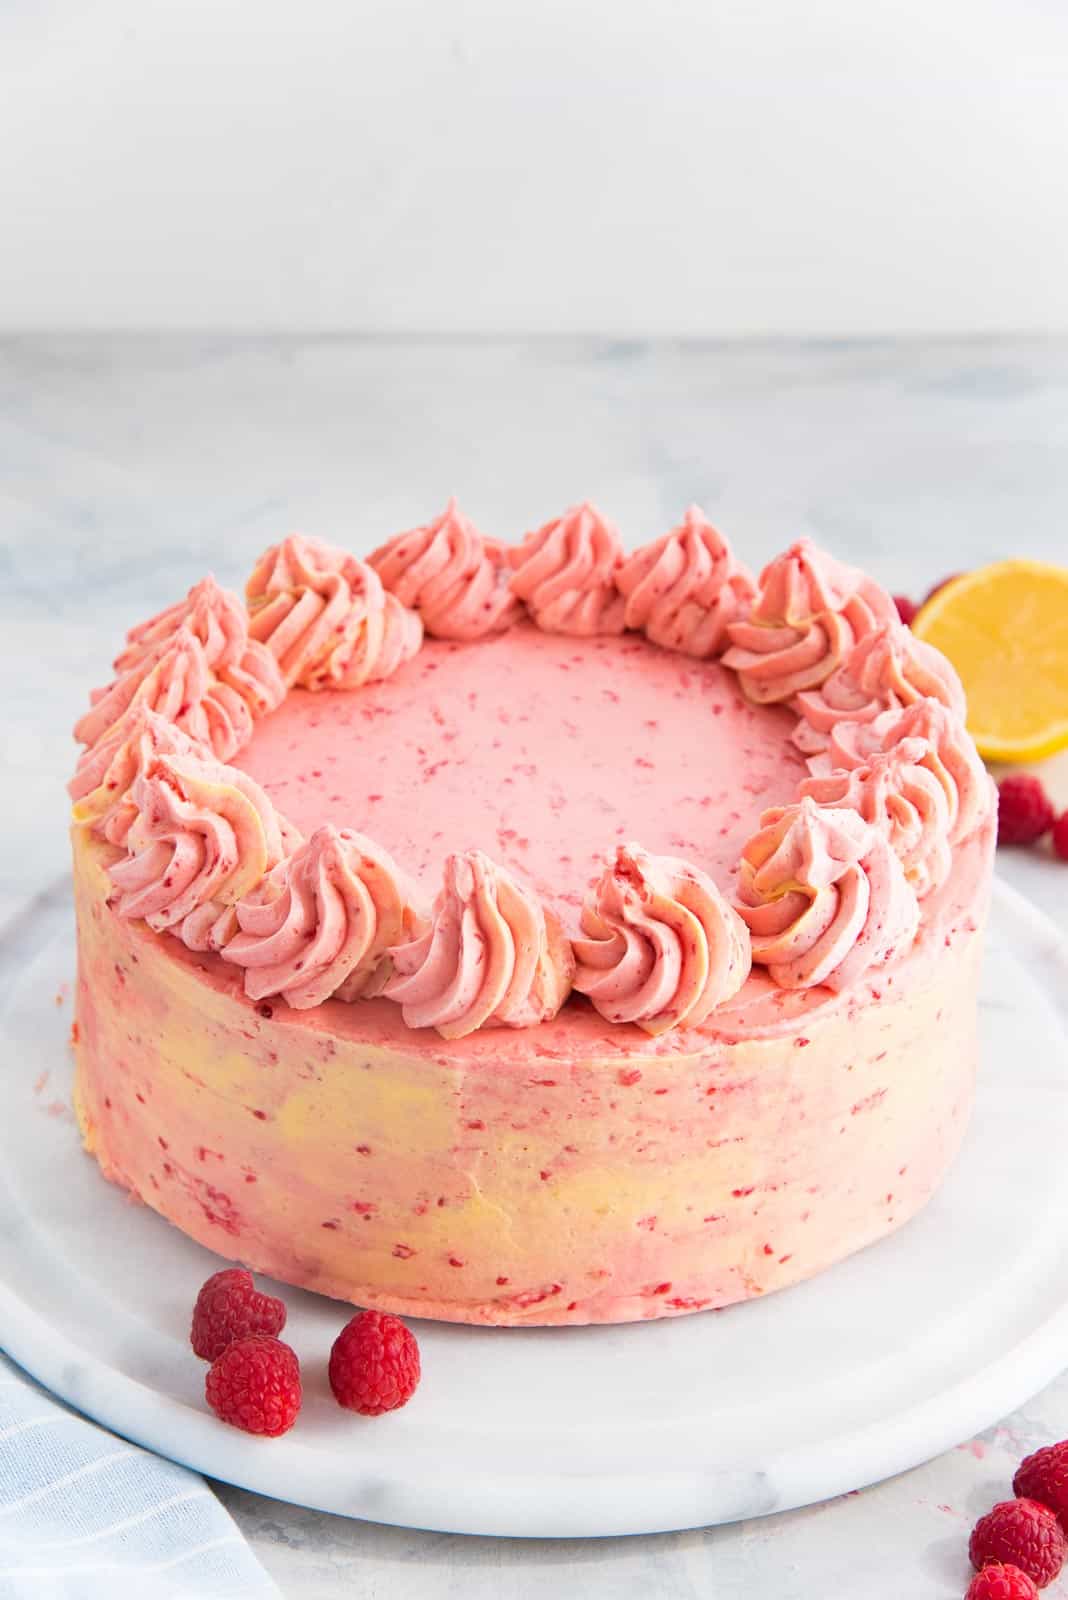
Now you can use the remaining buttercream frosting to frost the whole cake however you like! Make sure the coating is even.
To create an ombre look, smear the yellow frosting in a few places, and then use an offset spatula to create smooth, ombre streaks.
The buttercream frosting can be smooth or rustic, depending on your preference. Decorate the cake with buttercream swirls or fresh raspberries and leftover lemon curd on top.
Chill until you’re ready to serve the cake.

My best recipe tips
Tips for making the cake
- Don’t overmix the cake batter when mixing in the flour. If you mix the flour too much, it’ll result in a rubbery cake with “tunneling” in the cake layers.
- Start with room temperature ingredients (except for the milk that should be hot!).
- Be extra careful to not include the white pith in the lemon zest. The white pith is bitter and will make the cake bitter too.
- Weigh the empty bowl first, so you can calculate the final weight of the batter. This allows you to equally divide the batter between cake pans.
For the lemon curd filling
- The lemon curd recipe makes a really nice and thick curd, because of the butter content in it. If you want to make it more stable, you can add a little gelatin, but I’ve never had to use gelatin when I make this cake (here in Canada).
- If you use store-bought lemon curd, it’ll be a thinner curd, so it could likely flow out of the cake as you cut into it.
Tips for the raspberry buttercream
- Always start with cool butter (not chilled or cold or really soft butter). Around 61 – 65 F / 16 – 18 C).
- Whisk the butter well, until nice and fluffy. The cooler butter will become fluffier than really soft butter.
- Reduce the amount of liquid as much as possible. Do not add cream. And the raspberries should be the only soft (juicy) addition.
- Fresh vs frozen raspberries – You can use either. Fresh raspberries can be added just as they are.
- Frozen raspberries need to be prepped. Place the frozen raspberries on a paper towel and let them thaw overnight. As the raspberries thaw out, excess water will be absorbed by the paper towel. Next, mix a little cornstarch with the softened raspberries. The cornstarch also helps absorb excess moisture. You can then add this to the frosting.
Tips for frosting the cake
- Make sure the cakes are evenly baked. Remember to rotate the cake pans once in the oven to make sure they bake evenly. You can also use bake even strips to make this process even more foolproof. If the cakes aren’t even, don’t worry. You can simply slice the top of the cake to make it even. I do this most of the time when I don’t use bake even strips.
- Create a buttercream “wall” for your cake filling. The problem with a soft filling is that when you use it to fill cake layers, it can leak out from the middle and create uneven layers. To make sure the lemon curd stays between the cake layers and is evenly spread, pipe a border of raspberry buttercream along the edge of the bottom cake layer. This creates a sturdy buttercream wall (i.e. buttercream dam).
- Don’t forget the crumb coating. The crumb coating is a thin coating of buttercream spread on the cake, which traps loose crumbs and keeps them from ruining the outer frosting layer. Plus, if there are any dips, gaps, or holes on the surface of the cake, applying a crumb coating helps to achieve a smooth surface.
- Extra buttercream is better than running out of buttercream! Extra buttercream can fix most cake mistakes. Your cake doesn’t look even? Just add an extra layer of buttercream on that side. The edges don’t look nice? Use extra buttercream to pipe decorations along the edges. I like big swirls of buttercream on top, so I make sure to make extra buttercream for that.
Easy ways to switch up the flavor
- You can substitute the lemon curd with passion fruit curd for a passion fruit flavored cake, or pineapple curd for another tropical flavor twist.
- You can also leave out the lemon curd, and just make the lemon cake with raspberry buttercream only.
- To increase the raspberry flavor, mix in raspberry preserves in the filling!
- By leaving out the lemon in the cake and making a vanilla cake, you can even make a vanilla raspberry cake, or just a vanilla lemon cake with lemon curd.
- Substitute all the lemon with lime! From lime juice and lime zest to lime curd.
Storage and make-ahead tips
You can make the cake layers up to 1 month in advance. Wrap the cooled down cake layers well with plastic wrap and freeze until you need it. Make sure to trim the tops of the cakes to make the surface level before you freeze them.
The cake layers can be filled and frosted while still frozen.
You can also make the lemon curd 2 – 3 days ahead of time.
I prefer not to make the raspberry buttercream ahead of time because of the fresh fruits in the frosting.
You can make the vanilla buttercream ahead of time and freeze it for up to a month. But the buttercream must be thawed out and re-whipped until light and fluffy, before adding the raspberry puree.

Recipe FAQs
Can I make a lemon sheet cake instead of a layer cake?
I bake this cake in two, 8 inch, round cake pans. This takes about 20 – 25 minutes. You can also bake this lemon raspberry cake in a 9 x 13 inch sheet pan. This would take about 30 – 35 minutes.
If you do bake this cake in round pans, you can serve it as two single layer cakes, OR sandwich it with lemon curd like I have done here.
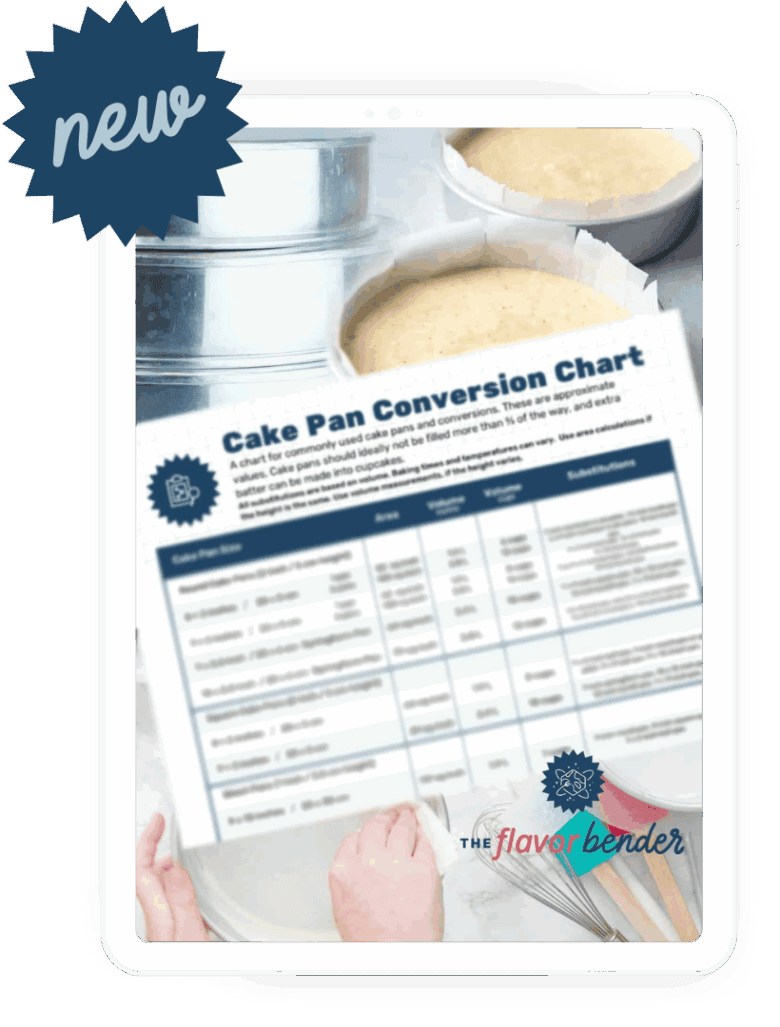
See my cake pan conversion chat and guide for more information on how to do these conversions and calculations.
With the 9 x 13 inch pan, you can serve this cake as a sheet pan lemon cake, or cut the cake in half and stack them for a square layer cake.
For a layer cake – Fill the middle (sandwich the two cake layers) with lemon curd and fresh raspberries, and then frost the whole cake with raspberry frosting.
For a single layer sheet cake – You can either create a lemon poke cake (poke holes while the cake is still hot and spread the lemon curd over the surface so that it’s absorbed into the cake), OR you can just soak the cake with lemon syrup. Then when it cools down, top it with raspberry frosting.
Can I make cupcakes with this recipe instead?
I haven’t tried to make cupcakes with this recipe, but it is possible! The bake time will change, so make sure to keep an eye on the cupcakes as it bakes.
The cupcake center can be removed and filled with lemon curd and topped with the raspberry buttercream.
How to make sure the cake is moist and tender?
The main tip for that is to follow the recipe and not make any substitutions. Using less sugar will make the cake less moist and tender. Adding too much flour will do the same as well.
Make sure to not overmix the batter. If you overmix flour, it’ll form too much gluten and change the texture of the cake.
Equipment I use for this recipe
- Two 8 inch round cake pans – These Wilton pans are great! I also love these non stick pans too (but I always line any cake pan I use)
- Stand Mixer – I use my trusty Kitchen Aid Mixer. In the past I have also used a KMix Kenwood mixer that I loved (when living in Australia)
- Frosting smoother or bench scraper – To create a smooth frosted cake. A bench scraper will have a dual purpose, so I really like it.
- Round frosting tip – Wilton tip or Ateco tips work fine. A snipped ziploc bag will work in a pinch too.
- Piping bags – I like buying disposable piping bags, but reusable piping bags will work great too.
Recipe
Lemon Raspberry Cake (with Lemon Curd)
US based cup, teaspoon, tablespoon measurements. Weight measurements are recommended for accurate results whenever available.
Common Measurement ConversionsEquipment:
- Easy Bake Strips
- Two 8 inch cake pans
- Stand Mixer (to make the frosting)
- Cooking thermometer (for the lemon curd)
Ingredients:
Lemon cake
Dry ingredients
- Peel of 2 lemons
- 300 g white sugar 1 ½ cups
- 275 g all purpose flour 2⅓ cups, spooned and leveled
- 1 tsp baking powder
- 1 tsp baking soda
- ½ tsp salt I use sea salt, use slightly more if you’re using kosher salt
Wet ingredients
- 115 g unsalted butter melted, ½ cup / 1 stick
- 100 g vegetable oil ½ cup
- 60 mL lemon juice ¼ cup, from 1 – 2 lemons
- 2 large eggs
- 1 tsp vanilla extract
- 120 mL hot milk ½ cup
Lemon curd filling
- 1 recipe for lemon curd
the pipeable version is recommended, about 1 ½ cups of thick lemon curd
Raspberry buttercream
- ½ cup frozen raspberries approximately
- 7 g cornstarch 2 tsp
- 340 g unsalted butter 3 sticks, cool but not cold
- ½ tsp salt
- 2 tsp good quality vanilla
- 400 g confectioner’s sugar 3 ½ cups measured by spoon and level method
- Extra fresh raspberries optional, for the filling and to decorate
Instructions:
Lemon cake
- Preheat your oven to 350°F / 180°C. Line the bottom of two 8 inch pans with parchment paper and butter and dust the sides. Set aside for later.
- Carefully peel the yellow peel of two lemons. Avoid the white pith on the lemons.Peel of 2 lemons
- Place the sugar and lemon peel in a food processor, and process until the peel is finely minced.Peel of 2 lemons, 300 g white sugar
- Place the lemon sugar in a large bowl.
- Add the flour, baking powder, baking soda, and salt into the same bowl with the sugar. Whisk to combine. These are the dry ingredients.275 g all purpose flour, 1 tsp baking powder, 1 tsp baking soda, ½ tsp salt
- Place the melted butter, oil, vanilla, eggs, and lemon juice in a large jug. Whisk to combine well. These are the wet ingredients.115 g unsalted butter, 100 g vegetable oil, 60 mL lemon juice, 2 large eggs, 1 tsp vanilla extract
- Add the wet ingredients to the dry ingredients. Mix until they are well-mixed. Take care not to overmix the batter.
- Add the hot milk and stir until fully incorporated.120 mL hot milk
- Divide the batter between the two 8 inch pans (about 18 oz / 515 g of batter for each pan).
- Bake in the center of your oven for 25 minutes, rotating the cake pans once halfway through the baking time. A toothpick inserted into the middle should come out clean when the cake is baked.
- Remove from the oven and let them cool for a few minutes. Flip the cakes over onto a cooling rack and let them cool completely.
- Once the cakes have cooled down completely, cut any uneven surfaces to make the cake tops smooth and evenly tall.
Lemon curd filling
- Make 1 batch of lemon curd according to the recipe here. Let it refrigerate overnight.1 recipe for lemon curd
Raspberry buttercream
- Put 2 – 3 paper towels on a plate and spread the frozen raspberries on them. Keep the plate in the fridge overnight to let the raspberries thaw out and soften. Excess moisture will be absorbed by the paper towels.½ cup frozen raspberries
- Crush the raspberries (they will be soft enough for this), and measure about ⅓ cup of the packed raspberry “puree”. Transfer this into a bowl and mix the cornstarch into the raspberry. Set aside.7 g cornstarch
- Place the butter in the bowl of a stand mixer. With a whisk attachment, whip the butter until creamy and white in color, for about 3 – 5 minutes, on high speed (not maximum speed). Make sure to scrape down the sides as you go, so that all the butter is whisked.340 g unsalted butter
- Add the salt and vanilla, and whisk further until the butter-cream mix is light and fluffy (for a couple of minutes).½ tsp salt, 2 tsp good quality vanilla
- Lower the speed and add the confectioner's sugar, a little at a time, and incorporate all the sugar into the butter-cream mix. Make sure to scrape down the sides as you go.400 g confectioner’s sugar
- When the sugar has incorporated into the butter, increase the speed and whisk on high for about 2 – 3 minutes until the frosting is lightly fluffy and soft. In the final minute, add the raspberry-cornstarch mix, and mix it into the frosting.Extra fresh raspberries
- Optional – before mixing the raspberry into the frosting, remove about ¾ cup of the plain frosting and color it with a little yellow food coloring to create an ombre look for later if you prefer.
- Place the raspberry buttercream in a large piping bag with a 1 cm round piping tip attached.
Assembling the cake
- Place 1 cake layer on a serving tray. Make sure the top of the cake is facing up.
- Pipe raspberry buttercream along the edge of the cake to create a "wall" of raspberry frosting. Fill the middle with lemon curd and spread evenly.
- Place a row of fresh raspberries on the lemon curd, along the outer edge (optional).
- Top with the second cake layer (with the top of the cake facing down this time, so that you have a very leveled surface on top).
- Apply a very thin crumb coat on the cake with the buttercream. You can use raspberry buttercream or plain buttercream for this purpose (I used plain buttercream for the cake in this post). Make sure to have straight sides and a clean surface on the top of the cake.
- Refrigerate for about one hour (or freeze for a few minutes) until the crumb coating has set.
- Frost the cake over the crumb coating with the raspberry buttercream frosting. Using an offset spatula, make the surfaces smooth. Optionally, you can apply dots of yellow buttercream and create an ombre look.
- Top the cake with buttercream swirls. Refrigerate until ready to serve.
Nutrition Information:
“This website provides approximate nutrition information for convenience and as a courtesy only. Nutrition data is gathered primarily from the USDA Food Composition Database, whenever available, or otherwise other online calculators.”
Zuko update!
Zuko is a handful and needs constant supervision and attention, but luckily, house training is going pretty smoothly, with just the odd bump here and there!
He now knows how to “sit down” and “shake” like a pro! He even does lie down and roll over, but only if the treat is worth the effort… he’s a cheeky bastard for sure. And speaking of cakes, here’s my homemade dog cake recipe that I’ve been making for Zuko for his birthday!














Leave a Reply