


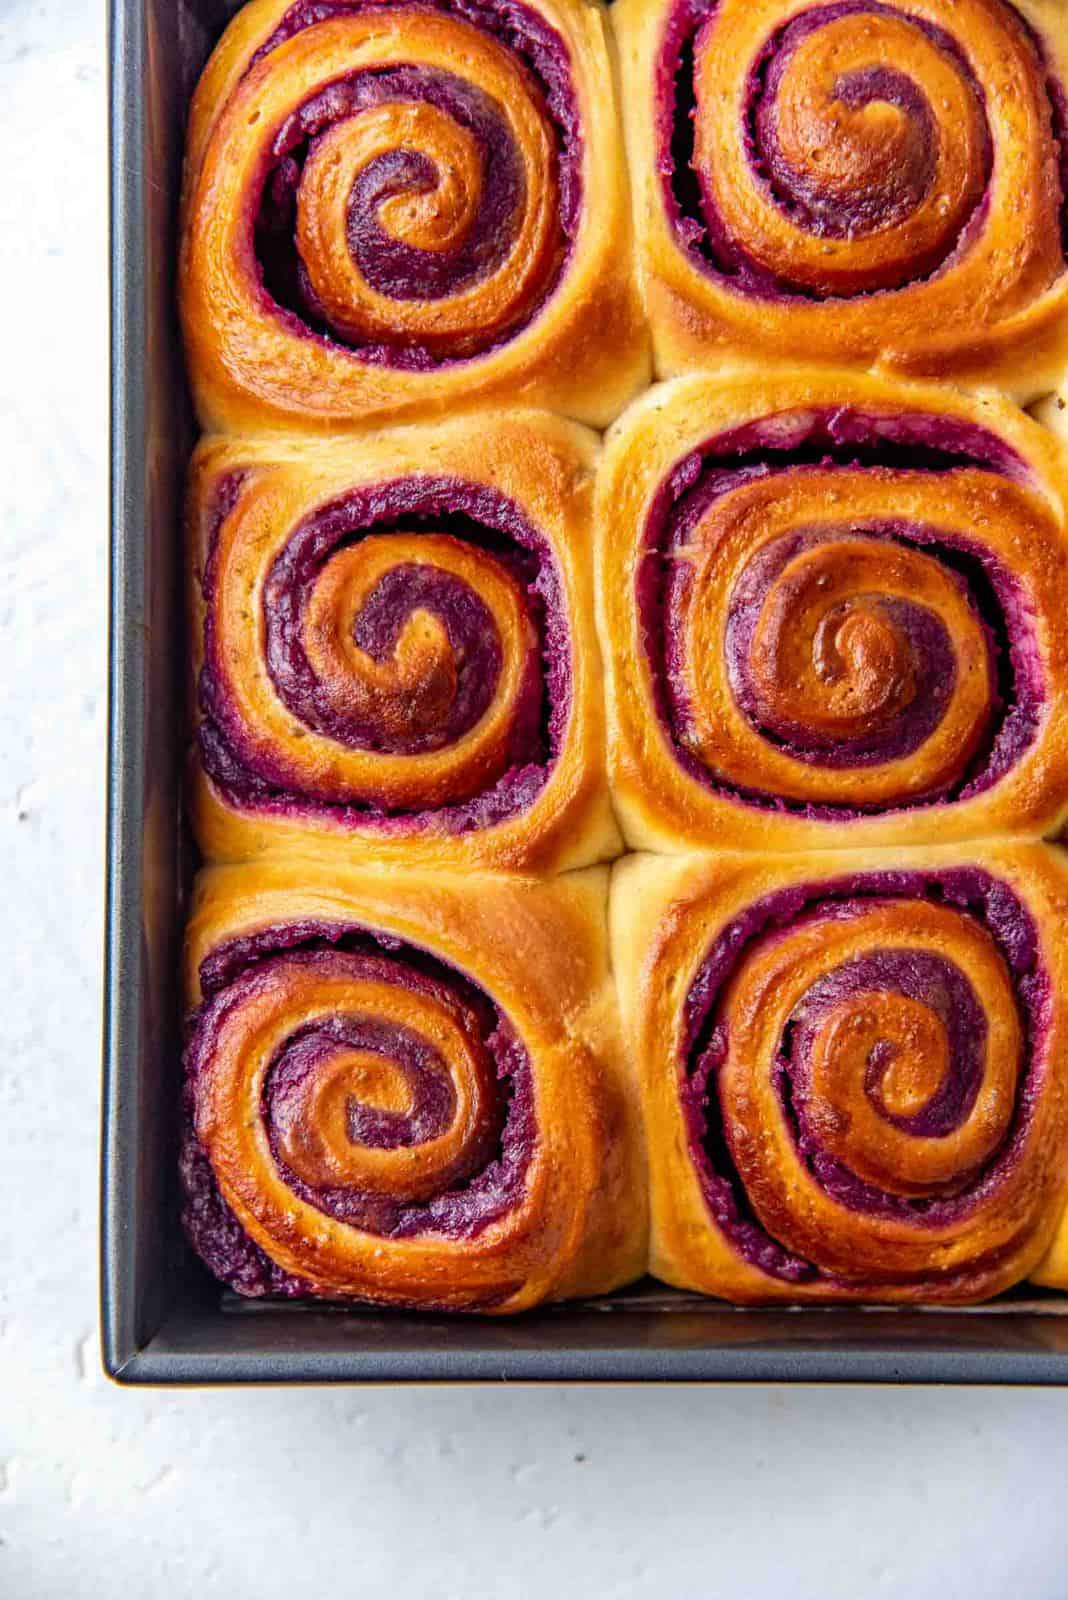
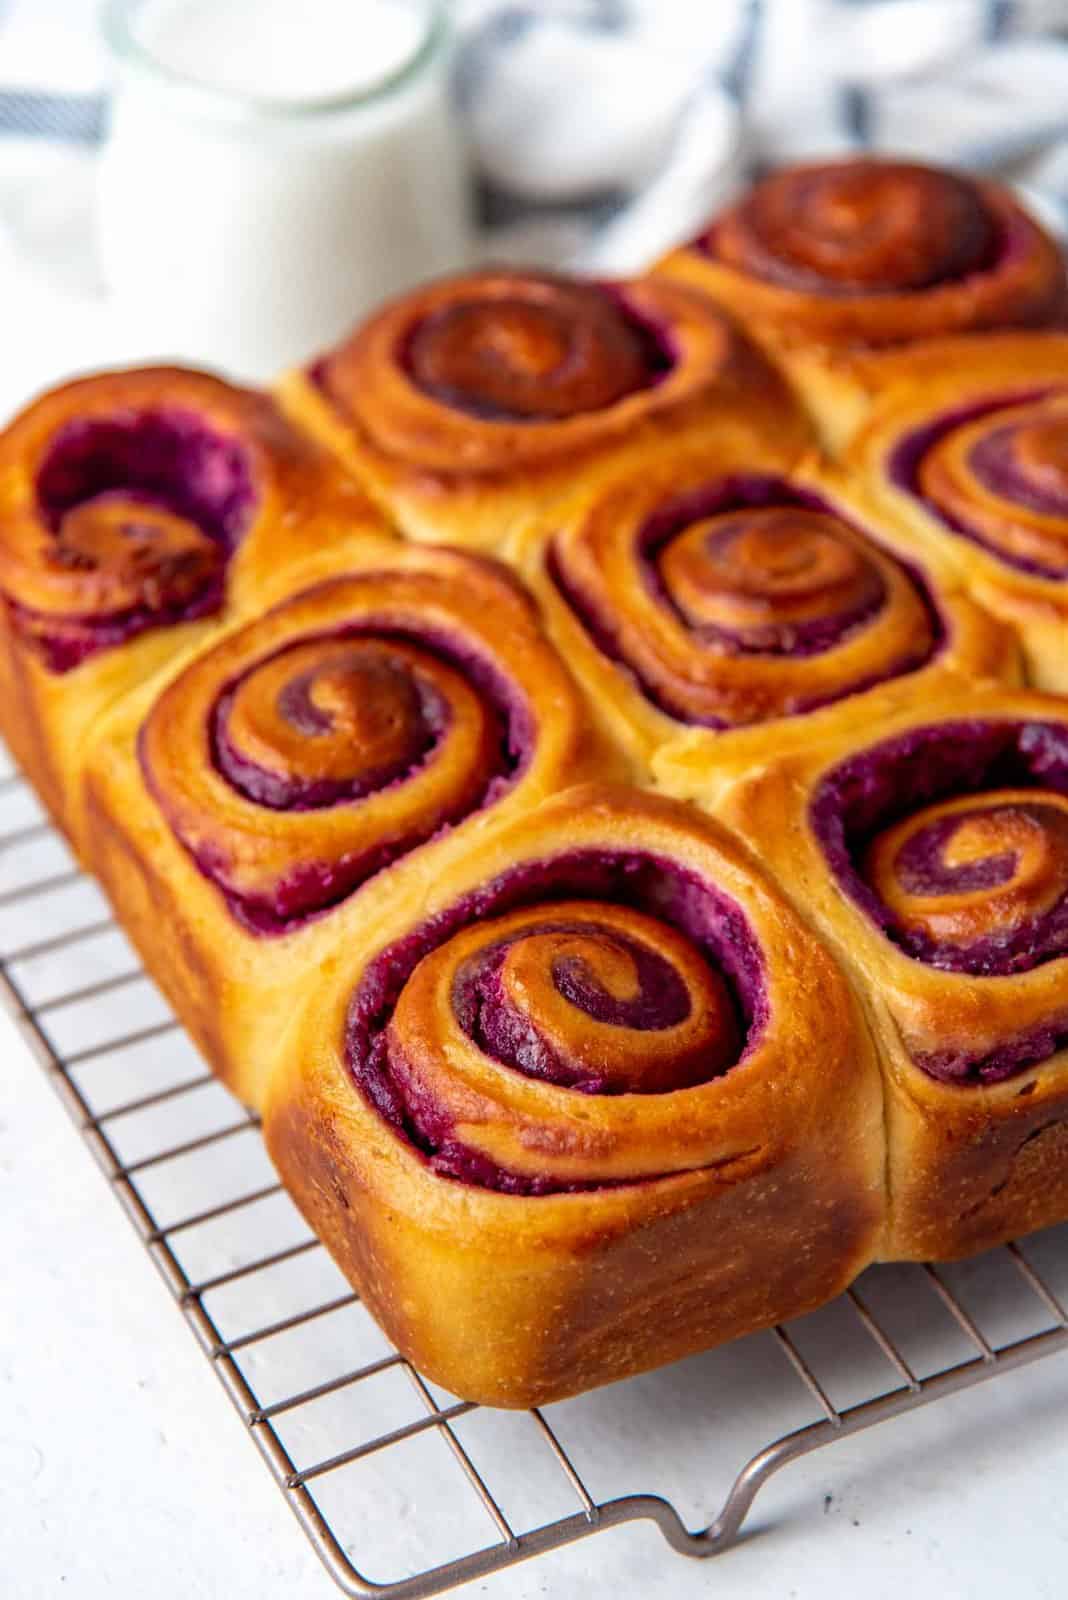
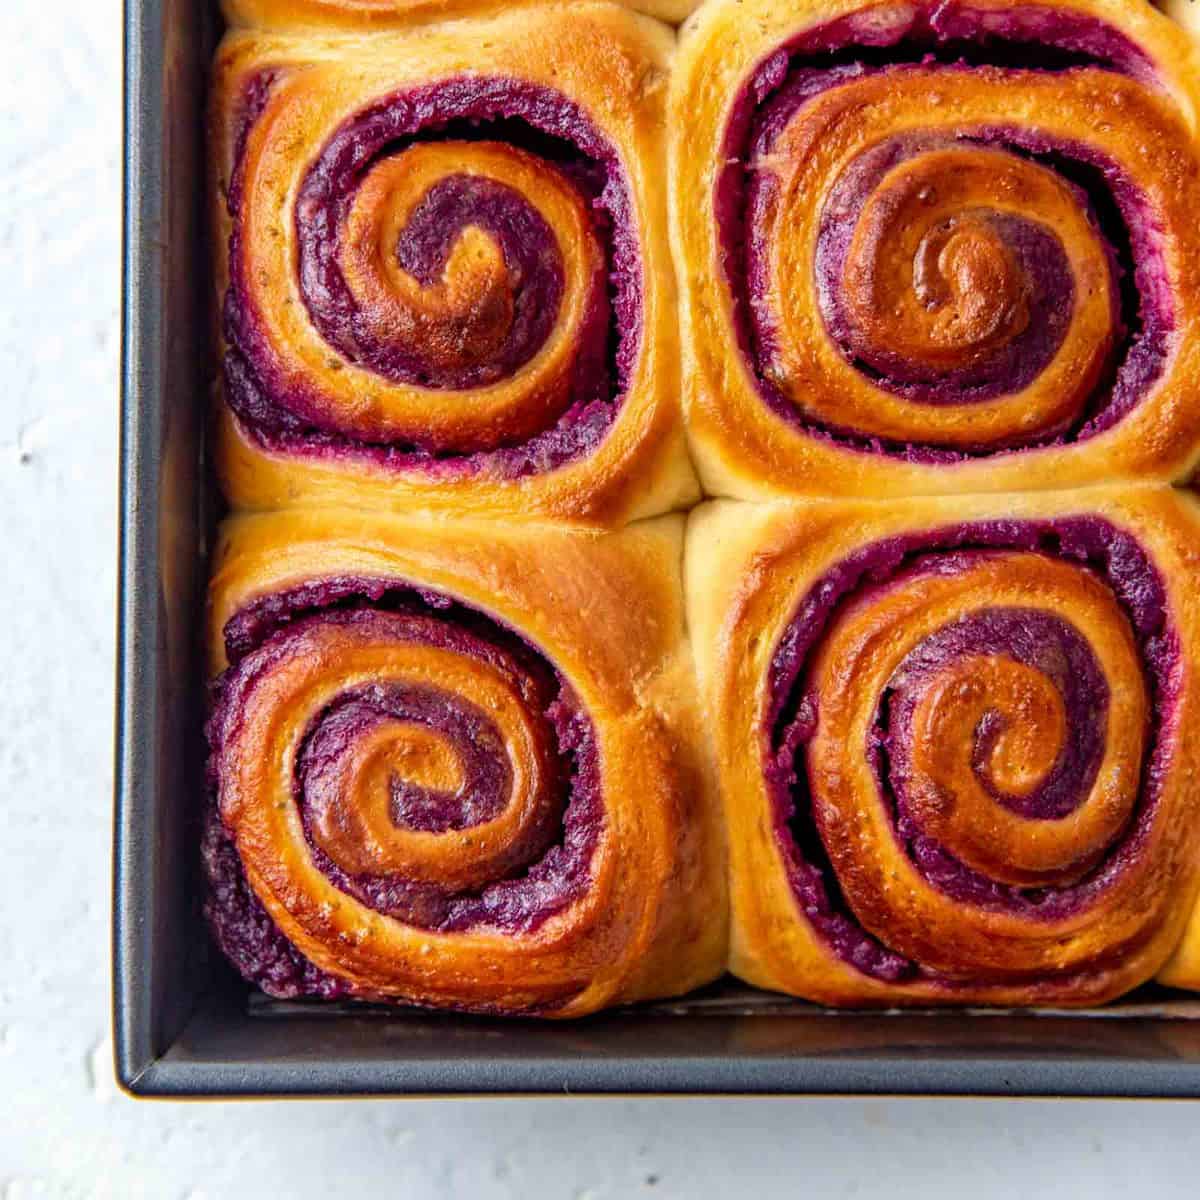
Ube bread rolls with a delicious swirl of ube halaya. Perfect for breakfast and brunch. That bright purple and flavorful filling and the pillowy soft bread roll will brighten any day!
Fluffy milk bread swirled with homemade sweet ube halaya.
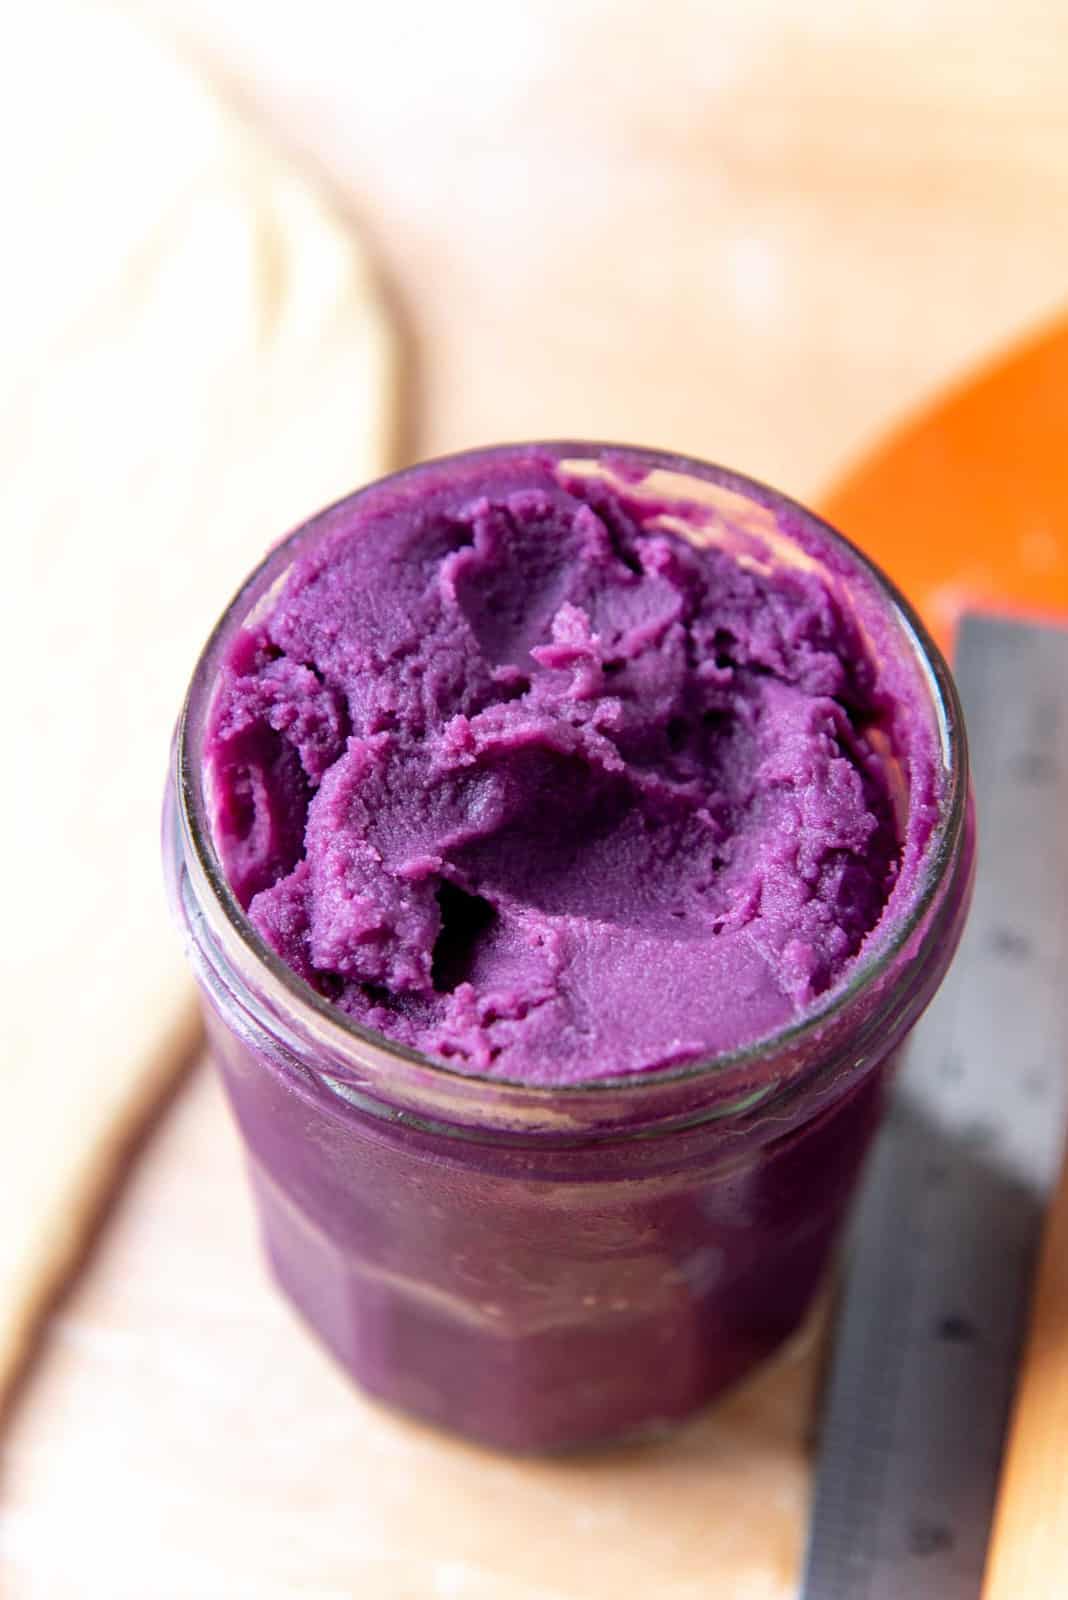
Ube halaya
You may already know about my slight obsession with ube halaya. I could slather that delicious goodness on anything and call it a meal.
The sweet, nutty flavor of ube pairs so well with different types of dessert. I’ve shared ube marshmallows and ube ice cream and ube milk tea (ube bubble tea) before. But my favorite way to eat ube halaya is actually these pretty swirled ube bread rolls!
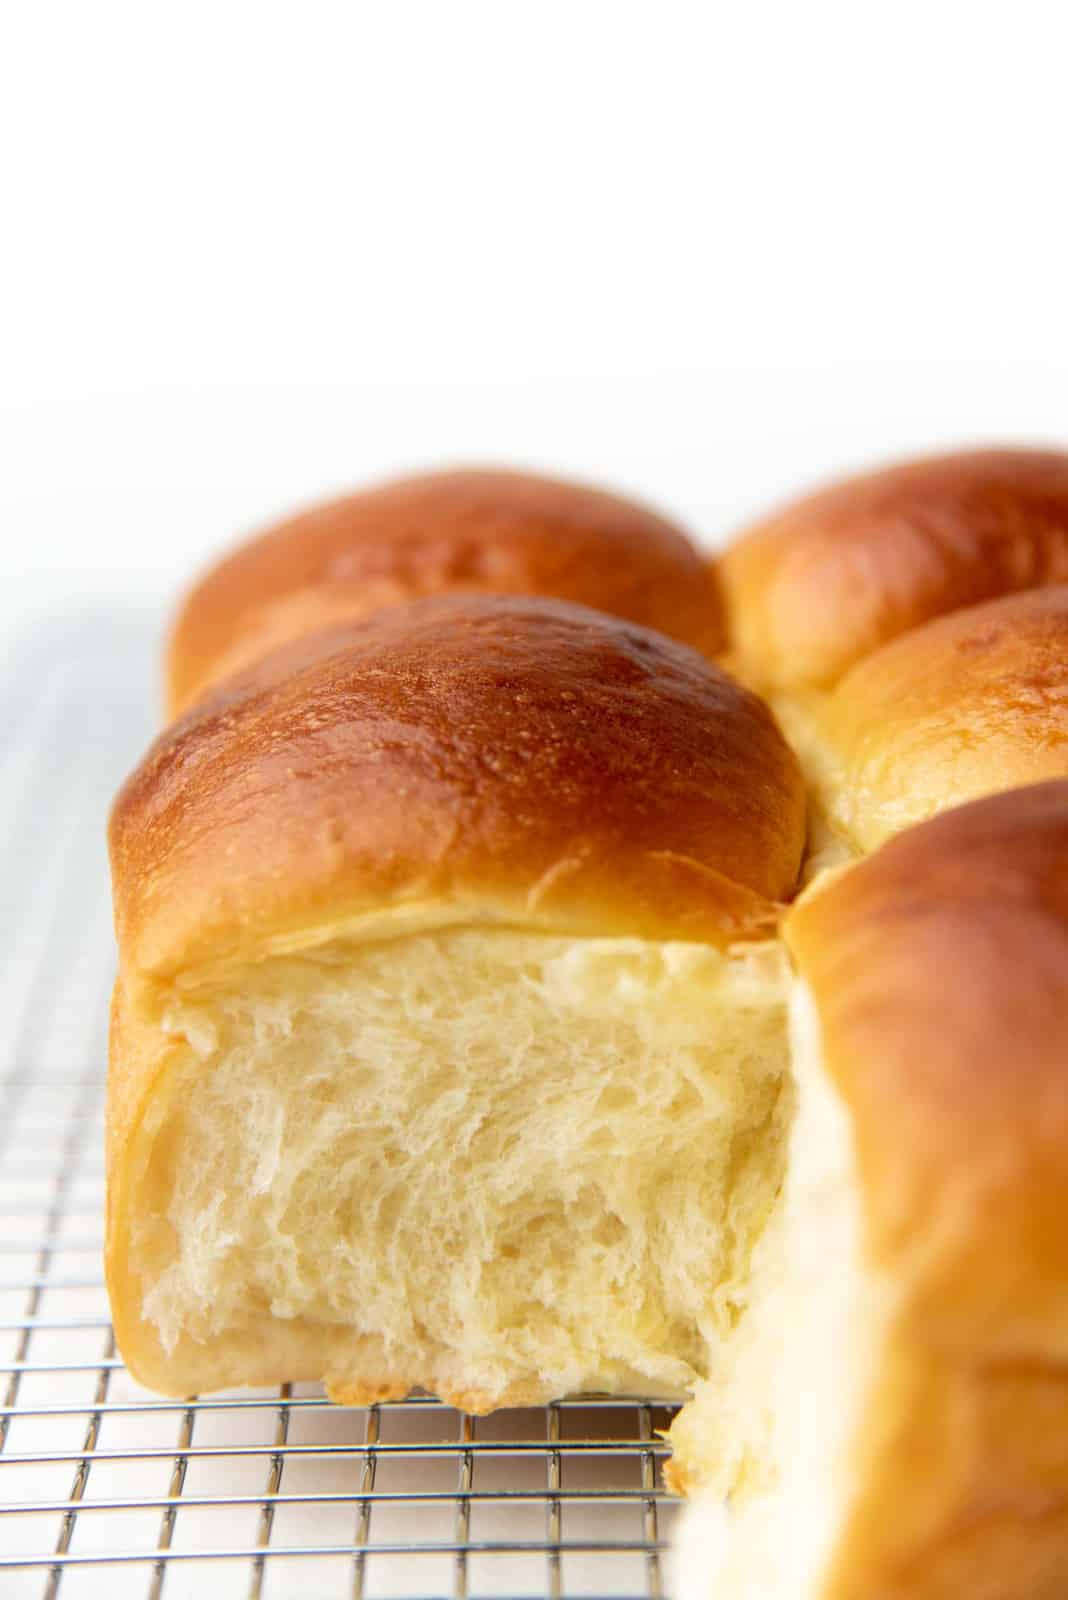
These ube bread rolls are made with a pillowy soft Japanese milk bread. I love pairing these fluffy bread rolls with different pastes and fillings.
So the ube filling was a natural choice too. The filling here is a homemade ube halaya (ube jam). You can also make this with store-bought ube halaya, but I’ll always prefer my homemade version!
I’m also going to share how you can turn these into overnight ube bread rolls, so that you have minimum prep work in the morning before baking them for breakfast.
Tips for making the Japanese milk bread
I use my own Japanese milk bread recipe to make these ube rolls. They make the most amazing bread rolls (as you can tell from all my reader reviews), so it made sense to make swirled ube bread rolls with that dough.
The dough is soft to work with, so I prefer to chill it overnight so that it’s easier to shape and cut.
To make the bread, follow my Japanese milk bread recipe here. However, once you’ve made the dough, skip the first proof at room temperature, and allow the dough to proof in the fridge overnight instead.
You may find that the dough still doubles in size in the fridge, but even if it doesn’t, don’t worry. I’m skipping the room temp proof because these bread rolls will be proofed TWICE in the fridge, and one last time before being baked. So you don’t need to add another room temperature proofing.
Use milk (either cold or warm) to make the tangzhong, and warm milk to make the dough. This will add a very milky taste to the final bread.
Use a stand mixer to make the dough. It’s obviously easier than kneading by hand.
You can also use instant yeast or active dry yeast. But make sure to activate the yeast first if you’re using active dry yeast. This won’t be necessary for instant yeast.
Tips for making ube halaya
Here’s my recipe for ube halaya (ube jam). You can also buy ube halaya from Filipino grocery stores or online.
You can also use frozen ube purple yam to make ube jam, OR if you’re lucky enough to find it fresh, that would be fantastic too.
If you can’t find ube, you can use purple sweet potato or even regular sweet potato to make sweet potato jam instead as well. The color will be different, but it’ll still taste delicious!
To get a more vibrant purple color, you can add some dark purple coloring, or preferably ube flavoring (ube extract), which has coloring as well. This isn’t necessary, but lends a more vibrant purple color to the ube halaya.
How to make ube bread rolls
Make the ube halaya in advance. It can be kept in the fridge for about 5 days and in the freezer for about 2 – 3 months.
Day one
Make the tangzhong and let it cool.
Make the Japanese milk bread dough and let it proof in the fridge overnight.

Day two
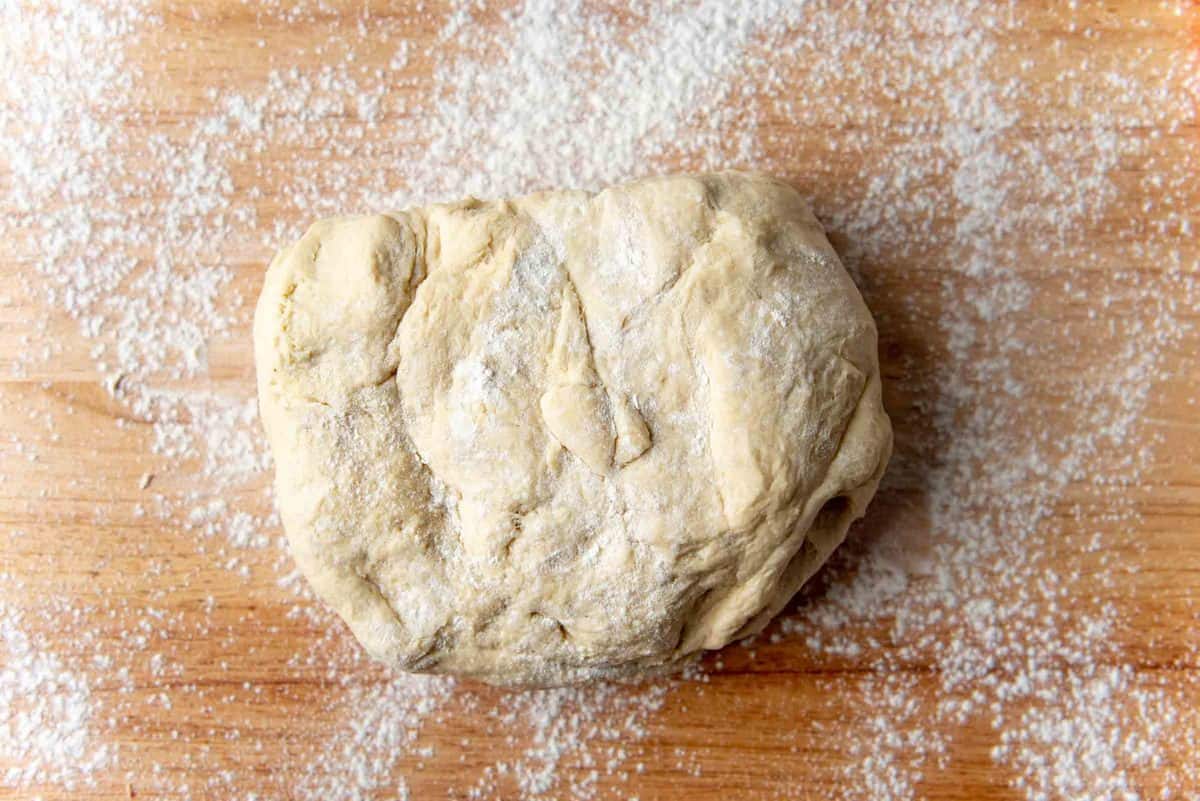
Remove the chilled dough from the fridge. On a floured surface, gently deflate the dough.
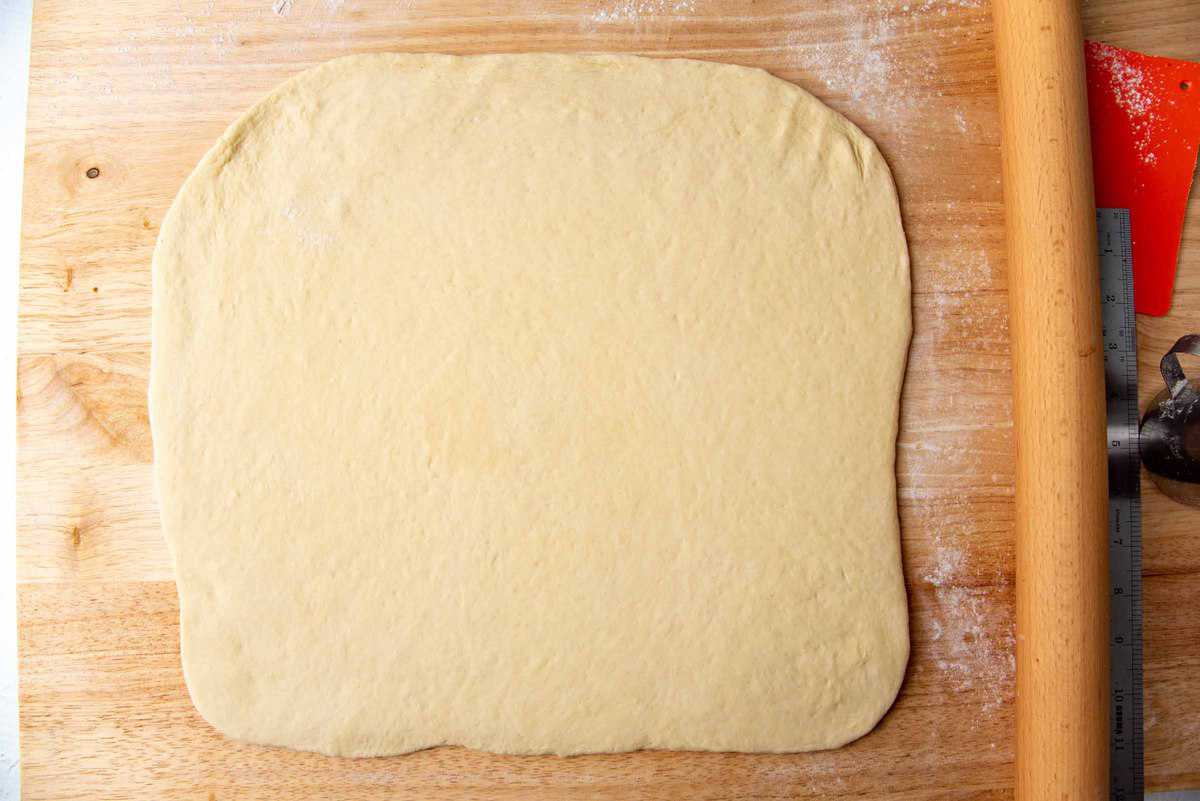
Using a rolling pin, roll the dough out into a square that is about 15 – 16 inches.
Slightly warm the ube halaya / ube jam to make it soft enough to easily spread on the dough. Evenly spread it on the whole surface of the dough, except for a 3/4 – 1 inch border along one edge.
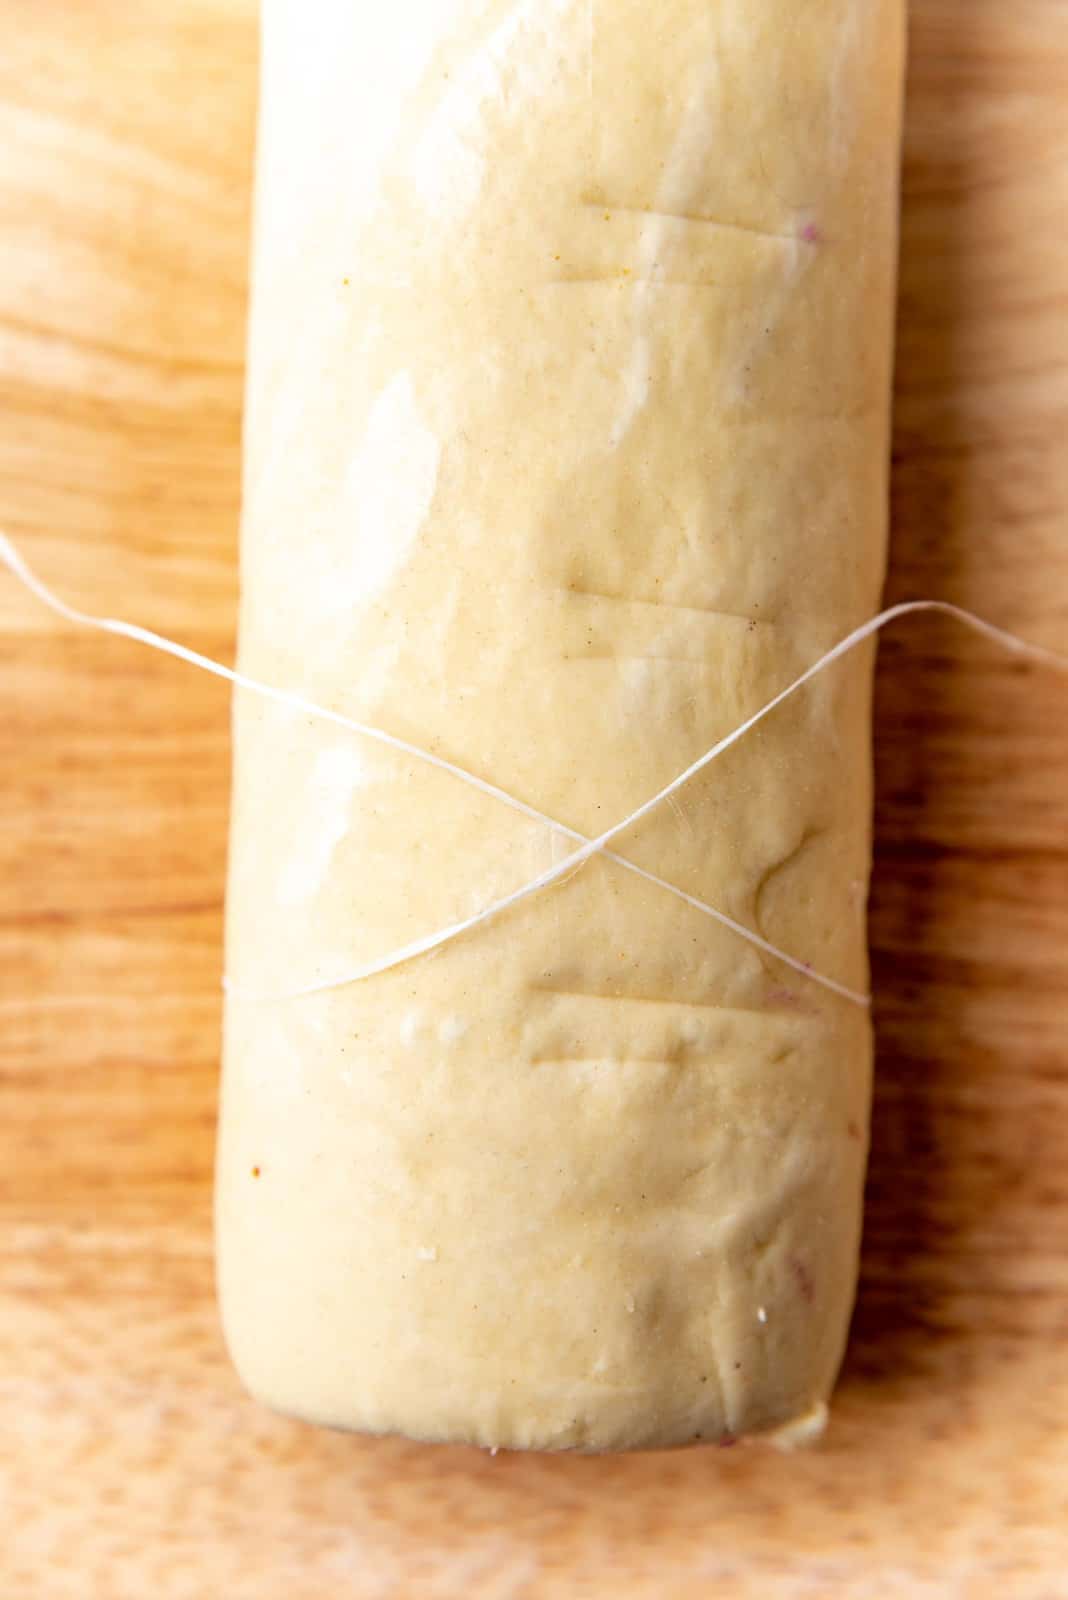
Roll up the dough fairly tightly towards the end with the border. Pinch the seam to seal. Then roll the tube a little again on your work surface to make sure the thickness is even.


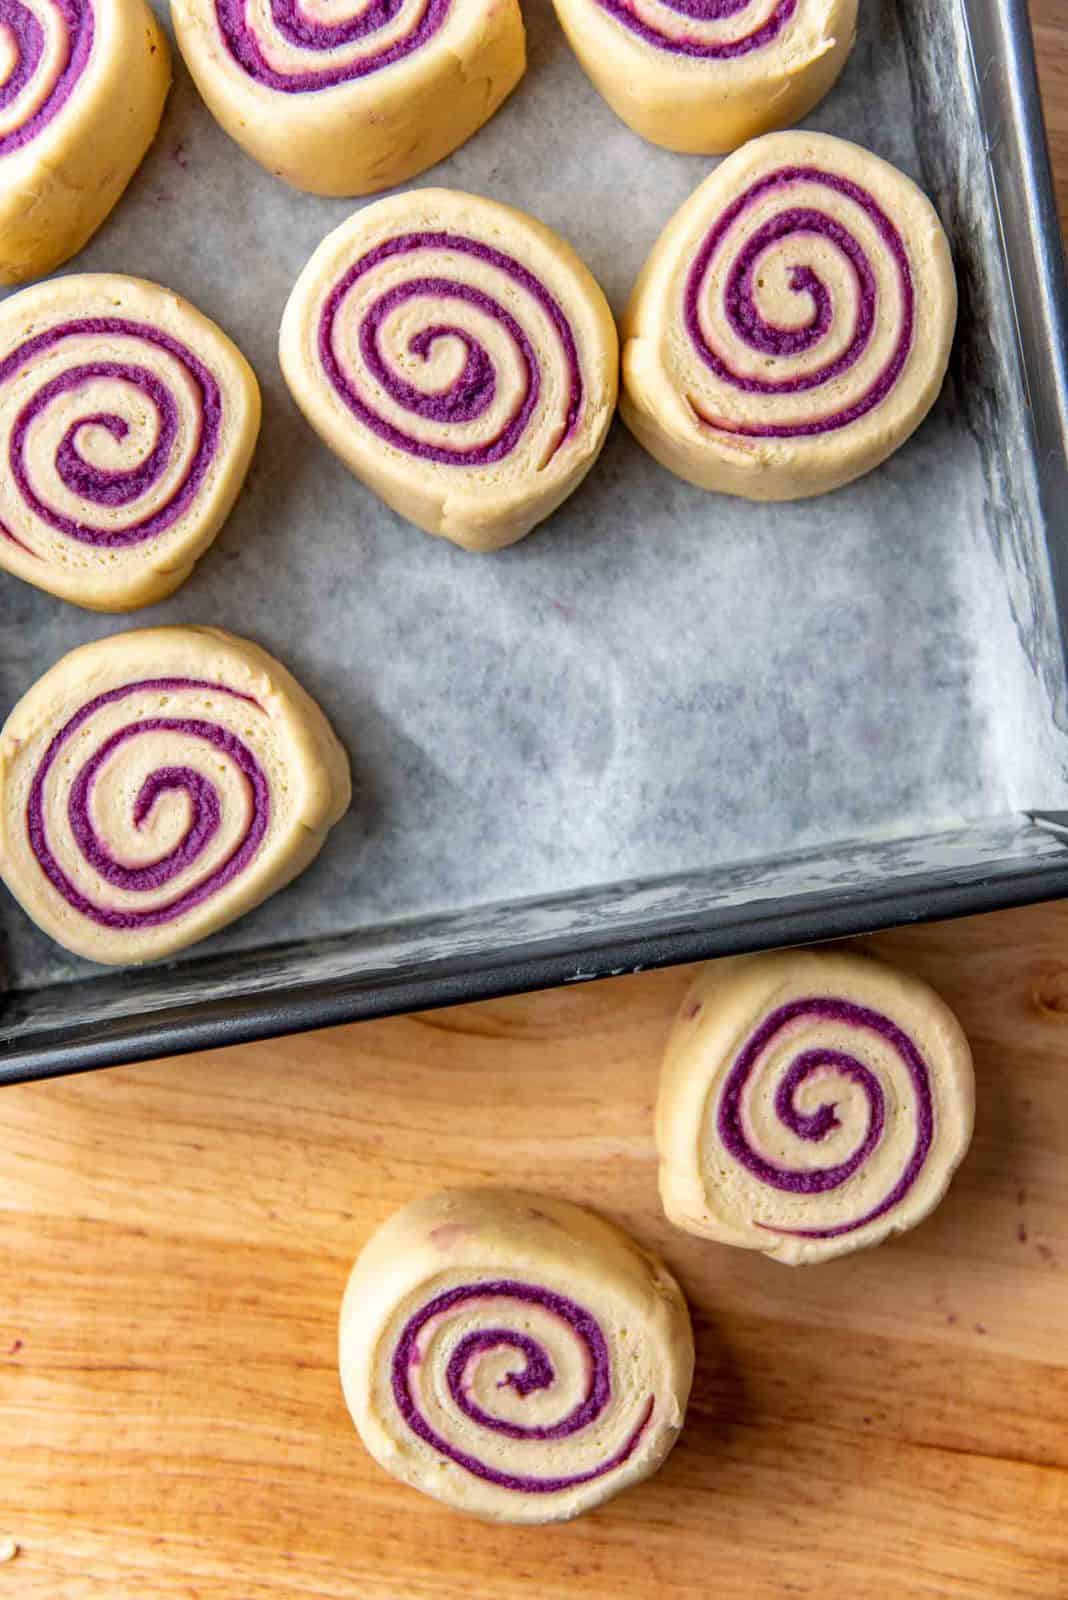
Slice off the two ends (optional) using a sharp knife, or an unflavored dental floss string. Then using the knife or dental floss, cut the roll into 9 equal sized pieces.

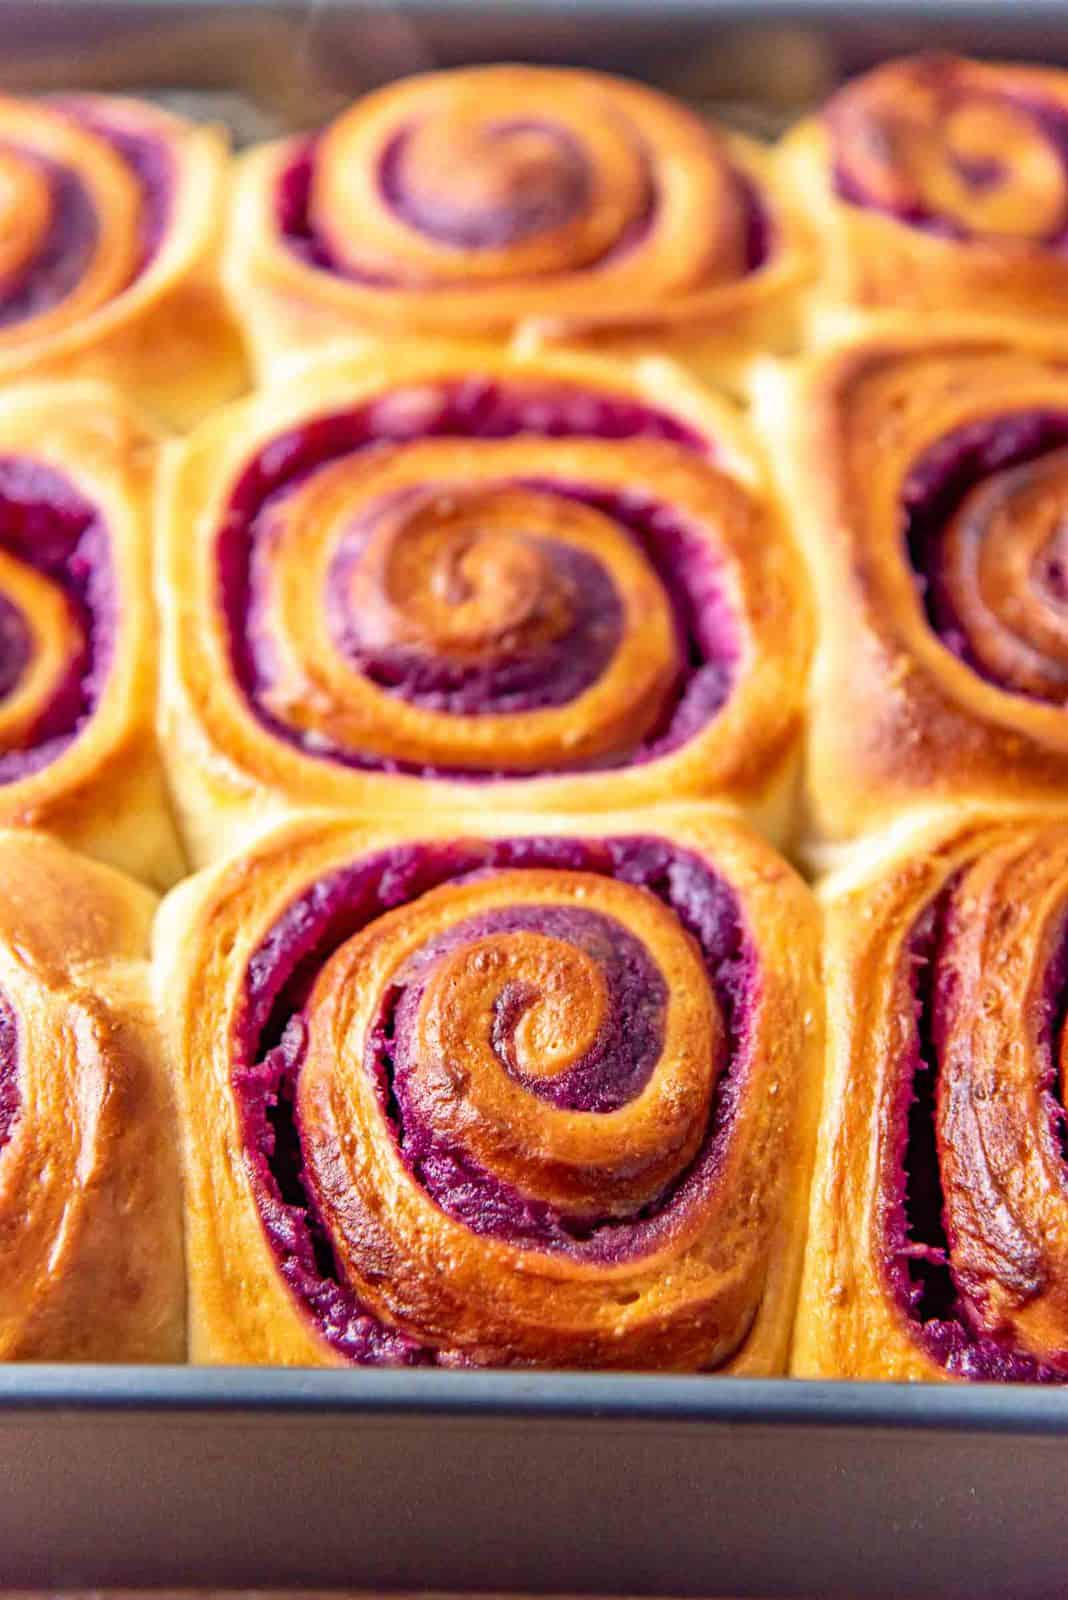
Place the 9 ube bread rolls in a 9 x 9 inch pan that is lined with parchment paper.
If you want to bake them immediately, let the rolls proof until the dough has doubled in size. Then bake in a preheated oven.
Day 3 – To make overnight ube bread rolls
Cover the pan with plastic wrap and keep in the fridge overnight.
The following morning (day 3), remove the pan from the fridge and let it sit on the counter until the rolls have doubled in size. This may have already happened while the rolls were in the fridge, in which case you can bake right away.


When the rolls have doubled in size, brush them with an egg wash (optional), or melted butter (optional) and bake in the preheated oven until the buns are golden brown on top!

Other options to serve these bread rolls
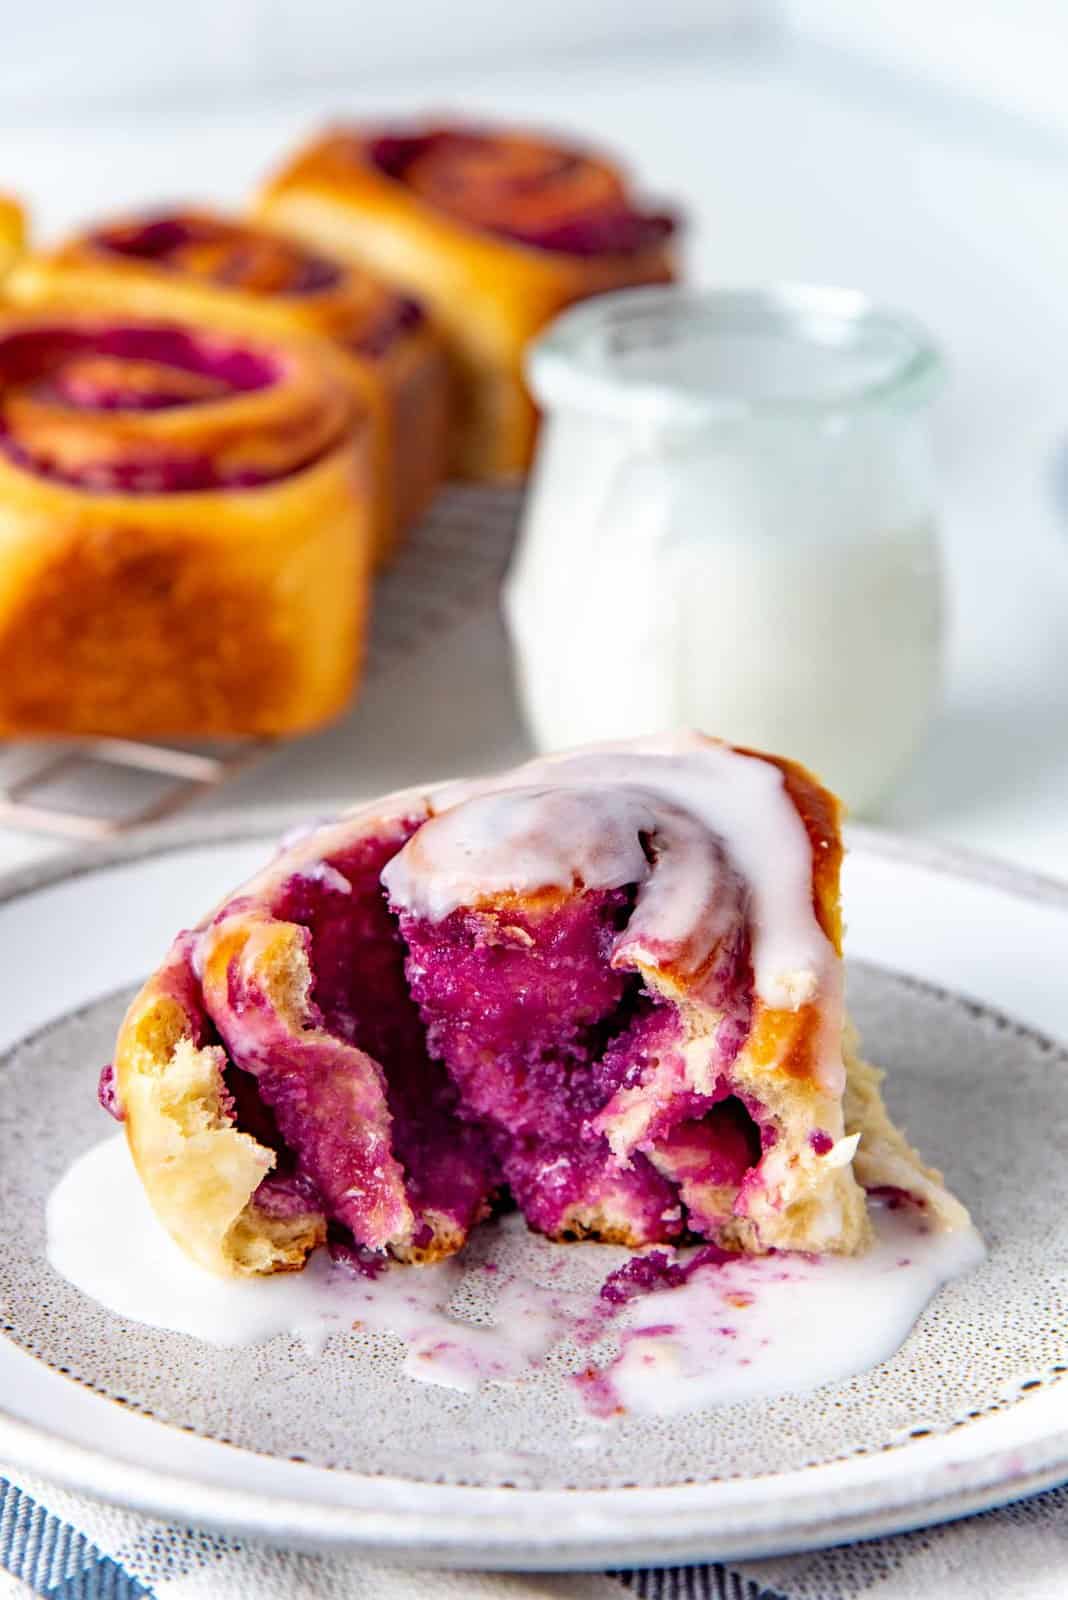
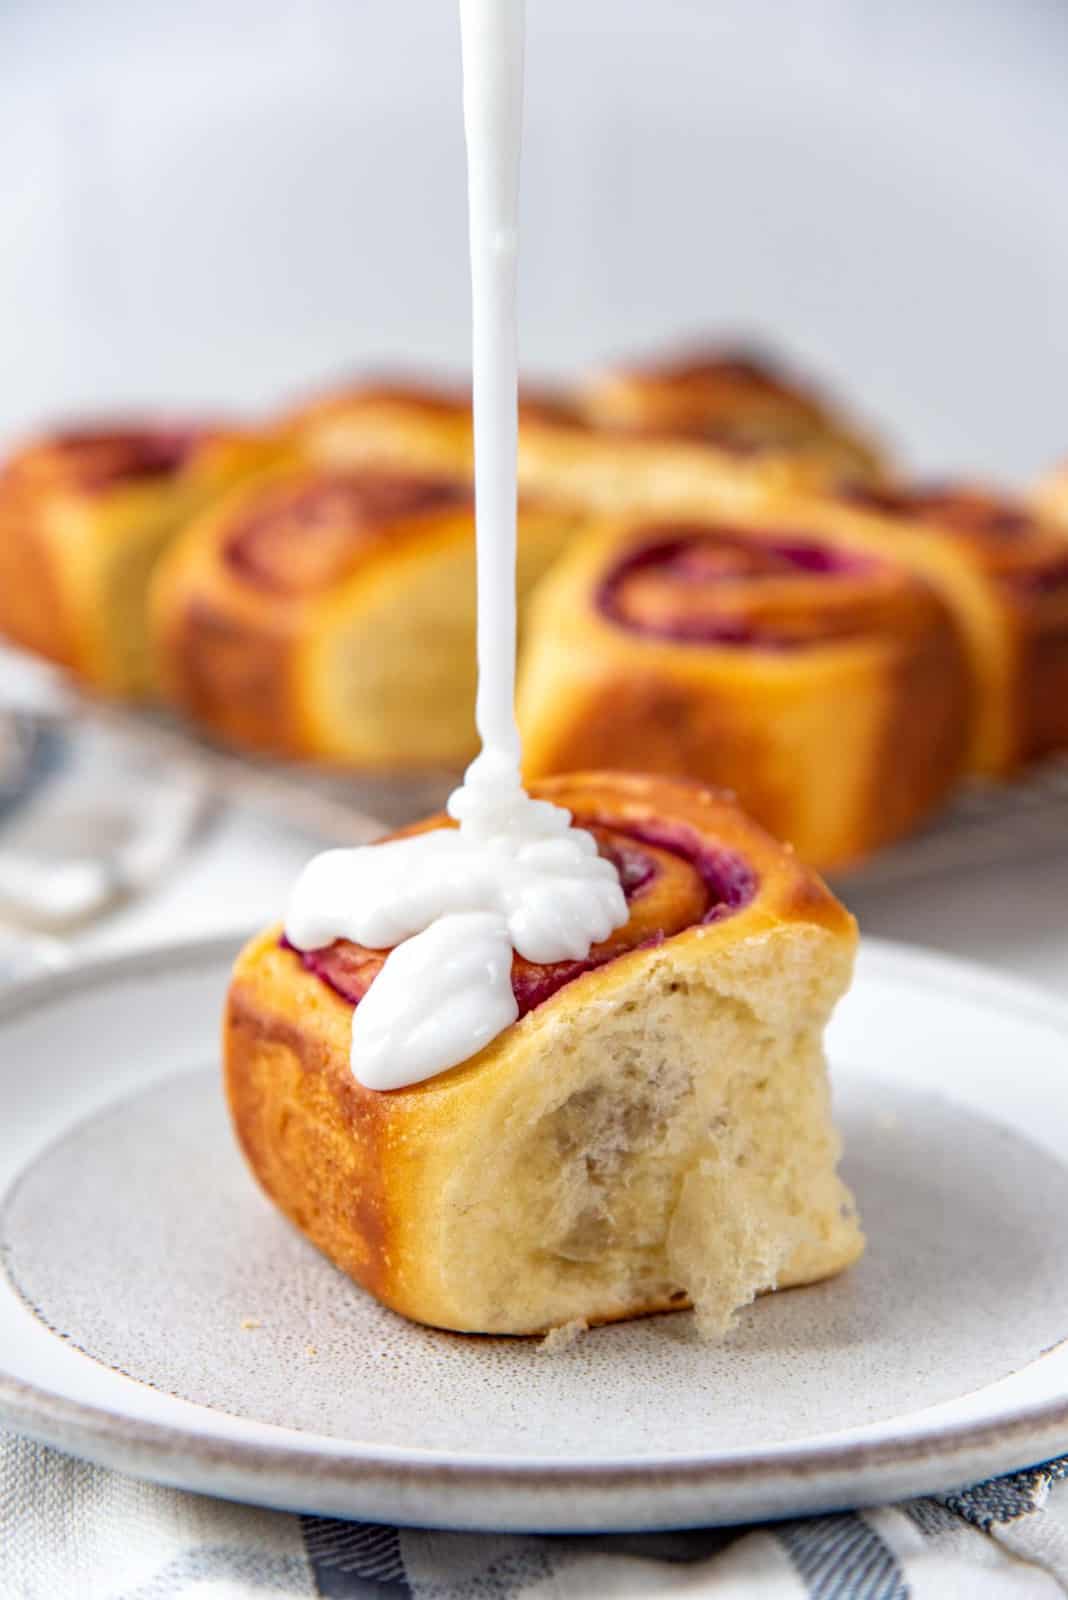
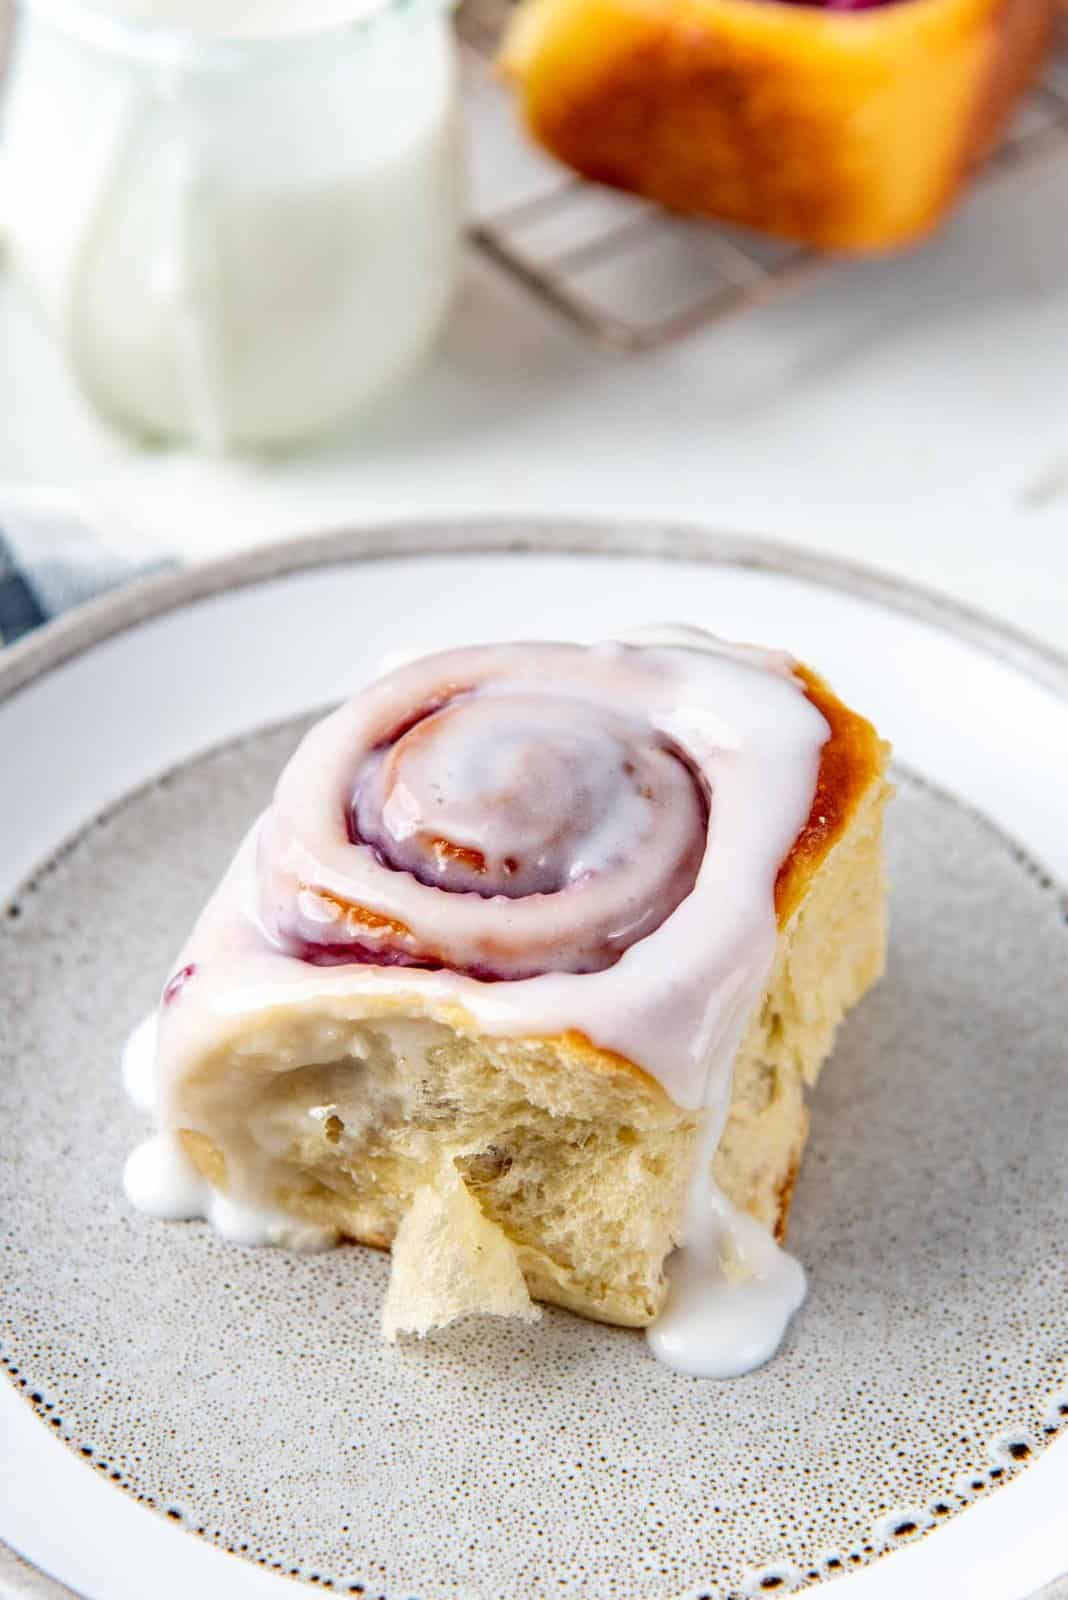
While the ube bread buns are baking, you can make this glorious sweet and salty coconut glaze. It’s made with coconut milk, salt, and confectioner’s sugar. I absolutely love that combination of sweet and salty coconut flavor, and ube!
Having said that, these ube bread rolls are so good, you don’t even need the glaze.
If you don’t want the extra sweetness of the glaze, but would still like to add coconut flavor, you can add coconut whipped cream on top instead.
Can’t decide between cinnamon rolls and ube rolls? No problem. Sprinkle some cinnamon on top of the ube halaya before rolling up the bread rolls. However, I personally prefer these rolls without the cinnamon, so that the ube flavor has a chance to stand out and shine.
These swirled overnight ube bread rolls are an absolute treat! The bread is incredibly light and fluffy, and the ube halaya has a perfectly sweet and floral flavor. And they look gorgeous too with that bright purple swirl!
If you liked this recipe, you may also like,
Recipe
Fluffy Overnight Ube Bread Rolls
US based cup, teaspoon, tablespoon measurements. Weight measurements are recommended for accurate results whenever available.
Common Measurement ConversionsIngredients:
- 1 recipe Japanese milk bread dough
- 1 ½ cups ube halaya you can make the ube halaya with sweet potatoes as well
- Egg wash
Sweet and salty coconut glaze
- 226 g confectioner's sugar
- 60 – 90 mL coconut cream
- ½ tsp fine sea salt or more if you prefer
Instructions:
Ube halaya
- You can use store-bought ube halaya, or make homemade ube halaya according to my recipe.1 ½ cups ube halaya
- If you can't find frozen ube or fresh ube, you can make this with purple sweet potatoes or regular sweet potatoes as well.
- Ube halaya can be made a few days ahead of time.
- If the jam seems a bit too stiff before spreading it on the dough, you can warm it up slightly (in the microwave) to make it more spreadable.
Japanese milk bread dough
- Make the dough according to my milk bread recipe.1 recipe Japanese milk bread dough
- Once the dough is kneaded, instead of the first room temperature proof mentioned in the above recipe, cover the dough bowl with plastic wrap and let it rise overnight in the fridge.
Swirled ube bread rolls
- Prep a 9 x 9 inch square pan by lining it with parchment paper with an overhang. Butter and flour any surfaces that are not covered by parchment paper.
- The following day, turn out the dough onto a lightly floured work surface, and deflate gently.
- Shape the dough into a square, and roll it out while maintaining the square shape. The final square should be about 15 – 16 inches on each side.
- Spread an even layer of ube jam over the dough, leaving a one inch border along one end.1 ½ cups ube halaya
- Now roll up the dough towards that end with the border. Make sure the spiral is tight.
- Once rolled up, pinch the seam to seal. Then gently roll the tube again on your work surface to make sure the thickness is even.
- Slice off the two ends of the dough with a sharp knife or unflavored dental floss.
- Divide the tube of dough into 9 equal pieces (using a sharp knife or dental floss).
- Place the ube rolls in the prepared square pan (3 x 3 configuration). Cover the pan with plastic wrap.
- If you want to bake them on the same day, let the rolls proof in a warm place until doubled in size, and the rolls are making contact with each other. This can take as little as 45 minutes (in a warm area) or up to 2 hours (in cold conditions).
Overnight ube bread rolls
- If you want to bake these the next morning, cover the pan and let the ube rolls sit in the fridge overnight.
- The following morning, remove the pan from the fridge. The rolls would have proofed to some degree overnight in the fridge. Preheat the oven to 350°F / 180°C.
- Let the rolls come to room temperature and proof until they have doubled in size, or the sides of the rolls are touching.
- Once proofed, brush the top with an egg wash, or milk, or melted butter.Egg wash
- Bake in preheated oven for about 30 – 40 minutes, or until the bread has an internal temperature of about 190°F, and golden brown in color on top.
- Remove from the oven and let them cool slightly.
- Turn the rolls out onto a cooling rack. Serve while warm or at room temperature.
- Optional – dust the rolls with confectioner's sugar, or top them with coconut cream, or drizzle them with the sweet and salty coconut glaze (recipe below).
Sweet and salty coconut glaze
- Place the confectioner’s sugar in a bowl.226 g confectioner's sugar
- Dissolve the salt in 4 tbsp of the coconut cream, and add that to the glaze. Whisk to combine.60 – 90 mL coconut cream, ½ tsp fine sea salt
- If you'd like the glaze to have more coconut flavor, and/or be runnier, add the rest of the coconut cream.
- If you'd like the glaze to have a more salty flavor, you can add more salt (which is what I do).
- Drizzle over warm ube bread rolls. Enjoy!
Recipe Notes
Notes about proofing
There are two overnight proofs. The first overnight proof (recommended) in the fridge is to make the dough easier to handle. The second overnight proof in the fridge is so that you can prep the rolls the night before, and bake them the following morning. However, you can skip both of the overnight proofs and replace them with room temperature proofs for about 1 – 2 hours until the dough doubles in size. In this case, the dough will be softer to work with.Nutrition Information:
“This website provides approximate nutrition information for convenience and as a courtesy only. Nutrition data is gathered primarily from the USDA Food Composition Database, whenever available, or otherwise other online calculators.”


Leave a Reply