

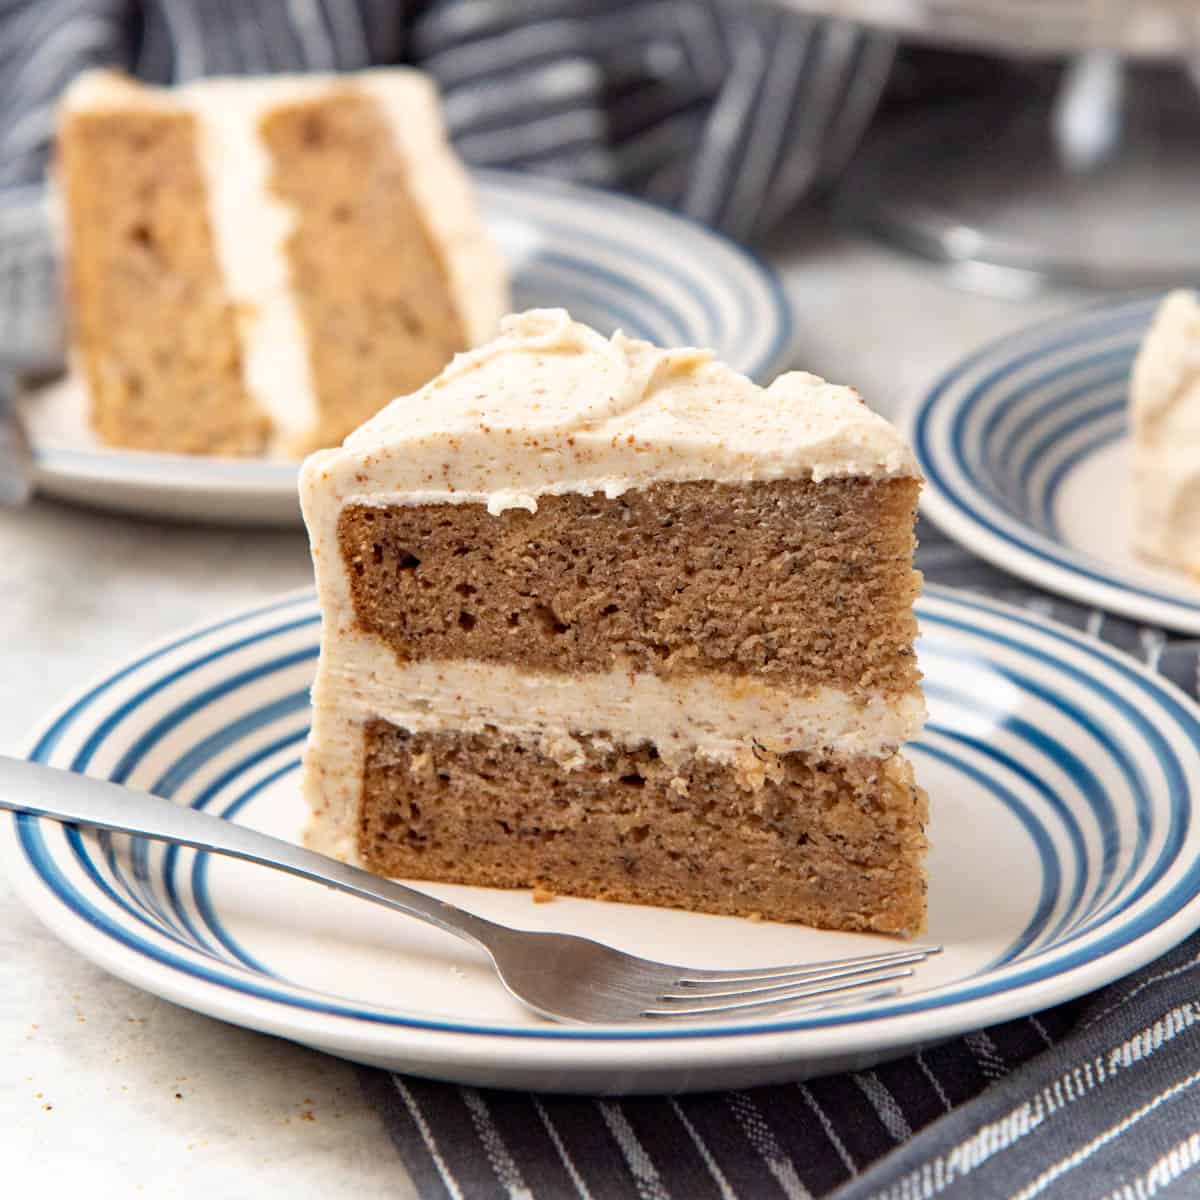
There’s something just so comforting about a super soft, moist, perfectly sweet banana layer cake. But what makes this cake even more special is the complex and flavorful brown butter cream cheese frosting that is super creamy and not too sweet!
This old fashioned homemade banana cake gets an upgrade with an ever more flavorful twist on my classic cream cheese frosting recipe. Plus, it’s so easy to make too.
- Why I love this layered banana cake recipe
- Ingredients to make banana cake
- What kind of frosting is best for an old fashioned banana cake?
- Ingredients for the brown butter frosting
- How to make the banana layer cake
- How to make brown butter cream cheese frosting
- How to assemble the cake
- Tips and tricks for this banana layer cake recipe
If you’re one of those delightful people who buys bananas just to make banana bread or banana cake, then you’re in the right place, with the right company! 🙂 I do that all the time too.
And this banana cake is by far the best thing you can bake with your overripe bananas. Sure, you can absolutely make a banana sheet cake, or banana bread, or banana cupcakes, or even banana pudding – but this cake…. is something else.
Making a layered cake somehow makes the cake that much more special, but it’s the brown butter cream cheese frosting that elevates this cake to a whole new level.
I love brown butter in any frosting, but do you find brown butter cream cheese frosting to be too soft? Sure, you can add more confectioner’s sugar, but then the frosting is so sickeningly sweet. But I’ll show you how to make perfectly spreadable, amazing brown butter cream cheese frosting that is not too sweet, and not runny or too soft!
Why I love this layered banana cake recipe
- Super simple to make. You don’t need a mixer for this recipe because the batter comes together so easily, but you can use one if you’d like to.
- You can make this as a 2 layer cake OR a 3 layer cake as well.
- You can also make this as a banana sheet cake or transform it into the best banana pudding layer cake ever!
- The cake is incredibly soft, sweet but certainly not too sweet, and very moist (thanks to the overripe bananas!).
- The brown butter frosting! This is the BEST cream cheese frosting you’ll ever taste AND it’s not runny either, thanks to a “not-so-secret” technique.
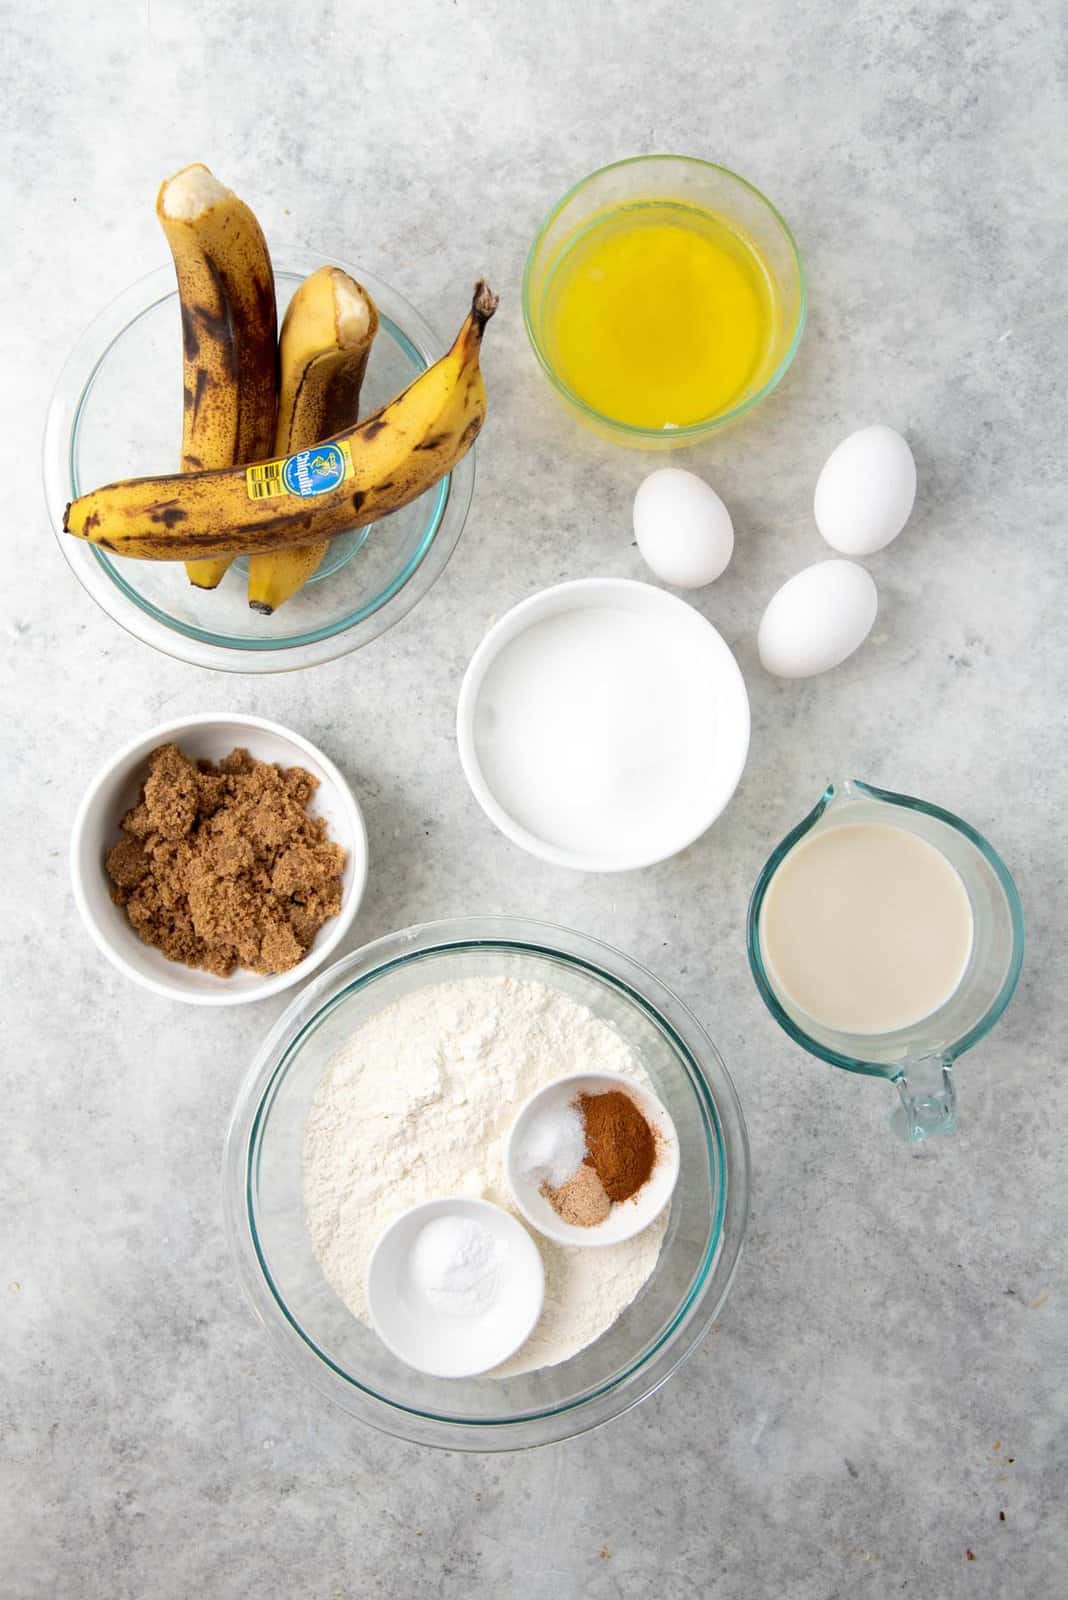
Ingredients to make banana cake
- Overripe bananas
- Butter and oil
- Brown sugar
- White sugar
- All purpose flour
- Baking soda
- Buttermilk
- Eggs
- Flavoring and spices (cinnamon)
Overripe bananas
The best type of bananas for this recipe is overripe bananas. The ones that have dark black spots, and a little squishy. If you have bananas that are still mostly yellow and firm to the touch, they need to be left longer to ripen further.
What if I don’t have overripe bananas?
You can ripen bananas in the oven by letting them “bake” at 300 F until the skin blackens and the bananas soften. While this technique does work, it won’t be the same as naturally overripened bananas because the sweetness level won’t be the same. But it will work in a pinch.
Butter and oil
This is the fat component in the cake. I use butter to add flavor to the cake. Making cake batter with oil results in a very light crumb in the cake, so I prefer to use a mix of both.
You can also use margarine instead of butter as a substitute.
Brown sugar and white sugar
Both brown and white sugar are added to add moisture and sweetness to the cake, resulting in a very soft cake. Additionally, the brown sugar also adds a molasses-like flavor to the cake.
Buttermilk
The acidity of the buttermilk is needed to activate the baking soda in this banana layer cake recipe.
If you don’t have buttermilk, then you can use these substitutes,
- 1 cup regular milk + 1 tbsp vinegar
- 1 cup plant based milk + 1 tbsp vinegar
The vinegar used can be apple cider vinegar, or white wine vinegar, or white vinegar.
What kind of frosting is best for an old fashioned banana cake?
Honestly, any type of frosting could be paired with any banana cake, including this banana layer cake. If you like the combo of banana and chocolate, then you could go with a chocolate buttercream frosting, or chocolate swiss meringue buttercream frosting. Or you could keep it simple with an vanilla buttercream frosting or swiss meringue buttercream frosting.
But the classic frosting for banana cake is a delicious, creamy, tangy, and light cream cheese frosting. The same frosting that pairs so well with carrot cake and red velvet cake. Here, I made my classic cream cheese frosting recipe even better by adding brown butter, and that’s what we are doing here.
And instead of just one layer of this delicious frosting, you get to have TWO layers of brown butter frosting for this banana layer cake!

The problem with adding brown butter
Butter that has been turned into brown butter is noticeably softer than regular butter. So the resulting buttercream will also be soft. Since cream cheese frosting is already a very soft buttercream, adding brown butter will make it runny and too soft. It’s harder to spread this like a regular buttercream, and it flows more like a thick glaze.
But I have found a way to avoid this problem, while still adding brown butter to this buttercream!
How to make brown butter
Making brown butter is super easy. You just have to cook butter over medium heat while stirring. The butter will go through the stages of melting, bubbling, separation of solids and oil, and then finally the caramelization of the milk solids. I already have a detailed article I wrote about how to make brown butter, and the different stages of brown butter.
The flavor of brown butter is mostly in the caramelized milk solids. The secret to increasing the milk solids (or what I like to call “flavor dust”!), is to add milk powder to the melting butter.
Milk solids are essentially dried milk. So by adding some dried milk powder to the butter, you can create MORE caramelized milk solids in the butter. I used this techniques for my brown butter butterscotch mousse, and it makes the flavor even better.
Ingredients for the brown butter frosting
For this brown butter cream cheese frosting you will need,
- Cream cheese – Make sure it’s the brick cream cheese, and NOT the kind that comes in tubs.
- Butter – I prefer unsalted, but you can use salted butter as well.
- Milk powder – This is the “secret ingredient”. You can leave it out, but the resulting buttercream will be softer. I use full fat milk powder, but you can use non-fat milk powder too.
- Confectioner’s sugar – Also know as powdered sugar.
- Salt – I don’t make any frosting without salt! It helps to balance the flavor.
- Vanilla – For a classic flavor, use a good quality vanilla extract or vanilla bean paste. You can use vanilla essence, but use less to avoid a bitter aftertaste.
How to make the banana layer cake
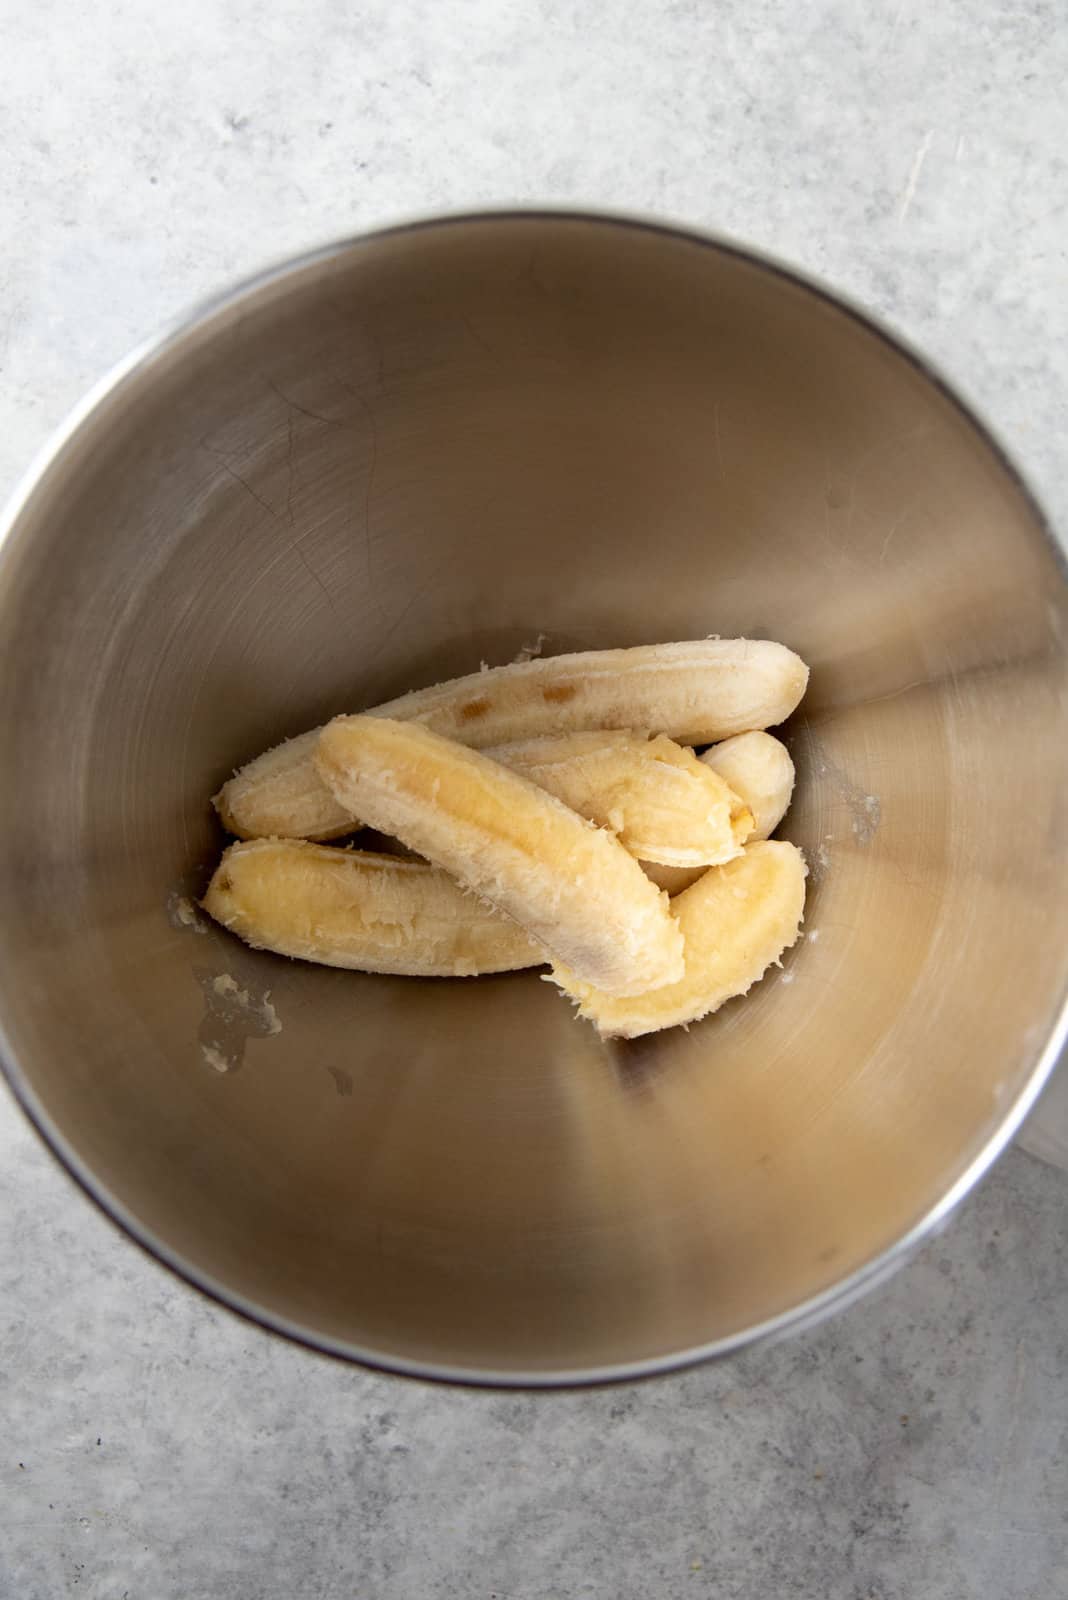
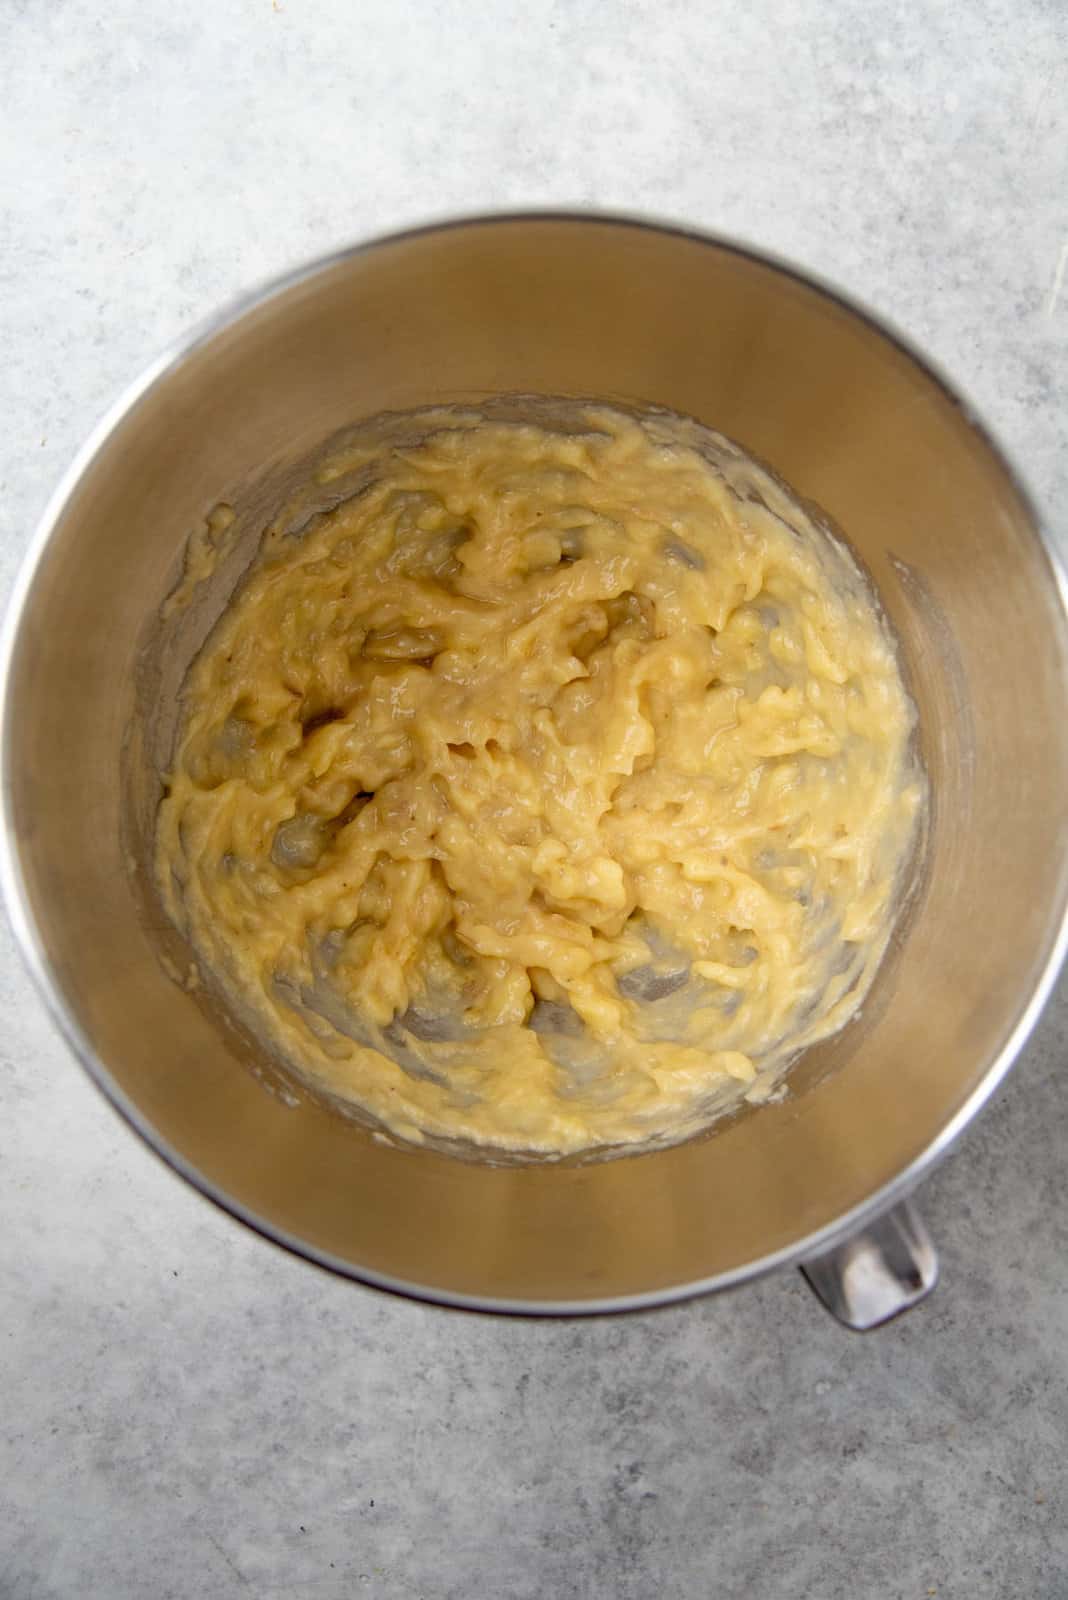
In a large bowl, mash up the overripe bananas with a fork, OR with the beaters of a hand mixer, or paddle attachment of your stand mixer.
You do not have to mash the banana into a smooth paste. Some chunks are absolutely OK. These chunks will continue to break up as you make the batter. In fact, leaving chunks is recommended.
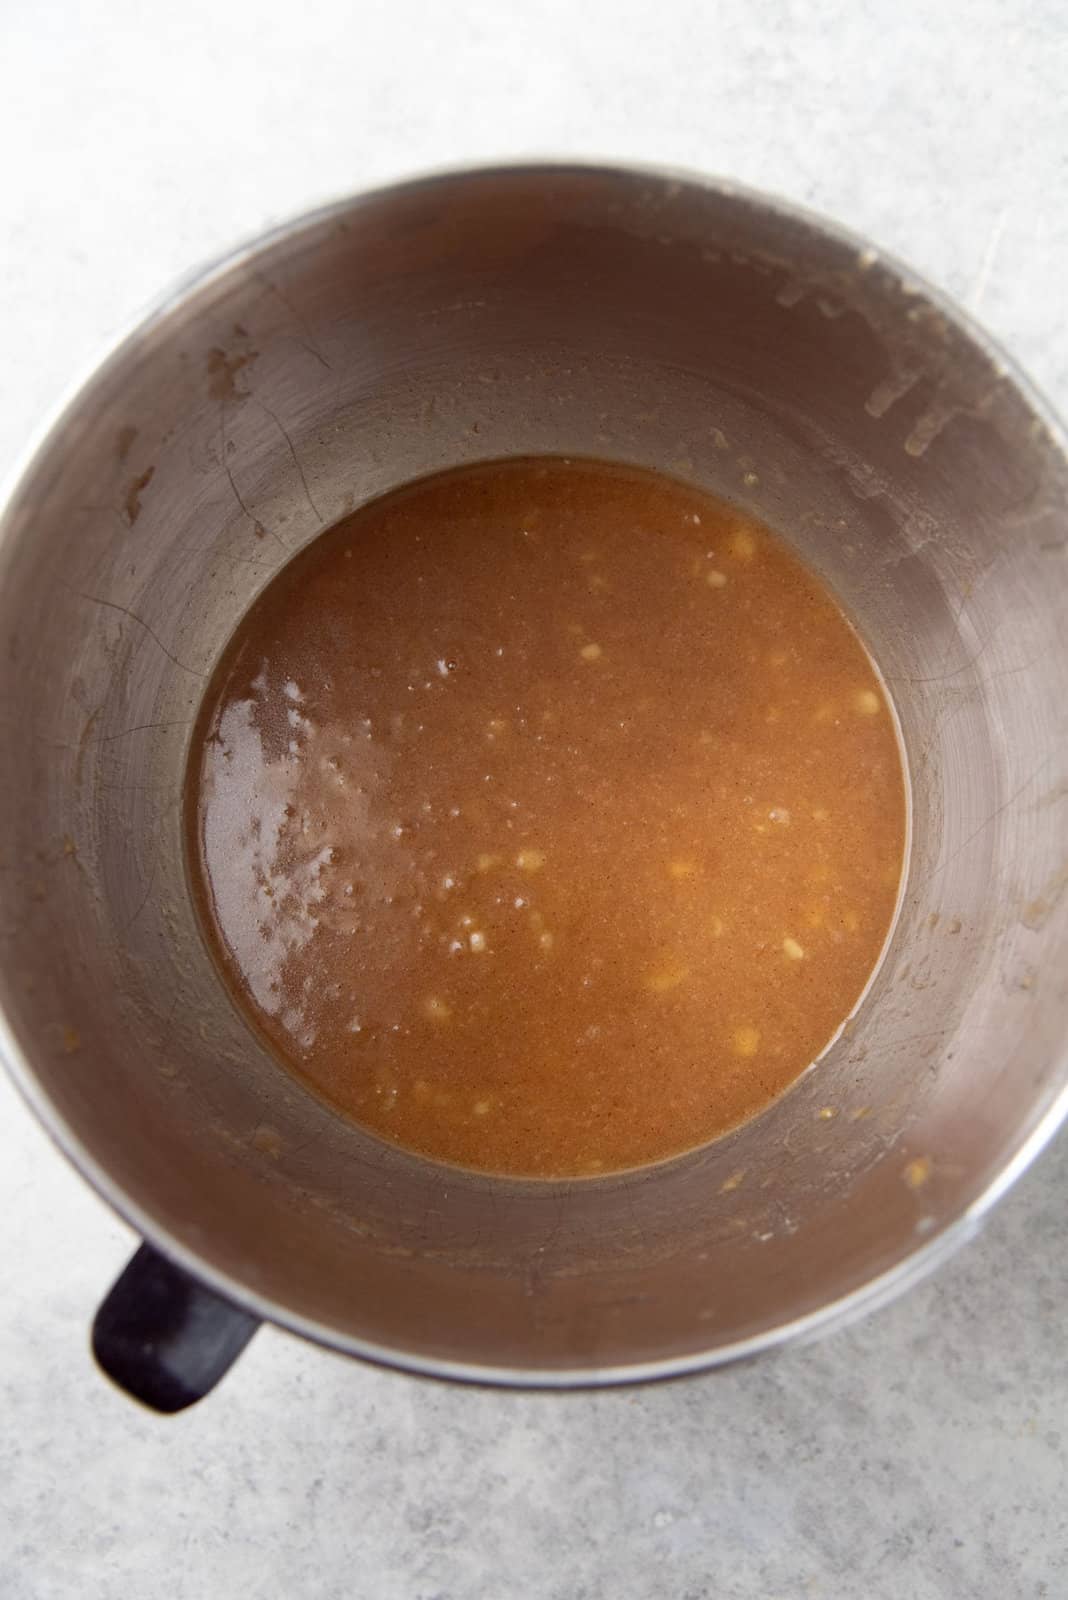
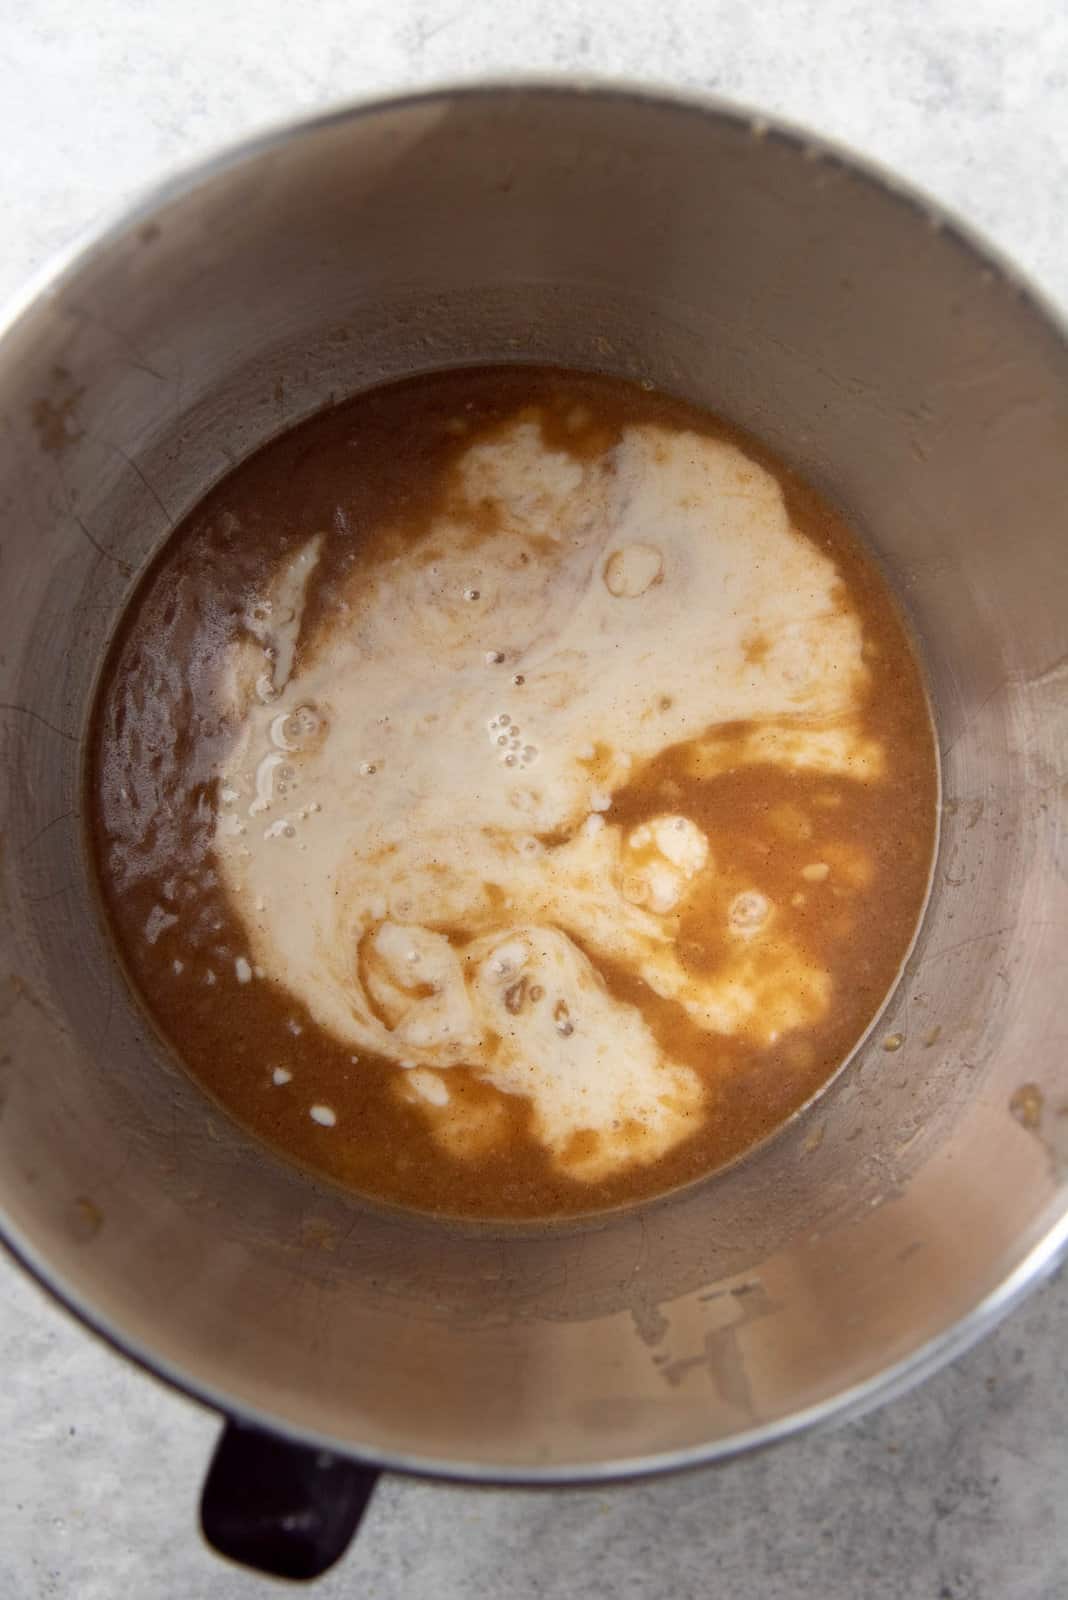
Next, add the white sugar and brown sugar, along with the salt, to the mashed bananas. Stir to mix. Next, add the melted butter and oil. Whisk to combine.
The eggs are added next. Whisk well to make sure the eggs are mixed well into the batter. Whisk in the cinnamon, buttermilk and vanilla. You can also add other spices such as pumpkin pie spice or gingerbread spice, but I only add cinnamon because I want the banana flavor to be front and center in the cake.

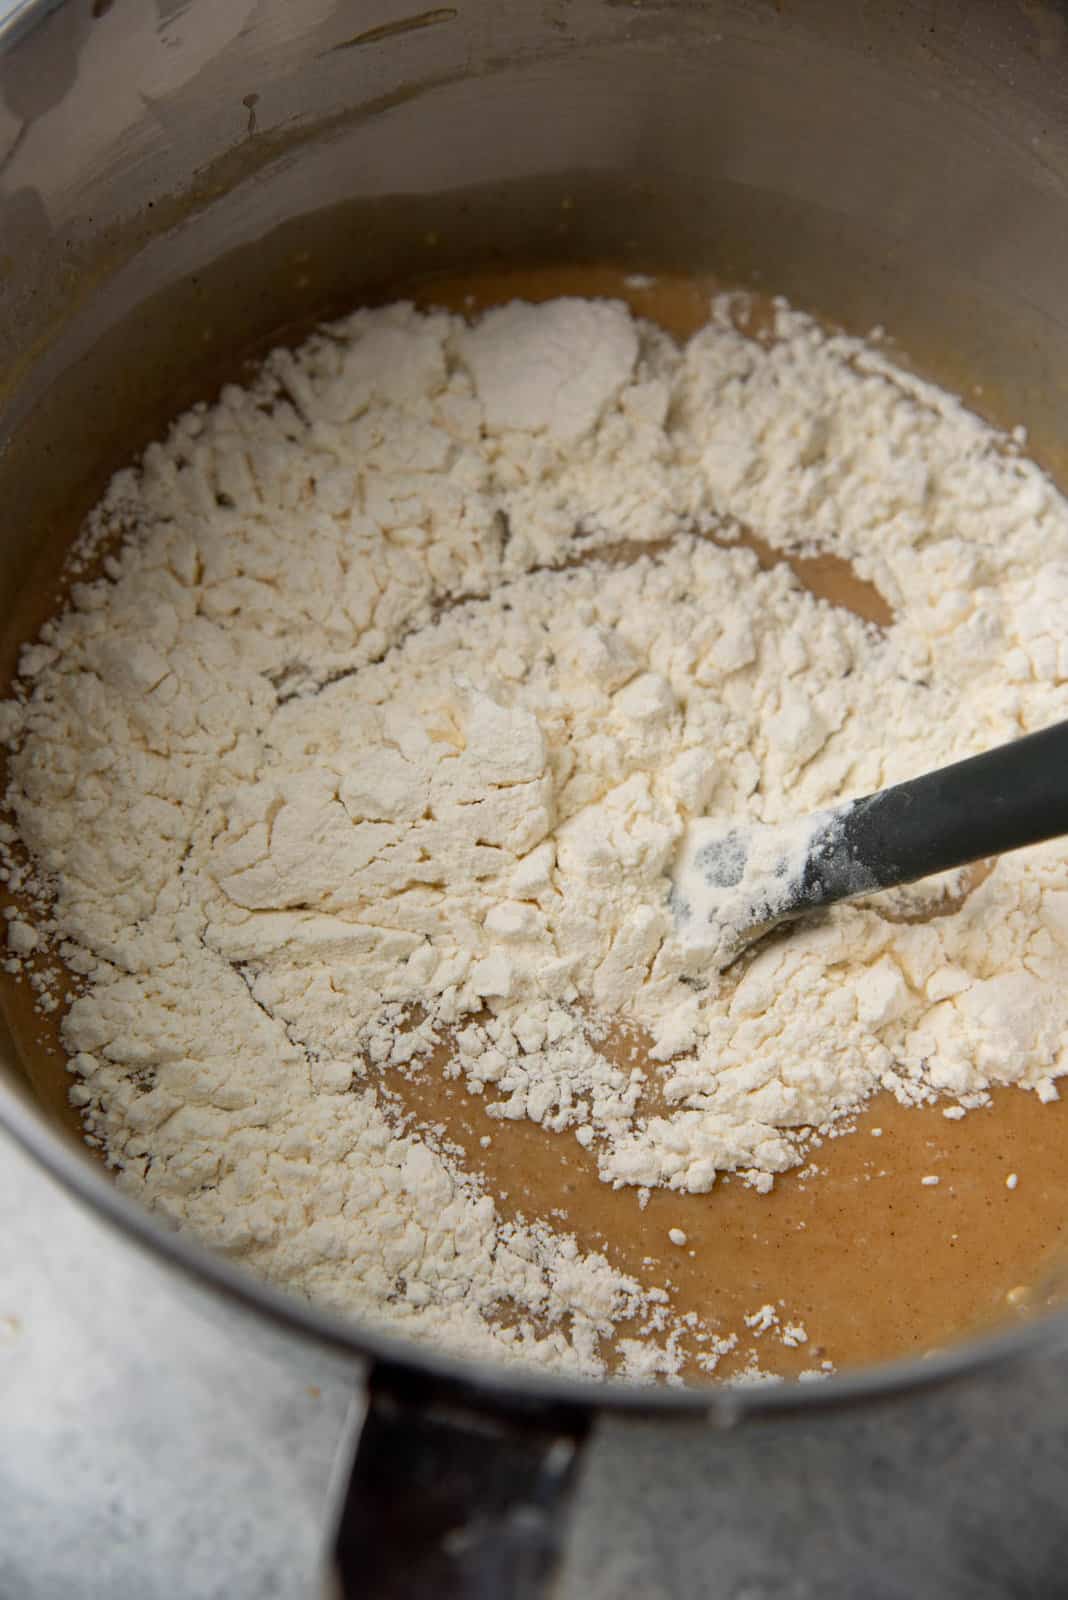
Finally, add the flour and baking soda mix in two additions. Gently fold the flour mix into the batter with a rubber spatula. If you overmix the flour, you could end up with cake layers that have a rubbery texture, or a cake with large holes (also known as tunneling).
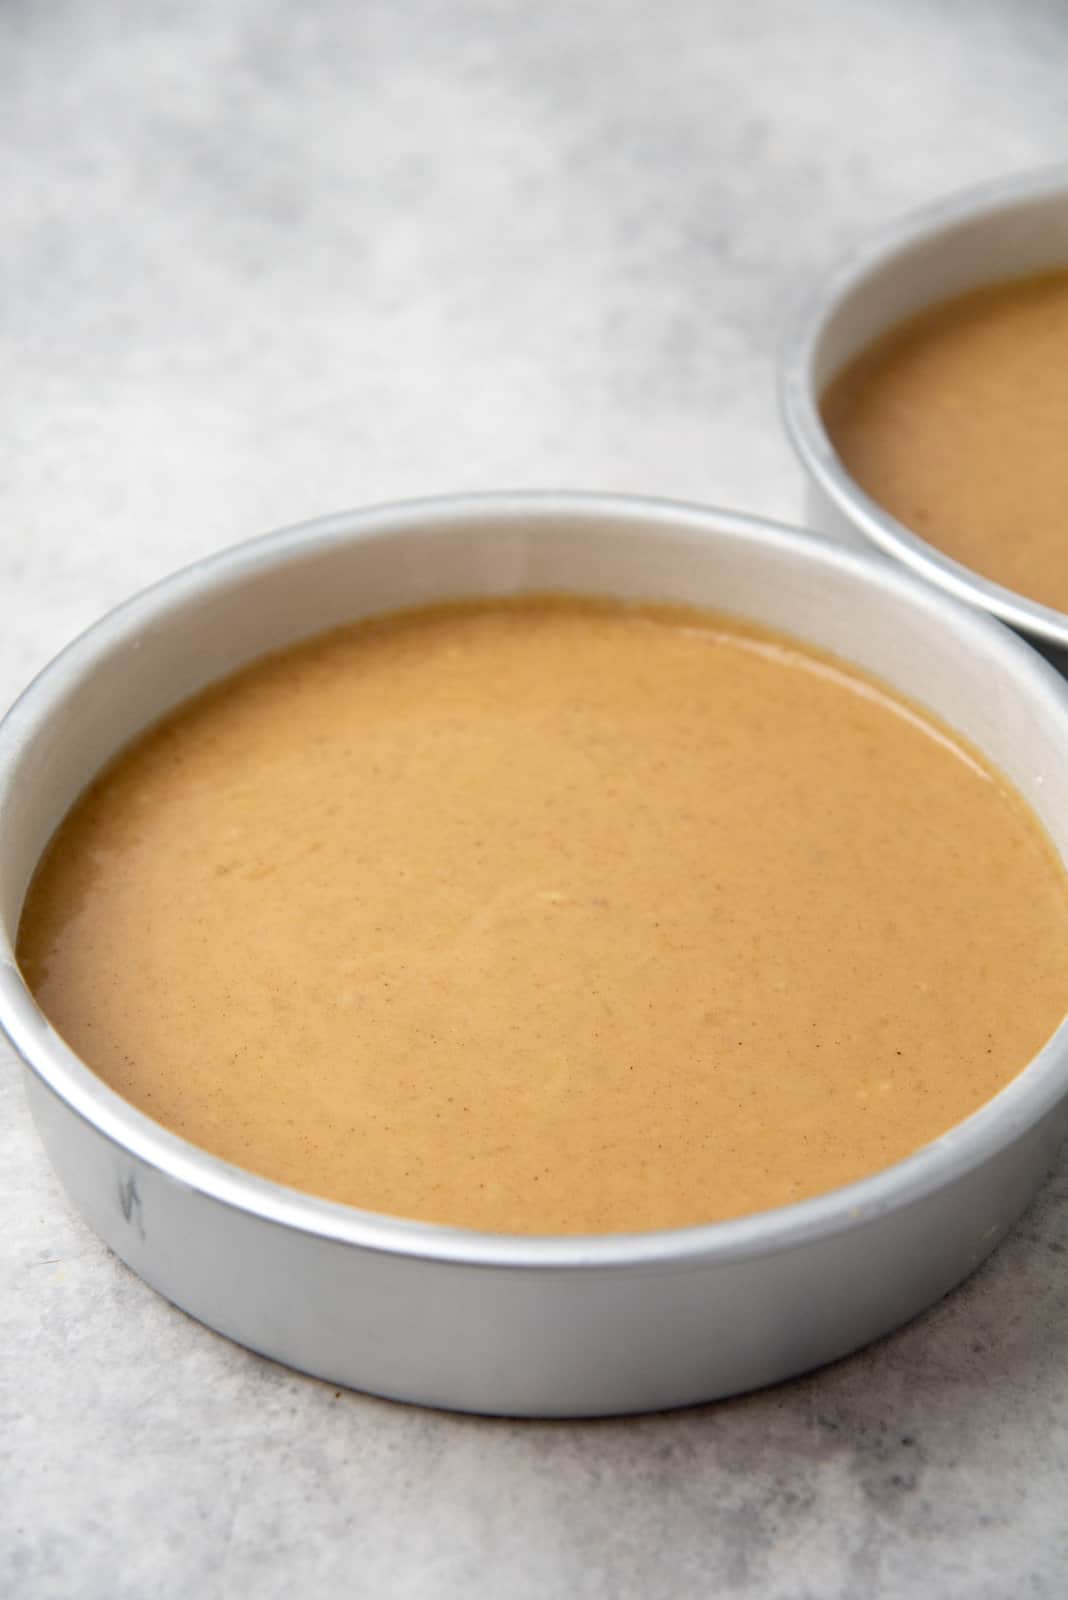
Once the flour is folded in, divide the batter between two cake pans. Bake the banana cake batter in a preheated oven until the cake layers are baked through. The cake is baked through when a toothpick inserted comes out with just a few dry cake crumbs. This ensures that the cake isn’t over-baked or dry.
How to evenly divide the cake batter between cake pans
First method – Weigh the mixing bowl (PRIOR to starting on the cake batter). Then weigh the bowl after the cake batter is made, and subtract the empty bowl weight from it. This is the weight of the batter. Divide cake batter weight by the amount of pans (in this case – two). Place each pan on the weighing scale and pour the correct weight of batter into each pan.
Second method – Use a large cookie scoop (if the cake batter is thick), or ladle (if the cake batter is thin). Equally portion the batter into the cake pans using the scoop or ladle. Alternate between the cake pans until all of the batter is used up.
Let the cakes cool in the cake pan for a few minutes, until the cake pans are warm to the touch. Flip the cakes over onto a wire rack, so that they can cool completely. This will prevent the cakes from getting soggy from condensation.
When the cake layers have cooled down, they are ready to be frosted. You could store them until the next day at this stage as well.
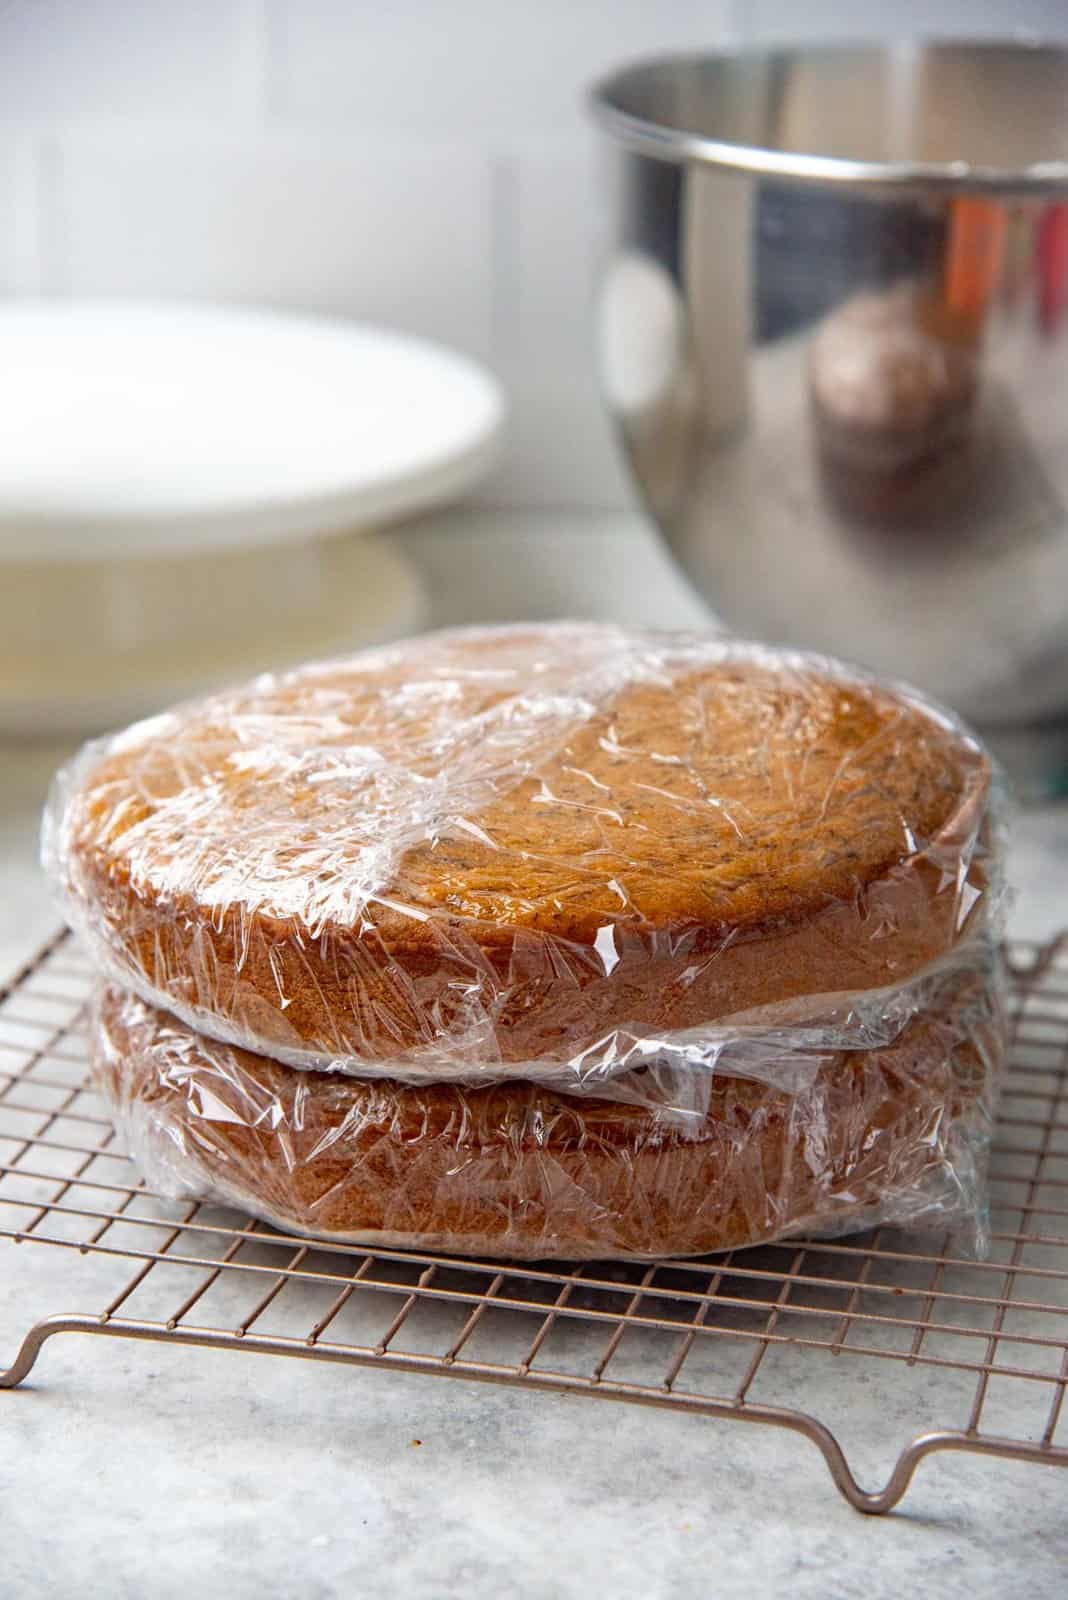
To store the unfrosted cake layers for later
Wrap each banana cake layer in plastic wrap. If you live in a fairly cold climate, they can be kept outside for 24 hours. However, I prefer to keep them in the fridge until you’re ready to frost them. These layers can be kept in the fridge for up to 48 hours, or in the freezer for up to 2 months.
How to make brown butter cream cheese frosting
How to make brown butter “flavor dust”
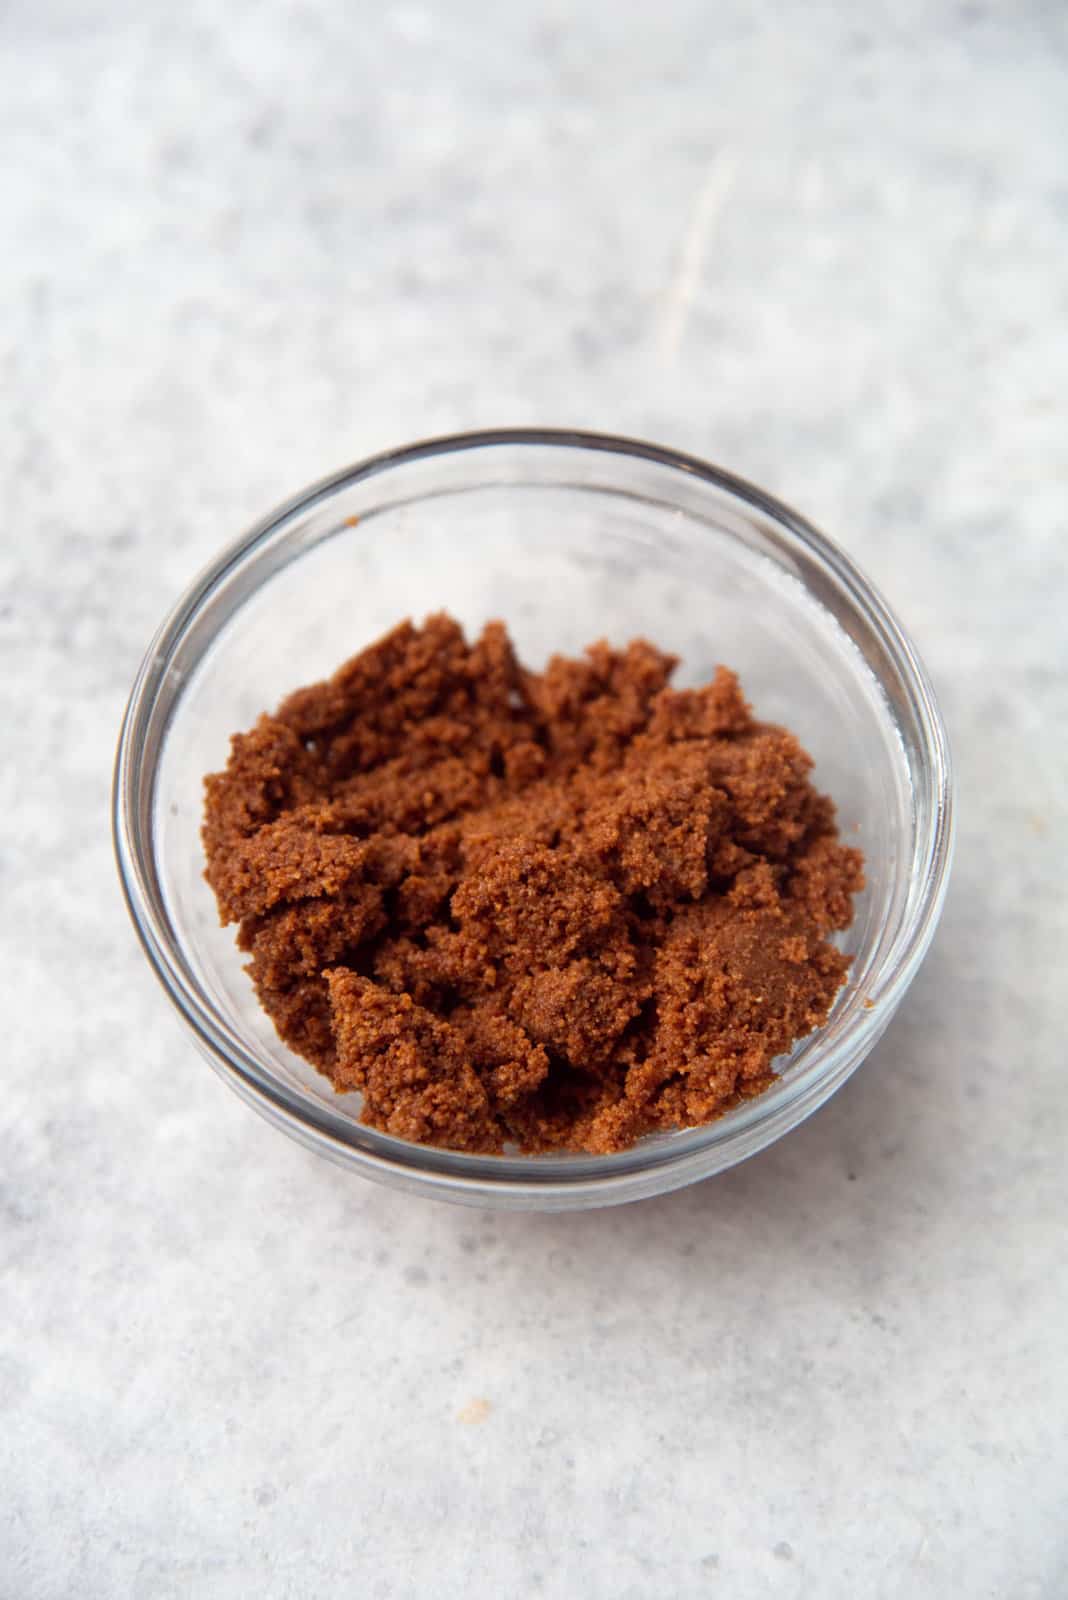
Melt 1/4 cup of the unsalted butter in a small saucepan.
After the butter melts, add the dry milk powder and stir in to mix. Keep heating the butter and milk mixture while whisking frequently. The butter will start to bubble as the water evaporates and the milk solids separate.
Keep stirring and cooking the butter until the separated milk solids (and the dry milk powder) turn from white to yellow to a dark golden brown in color.
When the milk solids have caramelized, transfer them into a bowl and let it cool down to room temperature. You can also do this the night before.
Making the cream cheese frosting
Make sure all the ingredients are at room temperature.
My recipe only uses a 1:1.25 ratio of cream cheese/butter : confectioner’s sugar. I find that this ratio keeps the cream cheese frosting wonderfully spreadable, while not being too sweet. Other recipes usually use a 1:2 ratio which I find to be too sweet.
Since the recipe still contains unsalted butter in addition to the brown butter “flavor dust”, the texture of the frosting will never be compromised, and will be exceptionally spreadable and flavorful on your banana layer cake!
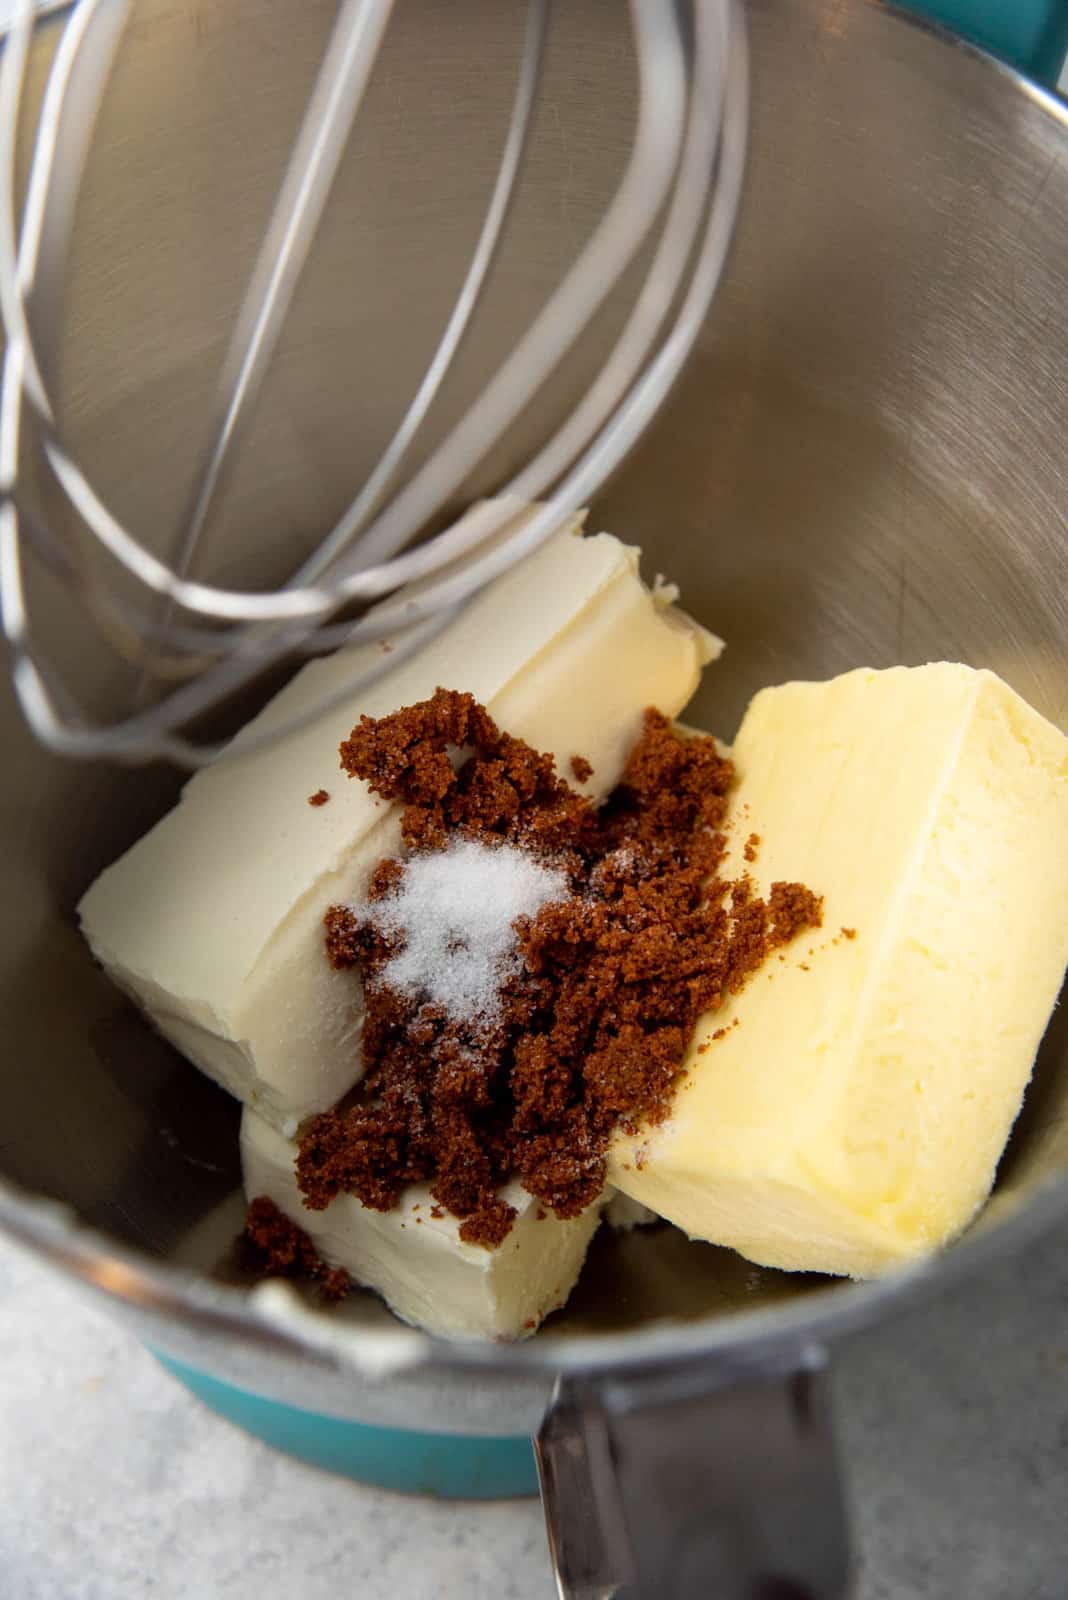
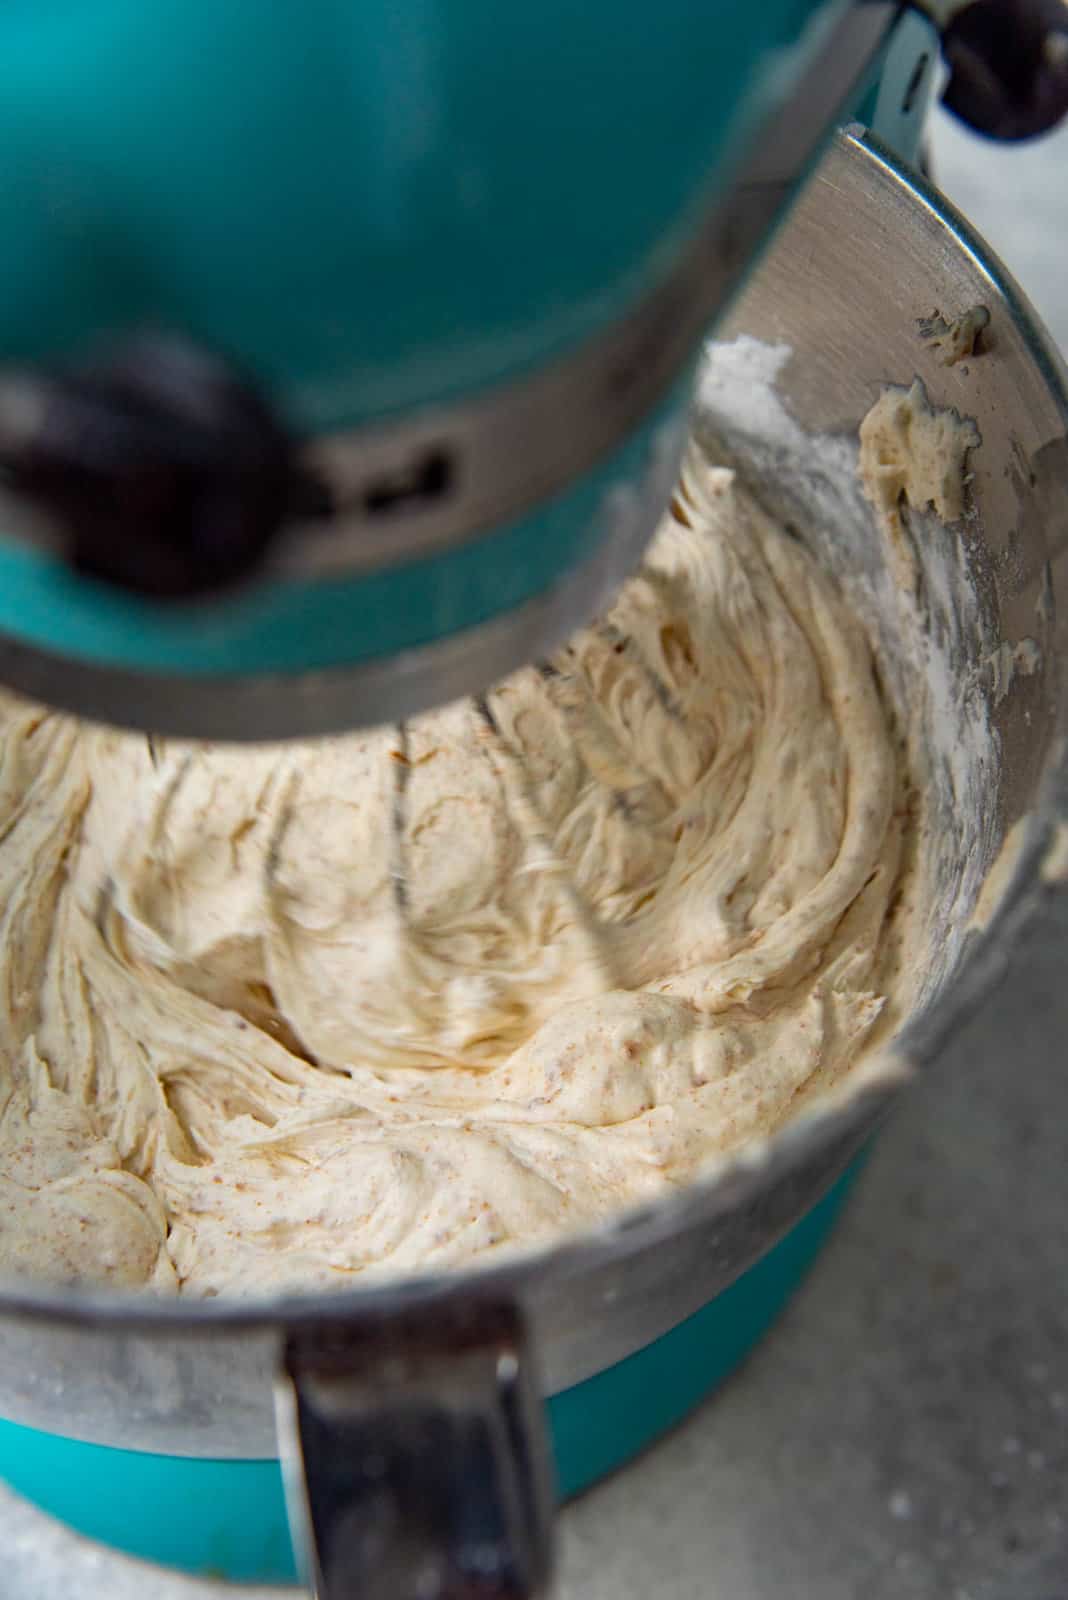
In a mixer bowl, place the cream cheese, unsalted butter, browned butter, and salt. Mix the cream cheese and butter mix for about 3 – 5 minutes on medium speed, using the wire whisk attachment. The cream cheese and butter should become white, fluffy, and creamy. Make sure to scrape the sides of the bowl so that all of the ingredients get beaten uniformly.
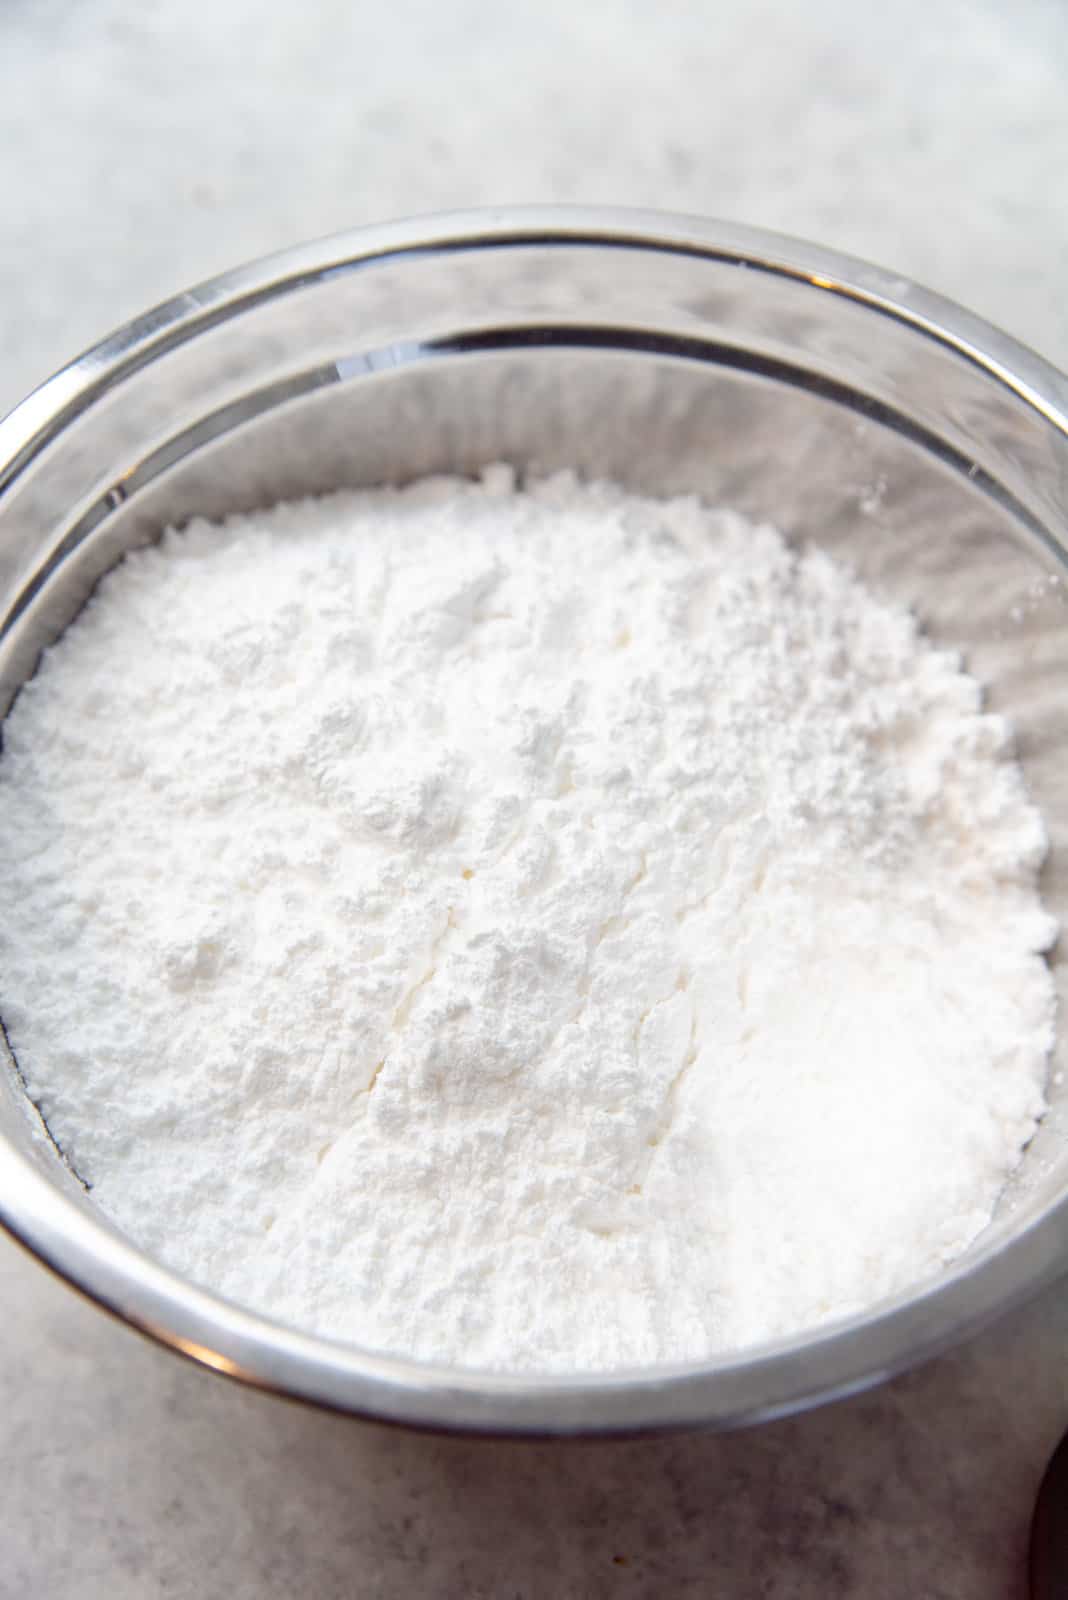
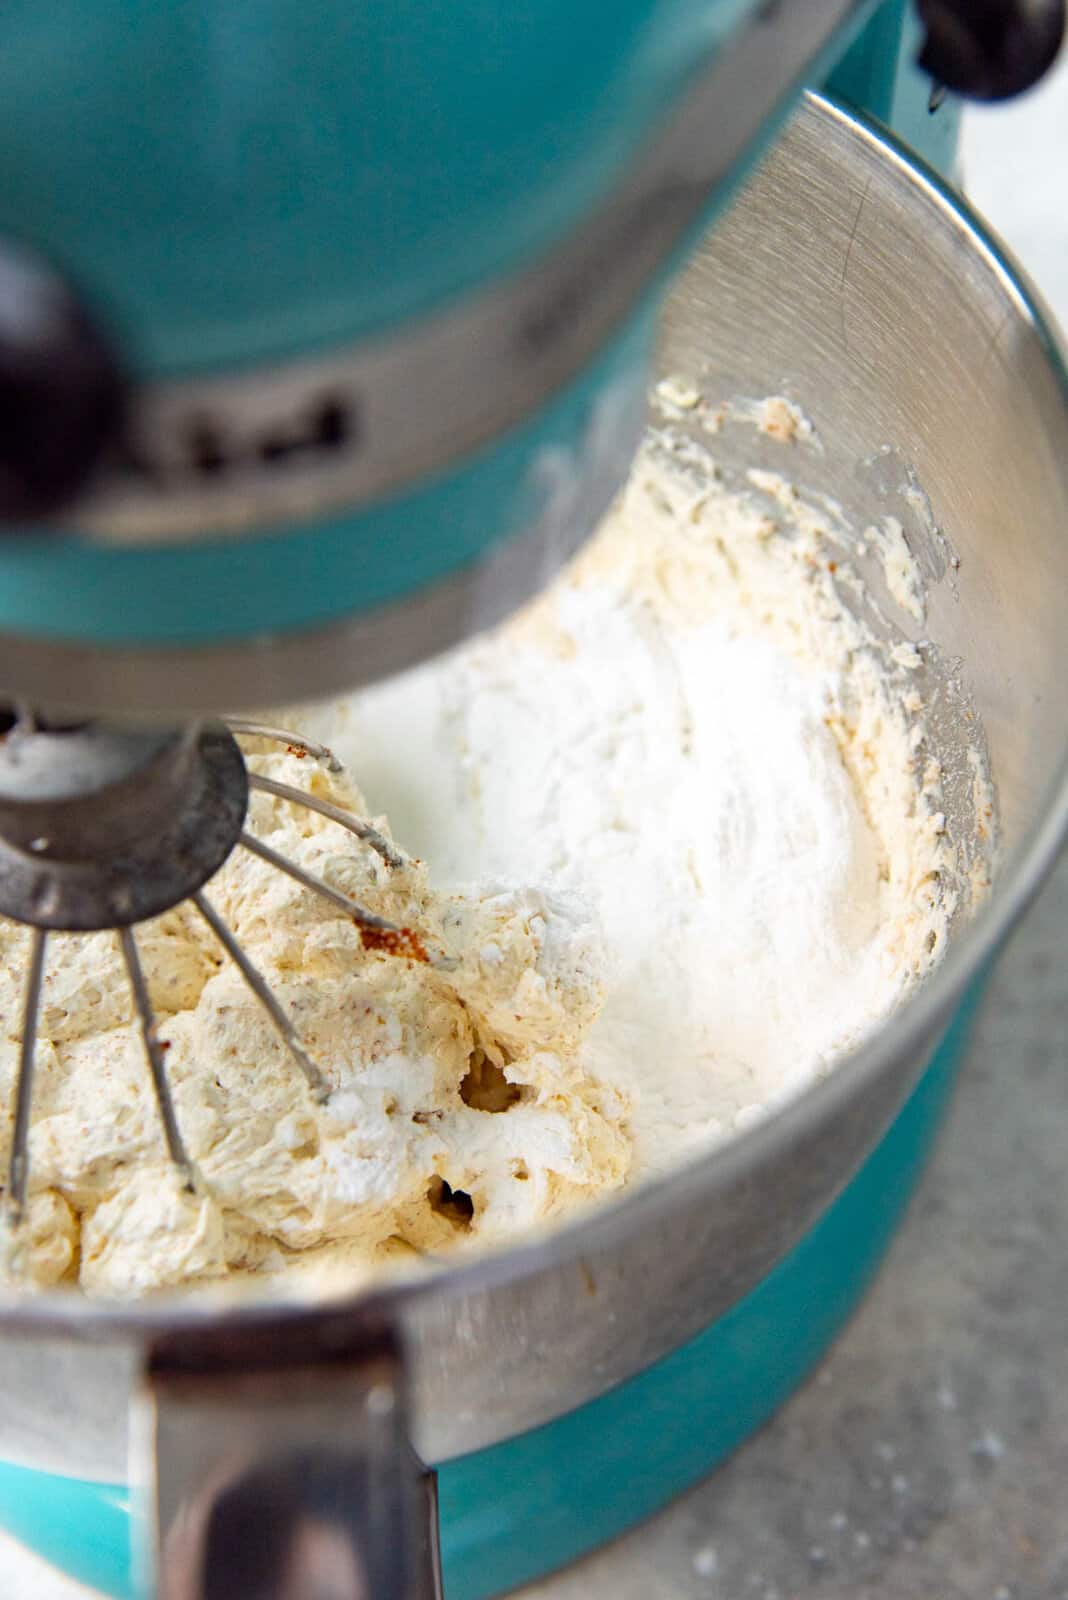
When the cream cheese mix has become light and fluffy, lower the speed of the mixer to the lowest speed. Add the confectioner’s sugar, a portion at a time, to prevent the sugar from flying off everywhere as it mixes into the cream cheese.
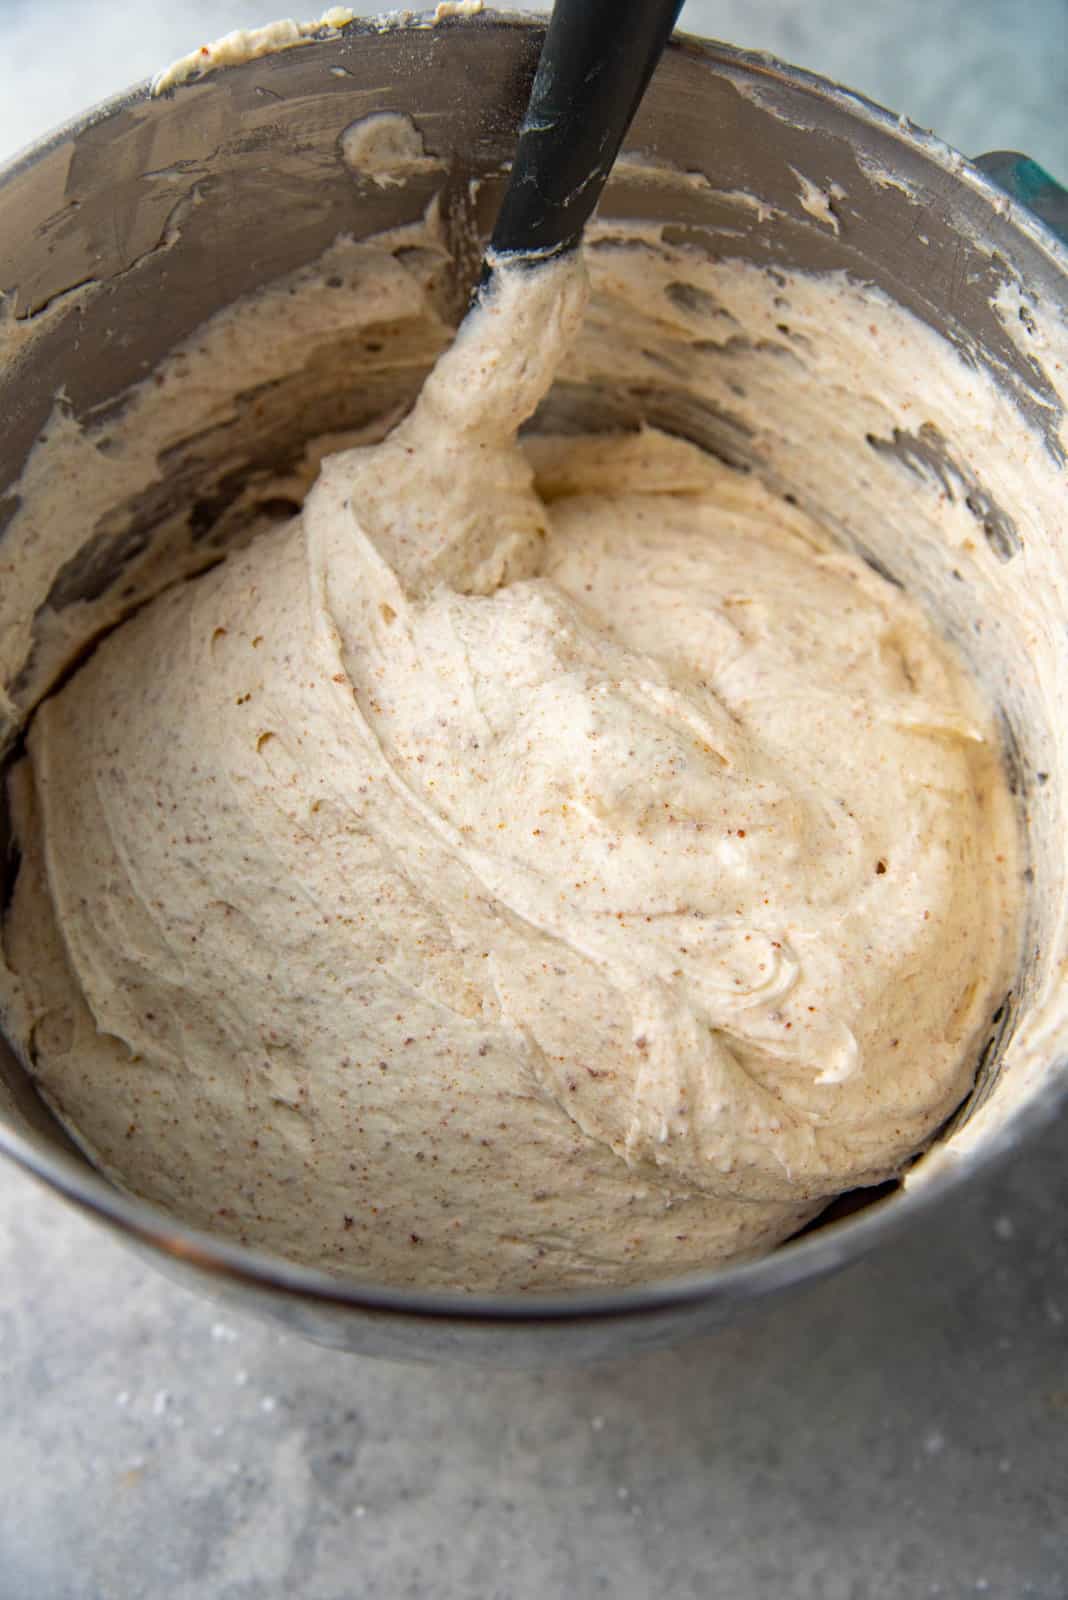
After all the confectioner’s sugar has been added and mixed in well, increase the speed of the mixer. Whisk the frosting until it’s light and fluffy again. Again, make sure to intermittently scrape the sides and bottom of the bowl with a spatula to make sure the brown butter cream cheese frosting is uniformly mixed and is fluffy.
Add vanilla and mix for a further 2 minutes. You could add a little more confectioner’s sugar as well if you like, but I prefer the ratio of butter/cream cheese to confectioner’s sugar in my recipe.
How to assemble the cake
If the cake layers have a dome on top, you can use a bread knife to slice off the dome and make the surface more even.
Place one layer of the cake on a flat plate or turntable. The bottom of the cake layer should be placed on the surface. Spread a layer of frosting on top – the thickness of this layer is up to you, but I personally prefer a 3/4 – 1 cm thick frosting layer because the cake layers are fairly tall.
Once the middle frosting layer is evenly spread, place the second cake layer on top. To have an even top layer, place the 2nd cake layer with the smooth, bottom side facing up.
Crumb coating
If you want a cake with lovely smooth sides, then you must have a smooth crumb coating on your cake layers. However, if you want your banana cake to have an old fashioned / classic look, then you can absolutely skip this crumb coating layer for convenience.
A crumb coating in a thin layer of frosting that is spread all over the layered cake. The purpose of a crumb coating is to make the cake look smooth, even, and straight from the sides and top, as well as to stick any crumbs to the cake, so that you don’t have any loose crumbs. Consequently, the final frosting layer will have a perfect canvas to go on, AND there is no risk of loose crumbs getting in that final frosting layer, keeping the buttercream clean.
Once you have crumb coated your banana cake with a little of the brown butter cream cheese frosting, refrigerate the cake just until the frosting sets and hardens a little. You can also leave it in the fridge overnight if you like, and frost it on the day that you’re serving the cake.
Frosting the cake
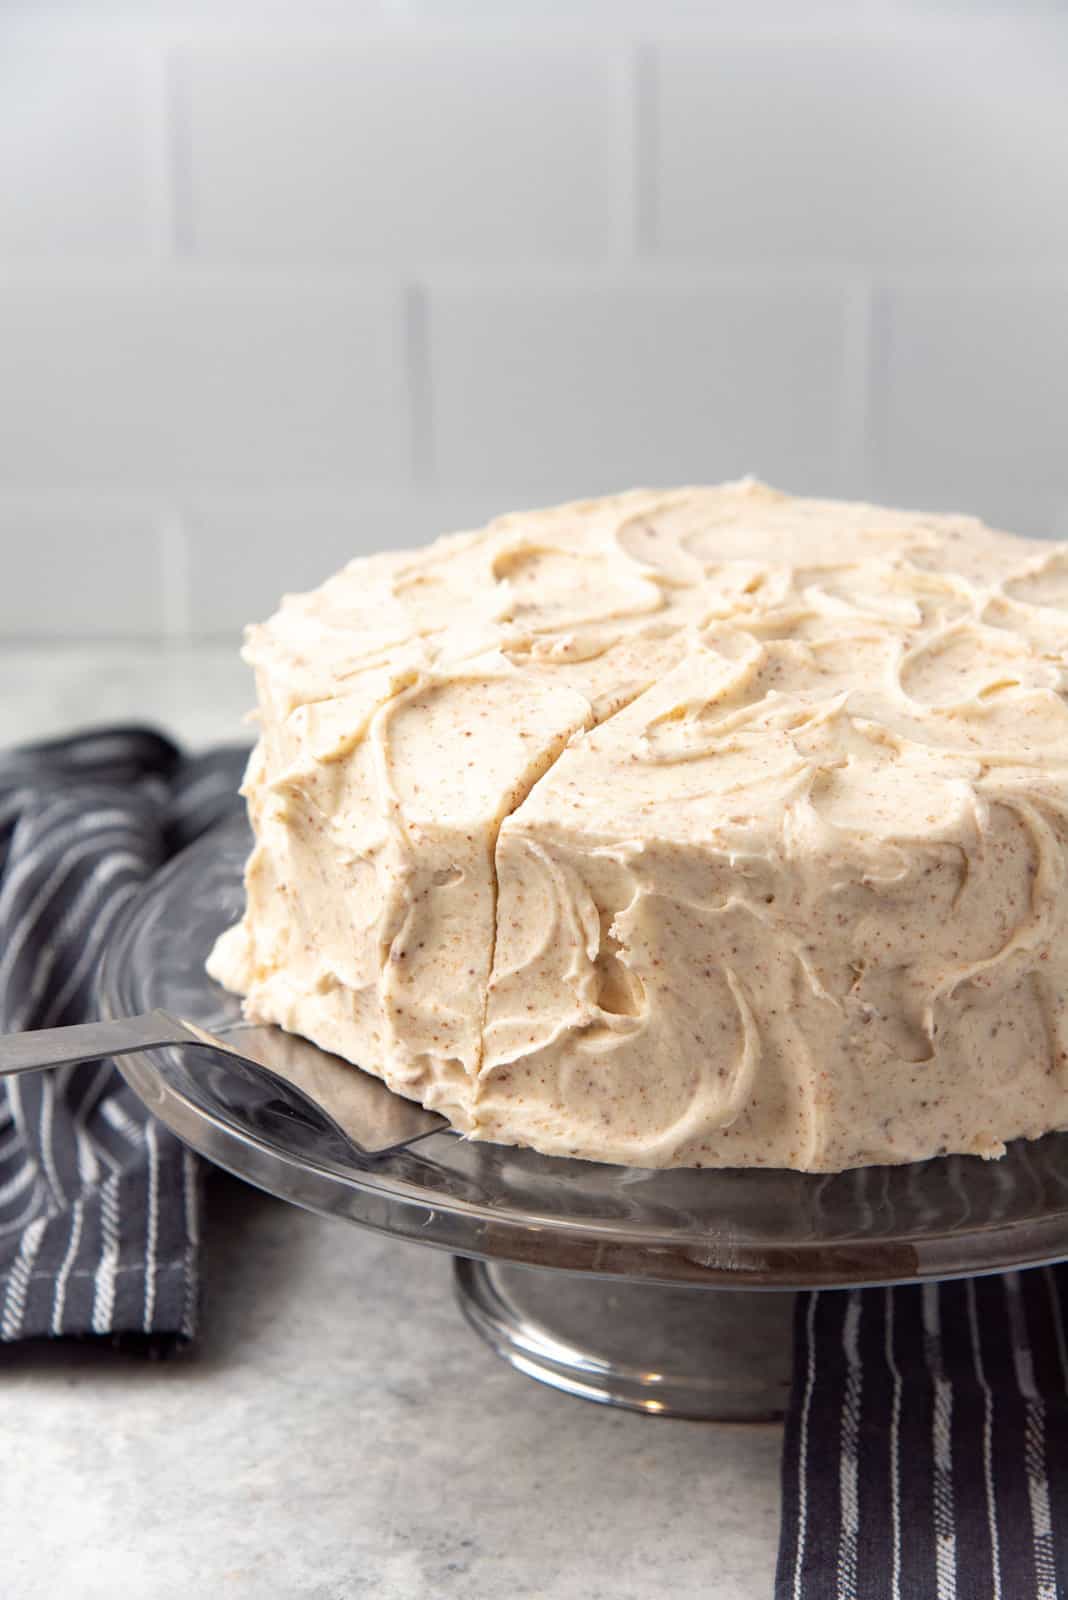
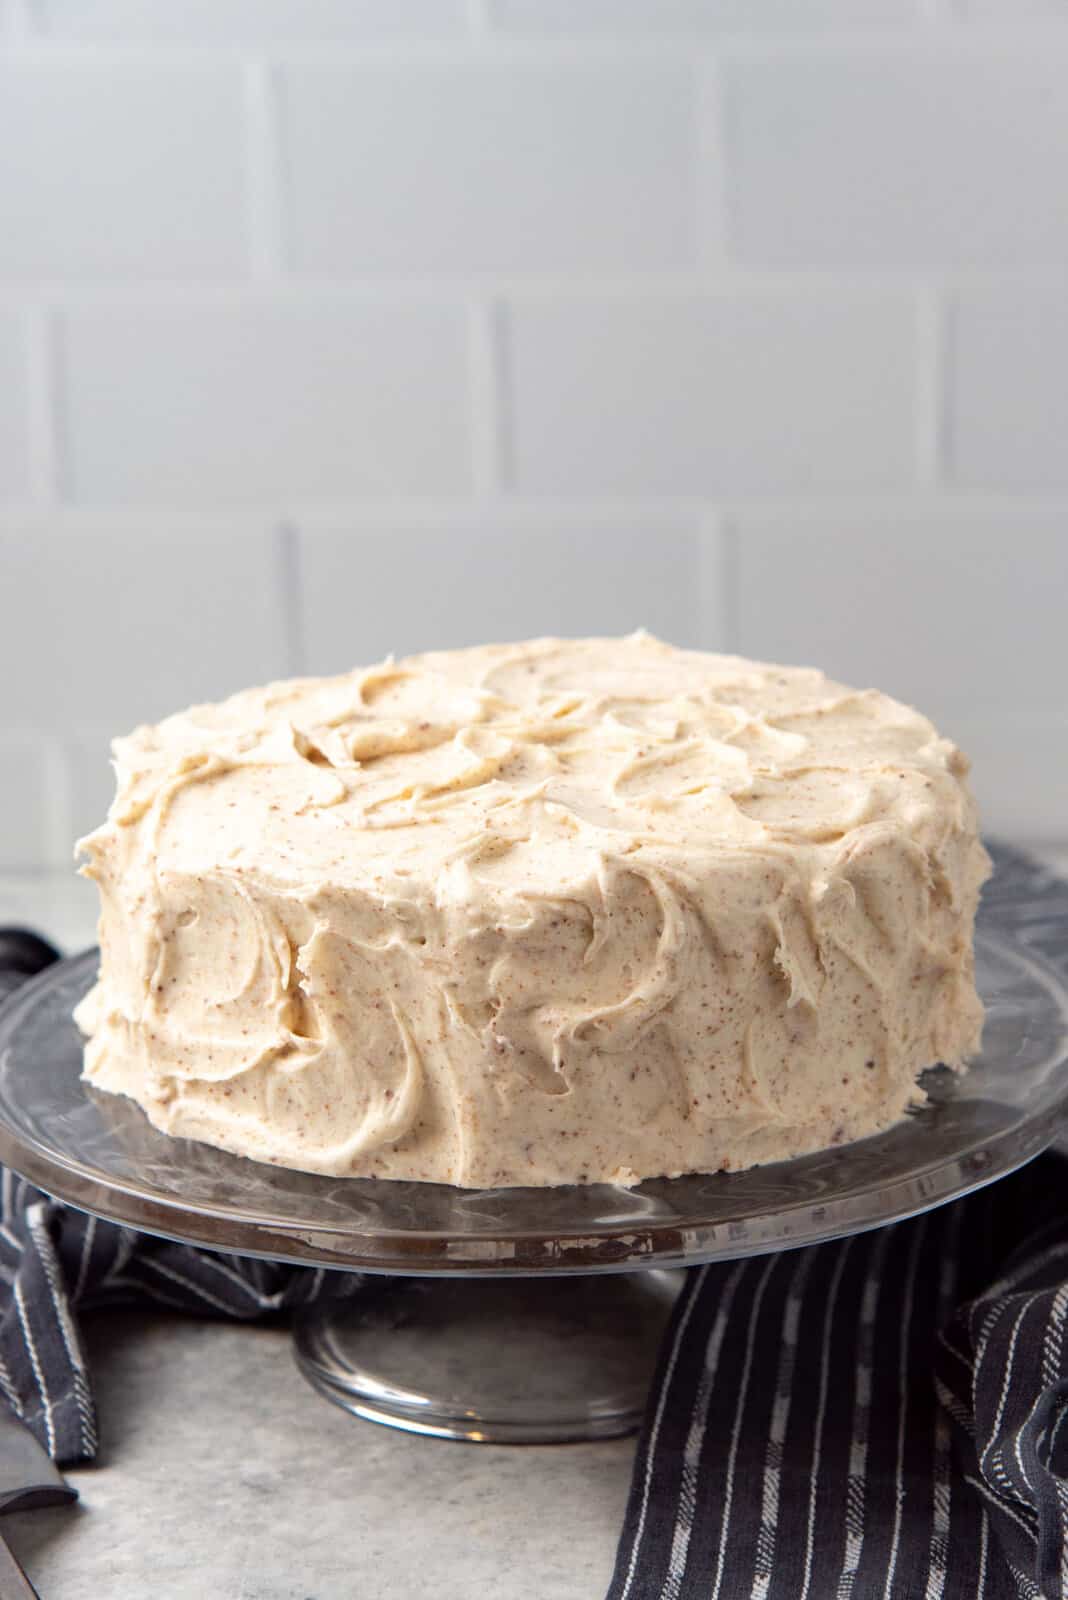
When the crumb coating has set, spread a generous layer of brown butter cream cheese frosting all over the cake layers. Use a buttercream smoother or bench scraper to create smooth sides on the cake, while scraping off excess frosting.
But I went with a more rustic look here because I wanted my banana cake to have that old fashioned, classic bakery style feel. So I used a small offset spatula to create big swooping swirls in the frosting. I love that this is super easy to do, and less time consuming. Plus, it could also act to hide any imperfections in the cake (like a lopsided cake for example).
However, what puts the icing on the cake (so to speak) is that I find the look and feel of this banana layer cake very nostalgic, reminding me of the homemade banana cakes that I enjoyed growing up!
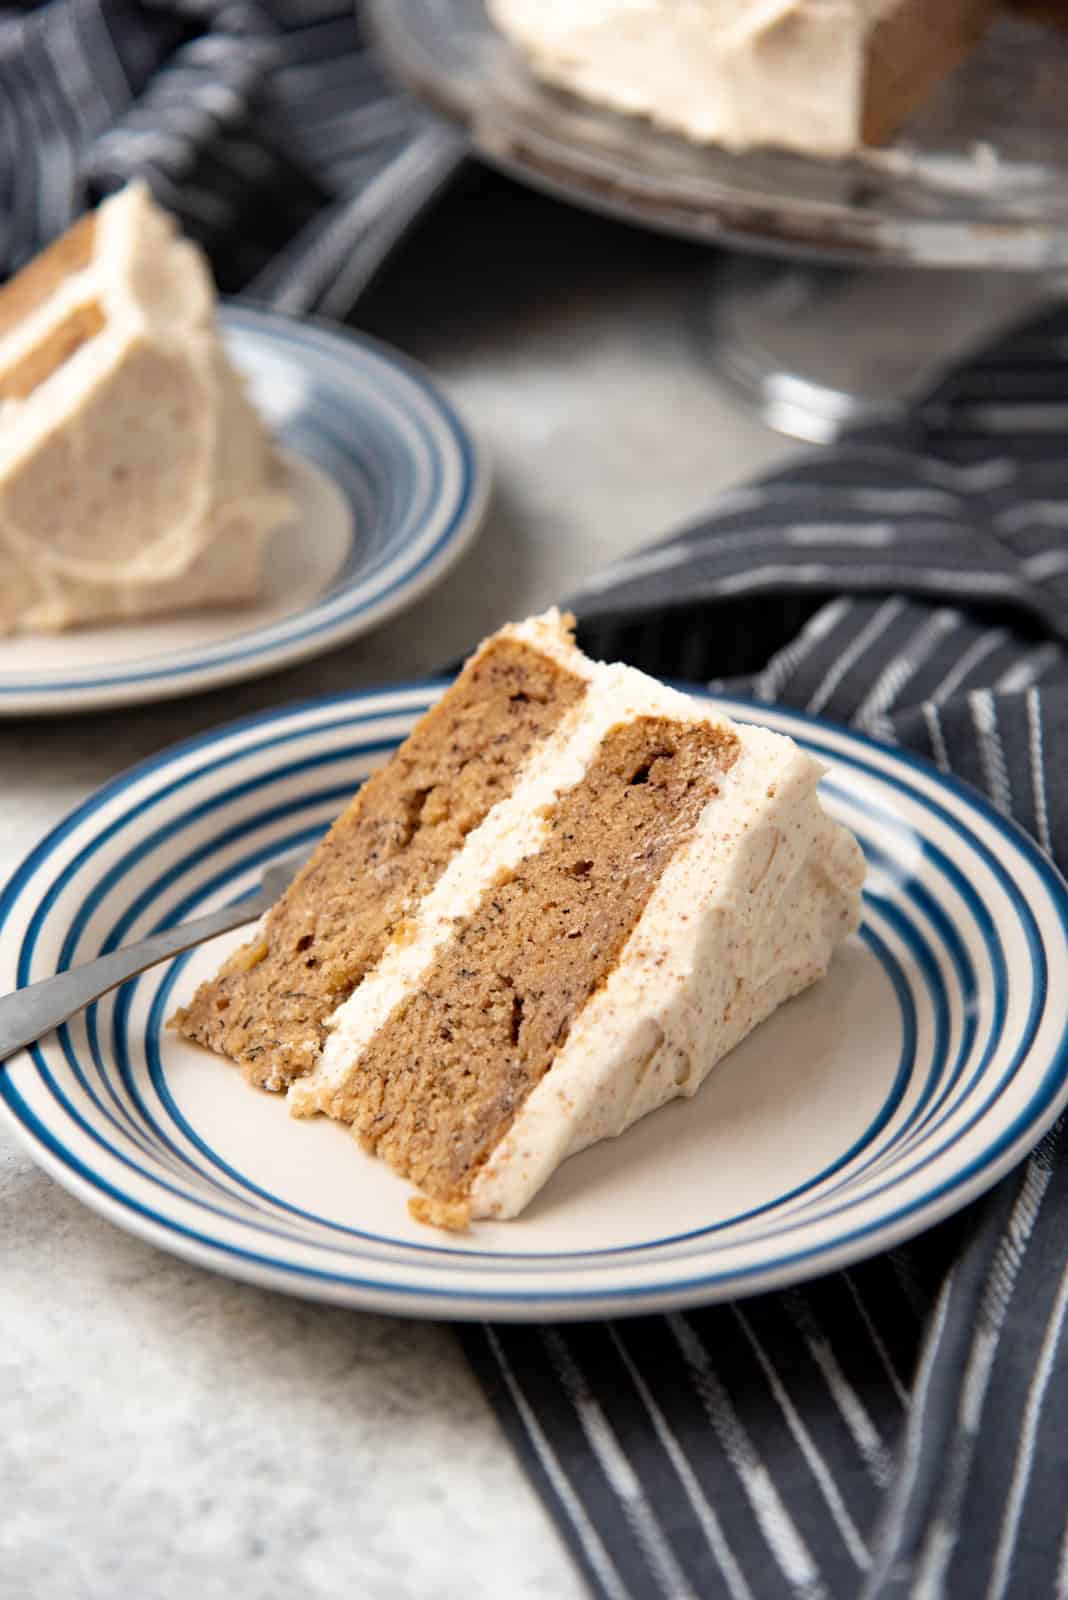
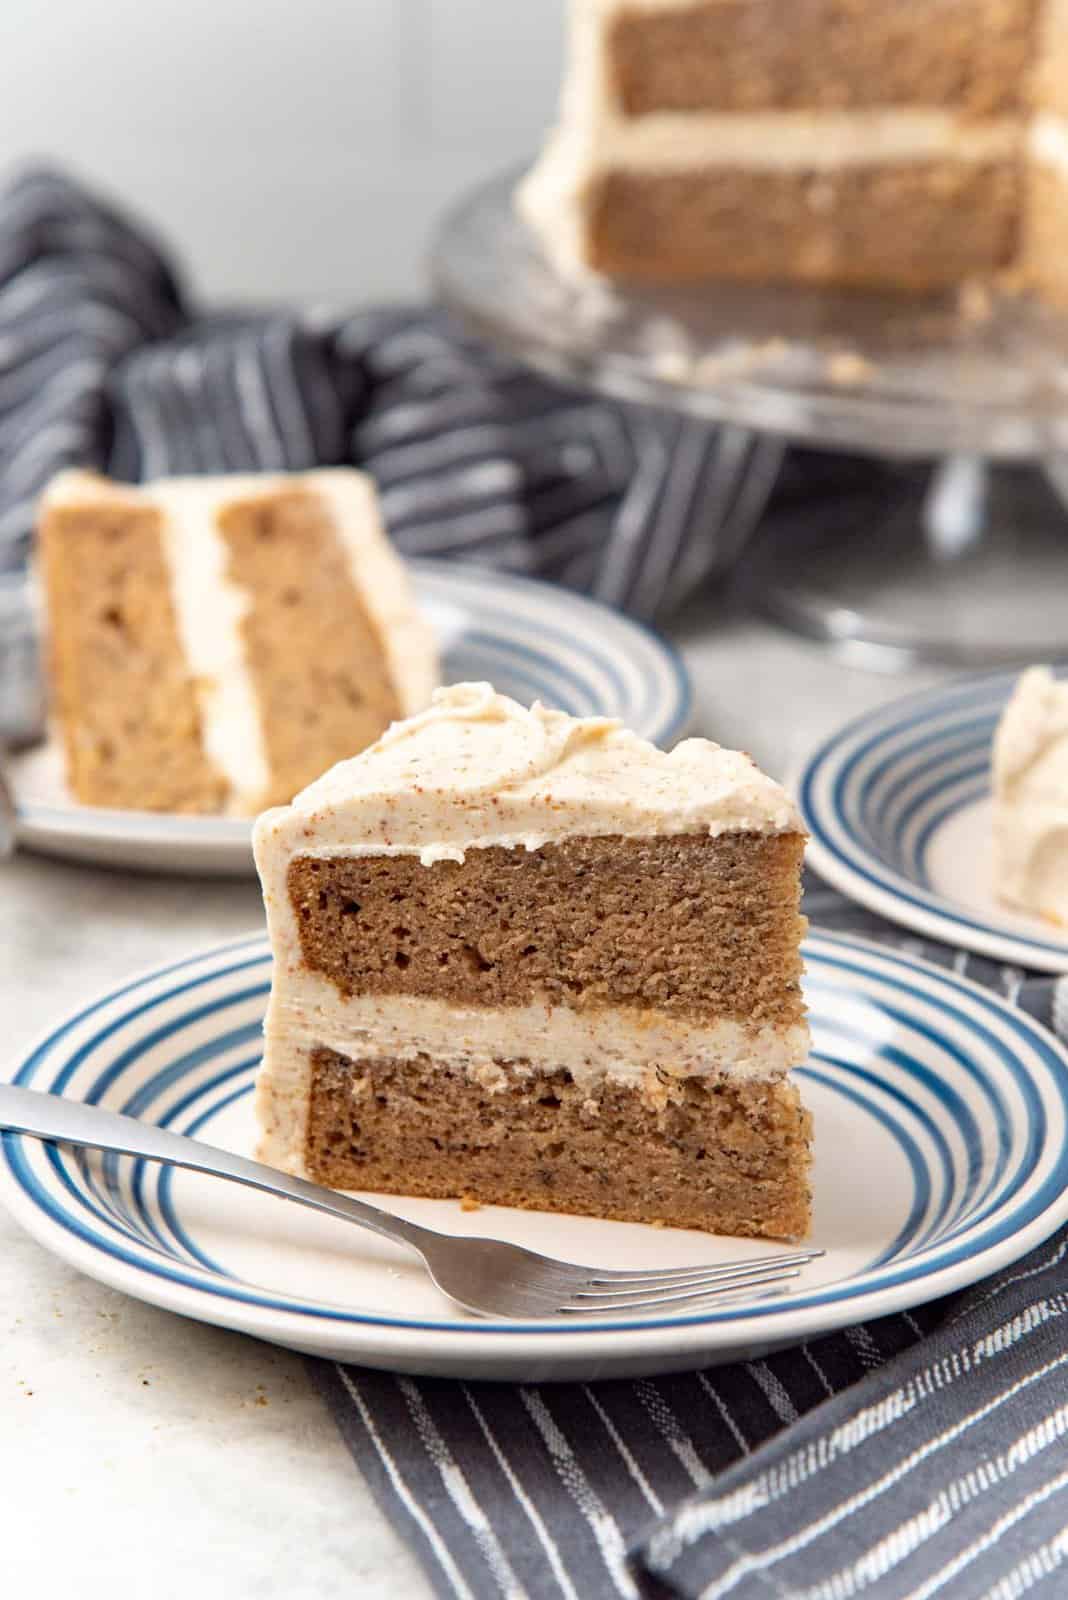
This cake is incredibly soft, moist, and delicious. The banana flavor in this cake absolutely shines through, with a hint of cinnamon as well. Especially because the frosting isn’t cloyingly sweet, the banana flavor is not over-shadowed. The brown butter and salt in the buttercream help mellow out the sweetness even further, while adding so much nuanced flavor.
I love to make this as a single layer sheet cake or as a layer cake, and the results are always spectacular! And be warned, this banana layer cake is pretty hard to refuse. You’ll be reaching for that second slice before you even realize it! 🙂

Tips and tricks for this banana layer cake recipe
- Make sure all the ingredients are at room temperature! This will make it easy to mix the ingredients for the batter and the frosting.
- Do not overmix the cake batter after adding flour. The gluten in the flour can make the cake rubbery, and the cake will no longer be soft, and might even end up being gummy.
- Make sure the baking soda is not expired. If the cake doesn’t rise in the oven, you will end up with dense, gummy banana cake layers.
- Divide the batter between the cake pans evenly so that you have cake layers that are the same height.
- While I didn’t do this for this recipe, you can use bake even strips (soaked in water), to help the cake layers bake with a nice and flat surface. This way you don’t need to slice off any domes on your cake later.
- Use dry milk powder to make “cheat’s” brown butter! This way you can get plenty of brown butter flavor without compromising the texture of the final cream cheese frosting.
Recipe
Banana Cake with Brown Butter Cream Cheese Frosting
US based cup, teaspoon, tablespoon measurements. Weight measurements are recommended for accurate results whenever available.
Common Measurement ConversionsIngredients:
Banana cake layers
- 375 g all purpose flour 3 cups, measured by spoon and level method
- 1 tsp baking soda
- 400 g mashed overripe bananas 3–4 bananas
- 100 g vegetable oil about ½ cup
- 56 g butter melted and cooled (or margarine), about 4 tbsp
- ½ tsp sea salt
- 150 g brown sugar ¾ cup
- 100 g granulated sugar ½ cup
- 3 large eggs
- 2 tsp vanilla extract
- 1 tbsp white vinegar
- 180 mL buttermilk ¾ cup, OR 1 tbsp white wine vinegar + 180 mL milk (or plant based milk)
- 1 tsp ground cinnamon
- ¼ tsp ground cloves optional
- ¼ tsp nutmeg optional
Brown butter cream cheese frosting
- 3 tbsp dry milk powder
- 45 g unsalted butter about 3 tbsp
- 226 g unsalted butter about 1 cup, at room temperature
- 455 g cream cheese block about 2 packets Philadelphia brick cream cheese, at room temperature
- ¼ tsp sea salt I like to add ½ tsp to add a little salty flavor
- 2 tsp vanilla extract
- 700 – 820 g confectioner's sugar about 6 – 7¼ cups, measured by spoon and level method
Instructions:
Banana cake layers
- Preheat the oven to 325°F / 163°C. Line TWO 8 inch cakes pans with parchment paper, and butter and flour the sides. Set aside. You can use 9 inch pans as well, in which case the baking time will reduce and the layers will be thinner.
- Place the flour and baking soda in a bowl and whisk to combine with no lumps. Sift the dry ingredients if any lumps need to broken down.375 g all purpose flour, 1 tsp baking soda
- Place the bananas in a bowl and mash them up. Some lumps are OK here. You can use a fork or a mixer to do this.400 g mashed overripe bananas
- In the same bowl, add the oil, butter, salt, white sugar, and brown sugar, and mix until well incorporated. Scrape the sides if needed.100 g vegetable oil, 56 g butter, ½ tsp sea salt, 150 g brown sugar, 100 g granulated sugar
- Add the eggs, one at a time, mixing each one into the butter mixture.3 large eggs
- Add the vanilla and cinnamon, and mix to combine well.2 tsp vanilla extract, 1 tsp ground cinnamon
- Stir in the buttermilk.180 mL buttermilk
- Add the flour mixture to the cake batter in 3 – 4 additions, and fold it in gently to mix. Make sure not to overmix the batter.375 g all purpose flour, 1 tsp baking soda
- Divide the batter into the two cake pans (I used a measuring cup here to evenly divide the batter).
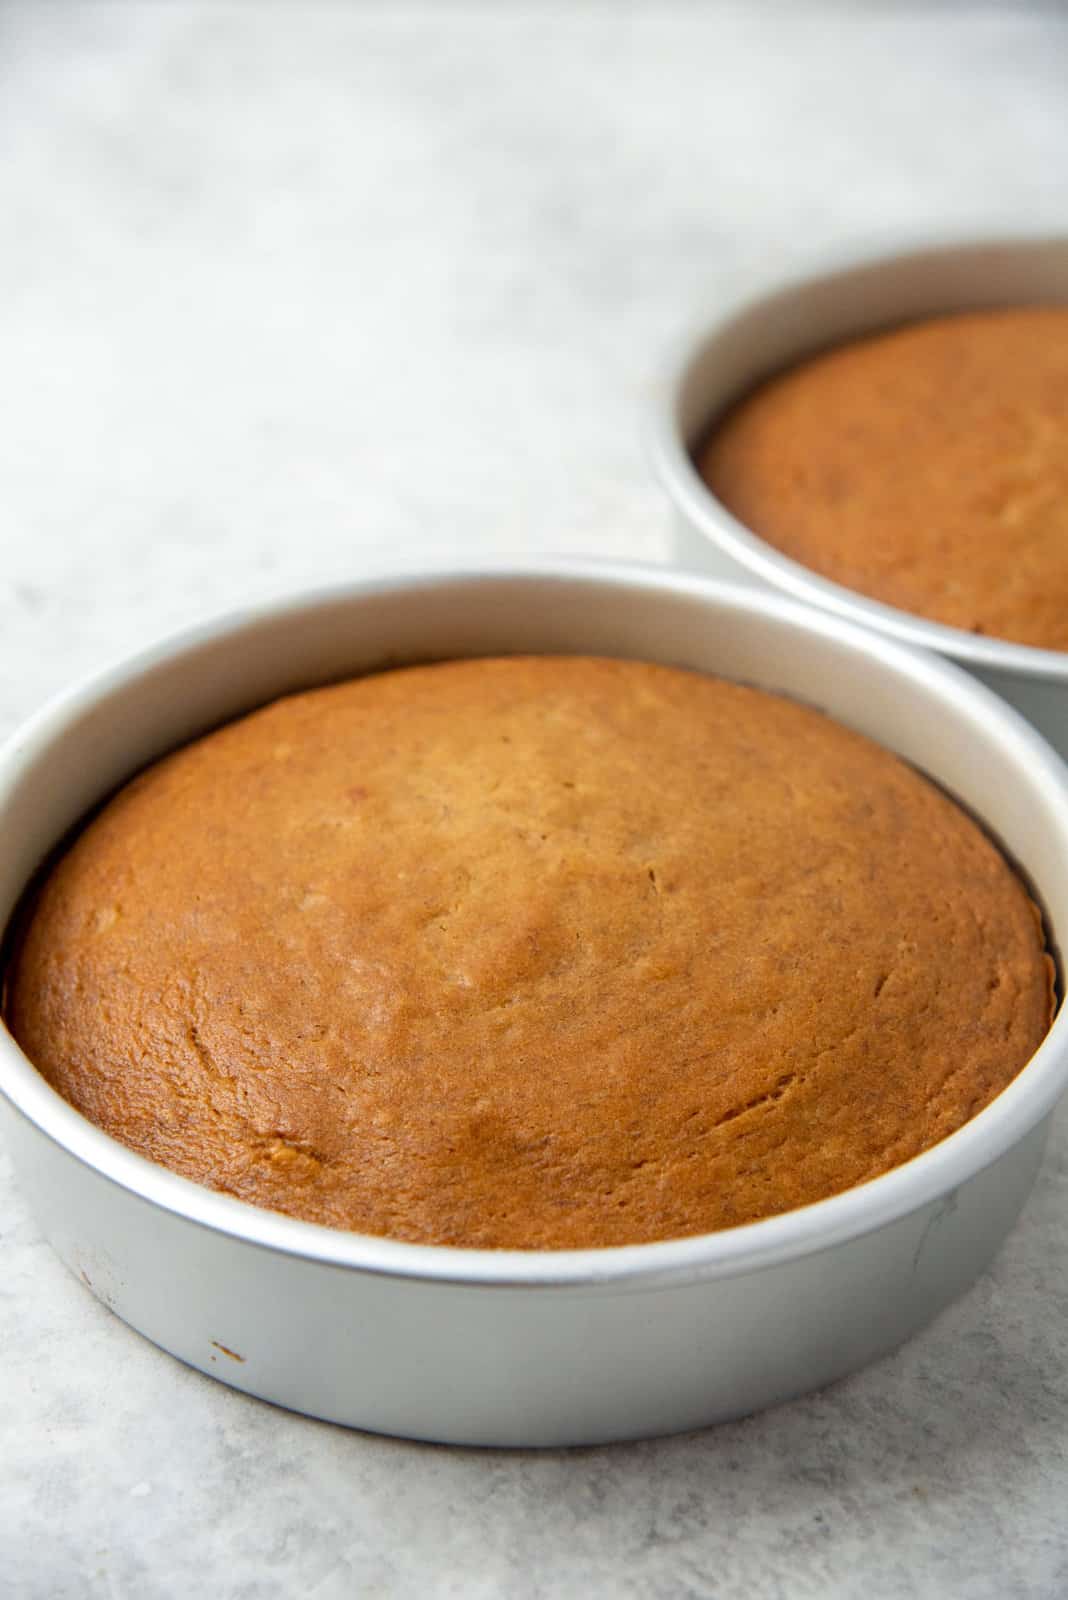
- Bake in the preheated oven for about 40 – 50 minutes, rotating the pans once, halfway through baking time.
- The cake is done when a toothpick inserted into the middle of the cake comes out with just a few cake crumbs stuck to it.
- Remove the cake pans from the oven and let the cakes cool slightly.
- Turn the cakes out onto a wire rack and let them cool completely with a tea towel over the cakes to prevent them from drying out.
Making the brown butter
- Place the 3 tbsp butter in a small saucepan.45 g unsalted butter
- Heat over medium heat to melt the butter and bring it to a boil. When the butter is boiling, add the milk powder and whisk to mix.3 tbsp dry milk powder
- Keep heating the butter over medium heat, while whisking frequently.
- The butter will continue to boil, and then the milk solids will separate from the clarified butter.
- The milk solids will be white at first, but will start to turn a light beige color. Keep cooking the butter, while whisking frequently. This is to prevent the milk solids from sticking to the bottom of the pan and burning. (Because of the added milk powder, there will be more milk solids than clarified butter.)
- The milk solids will go from a beige to an amber color. When this happens, immediately transfer the mixture into a bowl and let it cool to room temperature.
Brown butter cream cheese frosting
- Place the softened cream cheese blocks, butter, cooled brown butter mix, and salt in a large mixing bowl.226 g unsalted butter, 455 g cream cheese block, ¼ tsp sea salt
- With a whisk attachment, whisk the ingredients together until you have a light and fluffy mixture. Make sure to scrape down the sides and bottom of the bowl as needed. This can take up to 5 minutes, depending on the ambient temperature in your kitchen. Add the vanilla and mix it in as well.2 tsp vanilla extract
- When the mixture is light and fluffy, add the sifted confectioner's sugar to the bowl in 3 – 4 additions. Make sure to mix the buttercream on low speed to prevent the confectioner's sugar from flying off everywhere.700 – 820 g confectioner's sugar
- I prefer to add 700 g first, and then only add more if I feel like I want my buttercream to be sweeter OR want it to be a little more spreadable in texture.
- Once you have added the confectioner's sugar and mixed it on low speed, increase the speed and whisk for a further 2 – 3 minutes until all the sugar has incorporated well and the frosting looks fluffy and creamy. Make sure to scrape down the sides and bottom of the mixing bowl to ensure even mixing.
- OPTIONAL – Change from the whisk attachment to the paddle attachment and mix the buttercream for about 1 – 2 minutes. This will help to remove any air bubbles in the buttercream. This step is more important if you want to have smooth and straight buttercream sides.
- The brown butter cream cheese frosting is ready to be used.
Cake assembly
- If the cake layers have domed tops, you can use a bread knife to slice off the tops for an even surface.
- Place a little buttercream on the middle of the plate that you will be presenting the cake on.
- Stick the first cake layer on the plate (on top of the buttercream), with the bottom of the cake layer facing down.
- Next, place some of the buttercream on top of this cake layer and evenly spread it on the surface. I like to spread enough buttercream for a thickness of ¾ – 1 cm.
- Next, place the second cake layer on top of the first layer, but this time, the bottom of the cake layer will be facing up (this is so that you have a smooth surface on top to frost easily).
- Now use the same buttercream and frost the cake with a thin layer of buttercream (this is the crumb coating). Make sure to fill in the space between the cake layers to get nice, straight edges on the sides of the cake, and to have an even and level cake surface as well.
- Once the crumb coating is applied, let this layer set in the fridge for about 30 – 60 minutes. Then once the crumb coating layer is set, the cake is ready to be frosted.
- To frost the cake, generously spread frosting all over the cake. For smooth surfaces, use a bench scraper or buttercream smoother to scrape off excess buttercream.
- For a more rustic look, use a small offset spatula to create swirls or patterns on the buttercream (similar to the cake I've pictured in this post).
- The cake can be refrigerated for about 2 days, but for best results, it should be served at room temperature. Enjoy!
Recipe Notes
Storing the cake
- The overall cake has a shelf-life of 3 days at room temperature, or 7 – 8 days in the fridge.
- The unfrosted cake layers can be wrapped in plastic wrap and placed in the fridge for up to 2 days, or in the freezer for up to 2 months.
- The frosted cake can be kept at room temperature for up to 2 days, or a week in the fridge.
- Make sure to keep the cake in an airtight container to retain freshness.
A note about the brown butter
If you don’t have milk powder or want to skip the step of making extra brown butter with milk powder, go ahead and simply brown just the butter in the buttercream recipe instead. To do this, simply follow the recipe to brown butter the same way, with the whole amount of butter in the buttercream recipe, and then let it chill in the fridge to set before mixing it with the cream cheese. However, because of how soft the brown butter and the cream cheese can be, the resulting buttercream will be very soft and more difficult to spread.Nutrition Information:
“This website provides approximate nutrition information for convenience and as a courtesy only. Nutrition data is gathered primarily from the USDA Food Composition Database, whenever available, or otherwise other online calculators.”


Leave a Reply