


Try this Overnight Yeasted Waffles Recipe once, and I guarantee you won’t need another waffle recipe ever! Light, fluffy, and delightfully crisp on the outside, these SUPER EASY yeasted waffles have less sugar, and can be made ahead of time. This recipe will soon become your standard weekend brunch!
Ridiculously easy to make, these Classic Yeasted Waffles are crisp on the outside, and fluffy and moist on the inside! You can also check out my spiced yeasted waffles with apples and pecans for another delicious flavor variation.

- Why you’ll love this recipe
- Difference between buttermilk waffles and these yeasted waffles
- Ingredients to make Overnight Yeasted Waffles (Brussels Waffles)
- How to make the Brussels waffle batter
- Tips for perfectly crisp, fluffy yeasted waffles (or any perfect waffle)
- Serving suggestions
- Frequently asked questions
As Leslie Knope would say, waffles are life! While I love some delicious sheet pan pancakes, or coffee pancakes, or crepes, or easy muffins, or cream scones or brioche cinnamon rolls for a cozy weekend brunch, there’s something about waffles that’s just irresistible! My preferences with waffles have also evolved over time.
I didn’t grow up with homemade waffle mix, and my grandmother always made waffles and pancakes from scratch. But over the years, I’ve gravitated towards yeasted waffles, rather than the classic American waffle mixture.
Why you’ll love this recipe
- So easy to make. You barely have to work for these yeasted waffles! Just mix the base the night before, and then time will do most of the work. Simply add the eggs in the morning and the batter is good to go.
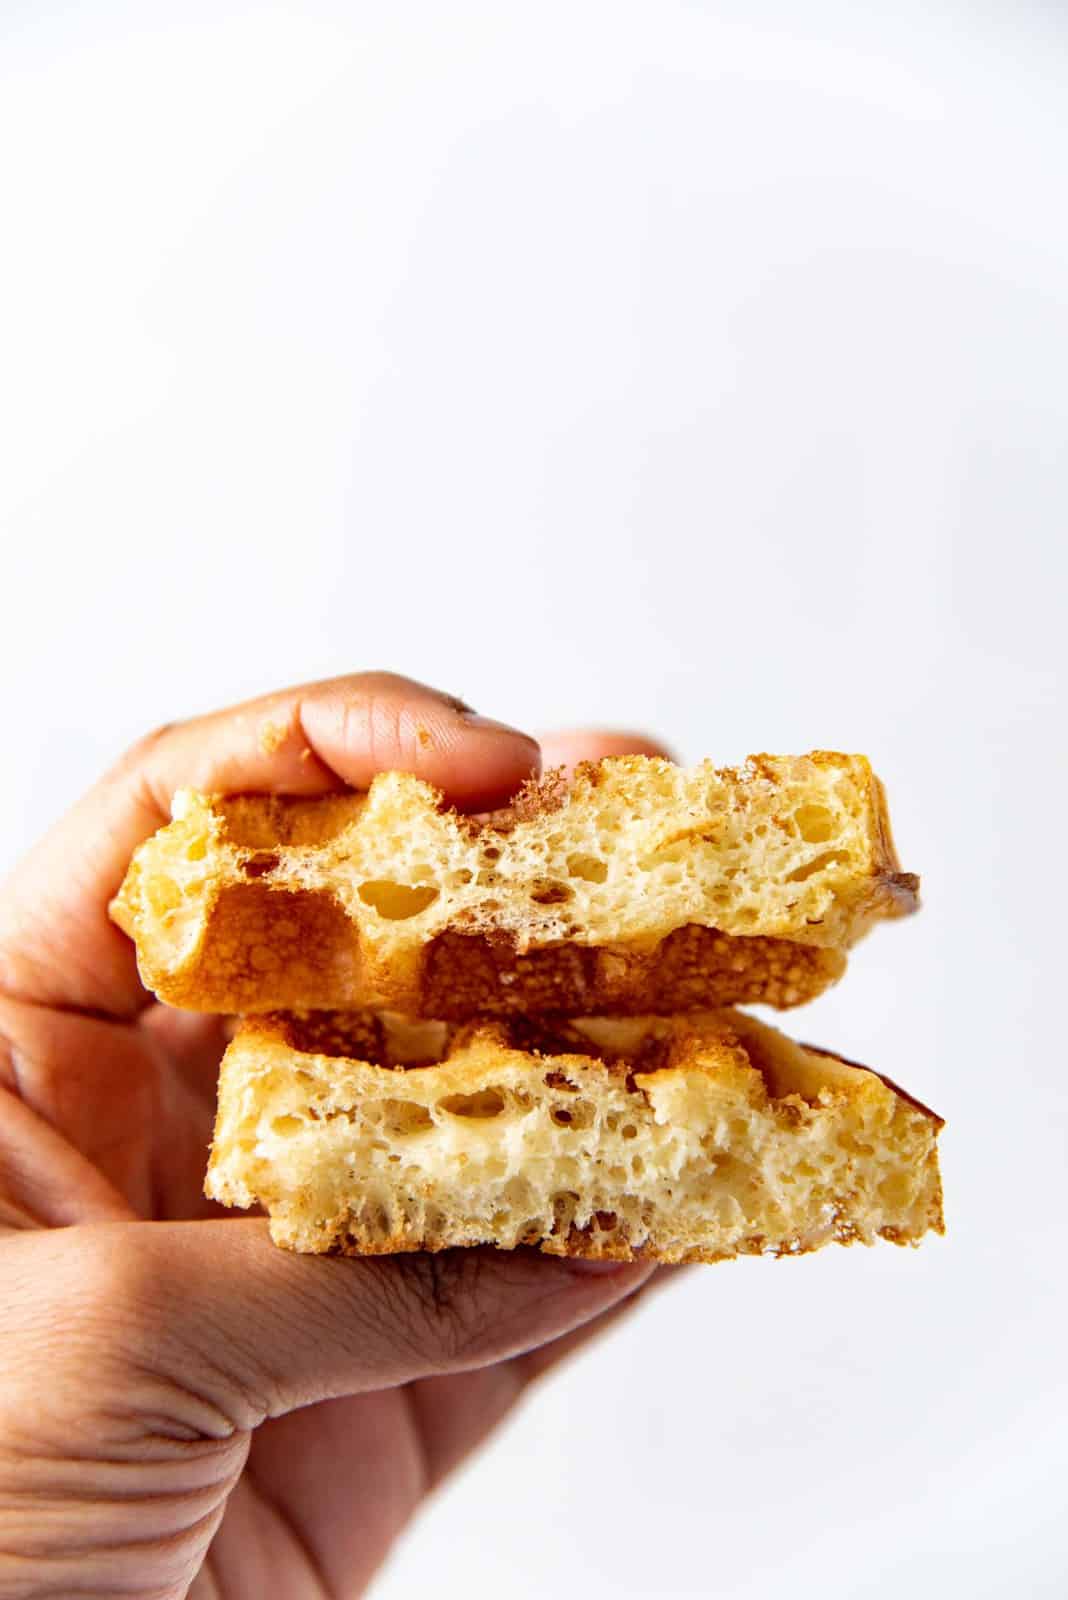
- Super light and crispy. I do NOT like waffles that are heavy and make me feel like I just swallowed a ship anchor. These waffles on the other hand are so light, crispy, and fluffy.
- Delicious! The overnight rise allows for more depth of flavor in the batter.
- Less sugar. These waffles are not sweet. The small amount of sugar / honey added is just so that the yeast can feed and multiply. Which makes these waffles perfect for sweet toppings AND savory sides too.
- Batter can be made ahead. This yeasted waffle batter can be kept in the fridge for up to 3 days.
- In a jiff, you can just let the batter proof for only 1- 2 hours, BUT keep in mind that this won’t be enough to develop that deeper, more complex flavor profile.
Difference between buttermilk waffles and these yeasted waffles
Buttermilk waffles depend on chemical leavening agents like baking powder and / or baking soda to puff up the waffle. The liquid in the buttermilk waffle is either buttermilk or milk.
Eggs are often separated, and egg whites are whipped into a foam before being folded into the batter as well. The extra air from the egg whites adds to the lightness and crispness of the buttermilk waffle.
Yeasted waffles on the other hand, do not rely on chemical leavening agents. The main leavening agent is yeast. Another name for these yeasted waffles is Brussels waffles. The batter is made with yeast, water or milk, and flour, and allowed to proof / rise for several hours. A small amount of baking soda is added to give the batter just a little extra rising power. Just like with bread recipes, the waffle batter rises in the waffle maker, much like an “oven spring”.
Because of the amount of air incorporated into the yeasted batter, the waffles come out lighter. And lighter waffles are crisper when made in a good, hot waffle iron.
I grew up eating buttermilk waffles (except we used milk). While I loved those waffles, they make you feel very heavy and weighed down. These yeasted waffles are easily my favorite now. Plus, the overnight proof for the yeasted waffle batter makes them super flavorful!
What is a Belgian waffle?
A Belgian waffle is one that has deep pockets. Usually buttermilk waffles are made in waffle irons that have smaller pockets.
Typically, there are two types of waffles that are traditionally made in a Belgian waffle maker.
- Brussels waffles – A waffle made with a yeast leavened batter, that is light and crispy (like this recipe!). They are also usually rectangular in shape.
- Liege waffles – A denser, thicker waffle that is made with a yeast leavened dough. Pieces of dough (such as bread dough) are pressed in a waffle maker, along with sugar pearls. Since the waffle maker presses the dough in, the resulting dough / waffle has uneven edges.
Ingredients to make Overnight Yeasted Waffles (Brussels Waffles)
Ingredients for the base yeasted waffle batter
AP flour
I use all purpose flour here. There’s no need for bread flour, because we’re not looking for high gluten development. I haven’t tried whole wheat flour, but a 50/50 mix of whole wheat and AP flour would work too.
Cornstarch
Cornstarch is added to make the batter even lighter. This is also done with buttermilk waffle batter. The “lightness” of cornstarch lessens gluten in the batter (as opposed to an all flour batter), and keeps the mix light.
Yeast
I use active dry yeast for this recipe. I haven’t used instant yeast, but it is possible. Instant yeast is more active, so it proofs the dough faster, but dies faster too. So if you use instant yeast, make sure to use the batter within 48 hours.
Honey
I only use a small amount of honey in this recipe. The honey is food for the yeast! Yeast feeds on honey more efficiently, but you can use regular sugar if you don’t have honey at home. White sugar, brown sugar, or maple syrup are OK to use too.
Milk
You can use regular milk or plant based milk. The milk adds additional flavor to the batter. You can also use water or even 50/50 mix of water and milk.
Butter
The purpose of butter is to add flavor and richness. You could swap the butter with oil, or olive oil if you prefer.
Salt
Salt is necessary for any recipe, because without it, the waffles will taste terribly bland.
Ingredients needed before making the overnight yeasted waffles
Eggs
The eggs add richness and flavor to the batter.
Baking soda
Just a touch of baking soda gives the batter a boost while it’s cooking. Which will make the waffles even lighter.

How to make the Brussels waffle batter
The previous night
Since this is a batter for overnight yeasted waffles, I usually make the “dough” the night before. But up to 24 hours before is fine too.
Activate the yeast
If you’re using active dry yeast, it usually needs to be activated first. The honey is dissolved in the warm milk, and the yeast is gently mixed into the milk as well. Let it rest for about 10 – 15 minutes, or until the surface looks foamy. The yeast is now activated.
Personally, I don’t always activate active dry yeast, IF I know my yeast is fresh and active. You don’t have to activate instant yeast either.
Make the batter / dough
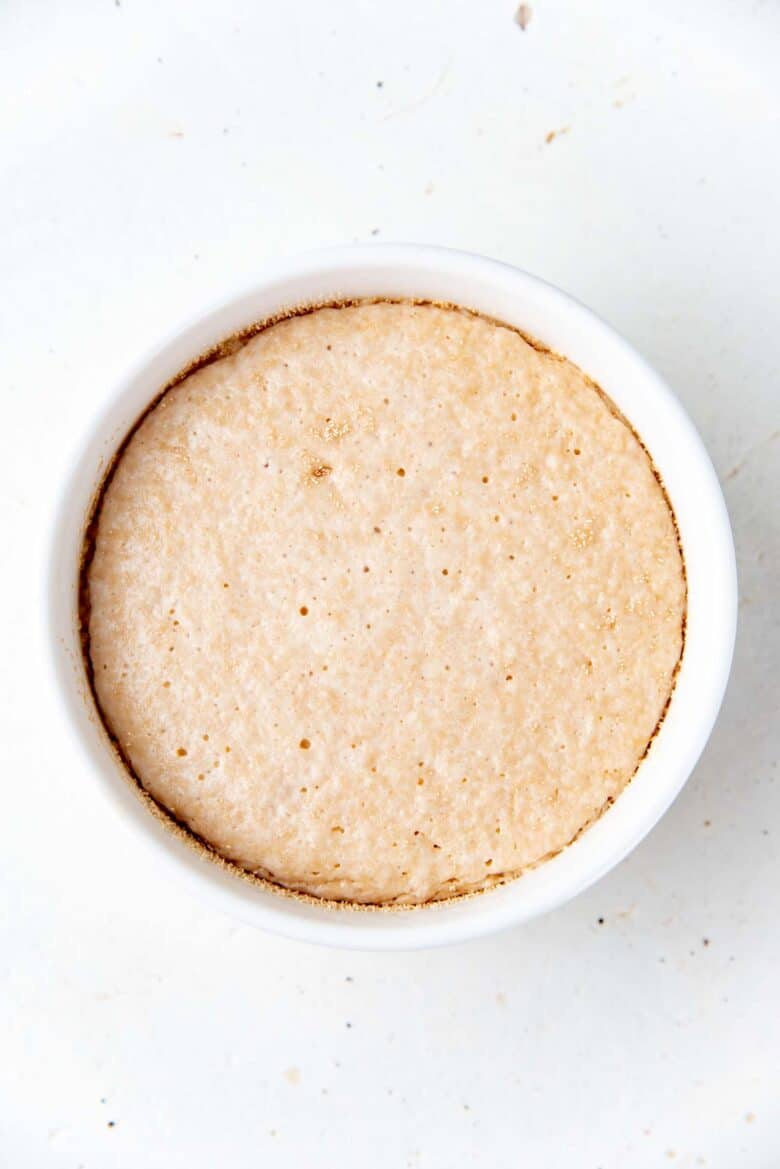
Once the yeast is activated, add the other ingredients, except for the eggs and baking soda. Mix the ingredients to form a rough batter without any dry lumps. Cover and refrigerate overnight, up to 24 hours.
A quick note on refrigeration
Avoid keeping the batter in the coldest area of your fridge, if you’re keeping the batter overnight. This spot can vary depending on your fridge. However, if you want to refrigerate the batter for longer (24 hours or longer), you can keep the batter in the bowl in the coldest area of your fridge.
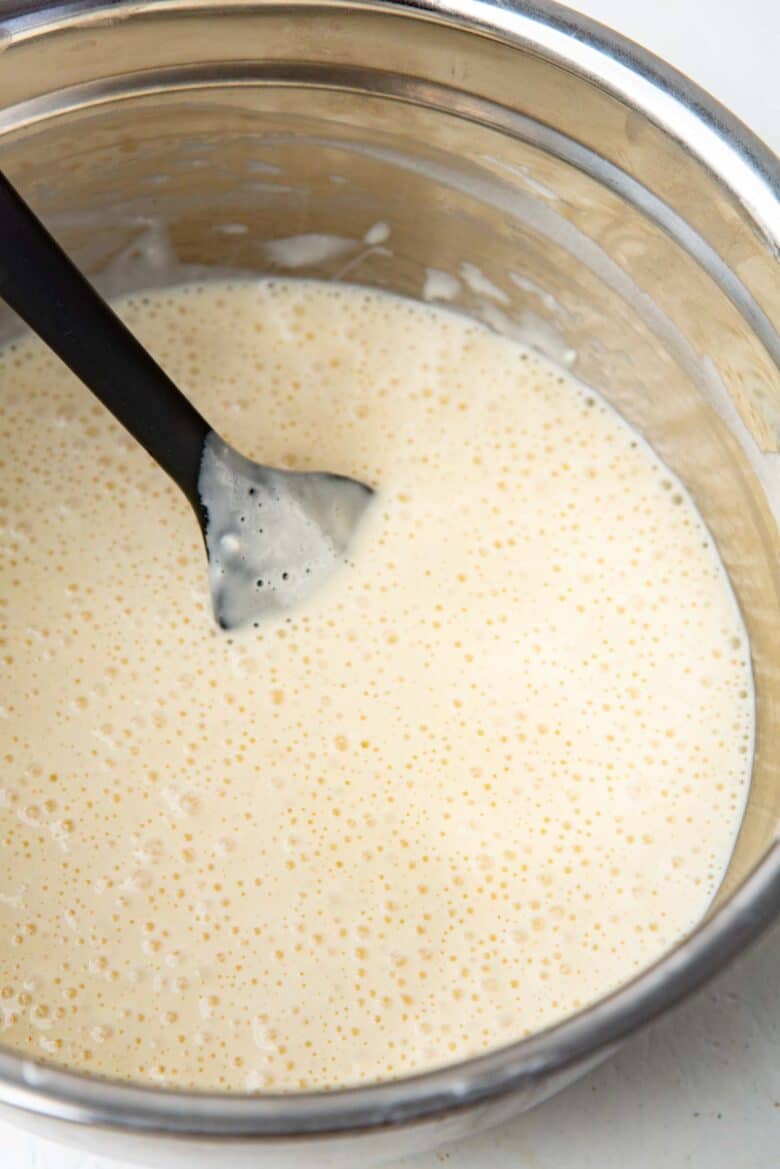
The batter will expand considerably overnight. Do NOT deflate the batter at this point.

Before making the waffles (in the morning)
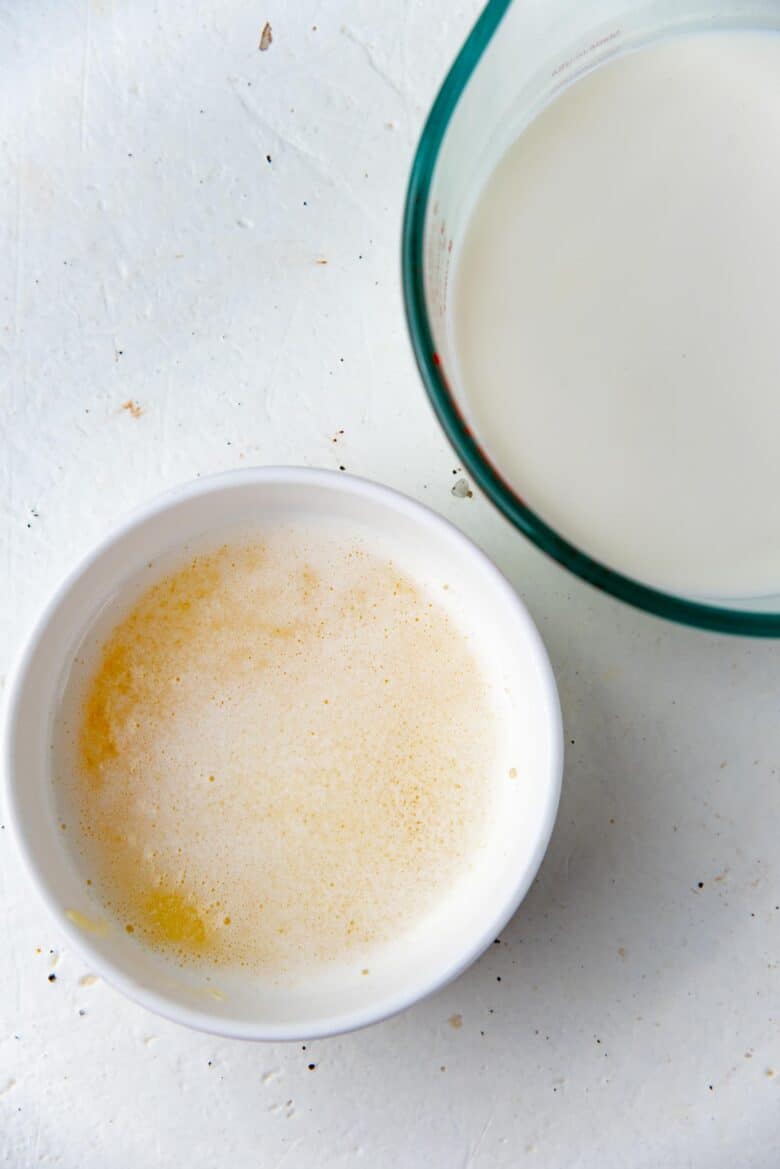
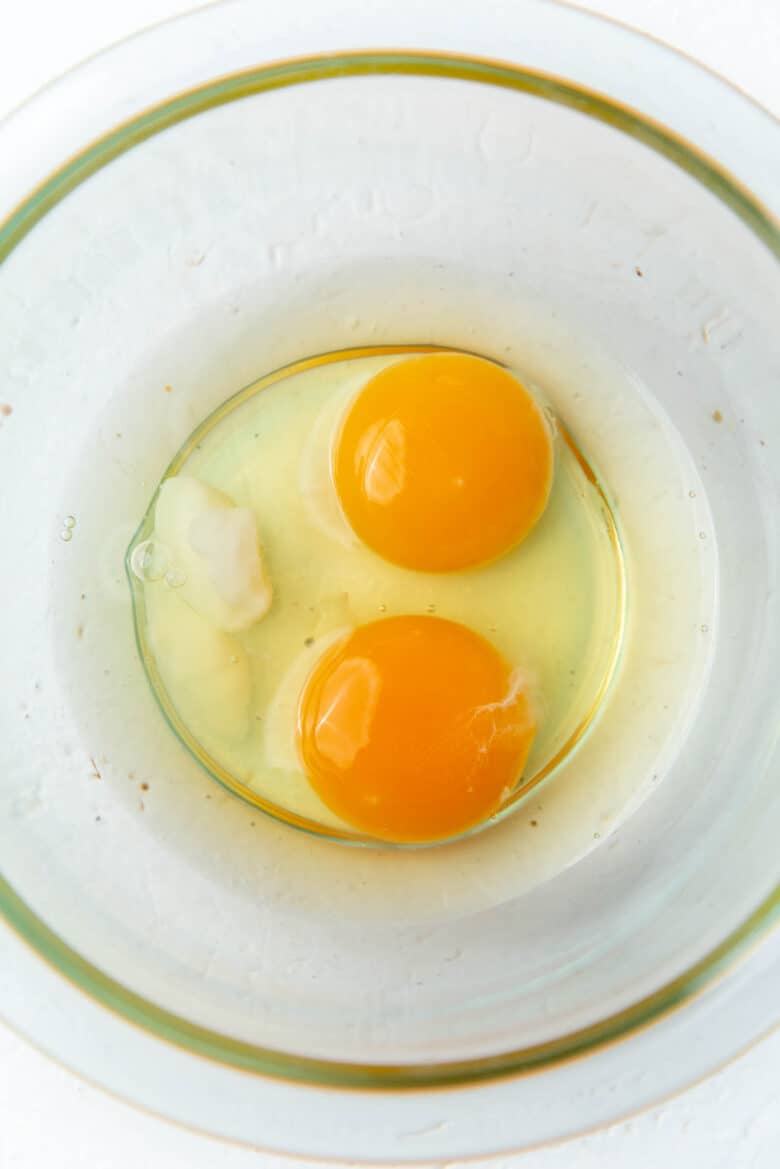
In a bowl, add about 2 tsp of water, and stir in the baking soda. Add the two eggs and whisk well.
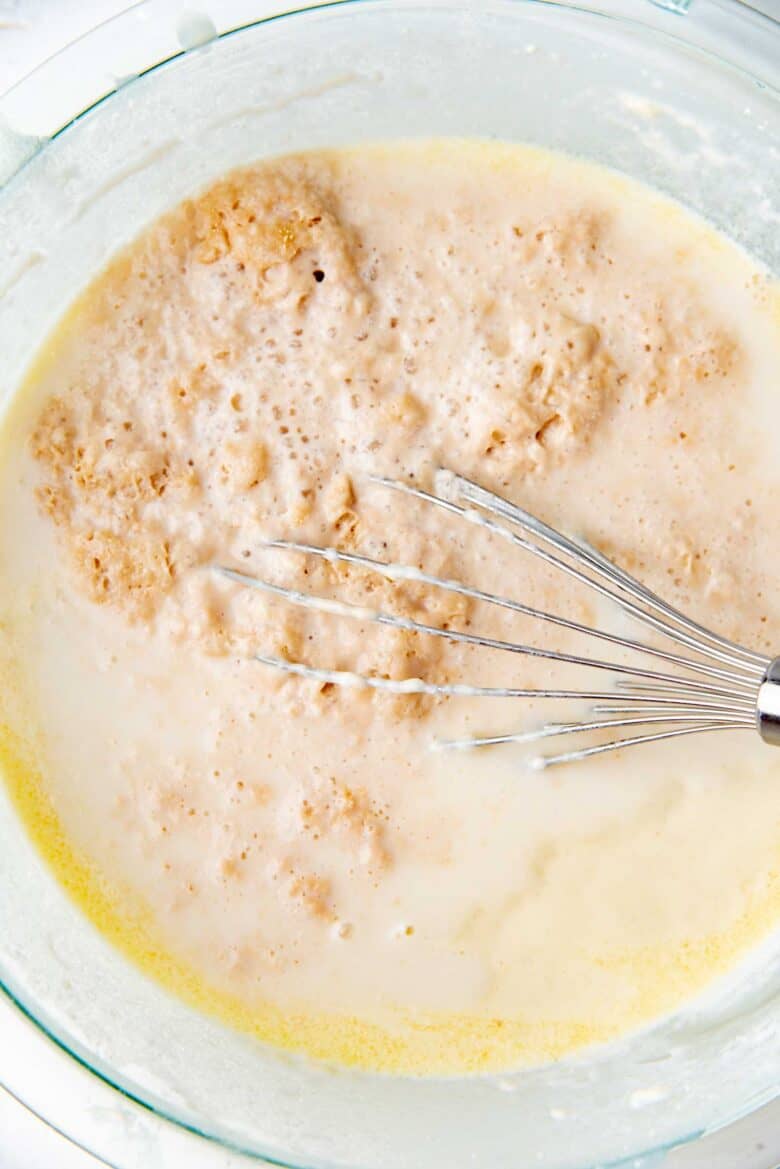
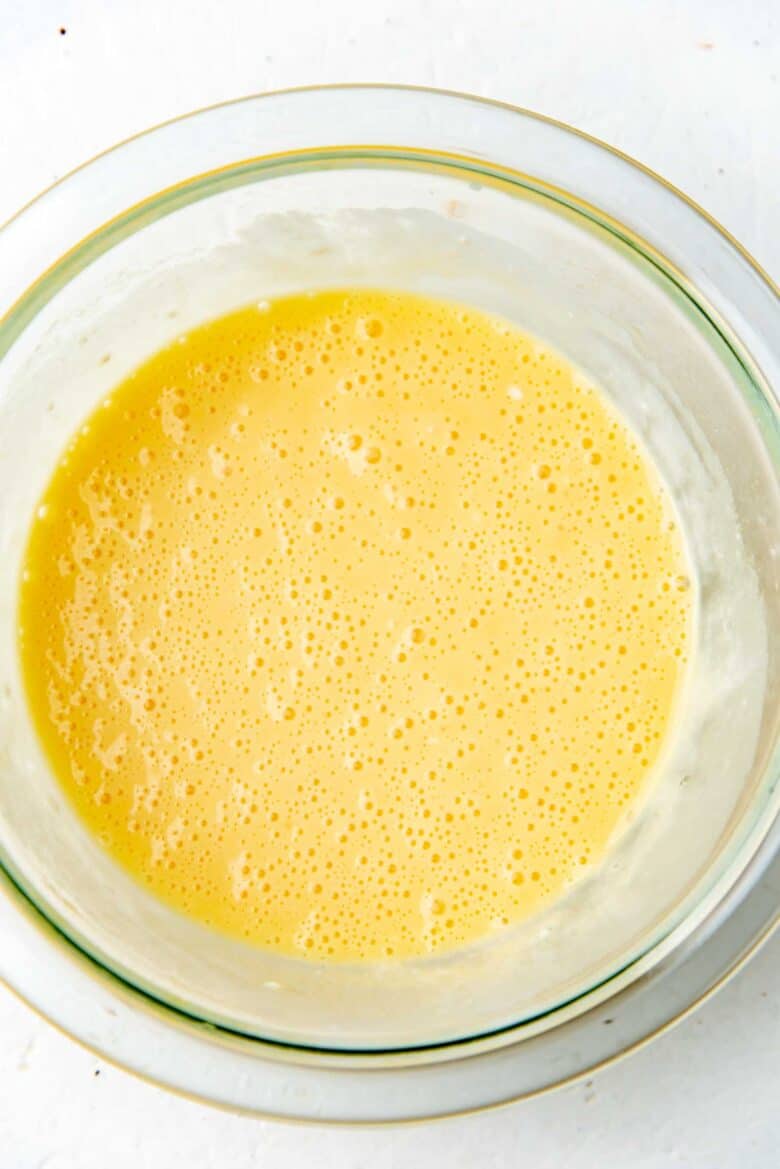
Add just a little of the batter into the egg mixture, and whisk to combine. Next, add the egg mixture into the waffle batter base and gently fold it in. The batter will deflate a little, but not much.
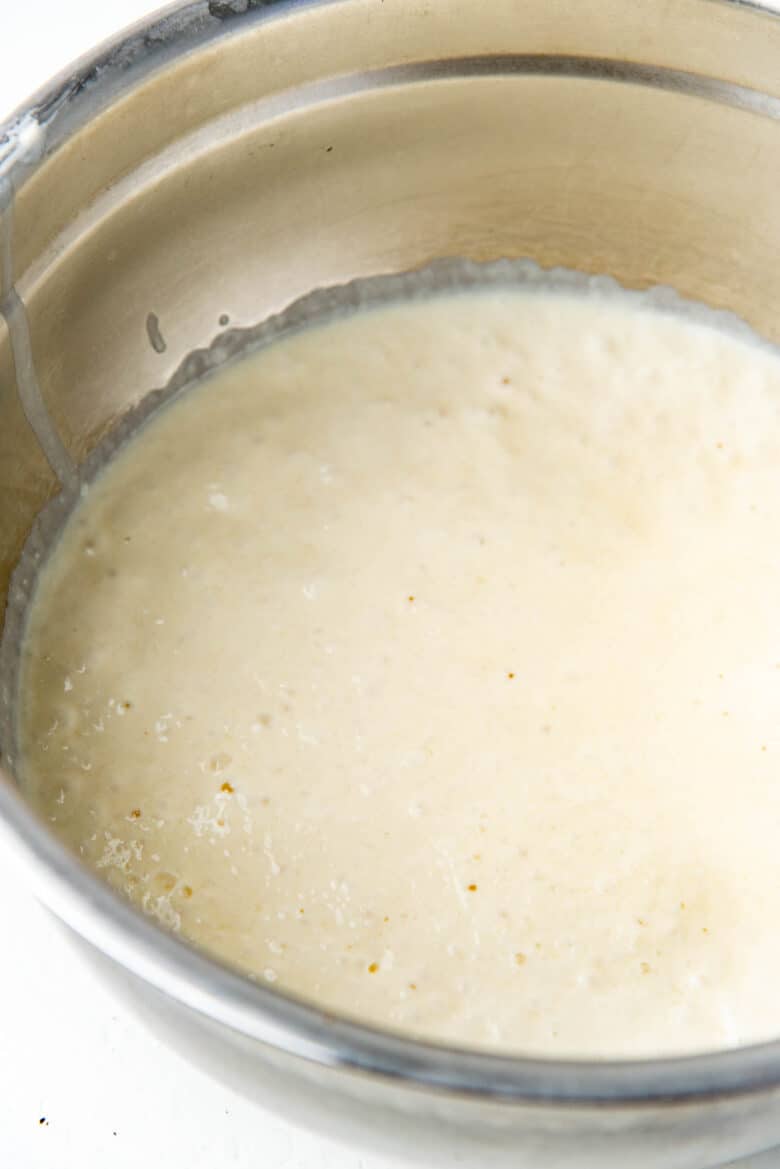
The yeasted waffles batter is now ready to be used.
Which waffle maker should I use?
I have two Belgian waffle makers at home that I absolutely love.
The first waffle maker (which is also my favorite) is an Oster waffle maker (Oster 3874 Flip Nonstick Belgian Waffle Maker). Unfortunately, I don’t think they make this product anymore. I bought it for about $30 while I lived in the US, and it’s truly one of the BEST waffle makers ever. It’s also a Belgian waffle maker (large, deep pockets). The only downside with this product is that I can only make 1 waffle at a time.
A good replacement for this would be the Hamilton Beach 26010C Belgian Style Flip Waffle Maker. It has great reviews online, but I haven’t used it myself.
The second waffle maker I own is the Breville smart waffle maker. I love this waffle maker too. Especially since I can make multiple waffles at the same time. This is what I use when I’m making waffles for a crowd. It is pricier though.
I personally prefer Belgian style waffle makers to make these overnight yeasted waffles.
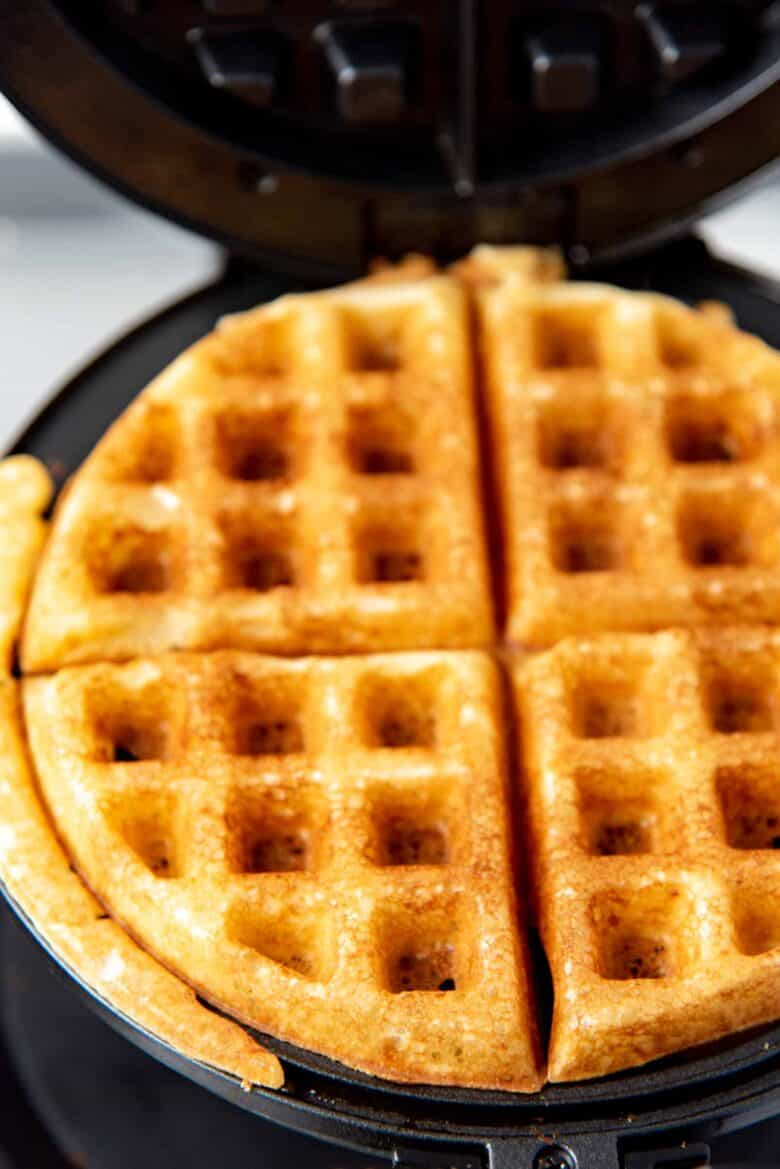
Making waffles with the yeast risen batter
Making yeasted waffles / Brussels waffles is no different from making buttermilk waffles.
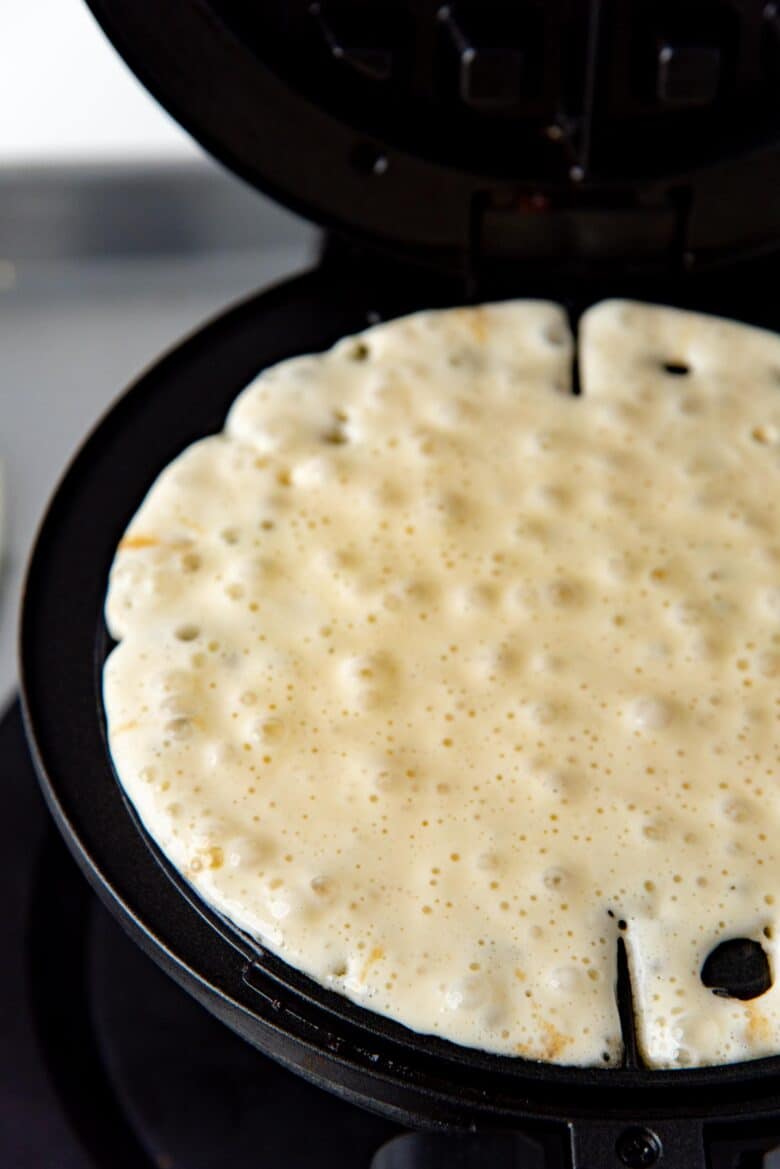
However, this Brussels waffle batter has a different texture due to the gluten development. It will have a more “stretchy” / elastic texture to it, and that is normal.
How much batter you will need per waffle maker will depend on the size of the waffles. You do NOT want to completely fill the plate with the batter.
Do NOT pour the waffle batter from the bowl directly onto the waffle maker. Since the batter is “stretchy”, this could cause too much of it to pour into the machine. So I prefer to use a measuring cup or a large ice cream scoop to transfer the yeasted waffle batter into the waffle maker.
Tips for perfectly crisp, fluffy yeasted waffles (or any perfect waffle)
Here are some tips to follow that will guarantee perfect waffles from your waffle maker, every single time.
- Butter is great to coat the waffle plates. It adds flavor, and makes the waffles more crisp as well.
- Oil (vegetable, canola, or olive oil) is a great alternative to butter. Non-stick spray is also a good option, but I personally don’t like to use non-stick sprays.
- Have a small bowl of your choice of fat (butter or oil) to brush on the waffle plate. The fat will make the surface of your waffles more crisp.
- Make sure to preheat the waffle well, EVERY SINGLE TIME. I tend to let the waffle maker heat up a little longer than the waffle indicator shows, just to make sure the plates are properly heated. If it’s not heated very well, the waffle will cook slower, and the slow evaporation of water will make the waffle soggier.
- Do not overfill the waffle maker. Each waffle maker will need different amounts of batter (this depends on the recipe as well). Always do a test waffle, and then adjust the amount according to the results of that first waffle.
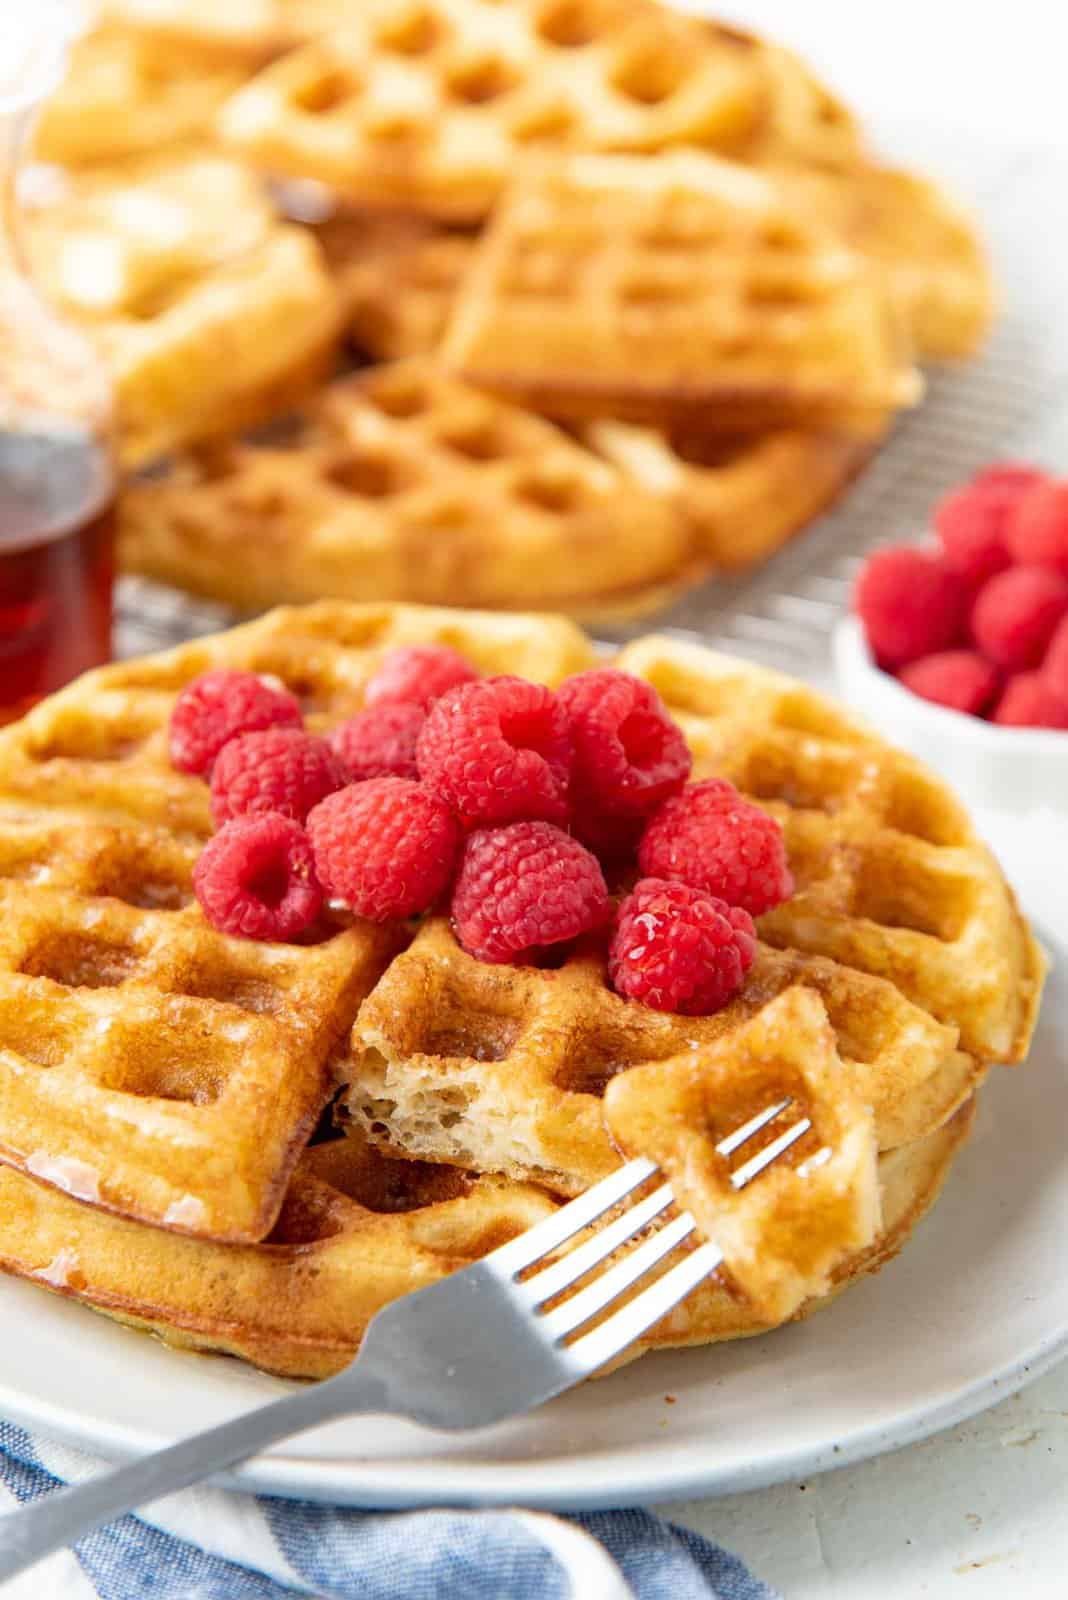
- Once the waffle is cooked through, let it rest on a cooling rack. The air circulation will prevent condensation, which could make the waffle soggy.
Some waffle irons have reliable indicators, but some don’t. So rather than relying on the light indicator on your waffle iron to let you know when the waffles are done, just go by visual cues – a nice deep golden brown crust.
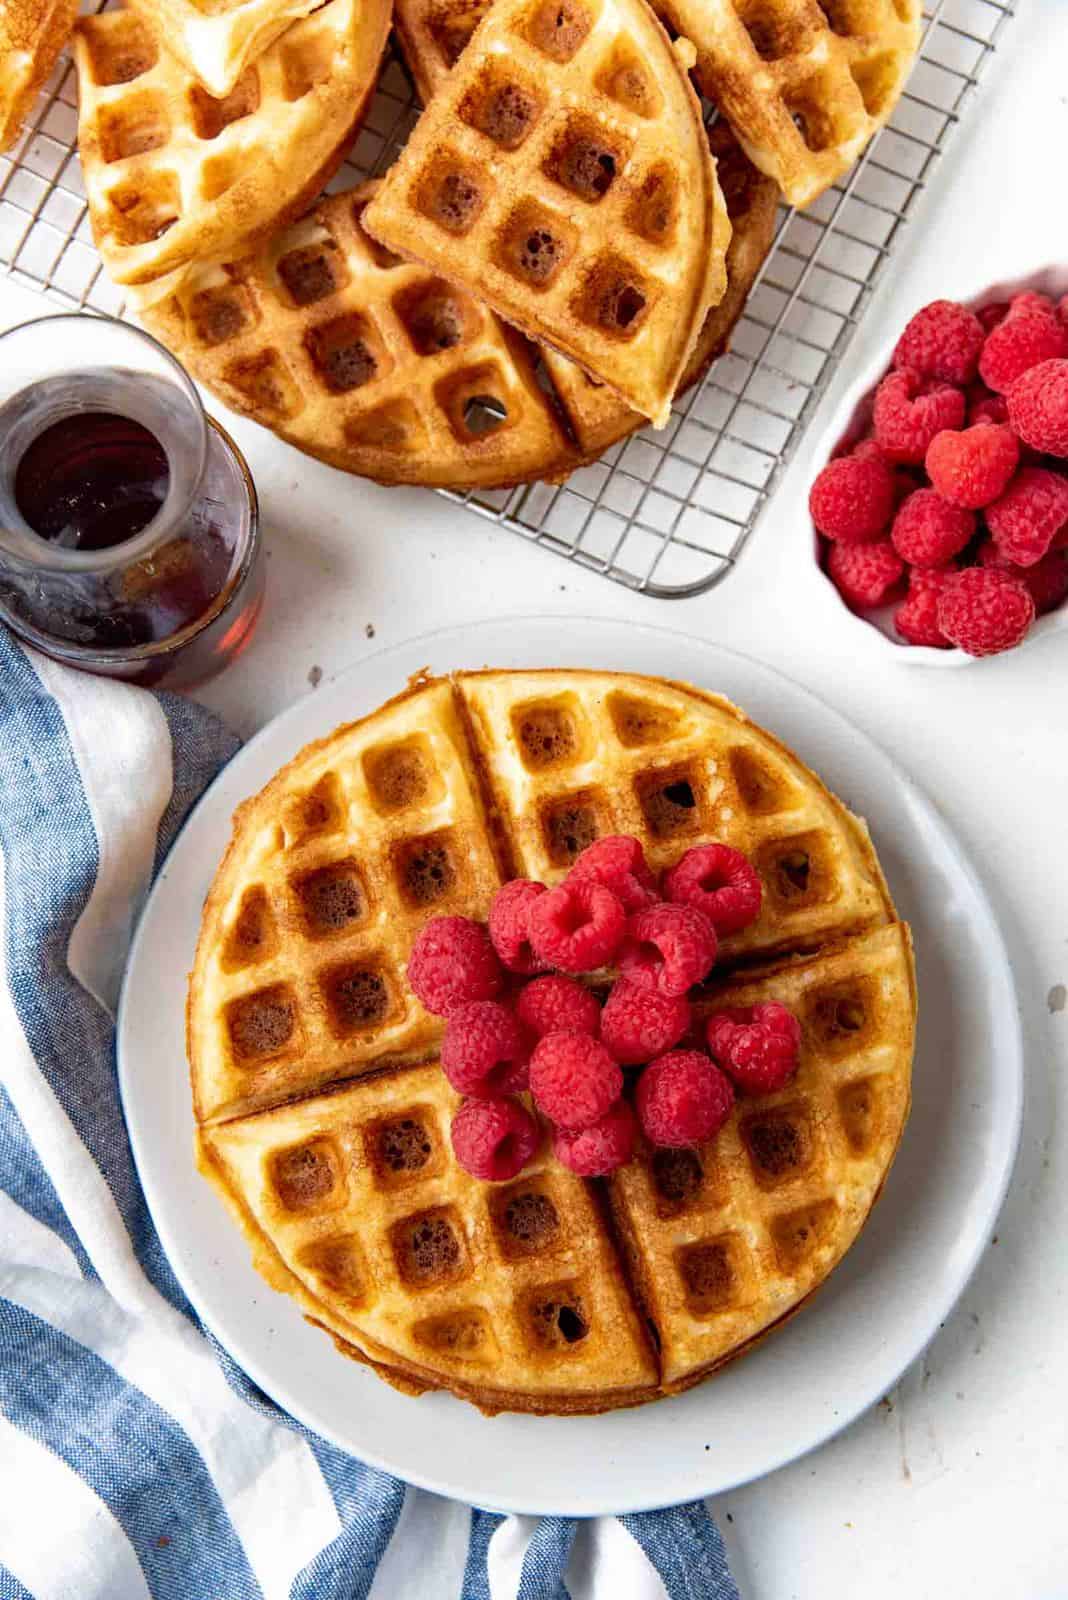
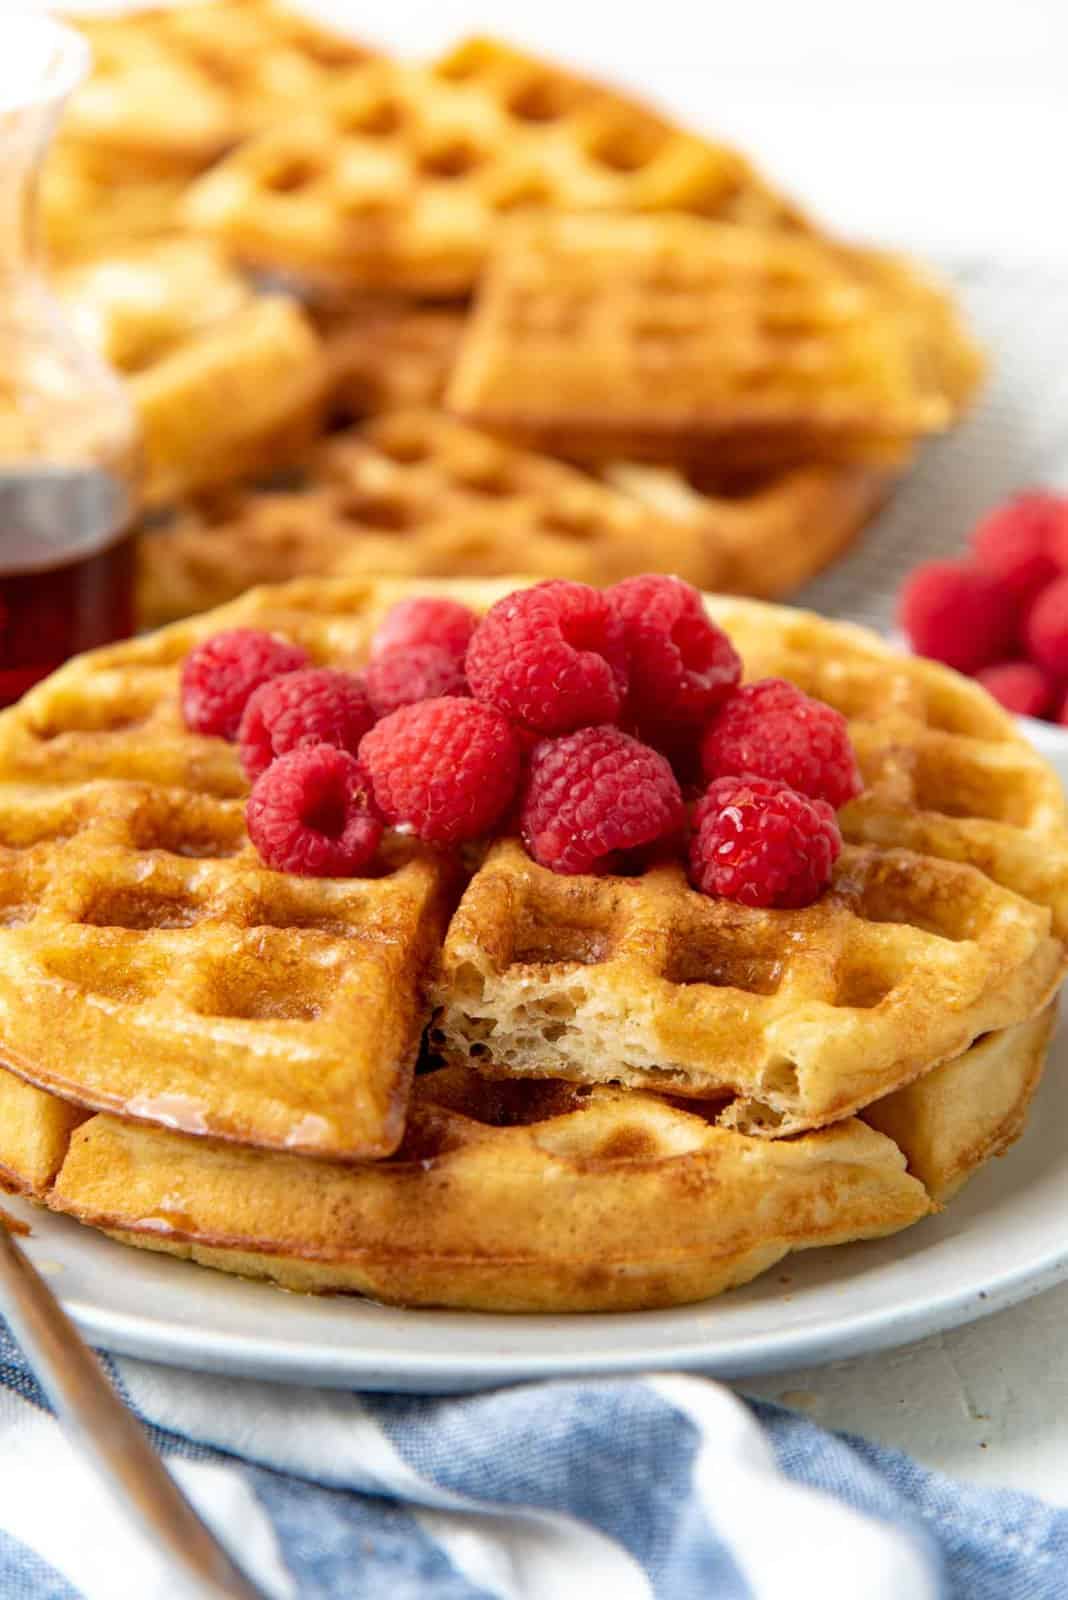
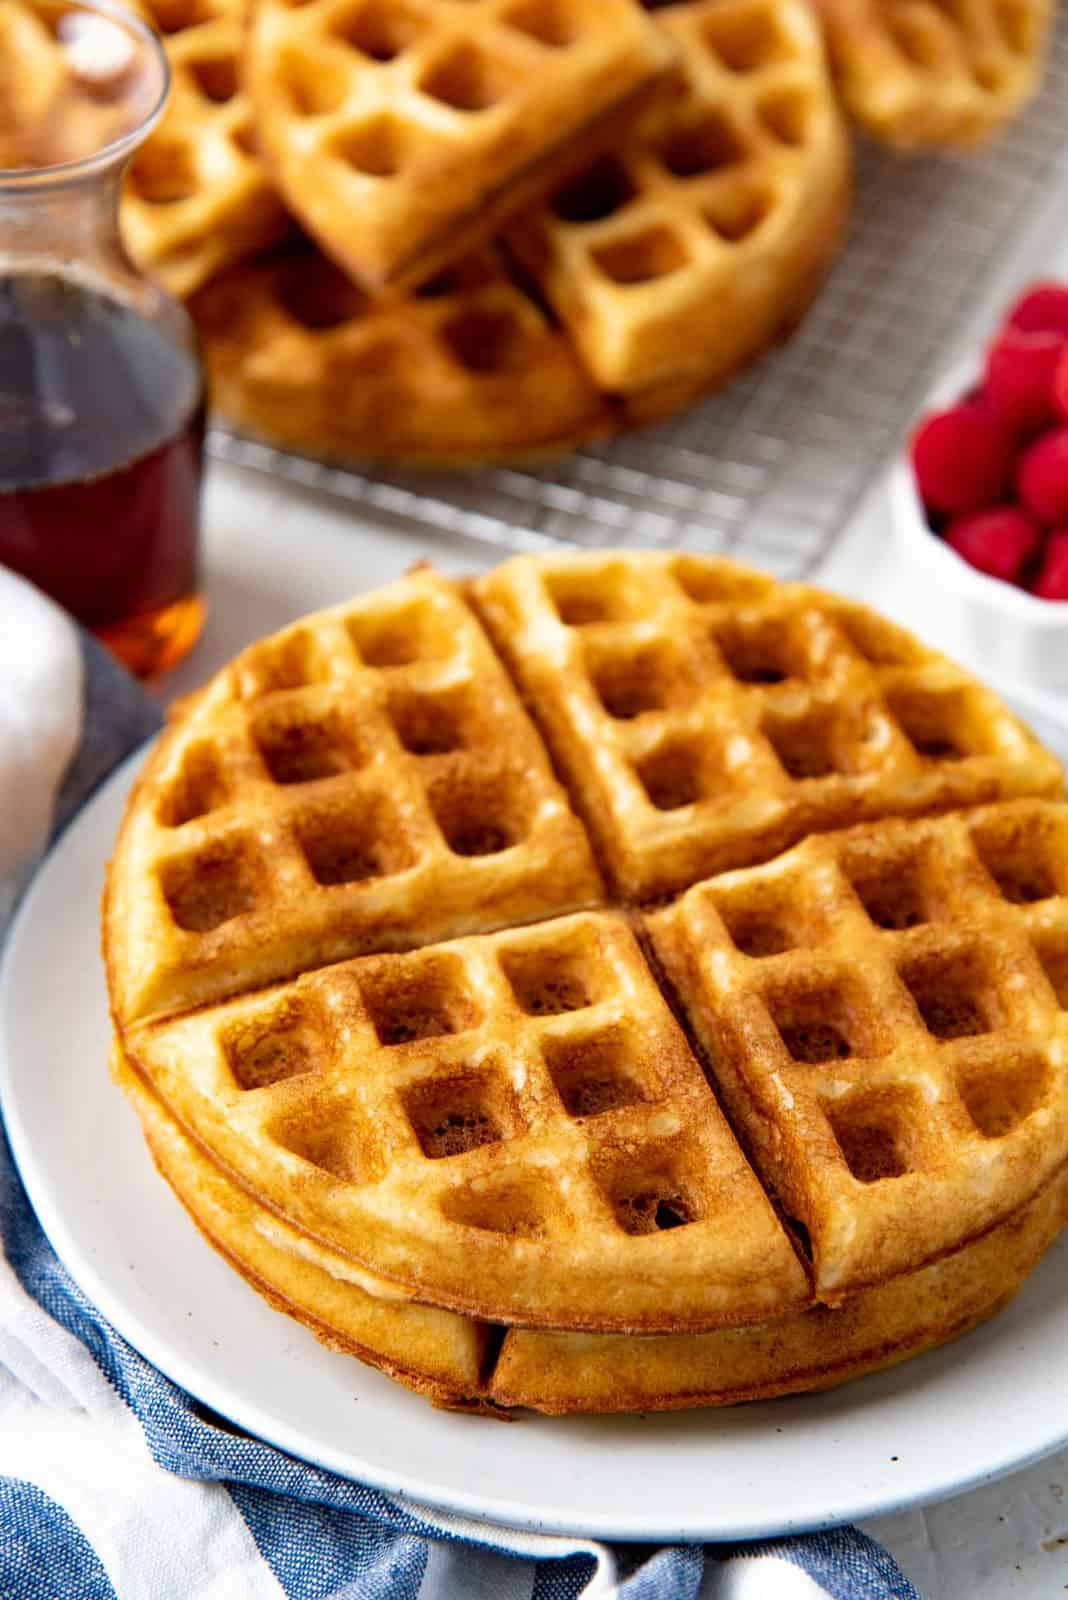
Serving suggestions
Savory ideas
- Chicken and waffles – Sri Lankan style. Growing up, I only ate waffles for dinner! We ate waffles with a spicy chicken curry, and it was out-of-this-world gooood! We also liked waffles for dessert, but chicken curry with waffles is still my favorite way to eat waffles. Chicken and waffles, but with a Sri Lankan twist.
- Fried chicken and waffles – A classic combination.
- Cheese and herb waffles – Add some cheese and herbs to the batter before making the waffles.
- Bacon and eggs with waffles – I love this combo for weekend brunches. I also love bacon jam instead of bacon strips.
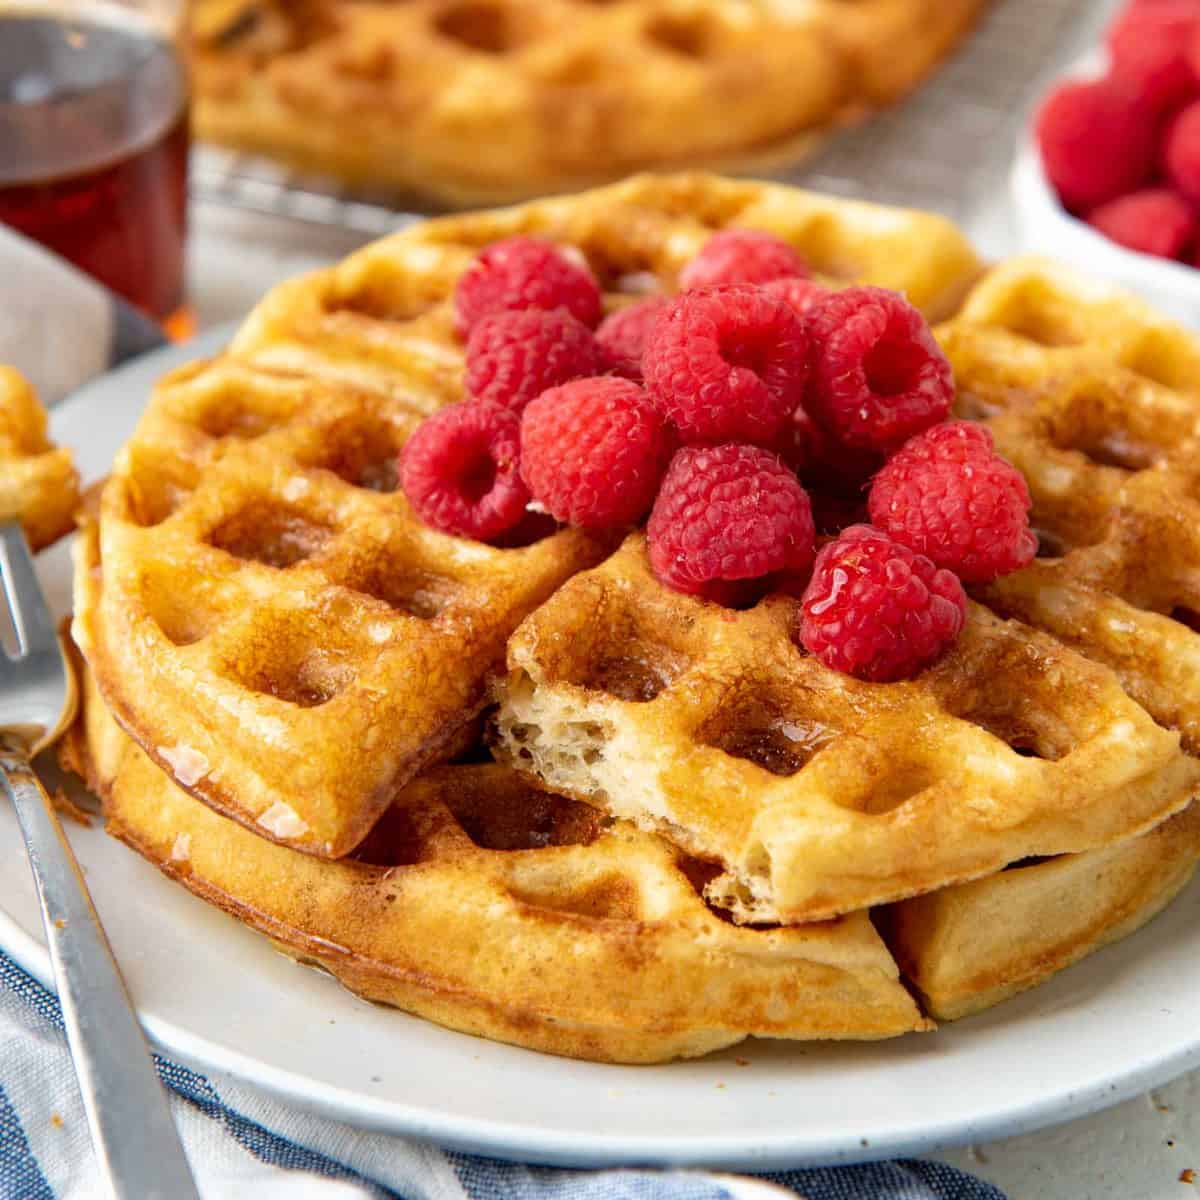
Sweet ideas
- With fresh fruits, butter, and maple syrup (and whipped cream).
- Spiced yeasted waffles with apples and pecans (a delicious Fall makeover of these yeast waffles!).
- Bananas, maple syrup, and bacon.
- Chocolate chip waffles.
- Everyone loves blueberry pancakes, but how about blueberry waffles?
- Waffles with any fruit compote (like this apple compote) and whipped cream!

Frequently asked questions
Can I make this the same morning I want to make waffles, instead of overnight?
Yes, you can! BUT you’ll need a slightly earlier start, if you want this for breakfast, instead of brunch. Just let the waffle batter proof in a warm place for 1 – 2 hours (instead of overnight in the fridge).
The overnight proof does develop much better flavor, so that will be missing from this quicker version.
Can I make this vegan?
The milk could be replaced easily with a plant based milk. But I haven’t tried replacing the eggs. Maybe a flax or chia egg could work. If you do try this option, do let me know how it works for you.
How long would cooked waffles last?
These waffles are best eaten the same morning you make them.
Just like other waffles, these yeasted waffles will get soggy the longer they sit out. And just like bread, the waffles will be stale when left out for a few hours.
They can be stored in an airtight container, and then reheated gently in a waffle iron. There’s a chance they can be dry when reheated though.
How can I store the yeast risen waffle batter?
If you have leftover batter, just cover and keep it in the coldest spot in your fridge for up to a further 2 days (i.e. 3 days total). I prefer to use it up within 2 days though.
Recipe
Overnight Yeasted Waffles
US based cup, teaspoon, tablespoon measurements. Weight measurements are recommended for accurate results whenever available.
Common Measurement ConversionsIngredients:
- 600 mL milk 2 ½ cups, lukewarm
- 1 tbsp honey
- 7 g active dry yeast 2 ½ tsp
- 250 g flour about 2 cups, measured by spoon and level method
- 90 g cornstarch about ⅔ cup, measured by spoon and level method
- 115 g unsalted butter melted, 1 stick / ½ cup butter
- 1 ¼ tsp sea salt
- 2 large eggs
- ½ tsp baking soda
- 2 tsp water room temperature
To serve
- Fruit toppings
- Whipped cream
- Maple syrup
Instructions:
Activate the yeast
- Place the warm milk in a bowl (see recipe notes). Whisk the honey in the milk to dissolve.600 mL milk, 1 tbsp honey
- Sprinkle the yeast over the lukewarm milk, and mix gently.7 g active dry yeast
- Allow the yeast to activate for about 10 – 15 minutes.
Make the batter
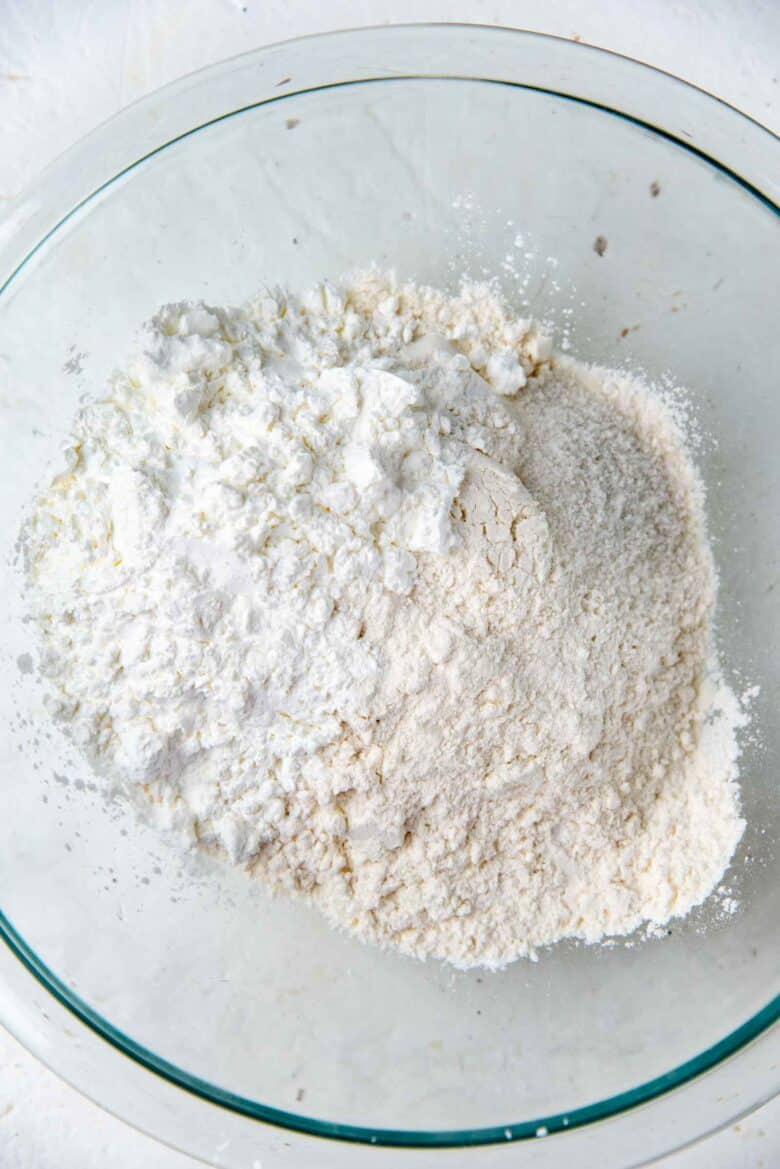
- Place the milk with the activated yeast in a very large bowl. Add the flour, cornstarch, butter, and salt. Whisk to combine well, and make sure there are no dry lumps. You can also use an electric mixer, but I usually use a manual balloon whisk.250 g flour, 90 g cornstarch, 115 g unsalted butter, 1 ¼ tsp sea salt
- Cover and let it sit in the fridge overnight (for best results), or up to 24 hours.
- The batter will at least double in size by the following morning. Do not deflate the batter at this point.
The next morning
- In a bowl, mix the room temperature water and baking soda.½ tsp baking soda, 2 tsp water
- Add the 2 eggs, and whisk the eggs really well.2 large eggs
- Add about ½ – ¾ cup of the waffle batter into the egg mixture, and mix really well.
- Pour the egg mix into the rest of the batter mixture, and gently stir / fold it in until there are no egg streaks in the batter. Be careful not to deflate the batter too much.
- The yeasted waffle batter is now ready to be used.
Making the waffles
- Preheat the waffle iron well, and brush the plates with butter or oil.
- Using a ladle or ice cream scoop, add the batter into the waffle iron. Make sure you are not overfilling it (adjust the amount after making one test waffle at the start).
- Cook the waffle until dark golden brown in color and crisp.
- Carefully remove the waffle from the waffle maker and let it cool on a wire rack.
- If needed, place the cooked waffles in an oven, at the lowest heat setting, to keep them warm until they are served.
- Serve with your favorite toppings.Fruit toppings, Whipped cream, Maple syrup
Recipe Notes
Note about activating the yeast
You can activate the active dry yeast in either 1/2 cup of warm milk or the whole milk amount. If using instant yeast, you do not need to activate the yeast. But do use lukewarm milk to make the batter.Note about the yield
The yield can vary depending on how proofed the batter is, and how much it deflates during the final mixing step.Nutrition Information:
“This website provides approximate nutrition information for convenience and as a courtesy only. Nutrition data is gathered primarily from the USDA Food Composition Database, whenever available, or otherwise other online calculators.”


Leave a Reply