Soft, fluffy Spiced Hot Cross Buns with a sweet, fruity apricot honey glaze! Made even softer and fluffier with a simple technique.
For more delicious Easter recipes check out my easy carrot cake recipe with perfect cream cheese frosting, chocolate chip hot cross buns, chai and vanilla Easter cake, and swirled pastel cake (ribbon cake)!
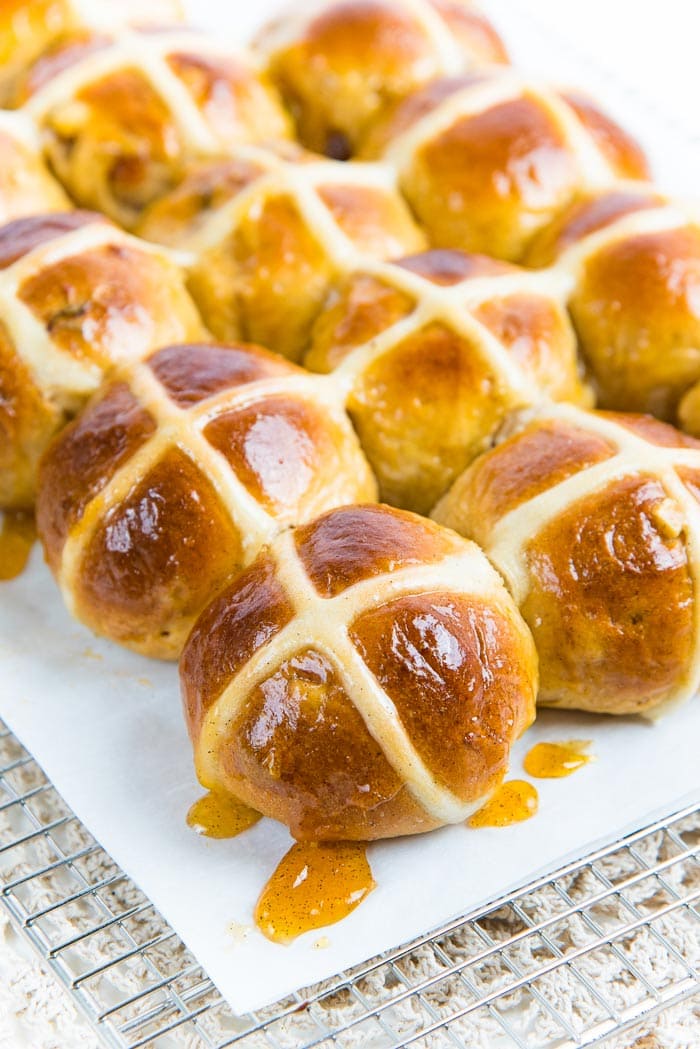
Back when I used to live in Australia and New Zealand, we’d get hot cross buns of all kinds of flavor popping up in bakeries everywhere, for months leading up to Easter.
There used be a bakery below my clinic in Lismore, Austrlia, and they made some of the softest and incredibly delicious hot cross buns, and it made our whole building smell like sugar, spice and bread for days! Even better, they knew us, and would dole out free buns every now and then. They might as well have included that in the benefits package of my job.
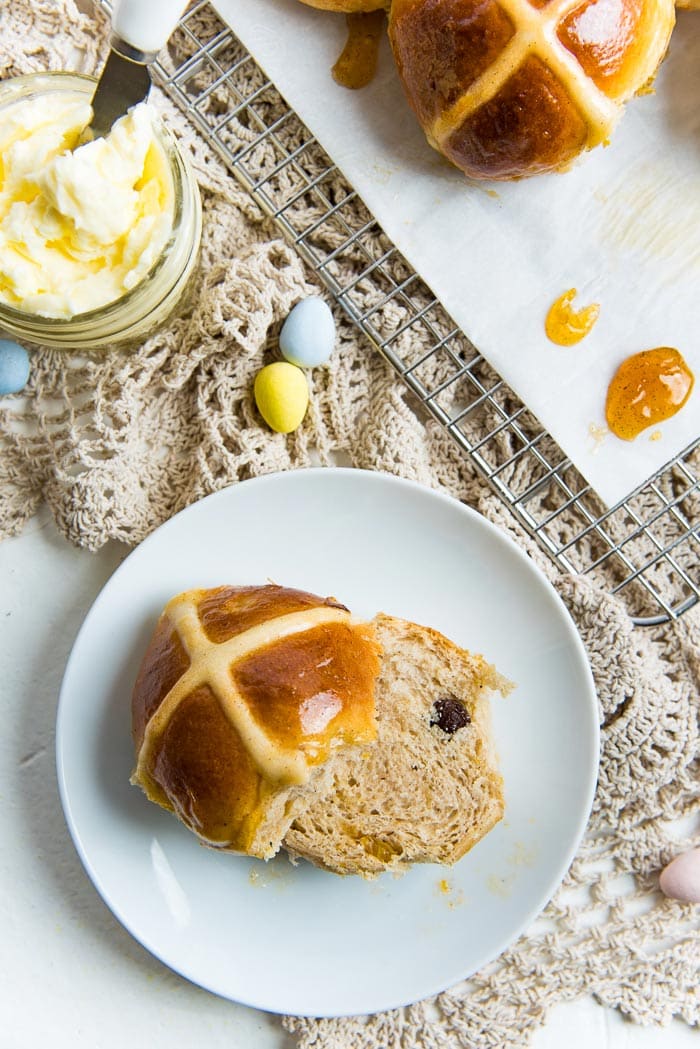
So growing up in that part of the world, soft, fluffy, tasty hot cross buns were a staple around Easter, and I never had a reason to make my own. But that supply ran out when I moved to the US, and I started making my own several years ago.
These Classic Spiced Hot Cross Buns are so easy to make, soft, fluffy and also really quite addictive. The recipe is simple, but for best results, you do need a little bit of patience to let them proof well. It’ll be absolutely worth your while though!
Now you can make Spiced Chocolate Chip Hot Cross Buns too!
My recipe for hot cross buns includes a little twist to make them even softer and fluffier than traditional recipes. And that little secret is tangzhong.
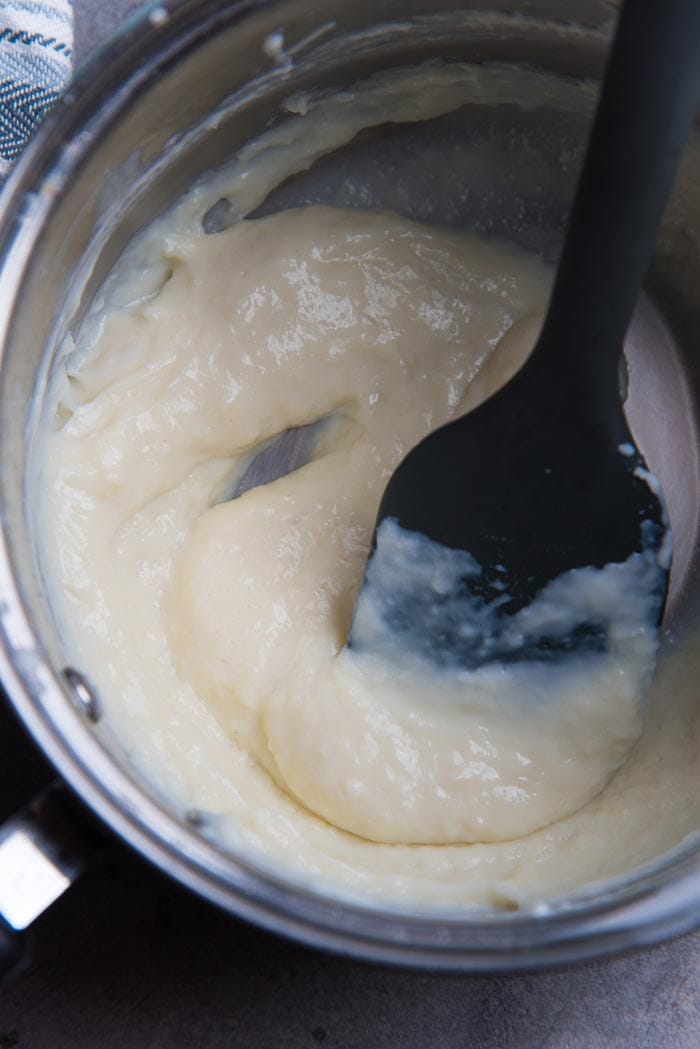
What is Tangzhong?
Tangzhong is a Japanese cooking technique used in making milk bread. I use tangzhong to make these classic Sri Lankan raisin buns that are a tea time tradition in Sri Lanka. And of course this classic Japanese milk bread (Hokkaido milk bread), and this scallion and sesame milk bread.
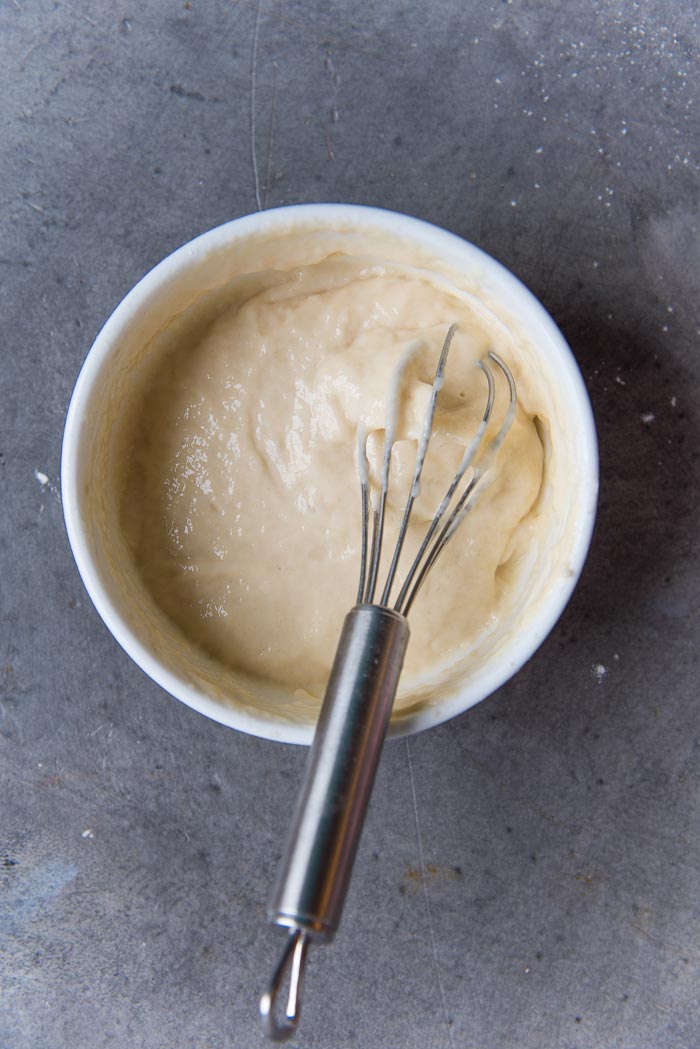
Tangzhong is a slurry of cooked water (or milk) with flour. A small amount of flour and liquid are cooked on a stove to make a runny paste. It doesn’t take more than 5 minutes. As the liquid heats up, the flour absorbs the hot liquid, creating expanded starch molecules and gluten structures. This is then mixed with the rest of the ingredients. It’s a really simple technique to elevate the flavor and texture of bread, with delightfully soft, fluffy results.
I won’t get into the science of tangzhong in this post, but for all the science nerds (like me) out there, I’ll explain how tangzhong helps easily transform bread recipes in another post in the future.
How to make soft, fluffy spiced hot cross buns
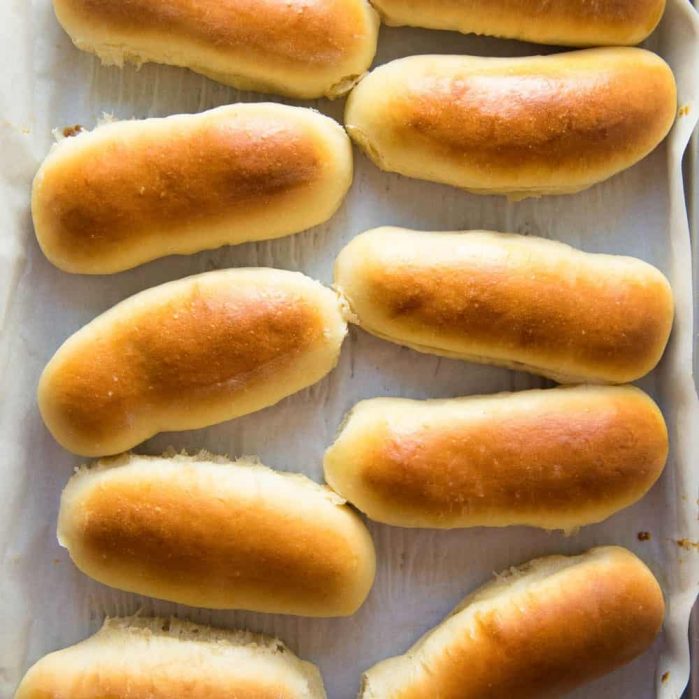
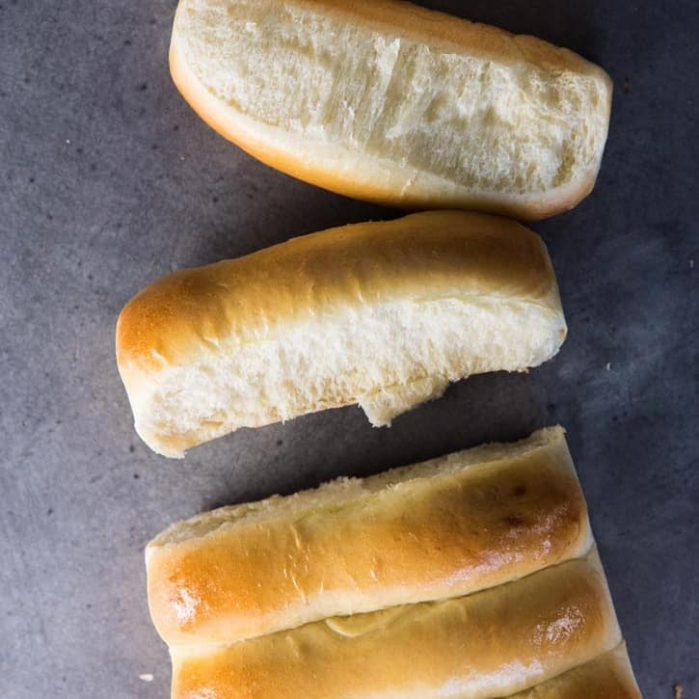
The base for these classic hot cross buns is my homemade hot dog buns, another really popular recipe on my blog.
First, measure all the ingredients
It’s no secret that I prefer to weigh dry ingredients with a kitchen scale, rather than relying on measuring cups. A basic, inexpensive kitchen scale guarantees consistent, accurate results. For liquids, I mostly use volume (and occasionally weight) measurements.
If you don’t have a kitchen scale at hand, you can use cup measurements, but make sure to use the spoon and level method to measure the dry ingredients.
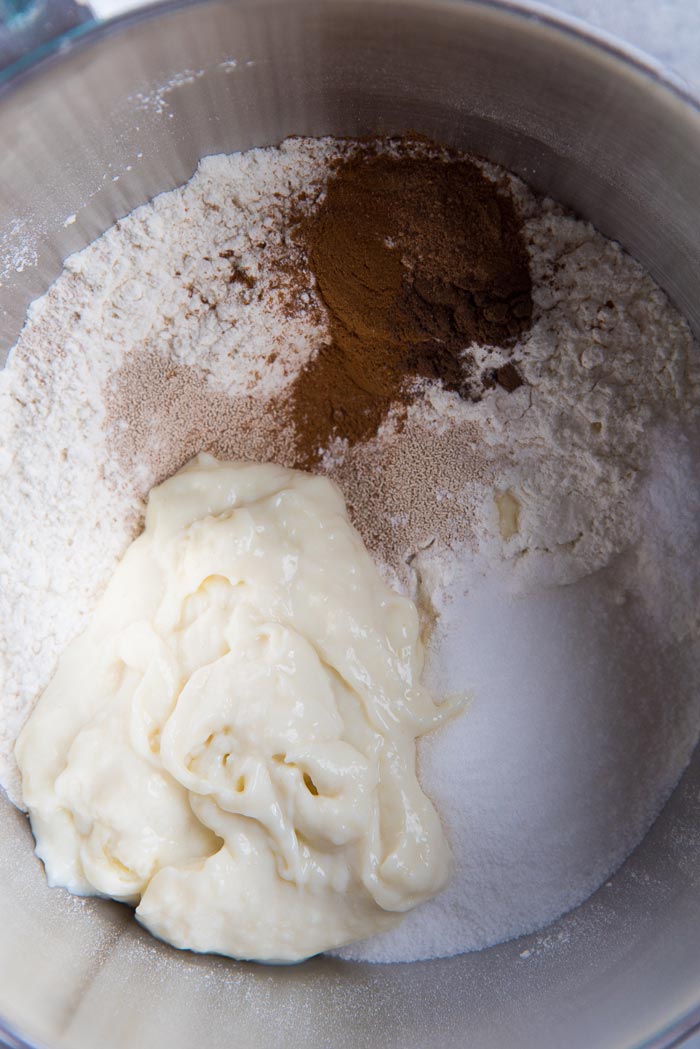
Make the tangzhong and activate the yeast
This is the second step. I use dry active yeast, and I usually don’t have to activate it if I had stored it in the freezer, and it was relatively fresh (less than 2-3 months). But if it’s older than that, or wasn’t stored properly, then I would recommend activating the yeast BEFORE making the dough, in order to make sure your yeast is still active.
The tangzhong paste is easy to make, and comes together quickly. You have to make sure that you whisk the paste constantly while cooking, to prevent any lumps from forming. It also should be at room temperature (or just slightly warm) when you add it to the dough.
When yeast is activated and the tangzhong paste is ready, you can mix all the ingredients to make the dough, and knead it into a nice, smooth dough.
PLEASE NOTE that this dough is sticky! When it’s being kneaded, the dough will stick to the bottom of the bowl. If the dough is too dry, the buns will end up being tough. You may need to add a little extra liquid or flour depending on the protein content in the flour.
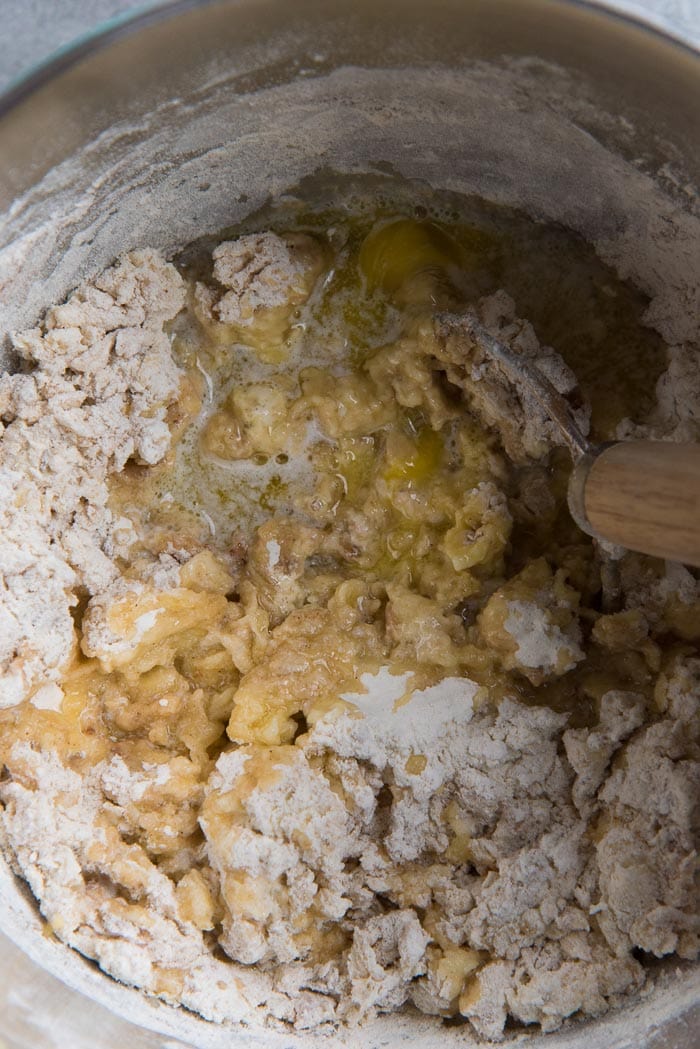
When to add the dried fruits to the dough
Some hot cross bun recipes call for raisins, mixed peel and other additions to all be added at the same time. But I prefer not to add those at the beginning.
Here’s why
The smoother the dough, the better the gluten structure. And the better the gluten structure, the more air it can trap, resulting in soft, fluffy buns and bread rolls.
By adding raisins and other additions to the dough at the beginning, you interrupt the gluten formation while kneading the dough. End result? Not as fluffy and pillowy soft buns.
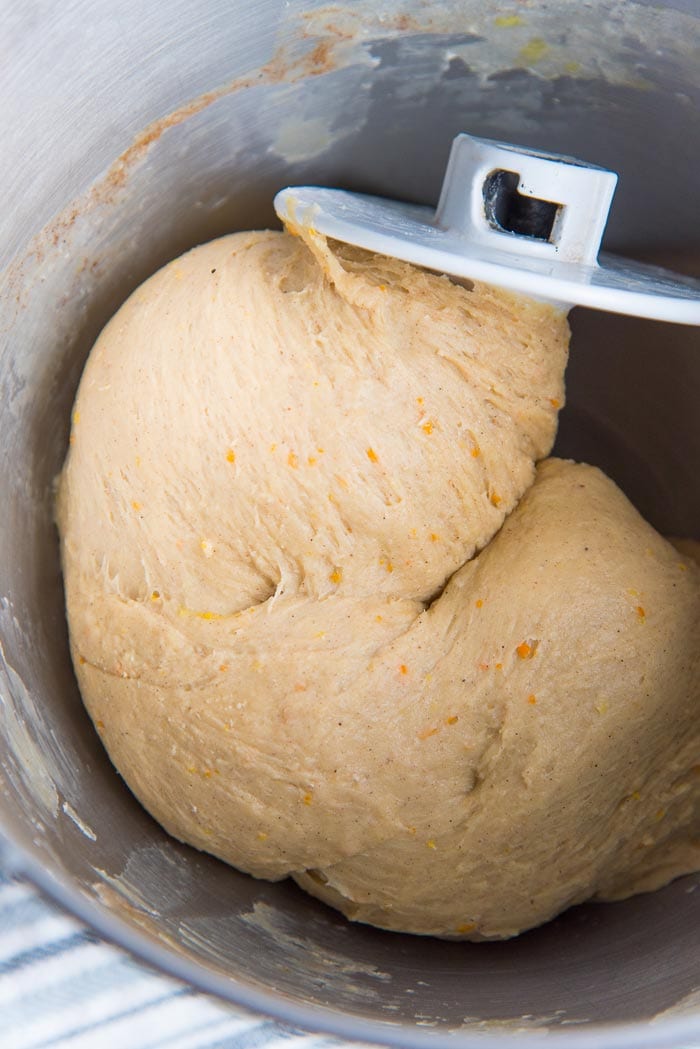
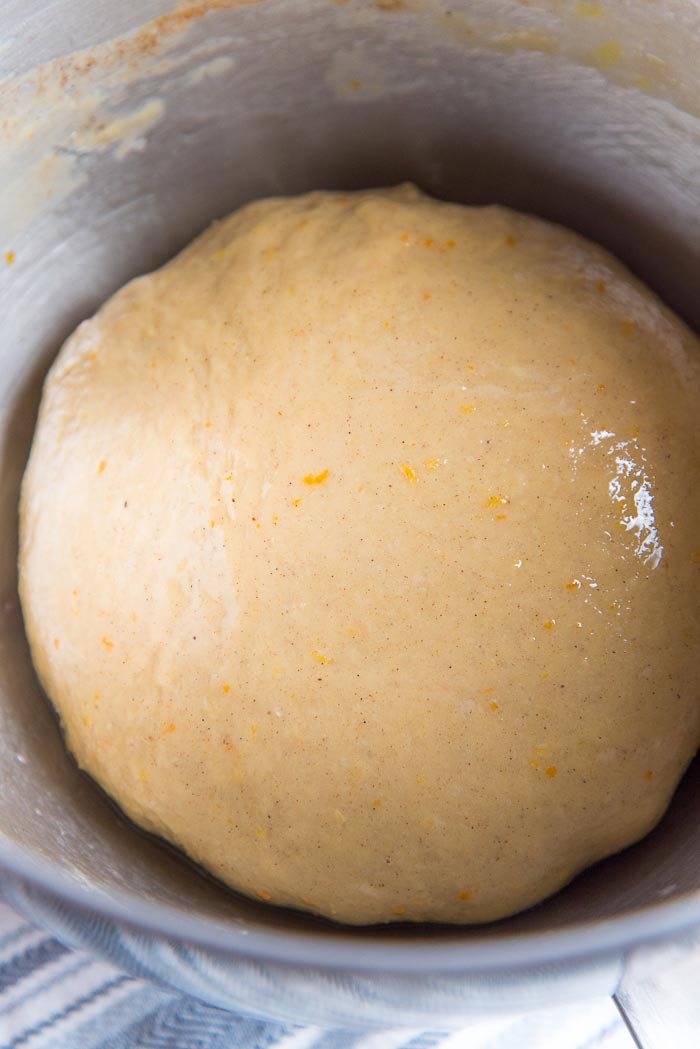
So I prefer to add these later. There are two different time points at which you can add these, and you can choose either.
- Add dried fruits after kneading the dough for a few minutes until you get a smooth dough. Then knead the dough further to incorporate the dried fruits and other additions.
- After the first proof of the dough, add the dried fruits and fold them in until they are uniformly mixed through.
You can do both! The first method will save some time, but the second method will let the gluten develop better.
I’ve done both, and I’m happy with both results!
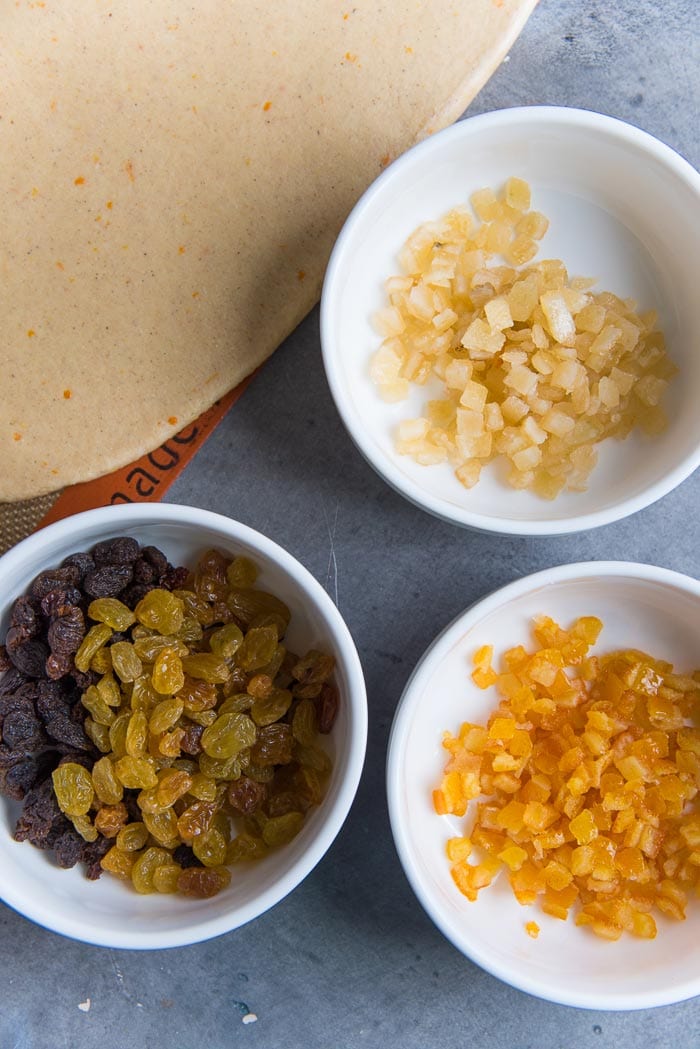
What additions and dried fruits can I use in these spiced hot cross buns?
I like to use A LOT of raisins, because I LOVE ’em, and I use a combination of golden and brown raisins, and you can use either one or both. I also love adding mixed peel. If you like nuts in your hot cross buns, then you can substitute some of the dried fruits for nuts too.
Traditional additions in authentic hot cross buns include,
- Currants or raisins
- Fresh fruits like chopped apple, pears, orange, tangerines or mandarins
- Nuts like almonds, walnuts, pecans
- Mixed peel
Another trick I use is to soak the raisins in warm orange juice. This plumps up the raisins, making them juicy and adds a lovely orange flavor to the buns too. You can substitute the orange juice with wine or bourbon, or apple juice or any other fruit juice you like. Just make sure it’s warm so it’s easier for the raisins to soak it up.
So once the dough is proofed, and the dried fruits and other additions have been mixed in, the dough is ready to be turned into buns!
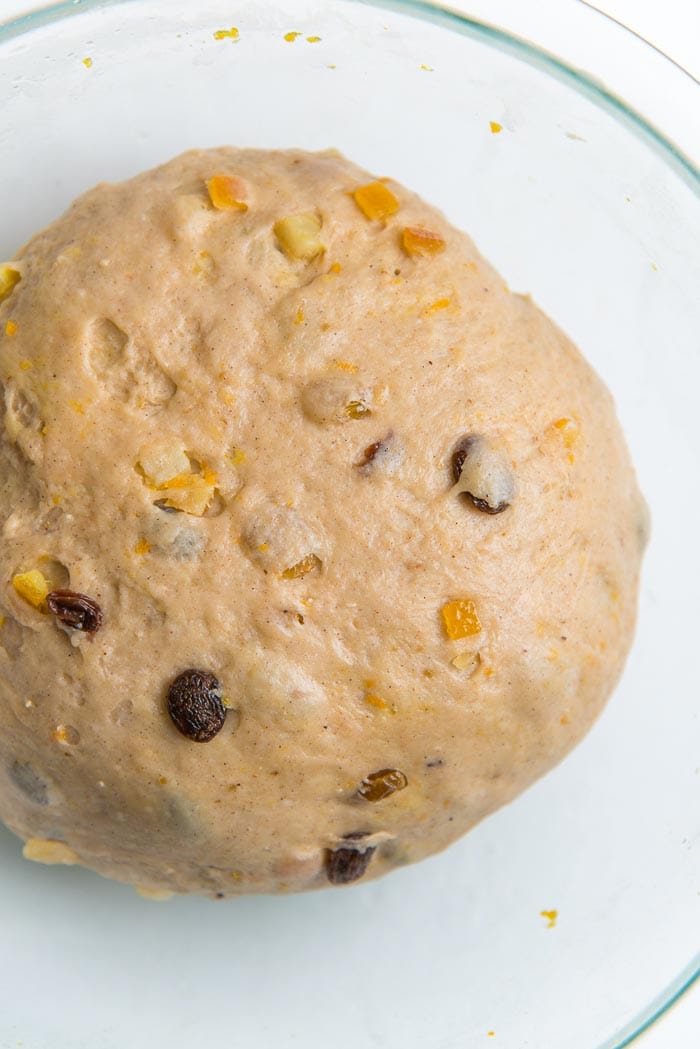
What’s the best way to portion out the dough into individual hot cross buns?
Weigh the dough!
You can weigh the dough, and then divide it by 15. Then you’ll know how big each portion needs to be. For this spiced hot cross bun recipe, each portion should weigh about 74 – 77 g each.
By measuring each portion this way, you ensure evenly sized, beautiful classic hot cross buns.
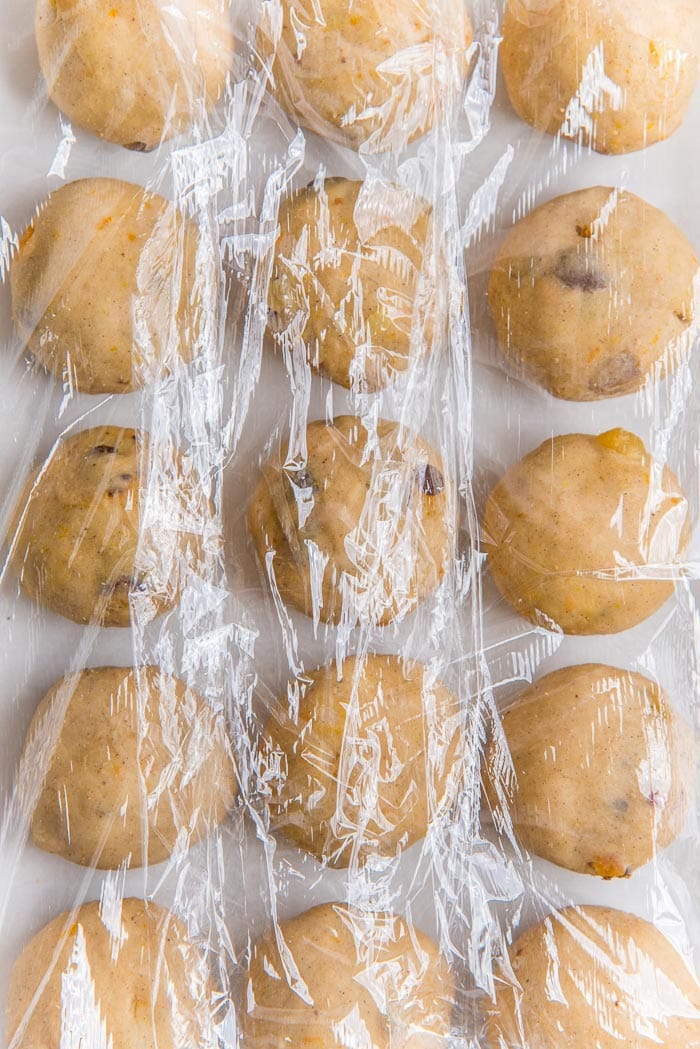
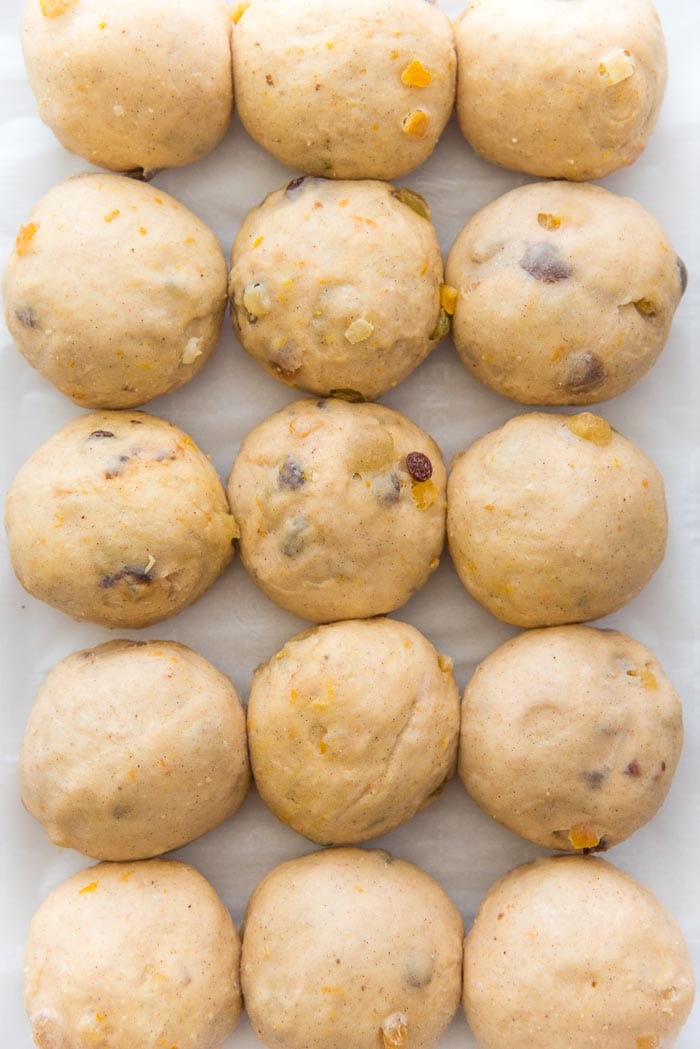
It’s important to shape the buns well, so that they keep their shape as they are rising. I like to knead the portion first, and form it into a ball by pinching it at the bottom (so you get a smooth surface on top). Then I roll this dough ball on a floured surface with a cupped hand to shape it.
Then they are proofed one last time, before being baked.
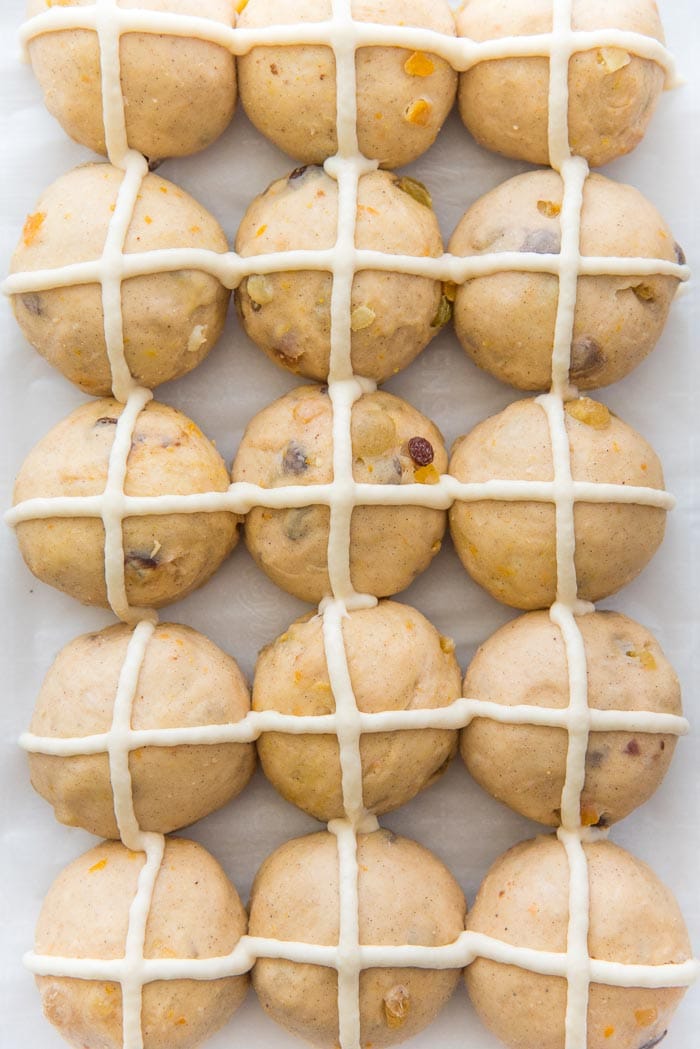
Hot cross bun crosses
A feature of classic hot cross buns is the crosses on top. Without those, they are simply spiced bread buns/rolls.
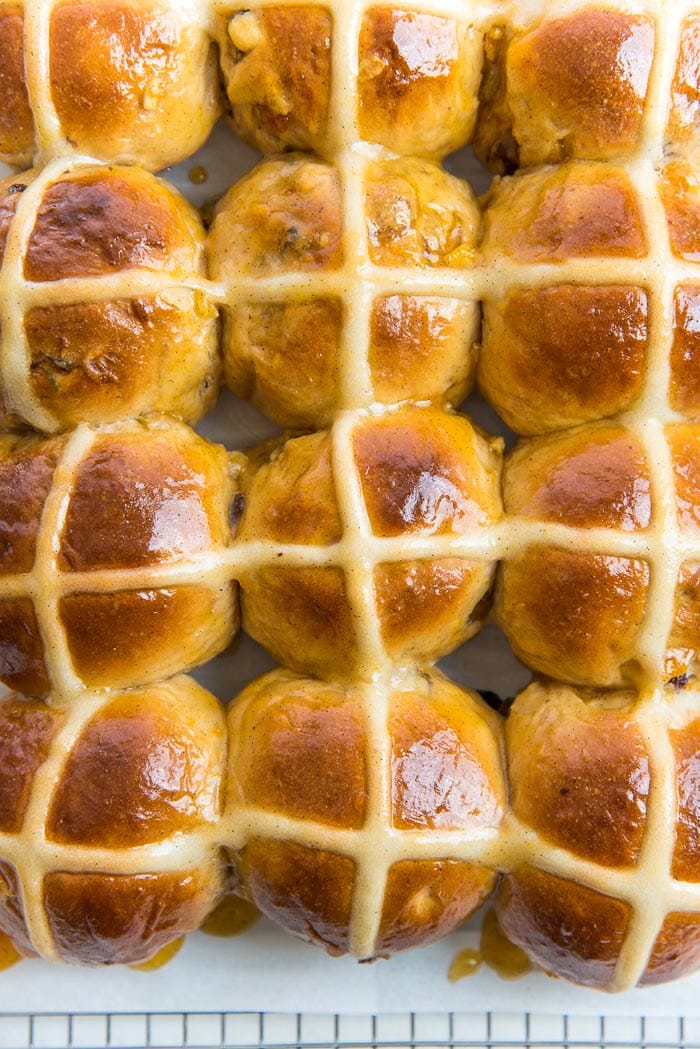
Some prefer to pipe frosting crosses on top, but I personally prefer the crosses to be baked into the buns.
These crosses are made with a mixture of flour, confectioner’s sugar and water. You add enough water to form a paste, and then this is piped on top of the buns. Once baked, they become crispy, and add a lovely crunch as well.
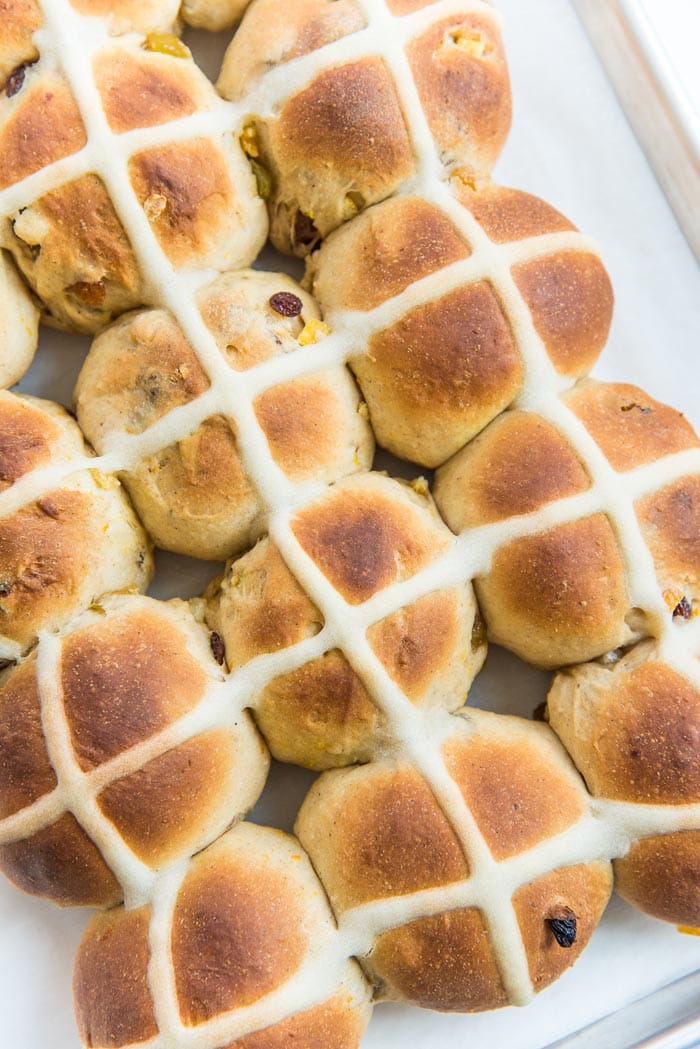
To glaze or not to glaze?
A beautiful, shiny glaze on top really makes your hot cross buns stand out. So the real question is what glaze to use? Two classic options are,
- An egg yolk glaze on the buns before baking, so they are nice and shiny once baked? OR
- A sweet apricot and honey glaze AFTER the hot cross buns are baked?
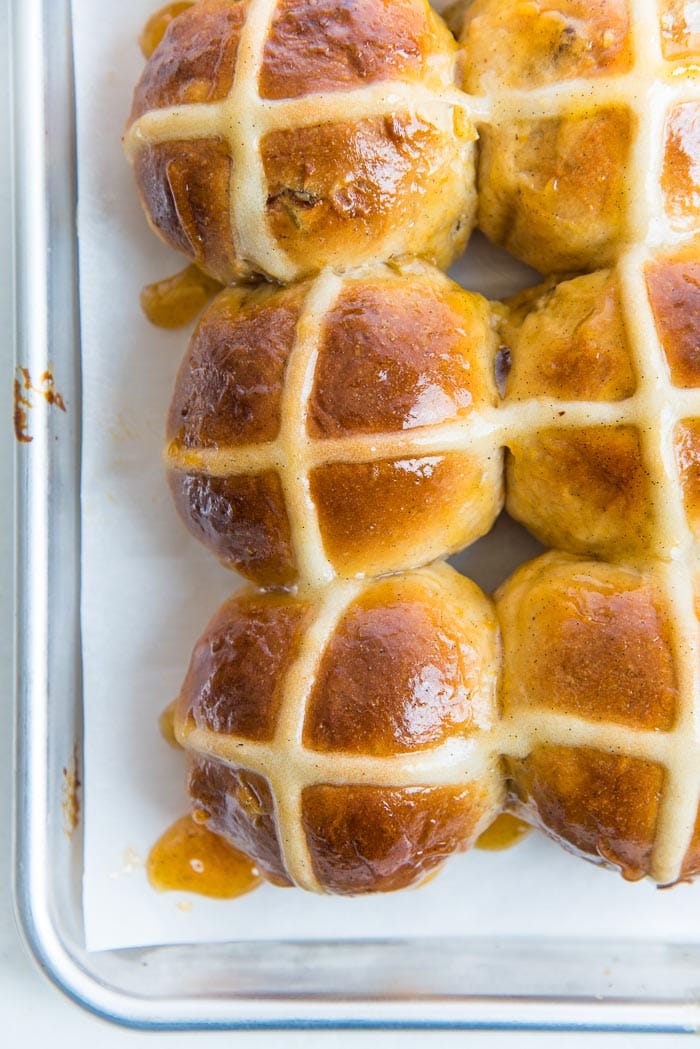
Either one works well. The egg wash glaze simply adds a sheen, and no flavor. The apricot honey glaze on the other hand, adds a sweet, fruity flavor too. This apricot honey glaze does make the spiced hot cross buns hella sticky, but so freaking delicious at the same time too! 🙂
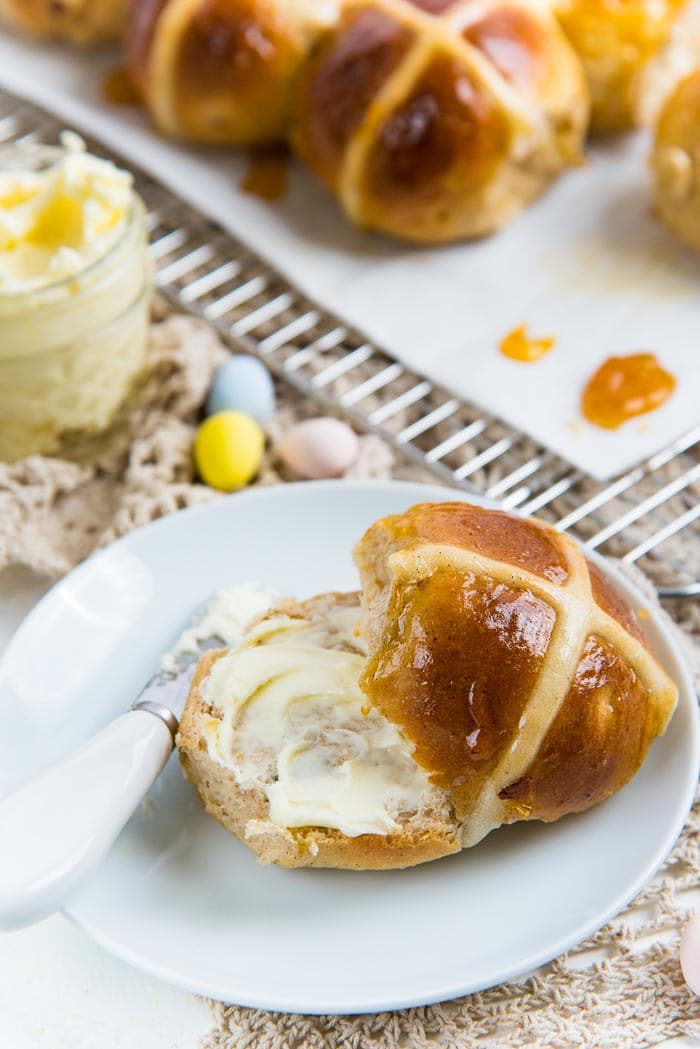
So there you have it. These spiced hot cross buns are addictive, I kid you not. And baking these sweet, spiced buns will make your whole house smell AMAZING! My favorite way to eat them is with a little salted butter, but we also like it toasted with some butter or jam. Hope you guys like ’em!
Other recipes you may like
- Spiced Chocolate Chip Hot Cross Buns
- Pastel colored Chai Vanilla Cake with Caramel Nest (for Easter)
- Pastel swirled sheet cake with Easter decorations
- Cinnamon Rolls
- Brioche Cinnamon Rolls
- Pumpkin Scones with brown butter glaze
EQUIPMENT I USED FOR THIS RECIPE
Pastry brushes – to brush the hot cross buns with glaze.
Silicone Spatulas – I love this set, and I have it in two sizes. They are perfect for different baking/cooking needs.
Stand mixer – I love my KitchenAid mixer
Measuring Cups – I prefer to use cups to measure all liquid ingredients most of the time. I absolutely LOVE my colorful cup measuring set, and I also love my pyrex measuring jugs too.
Sheet pan – You can use your sheet pan to keep the shaped hot cross buns, so that they will be ready for baking. Kitchen scale – Makes the process of weighing these ingredients much easier.
Looking for more recipes?Sign up for my free recipe newsletter to get new recipes in your inbox each week! Find me sharing more inspiration on Pinterest and Instagram.
Soft Classic Hot cross Buns
What You Need:
- Stand mixer
- Silicone spatulas
- Measuring spoons and cups
- Weighing scale
- Piping bag or ziploc bag (to pipe flour crosses)
- Pastry brush
Ingredients:
For the bread and tangzhong
- 240 mL warm milk divided in half (1 cup, divided into ½ cup portions)
- 500 g AP flour 4 cups, measured by spoon and level method
- 2 ¼ tsp active dry yeast
- 100 g granulated white sugar ½ cup
- 56 g unsalted butter melted (¼ cup)
- 2 eggs large
- 1 ½ tsp ground cinnamon
- ½ tsp allspice
- ½ tsp ground cloves
- ¼ tsp grated nutmeg
- 1 tsp salt
- Grated orange rind from one large orange
- 1 tbsp vanilla extract
Additions for the bread
- 100 g raisins
- 60 g mixed peel
- ¼ cup warm orange juice
Flour paste for the cross
- 20 g confectioner’s sugar 2 tbsp
- 62 g AP flour ½ cup, measured by spoon and level method
- 4 – 5 tbsp water 60 – 75 mL
For the glaze
- ¼ cup apricot jam
- 1 tbsp honey
- 2 tsp vanilla extract optional
Instructions:
- Measure out all the ingredients for the dough. Separate the milk into two ½ cup portions. Place ½ cup of milk in a small saucepan, and the other ½ cup in the mixer bowl.
Making tangzhong
- Take 2 ½ tbsp (about 25 g) of the measured AP flour, and whisk it into the milk in the saucepan. Make sure the flour-milk mix is completely smooth, with no lumps.
- Heat the flour-milk mix over medium heat, while whisking constantly. In a few minutes the flour-milk mix will start to thicken. Keep mixing while whisking, until you have a runny paste. Remove from the heat. The tangzhong paste is now ready. (It should weigh about 130 to 140 g – about ½ cup).
- Cover the tangzhong with plastic wrap, making sure it's touching the surface of the paste. Let it cool down to room temperature before using.
Activating yeast
- Dissolve about ½ tbsb of the sugar in the warm milk in your mixer bowl. Sprinkle the yeast over the milk and stir gently. Let the yeast activate for about 10 – 15 minutes until it looks frothy and foamy.
Additions (prepare this while the dough is proofing for the first time)
- Let the raisins sit in the warm orange for at least 30 minutes (this is to soften the raisins and for them to absorb orange flavor). Drain and just lightly squeeze the raisins to make sure they are not soaked.
- If you’d like to, you can add bourbon or brandy or cognac to the orange juice as well.
Flour paste for the crosses (prepare this while hot cross buns are proofing for the final time)
- Place the flour and confectioner’s sugar in a bowl and whisk together.
- Add water, 1 tbsp at a time, until you have a smooth paste that's runny enough to pipe easily, but will not run off the sides of the buns either. (For me, this is about 4 tbsp and a bit of water).
- Place the flour paste in a small piping bag, or a ziploc bag and set aside.
For the sweet glaze (make this when the hot cross buns are almost done baking)
- Place the jam, honey, and vanilla in a saucepan. Heat over low heat until the mixture is runny and liquid. To make the glaze even smoother, pass the jam mix through a fine sieve to remove any bigger chunks.
- Return the glaze to the saucepan and keep it warm until the hot cross buns are ready.
- See recipe notes for egg wash instructions.
Hot cross bun dough
- In to the mixing bowl with the activated yeast – add the sugar, eggs, melted butter, spices, zest, tangzhong, and vanilla. Add the remaining flour, and finally the salt.
- Mix all the ingredients together to form a scraggly dough.
- With the kneading hook attached to the stand mixer – knead the dough until you have a smooth dough (about 2 – 3 minutes). Check the consistency of the dough. It should be soft and sticky. When kneading the dough at mid speed, the dough should still stick to the bottom, but not to the sides of the bowl. If needed add more milk to the dough to get it to the right consistency.
- Knead the dough for a further 10 – 12 minutes. (See recipe notes about adding the raisins at this point).
- When the dough is smooth and shiny and well kneaded, you can add the prepared raisins and mixed peel, and fold them into the dough until they are well distributed. You can knead the dough in the mixer on low speed to incorporate them. However, I prefer to flatten out the dough on a very lightly dusted surface and sprinkle the raisins and mixed peel over the dough. Then roll up the dough and knead it for a couple of minutes to mix it all in evenly.
- Place the ball of dough in an oiled bowl, covered with plastic wrap. Allow the dough to rise, until doubled in size (about 1 hour).
- When the dough has proofed, you can use it right away, OR you can deflate the dough, reshape it and refrigerate the dough for 2 – 24 hours. A chilled dough will be easier to shape.
- When the dough has proofed, gently press on the dough to remove excess air.
- Divide the dough into 15 equal portions. (Weigh the dough and divide the weight by 15. This is how much each portion should weigh. This can be between 73 – 77 g).
Shaping the dough balls
- Line a half sheet baking pan, or a jelly sheet pan with parchment paper.
- Take each dough portion, and fold over the edges towards the middle. Then pinch these edges at the bottom to seal. Gently roll the ball of dough on your work surface (seam side down) with a cupped hand to shape the dough ball. Make sure the work surface doesn't have any flour to allow the dough to tighten into a smooth ball.
- Place each of the dough balls on the prepared baking pan, in a 3 x 5 configuration. Leave about ½ – ¾ inch of space between the dough balls.
- Cover the hot cross buns, and let them proof for the final time. On a cold day, this takes me about 90 minutes, and on a hot day, about 45 minutes. The way I test for proofing is by gently pressing my finger tip into a couple of the buns. If the indentation springs back up, then it’s not ready. If the indentation remains, then they are sufficiently proofed and are ready to be baked.
Baking the hot cross buns
- While the dough is proofing, prepare the flour paste for the crosses, and preheat the oven to 375°F.
- Snip off the edge of the piping bag (make sure the opening is smaller than the desired thickness of the lines that you want to pipe). Pipe the flour paste over the hot cross buns.
- Place the buns in the preheated oven and bake for 25 – 30 minutes. Rotate the tray if needed, halfway through baking.
- While baking, prepare the sticky glaze, and keep it warm.
- As soon as the buns are done baking (an instant read thermometer will register at 200°F or over when they are done baking), remove the baking tray from the oven, and let the hot cross buns cool for a few minutes.
- Brush the warm apricot glaze over the warm buns, and then let them cool completely.
- These are best eaten warm or lightly toasted with a little butter. Enjoy!
Tips & Tricks
- Use almond milk instead of regular milk for the recipe.
- Instead of 2 eggs, add 1/4 cup apple puree and another extra 1/4 cup almond milk.
- Use vegan butter in place of regular butter.
Nutrition Information:
“This website provides approximate nutrition information for convenience and as a courtesy only. Nutrition data is gathered primarily from the USDA Food Composition Database, whenever available, or otherwise other online calculators.”

shl says
Thank you for the recipe! I made it today and the flavour and texture of the buns were lovely. The only thing was that the dough was a right pain to handle without a mixer, but it was worth it.
Teresa says
This is the third time I’m using your recipe and I always so pleased with the result. Thank you. I do add a little flour but am careful not too overdo it, always great results!
Ebony says
Interesting recipe. Can I place my oven on 350 degrees instead
Dini says
Hi Ebony
Yes you can bake these at 350 as well. The bake time will have to be adjusted to make sure the buns bake through.
I hope that helps
D. Sawyer says
I tried this recipe more than once and each time the dough was just too sticky. I kneaded well over 10 mins….more like 20 mins (by hand). It was too much. I followed the recipe to the T but still ended up having to add more flour because the dough wouldn’t come together. The flavor is great but resulted in a heavy, dense bun.
Dini says
Hi D
As noted in the recipe, this is a sticky dough! It’s meant to be, so you get soft and fluffy buns. Kneading it will make it less sticky as the gluten develops. If you had followed the recipe as instructed, you would have ended up with perfectly soft buns. Unfortunately since you added extra flour, the dough became too stiff and it resulted in heavy, dense buns. I hope that helps.
Tania says
Delicious hot cross buns thank you. Made a variation on your cross recipe and glazed with golden syrup. Also reduced sugar in buns. This was my second attempt at your recipe and I made it completely by hand this time as it is easier to tell if the moisture in the dough is correct. Will definitely use this recipe again. I have also made your Croissant and Japanese Milk Bread recipes successfully. Today I’m attempting roti.
Dini says
Thank you so much for letting me know Tania, I’m so happy you’ve had great results with the recipes. Good luck with the roti too! 🙂
Anne says
I would really love to try this method. Any advise on preparing them to freeze before baking? Or bulk proof in the fridge overnight?
Dini says
Hi Anne
You can absolutely bulk proof in the fridge overnight. However, depending on how much the dough rises in the fridge, you may need to let it proof at room temperature after taking it out from the fridge as well.
This is because, the rate at which the bread will proof in the fridge overnight will vary greatly depending on the temperature of the fridge and the initial temperature of the dough and how active the yeast is.
Hope that helps!
Nora Butler says
This recipe is similar to one I have used in the past except this has the addition of tangzhong. It will be my first time trying a recipe with it.
I love the detail you give your recipes.
Thank you.