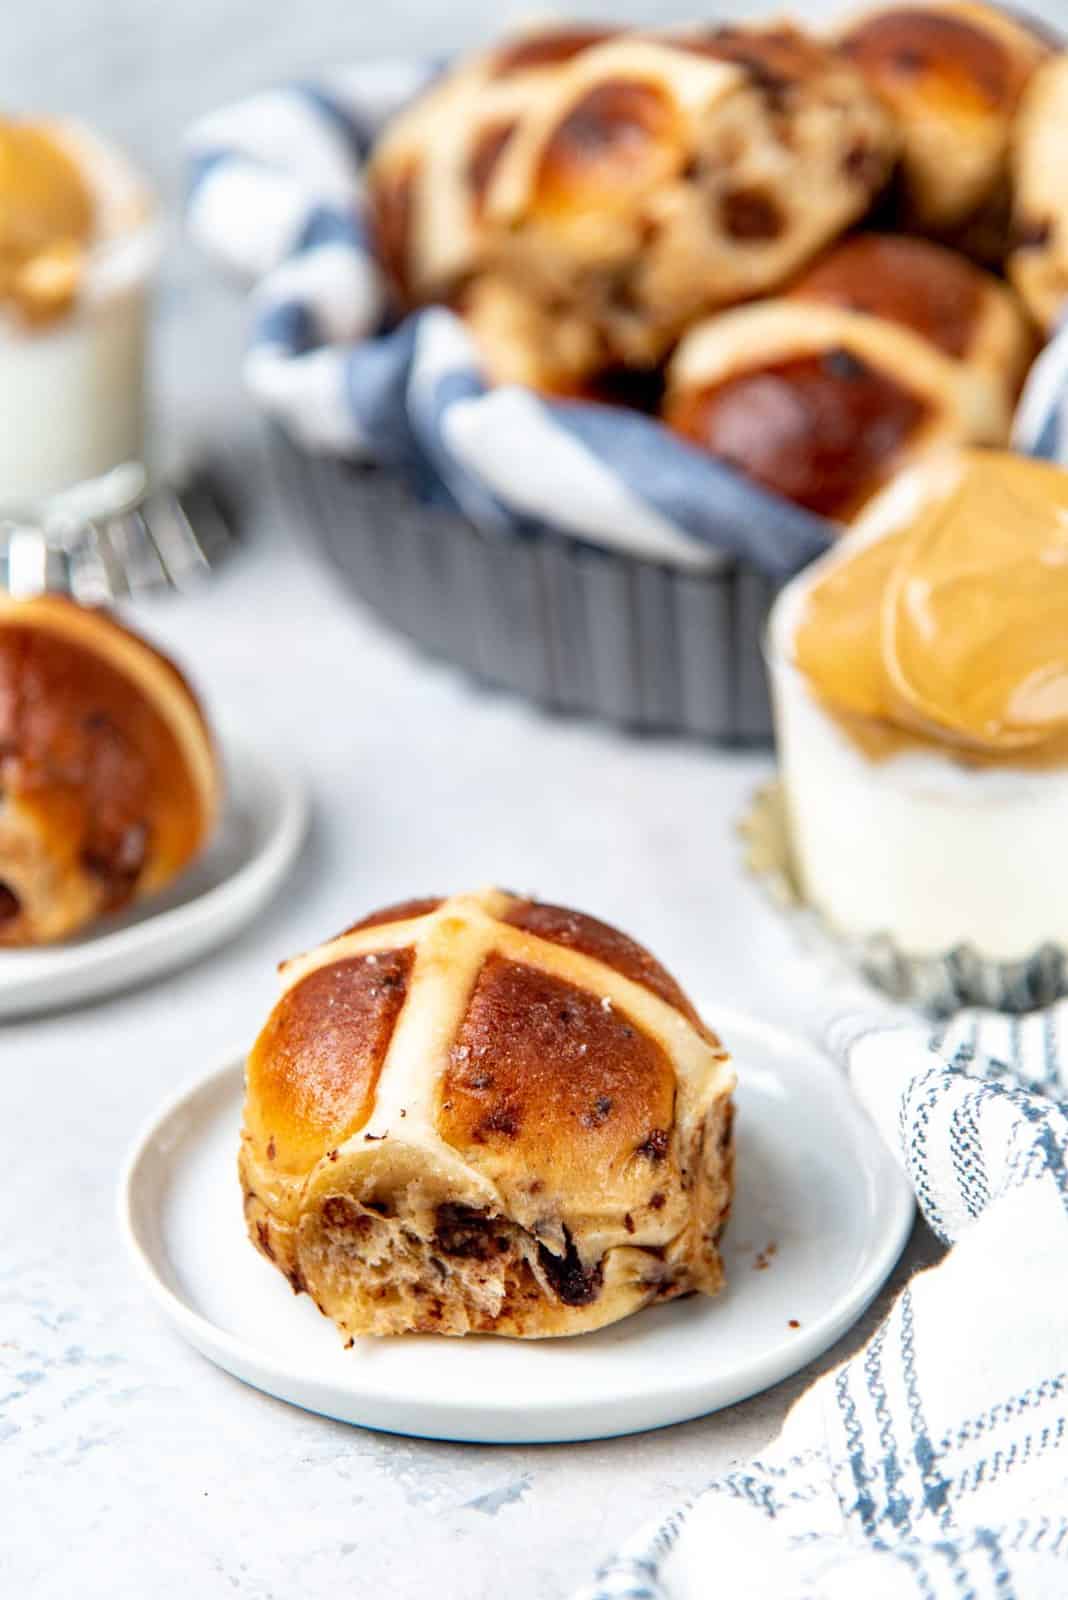
These spiced chocolate chip hot cross buns are a delicious twist on classic hot cross buns. Soft and fluffy, spiced with cinnamon and cardamom, and packed with semisweet chocolate!
For more delicious Easter treats, check out my best carrot cake recipe with perfect cream cheese frosting, chai and vanilla Easter cake, and swirled pastel cake (ribbon cake)!
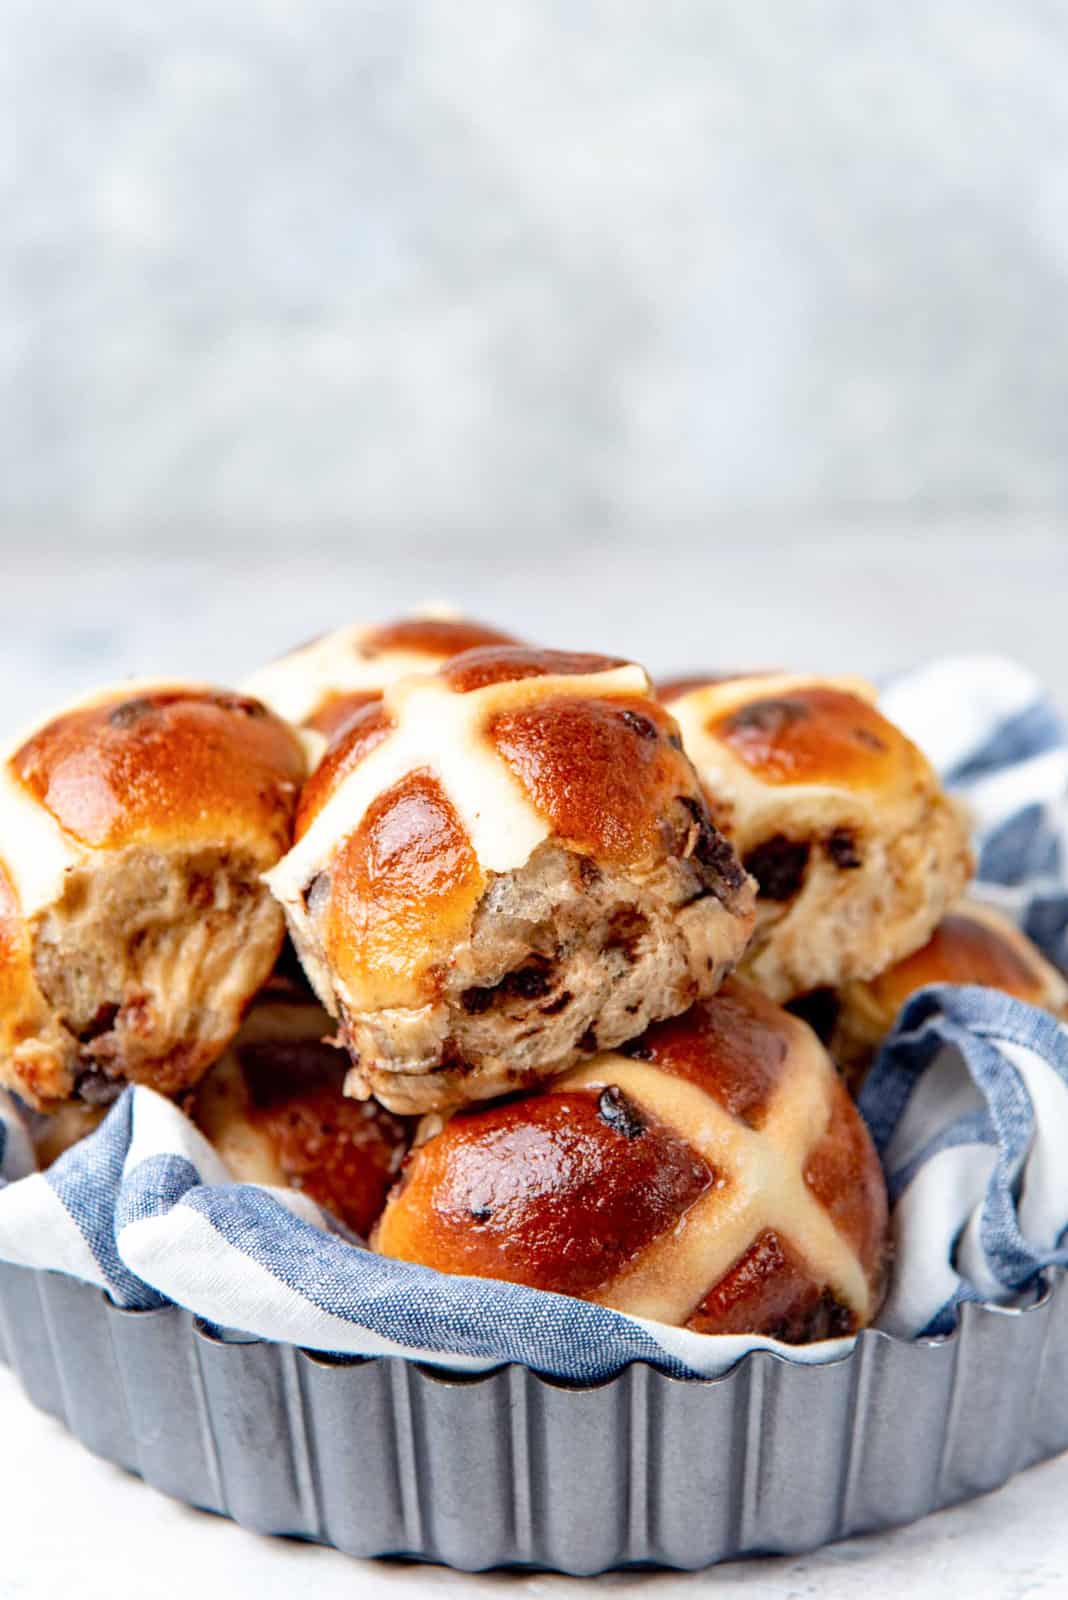
Easter this year feels different for obvious reasons. There’s a lot of things I’d love to make, but I can’t, because flour is at a premium these days. So I’ve had to ration my flour and use it only for necessities. You bet your bottom dollar these cardamom spiced chocolate chip hot cross buns are a necessity.
Why you’ll love these hot cross buns
- This recipe makes soft and fluffy buns using the tangzhong method (used to make fluffy Japanese milk bread).
- They’re even better the next day!
- A lovely balance between sweet and the dark chocolate.
- Chocolate chips! Who doesn’t love chocolate chips?
- You can even add nuts for some crunch.
- Lastly, you never have to wait for Easter to enjoy hot cross buns!
What is tangzhong?
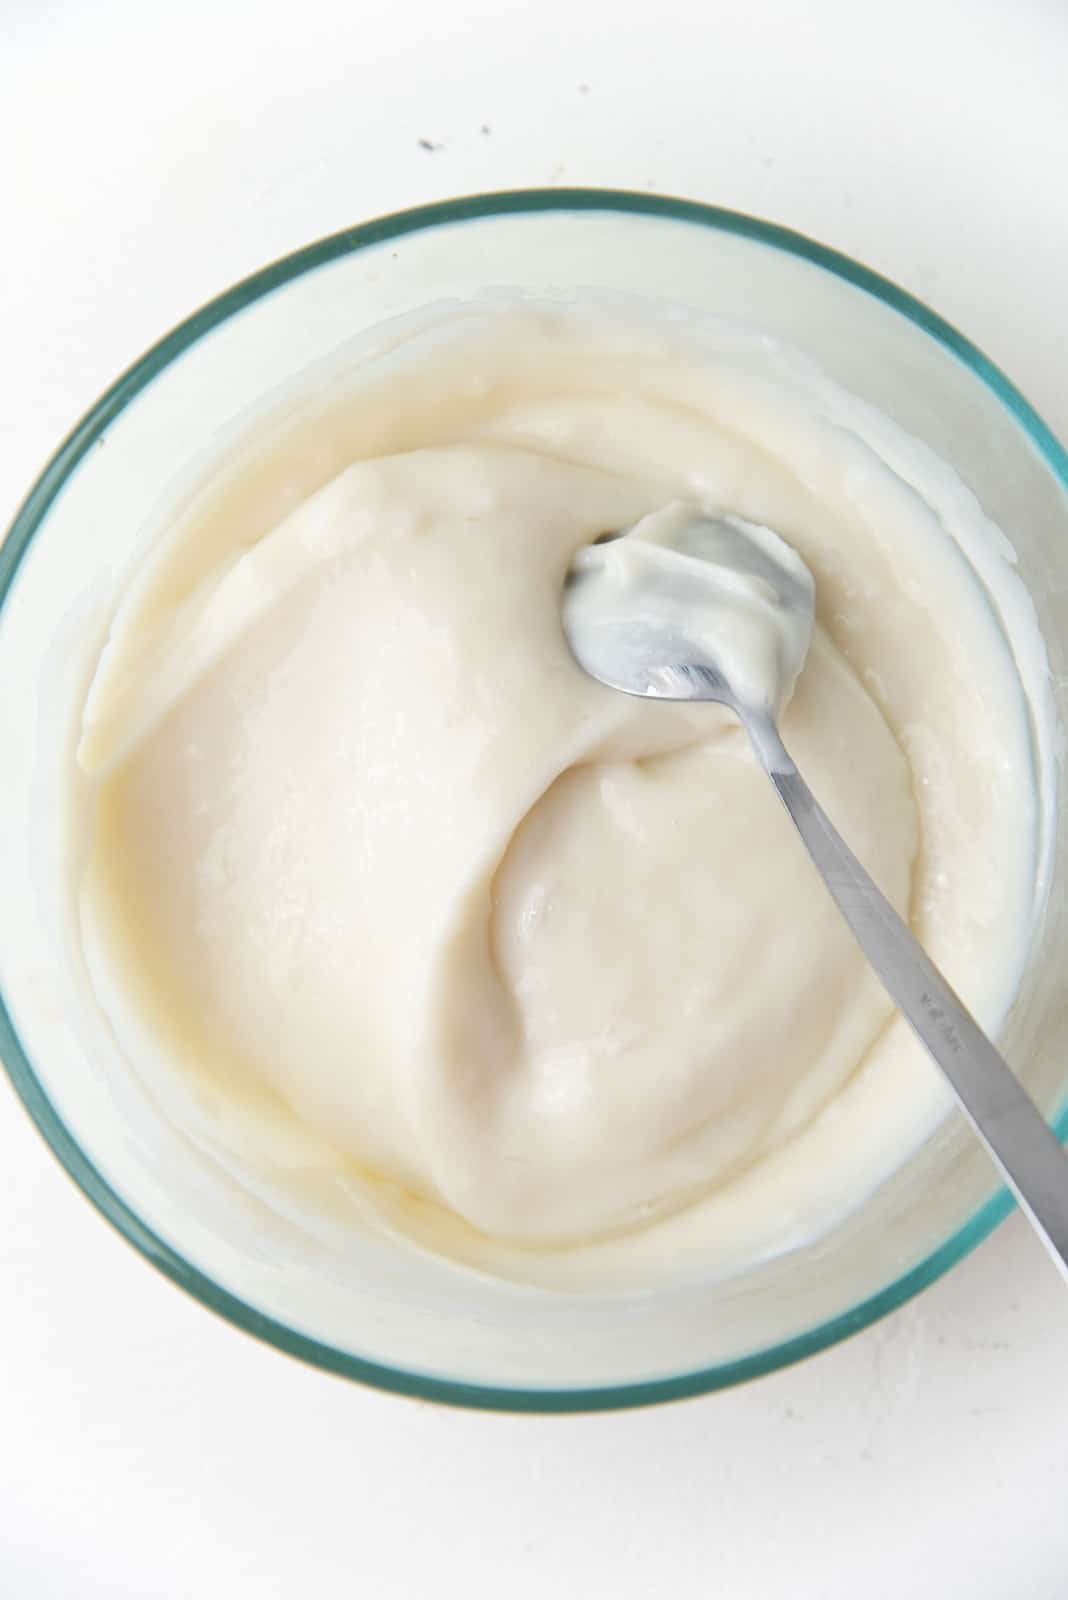
Tangzhong is an east Asian technique of making a water roux, which is later added to the dough. This thick paste is usually made with water and flour, but can also be made with milk and flour (as is the case here).
You can check out my Japanese milk bread recipe to find out more about tangzhong and how to make bread loaves with it.
Can I use bread flour instead of AP flour?
Yes, you can! But I would add about 1 – 2 tbsp extra water, because bread flour absorbs more water than AP flour.
I don’t have cardamom at home. What can I use instead?
I personally love the combination of cardamom and chocolate. But if you don’t have any cardamom at home, you can use just the cinnamon. But you can also add other spices like,
- allspice
- cloves
- orange zest (or orange extract)
- nutmeg (use only about 1/2 tsp)
When do I add the chocolate chips?
I’ve talked about this in my classic hot cross buns post as well. I prefer NOT to add the chocolate chips / nuts to the hot cross buns until AFTER the gluten has had a chance to develop in the dough.
If you add chocolate chips at the start, the chips will “tear” the gluten as it’s being kneaded, and not allow for the buns to have great structure.
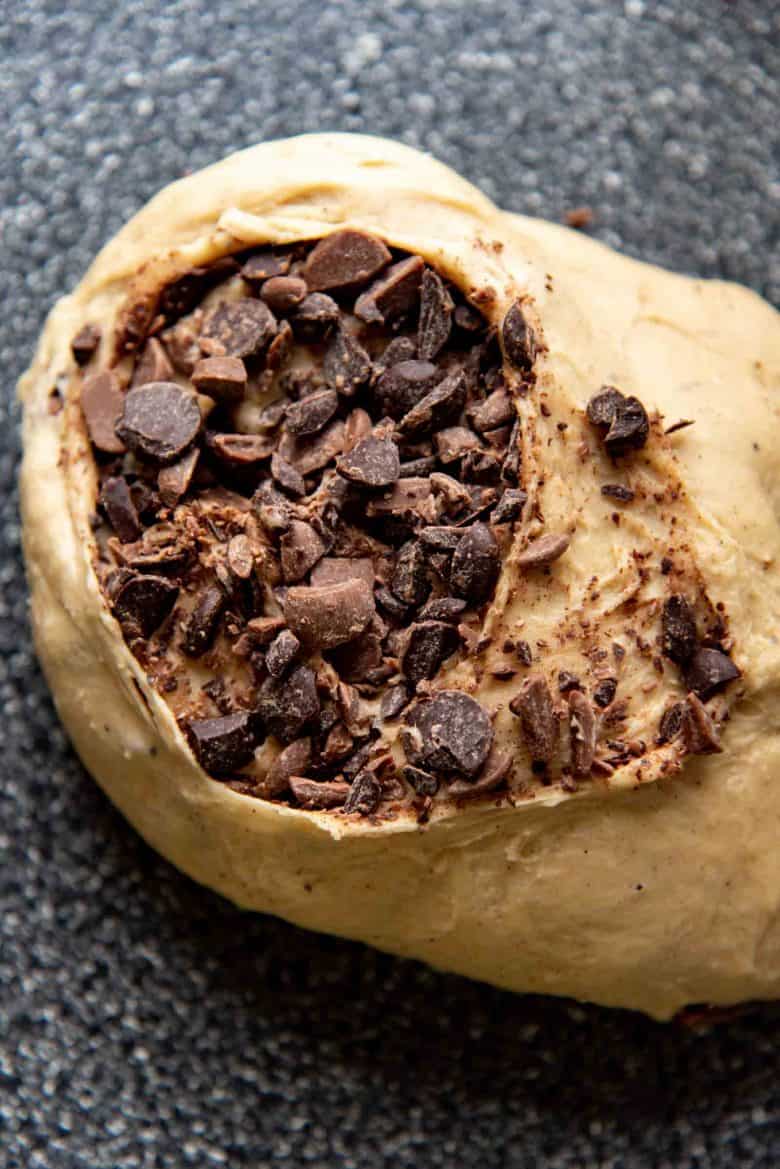
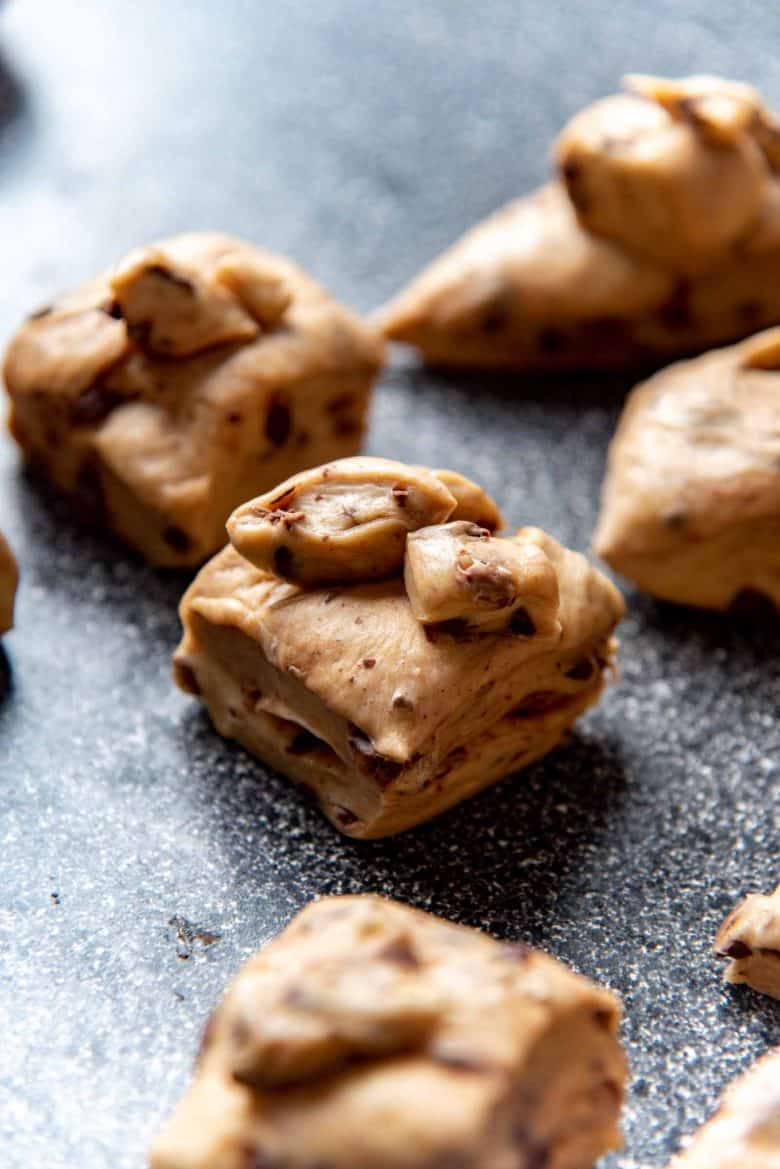
So, I prefer to add the chocolate chips after the dough has been kneaded until nice and smooth. Then, I knead in the chocolate chips and other add-ins.
How to make chocolate chip hot cross buns
Making tangzhong
To make the tangzhong you need to mix 5 : 1 ratio of liquid and flour. I make this with milk, but you can make it with water too.
The amount in the recipe here is the smallest amount of tangzhong that can be reliably made – 1/2 cup of milk + 24 g flour (approximately 2 1/2 tbsp). So if you want to make a half a batch of these hot cross buns, you will still have to make the full amount of tangzhong.
Whisk the flour and milk together until the mixture is smooth, in a small saucepan. Cook the mix (while whisking) until it thickens to a pudding-like consistency. Thick, but still with a little flow.
Place the tangzhong in a bowl, and cover it with plastic wrap that is touching the surface (to prevent a skin from forming on top). Let it cool down to room temperature. You can keep it in the fridge or freezer to speed up the cooling process. Just remember to take it out in time so you don’t end up with frozen tangzhong.
Activating the yeast
If you’re using active dry yeast like I am, then you may need to activate it first. I don’t always activate mine ONLY because I am 100% sure that my yeast is active. I use Bob’s red mill active dry yeast, which is a finer granule, and it dissolves quickly in the liquid too.
If you’re not sure if your yeast is fresh / active, then I HIGHLY recommend activating the yeast in the warm milk + 1 tsp of sugar first.
Dissolve a little sugar in the warm milk (about 100°F), in a large bowl or you stand mixer bowl. Sprinkle the yeast over the surface. Whisk gently to dissolve the yeast and let it sit for about 10 – 20 minutes, until the milk looks frothy / bubbly on the surface.
Now you’re ready to make the dough.
Making the chocolate chip hot cross bun dough
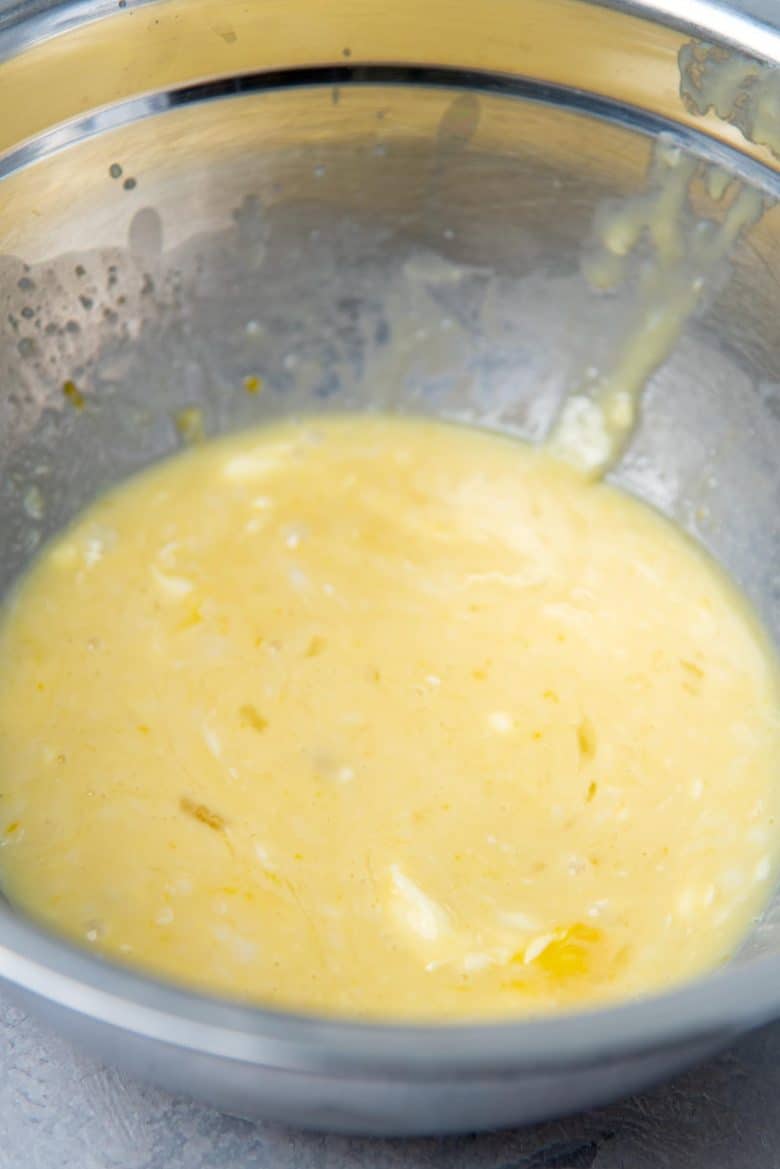
Add ALL of the ingredients into the activated yeast. First add all the wet ingredients, melted butter, eggs, vanilla, and the tanzhong.
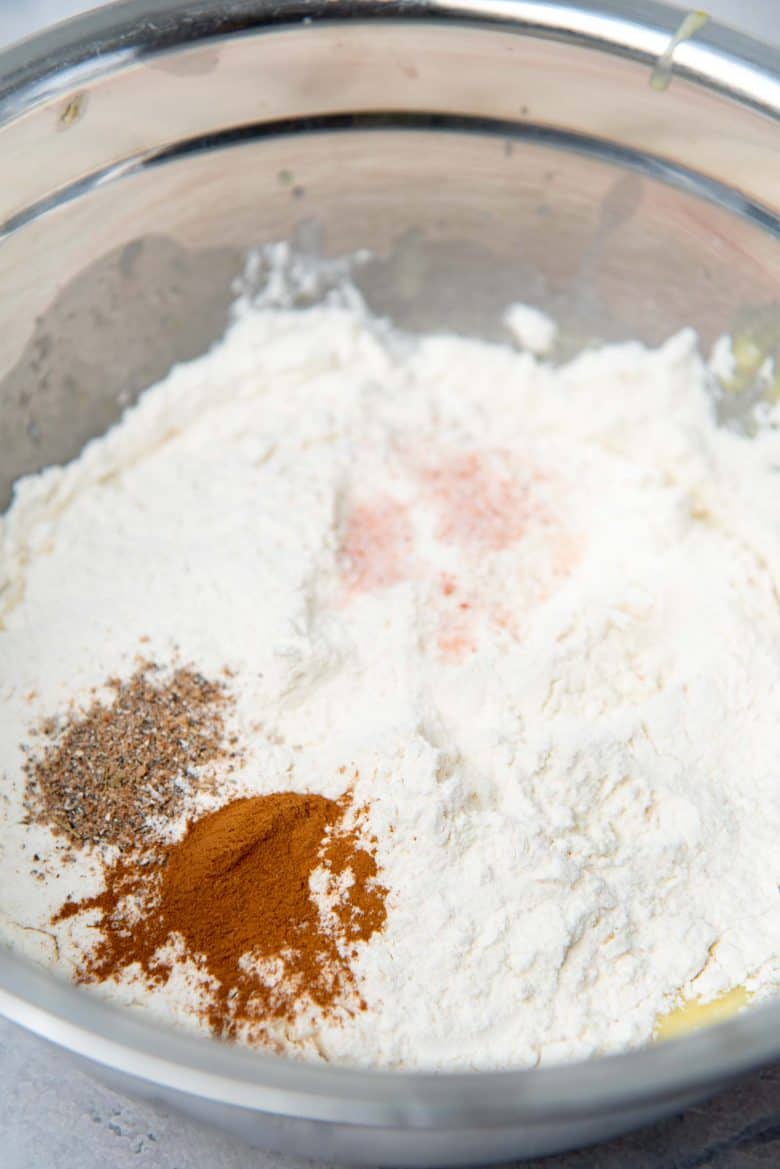
Then follow it with the dry ingredients – AP flour, spices and lastly the salt (it’s best not to let the salt come into direct contact with the yeast mixture, until the kneading process starts. This is because salt kills yeast).
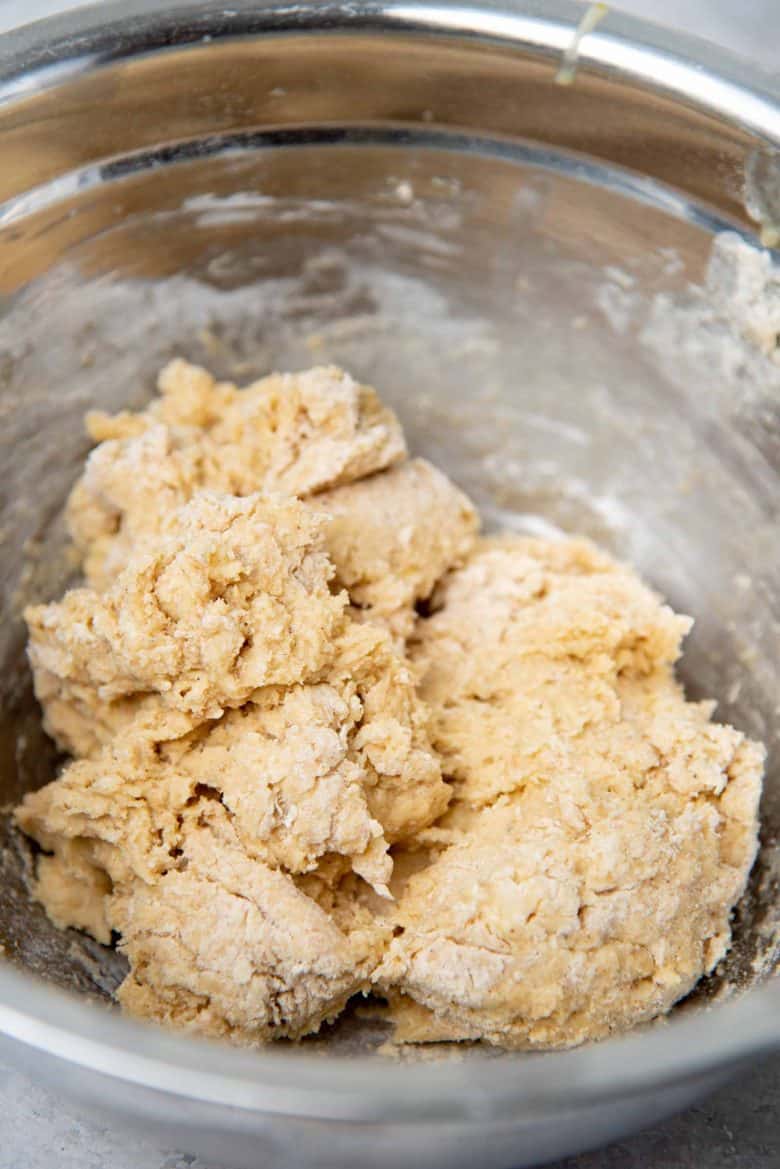
Using a dough hook (the same one from your mixer is fine), or a spatula / spoon, mix together the ingredients until you form a scraggly dough.
Now it’s time to knead the dough. Knead the dough with a dough hook attached to your stand mixer. Be patient here, because you want that gluten to develop.
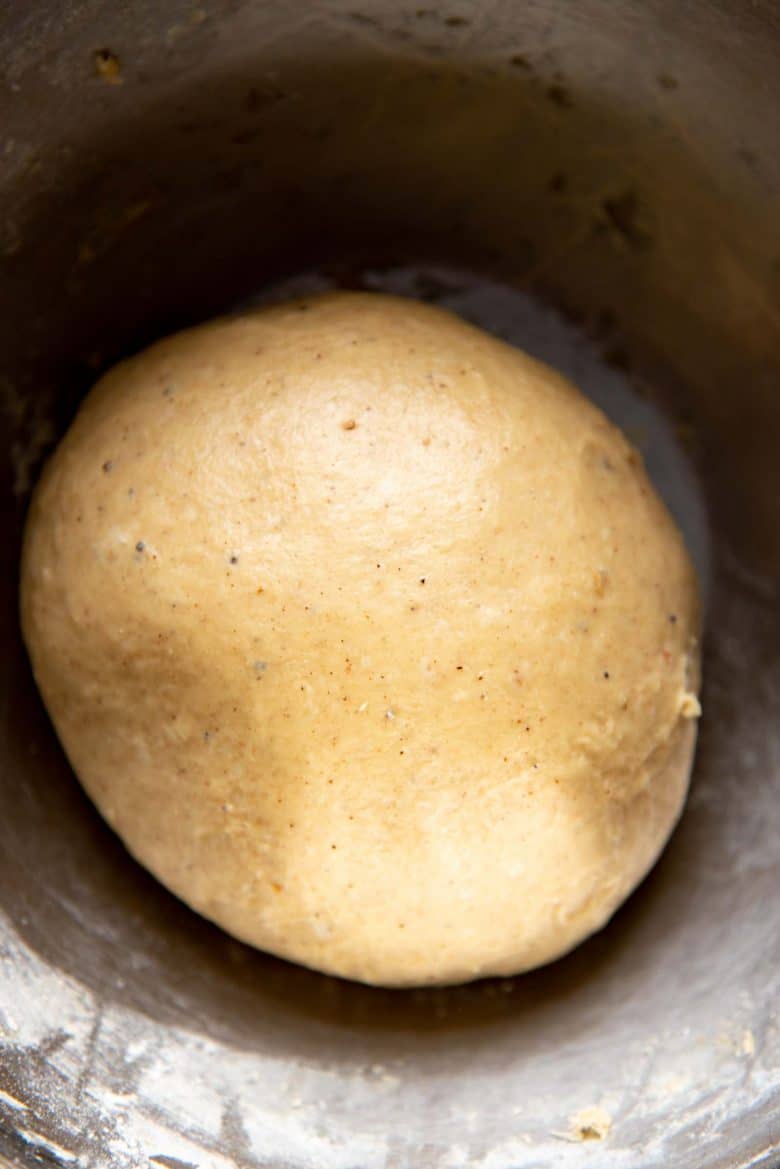
I knead my bread for about 10 – 12 minutes on speed 2 – 3 (on my kitchen aid stand mixer) until the dough looks shiny and smooth. Remember it is a sticky dough, so scrape down the sides at least twice during the kneading process.
You will see how the scraggly dough transforms into a shiny, smooth dough ball. It’s super satisfying! 🙂
Adding the chocolate chips
You can add any kind of chocolate chips to your hot cross buns! White chocolate, milk chocolate, semisweet or even bittersweet chocolate.
I prefer adding semisweet chocolate chips (55 – 65% cocoa content). It’s the perfect balance of sweet and bitter for these hot cross buns, but if you want an even richer, deeper flavor, go with bittersweet chocolate.
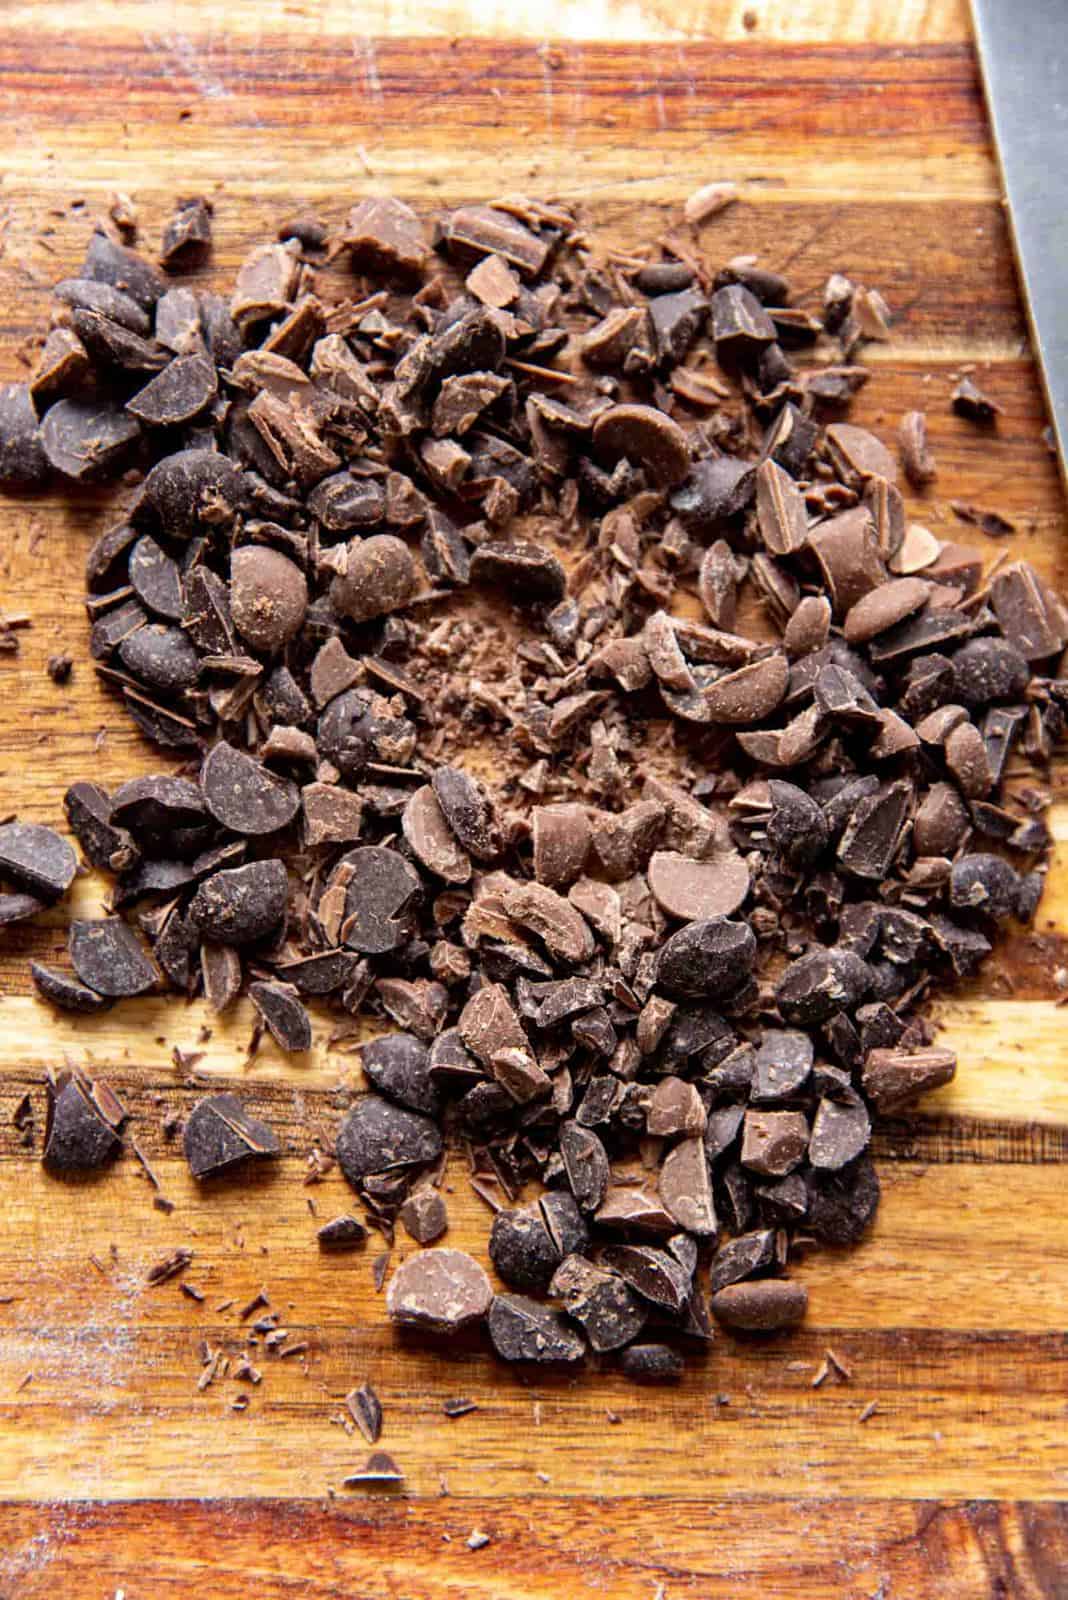
If you can, use couverture chocolate. If your chocolate chips are on the larger side, then chop them into smaller pieces. Smaller chocolate chips will spread more through the dough than larger pieces.
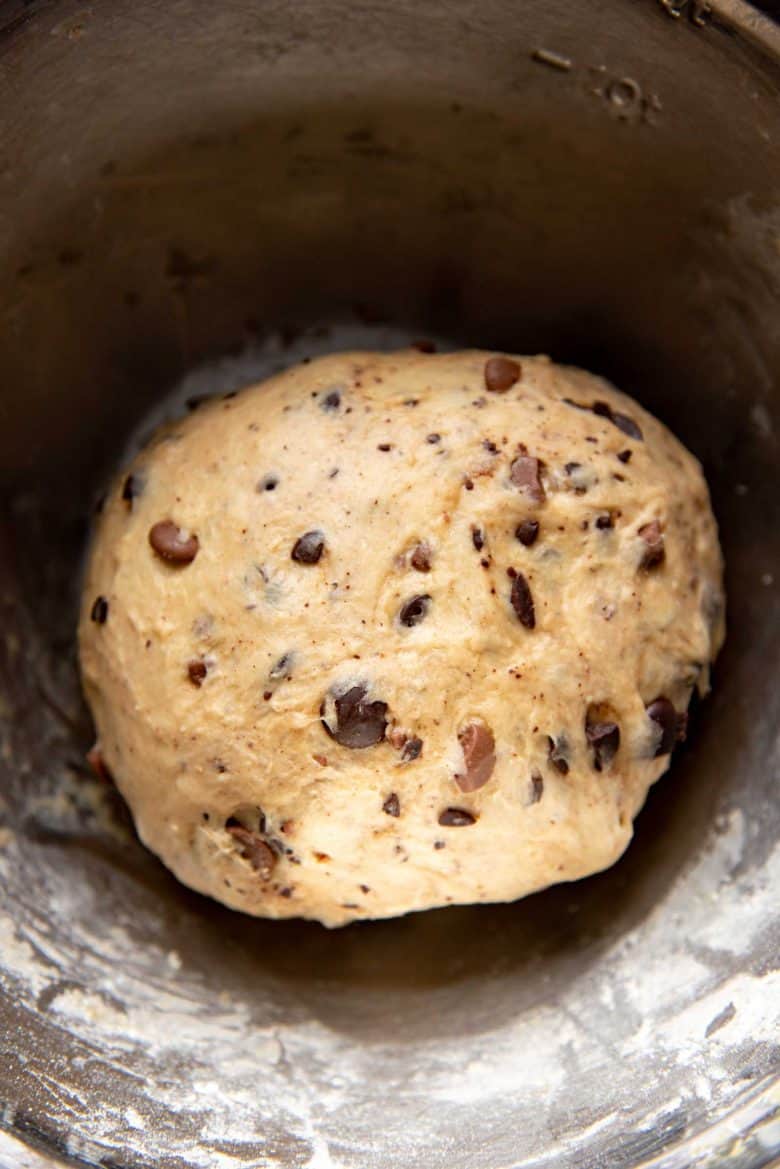
You can add the chocolate chips to the kneaded dough, and knead it for a further 5 minutes to disperse the chocolate evenly through the dough. However, I prefer to place the dough with the chocolate chips on a lightly floured surface and knead the dough by hand to distribute and chocolate chips through the dough. Make sure to use only the smallest amount of flour to do this though.
Once the chocolate chips are mixed in, it’s time for the first proofing of the dough.
First proof
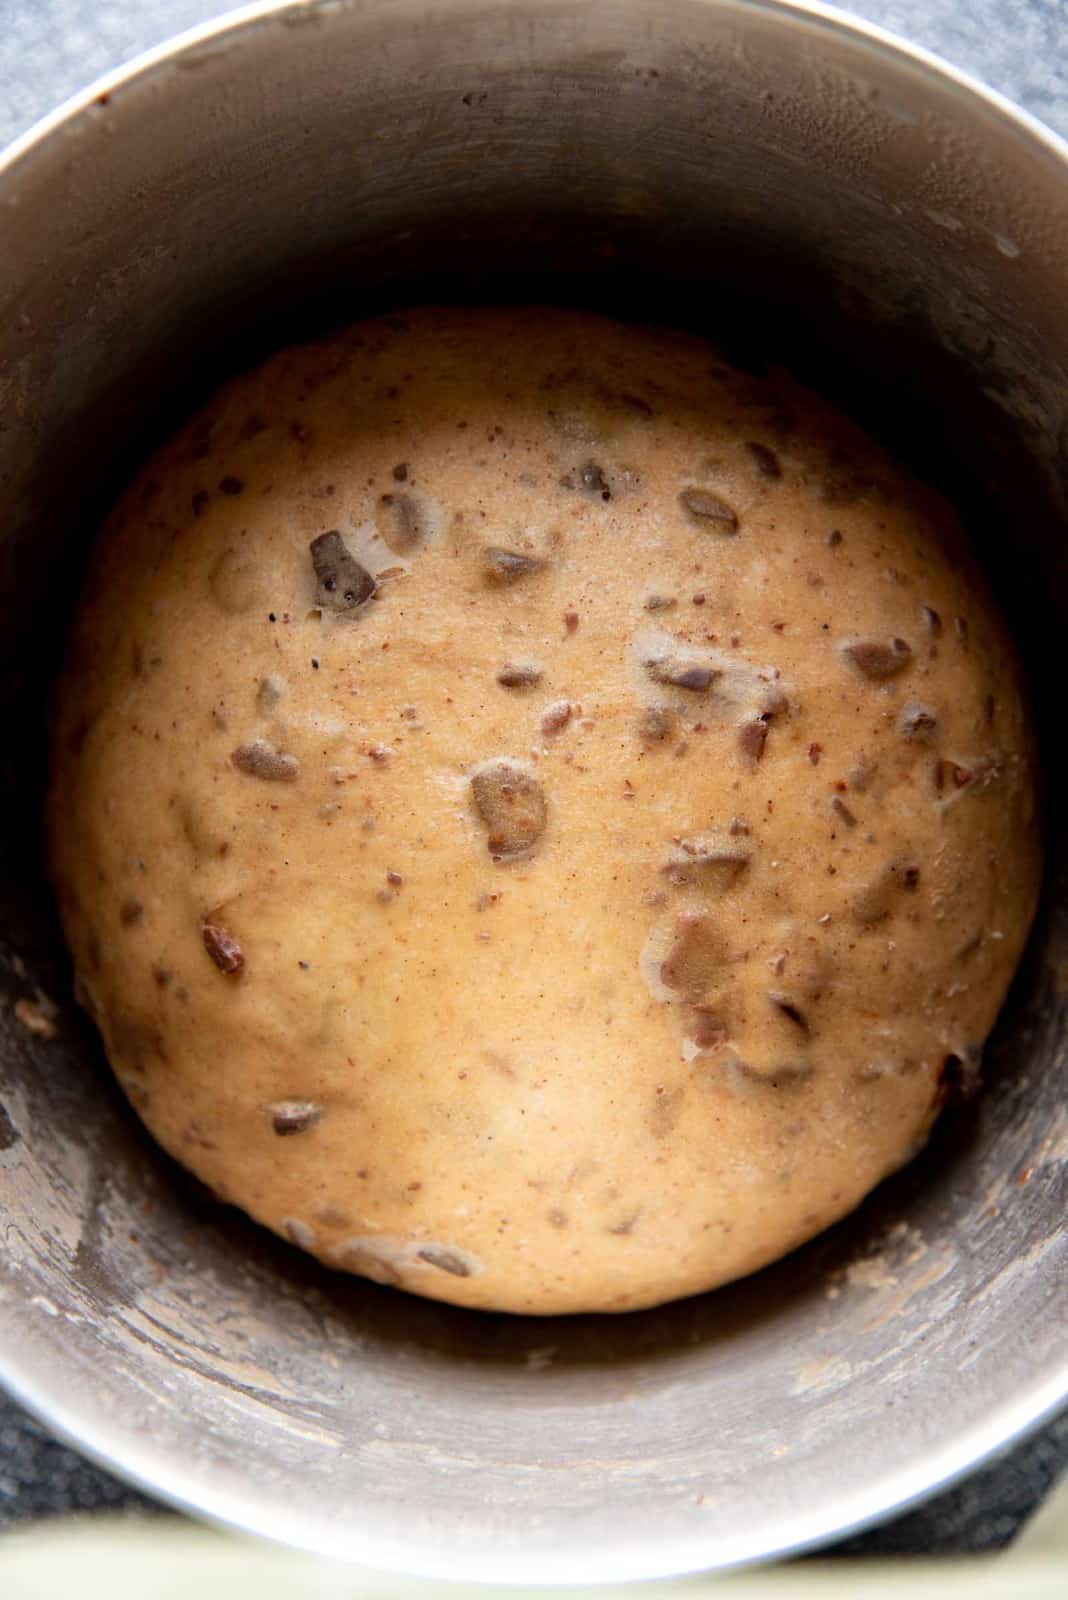
Place your hot cross bun dough in a lightly oiled bowl. You can use the same mixer bowl that you kneaded the dough in. Cover the bowl with plastic wrap and let it proof in a warm place for about one hour or until doubled in size. This can take as little as 45 minutes, or up to 2 hours depending on the ambient room temperature.
After the first proof, deflate the dough (gently press the dough to remove excess air). At this point, you have two options.
- Proceed with shaping the buns.
- Place the dough back in the bowl and leave it in the fridge for up to 24 hours. A chilled dough is definitely easier to work with, so I do like to do this if I have time.
Shaping the dough
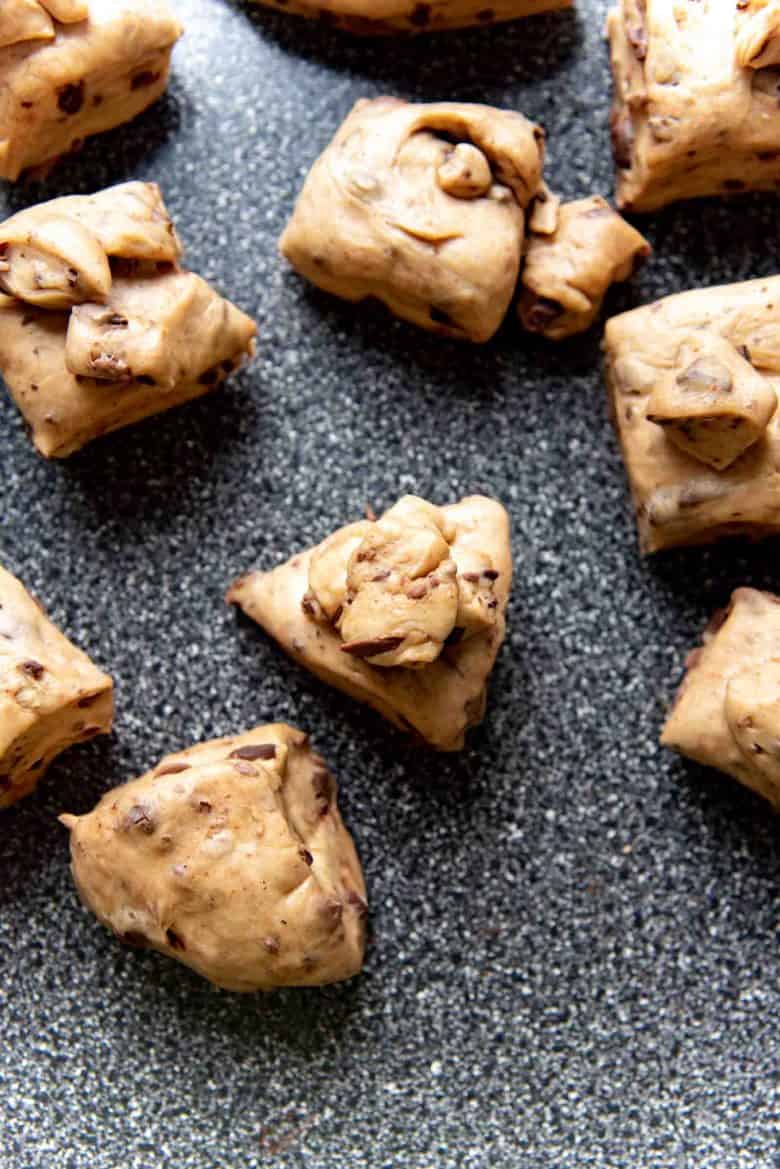
The dough will be shaped into 15 buns. To make sure each portion is similarly shaped, it’s important to divide the dough portions equally.
Weigh the dough to find out how much 1 portion of dough should weigh when divided by 15. By my calculations, it’s usually between 73 – 80 g per portion – so it’s best to find out before you start dividing it.
Once the you have portioned the dough, it’s time to shape it.
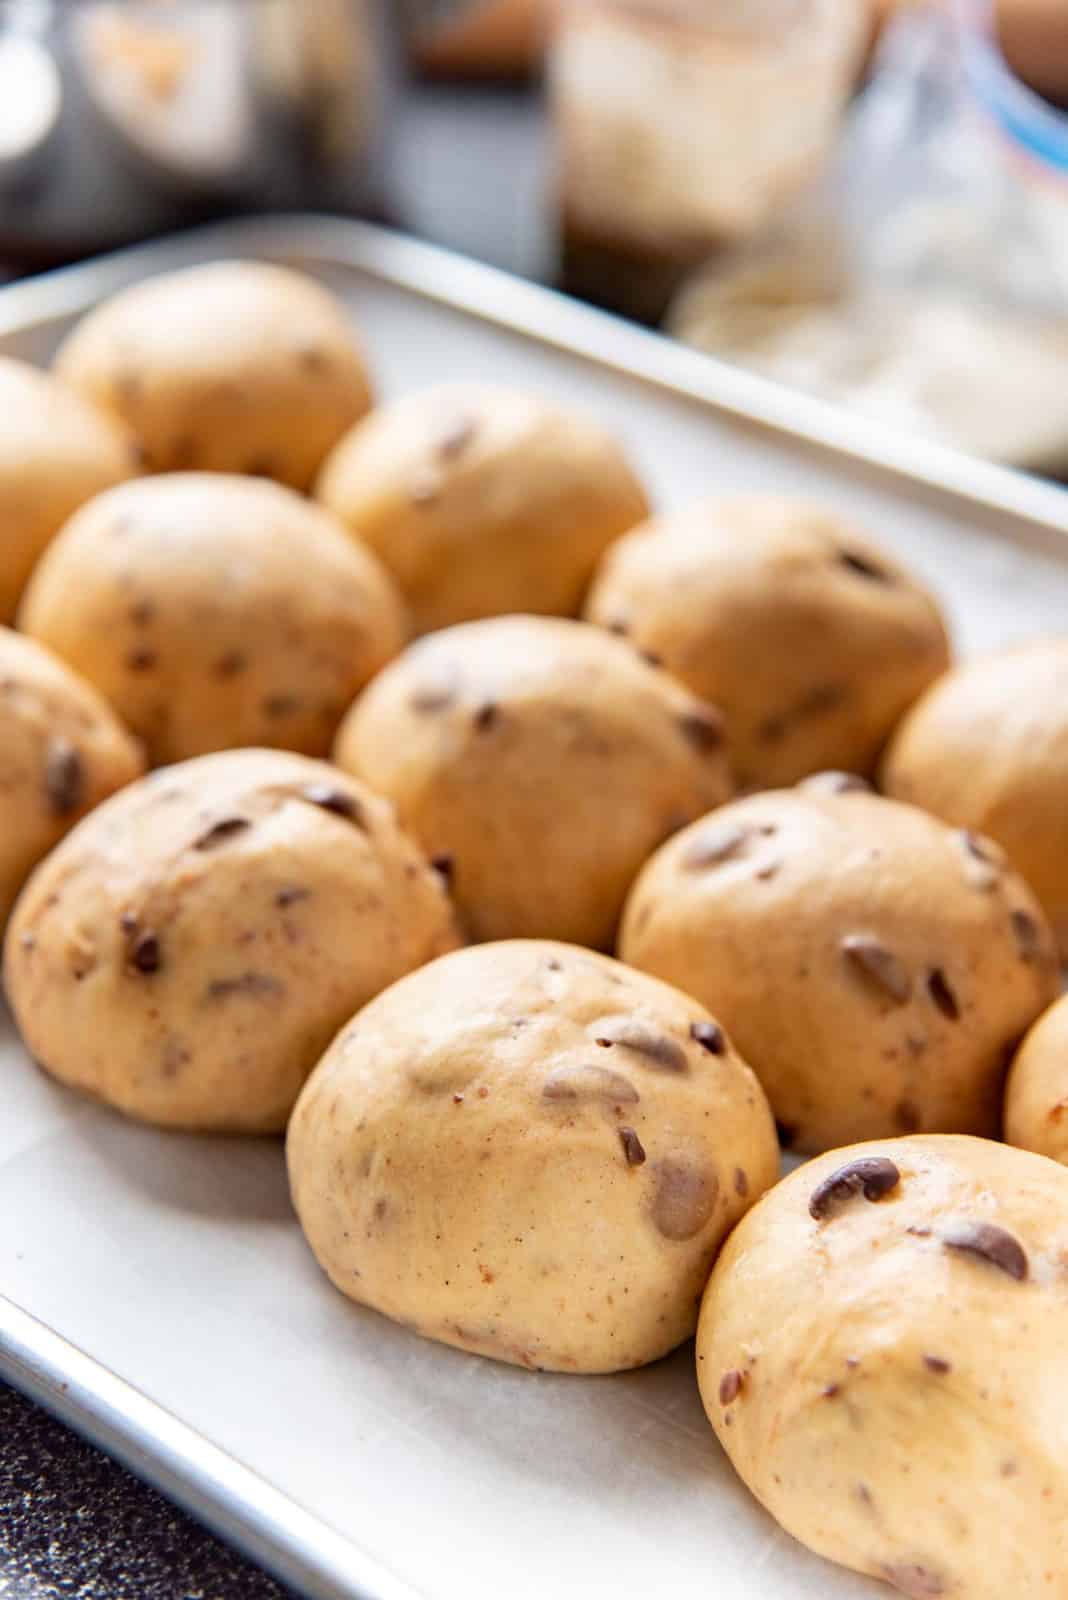
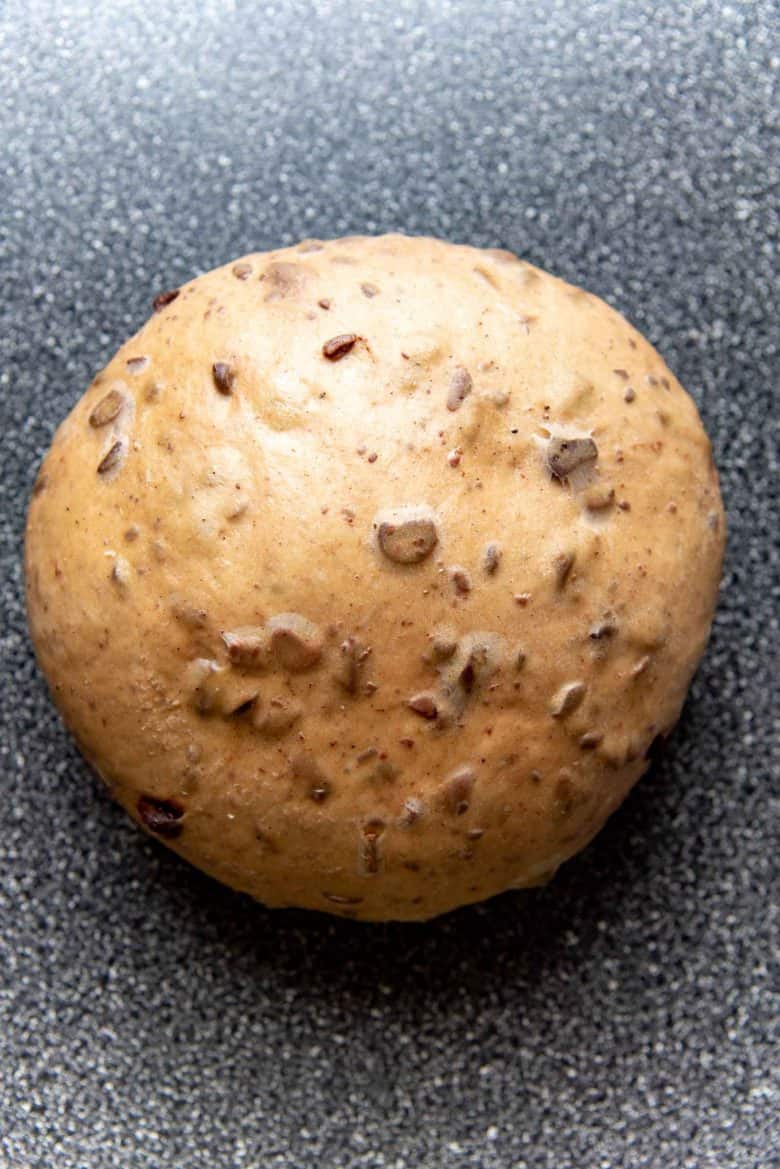
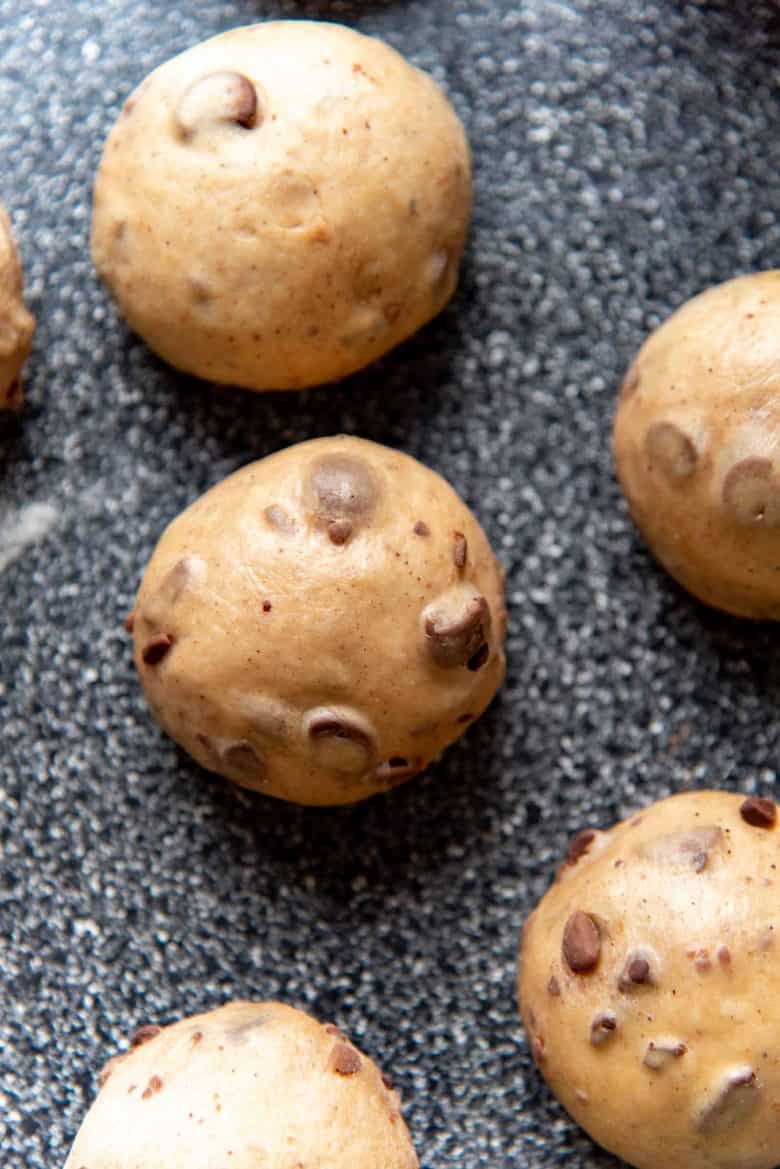
Keeping the smooth side down, fold in the edges of each dough portion towards the middle. Pinch the folds together to seal.
Turn the dough ball over, so that the smooth side is on top now. Cup your hand over the dough ball and roll it against the work surface to shape the dough ball with your palm. You should end up with a smooth, round ball of dough with the seams at the bottom. Pinch the seams again to seal and you now have one “bun”.
Always remember to keep the dough pieces, and the formed buns under plastic wrap or tea towel to prevent them from drying out.
Prepping the buns for baking + second proof
Line a half sheet pan with parchment paper. OR, you can also lightly grease a half sheet pan with butter and dust it with flour.
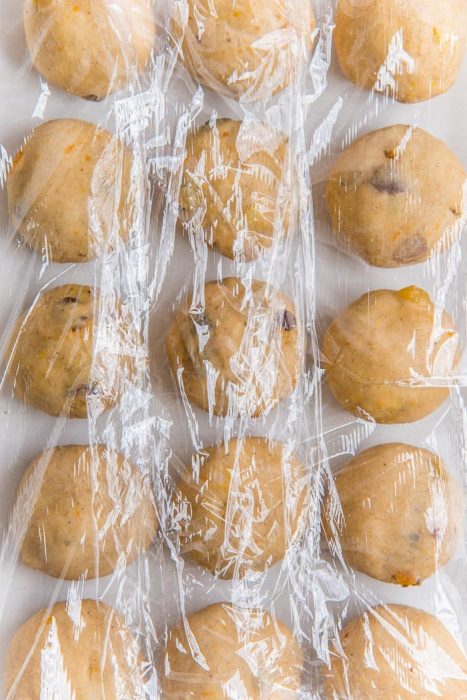
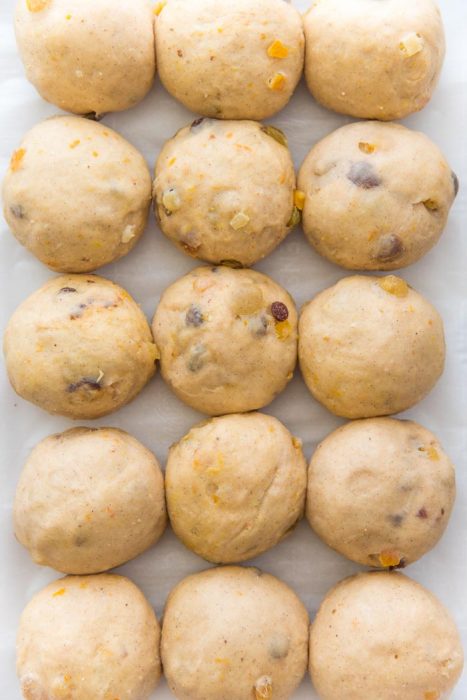
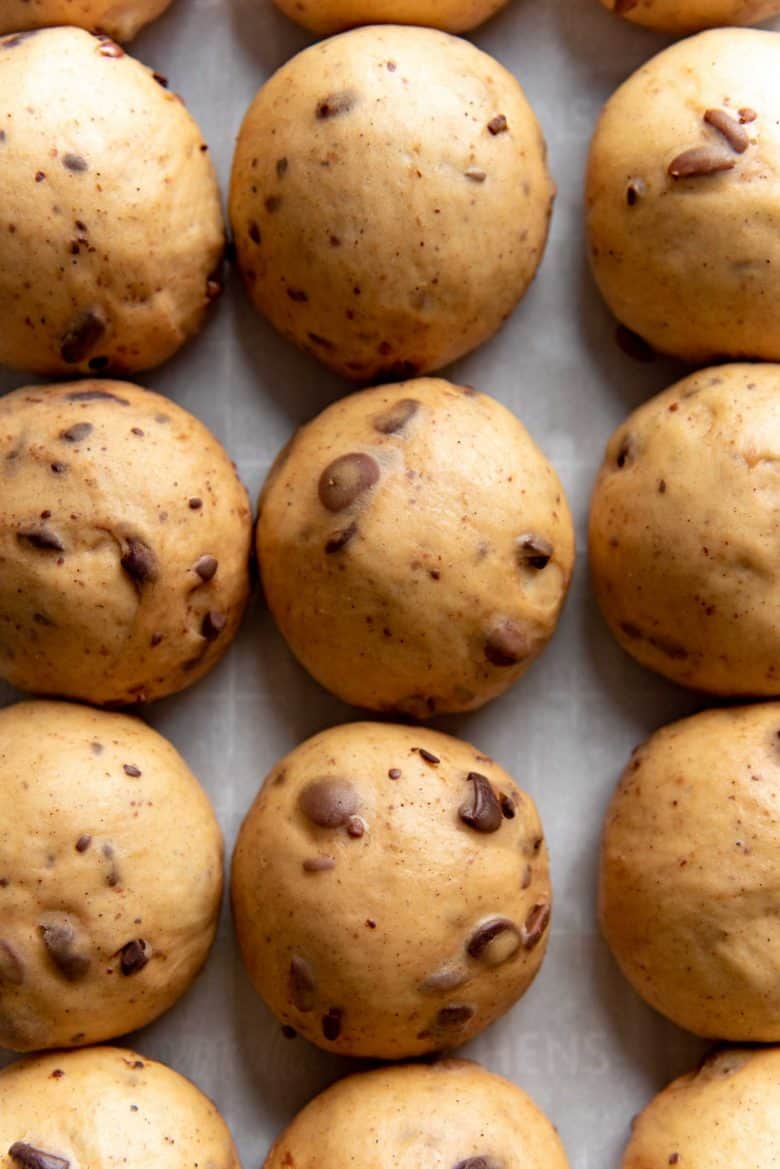
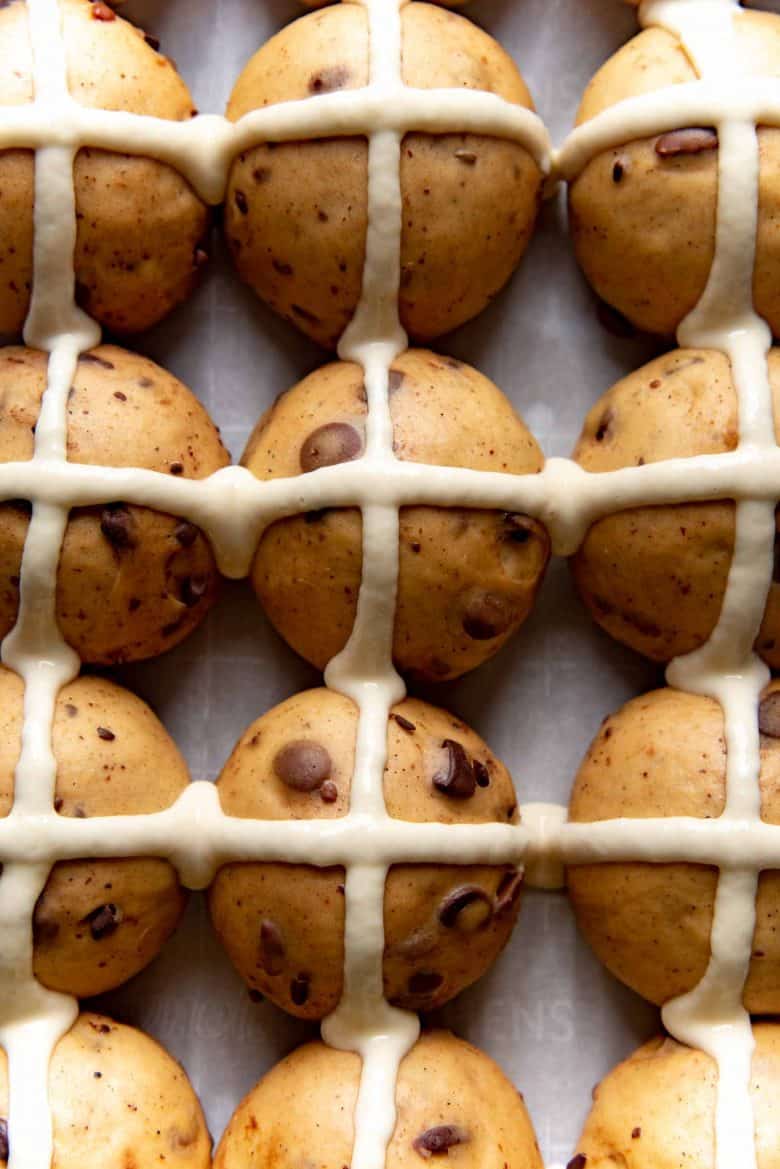
Place the buns in a 3 x 5 configuration, with about 1/2 – 3/4 inch gap between each of the buns. Cover them with plastic wrap and keep in a warm place to proof until the buns have doubled in size and are starting to make contact with each other.
Making the cross
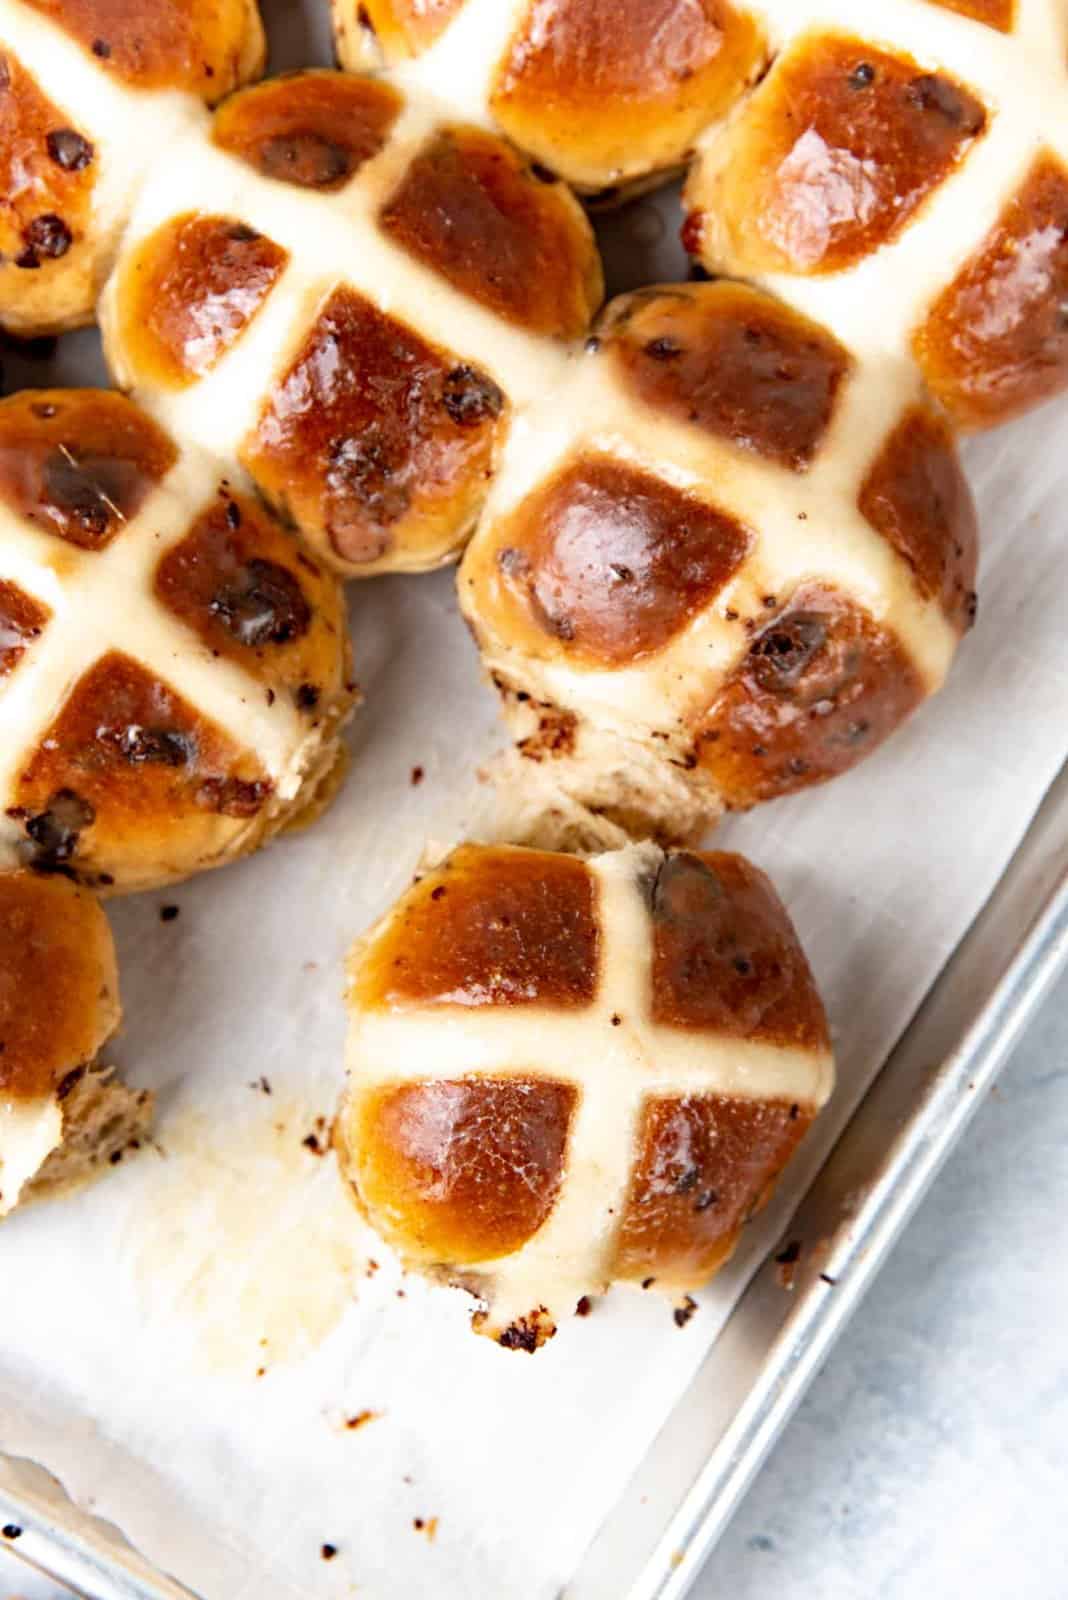
The crosses on my hot cross buns are always flour based. Some recipes have an icing / frosting cross on top – but I prefer baking the cross into the bun.
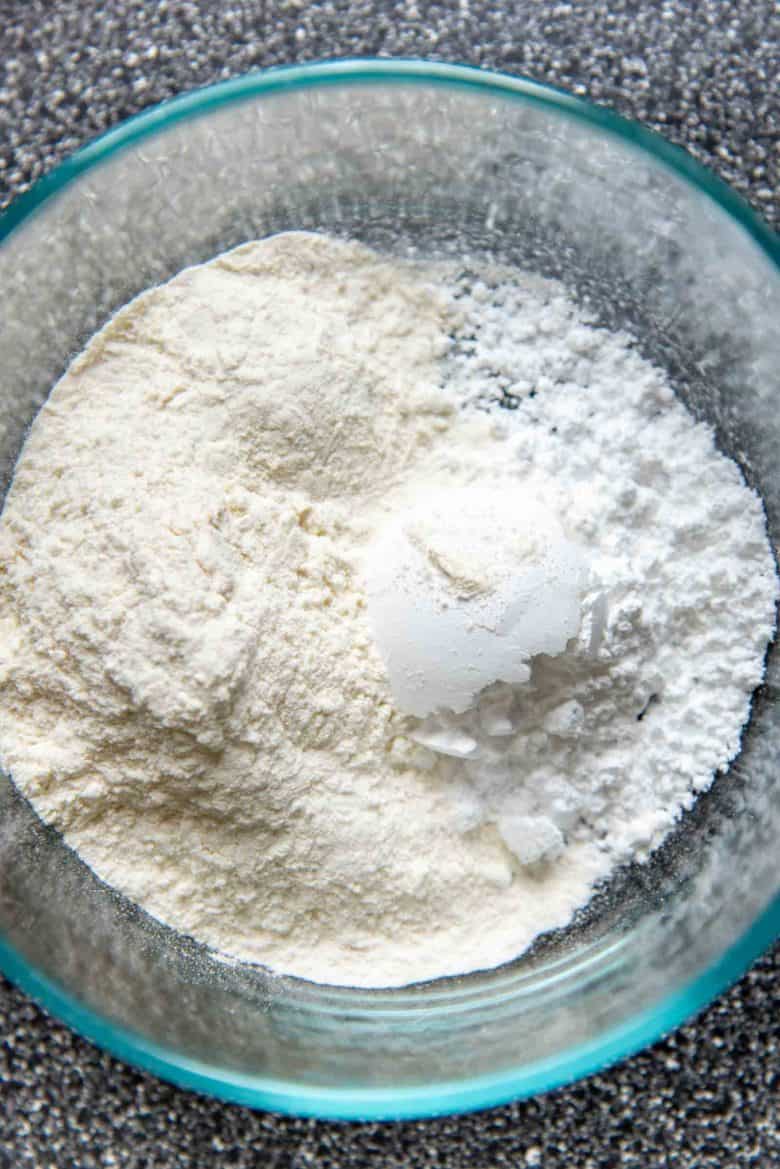
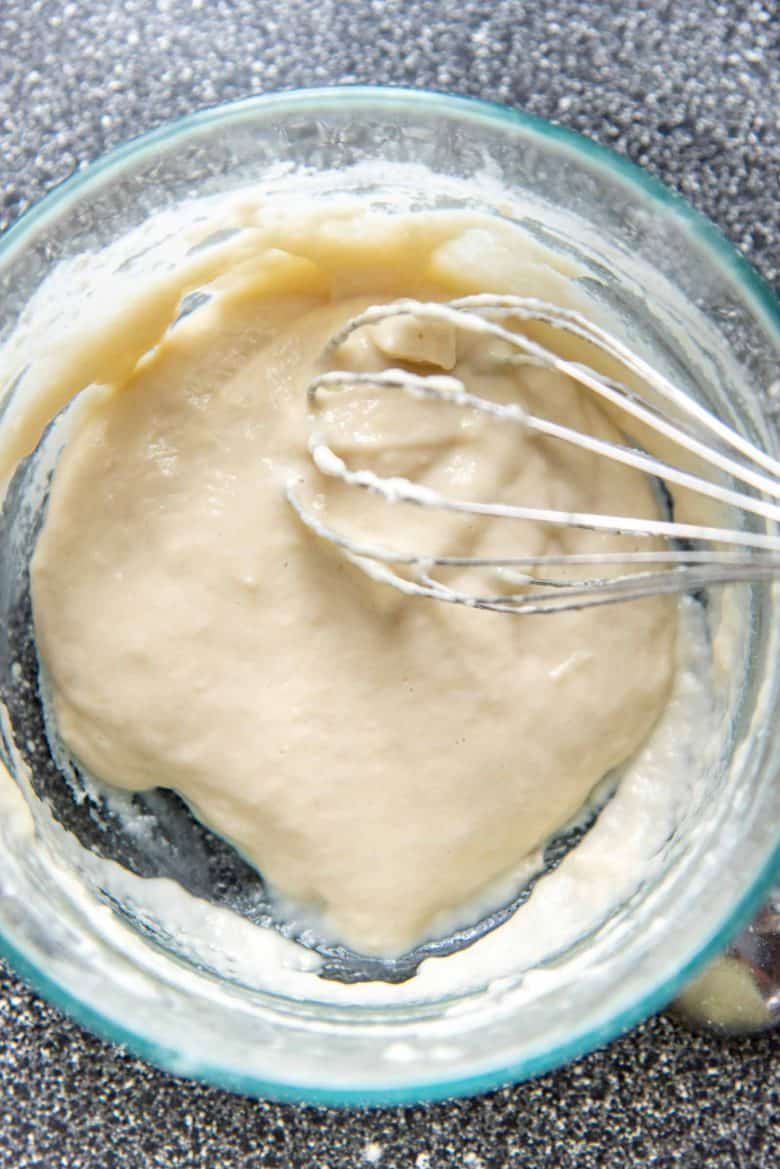
The dough for the cross is a simple mixture of flour + confectioner’s sugar + water. Water is added until you get the right consistency. The dough should be runny enough to be easily piped on top, but not too runny that the crosses run off once piped.
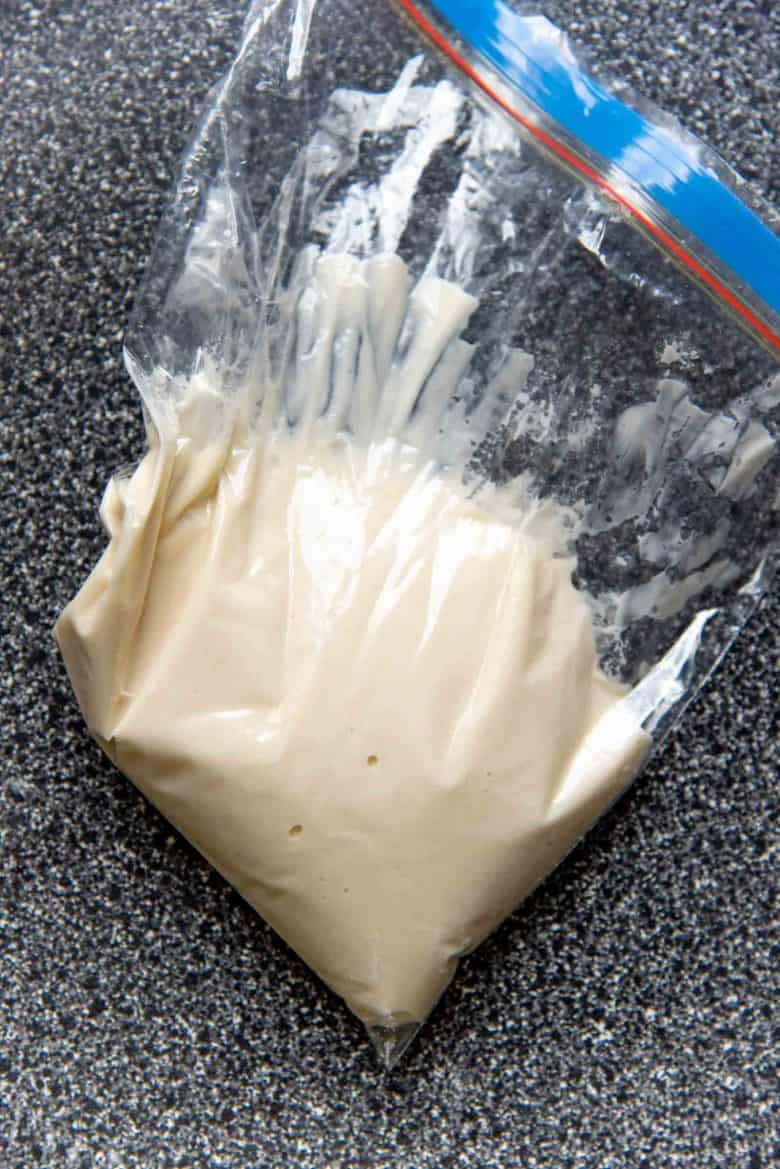
Place the mixture in a piping bag or a small ziploc bag until you’re ready to pipe the crosses on the chocolate chip hot cross buns.
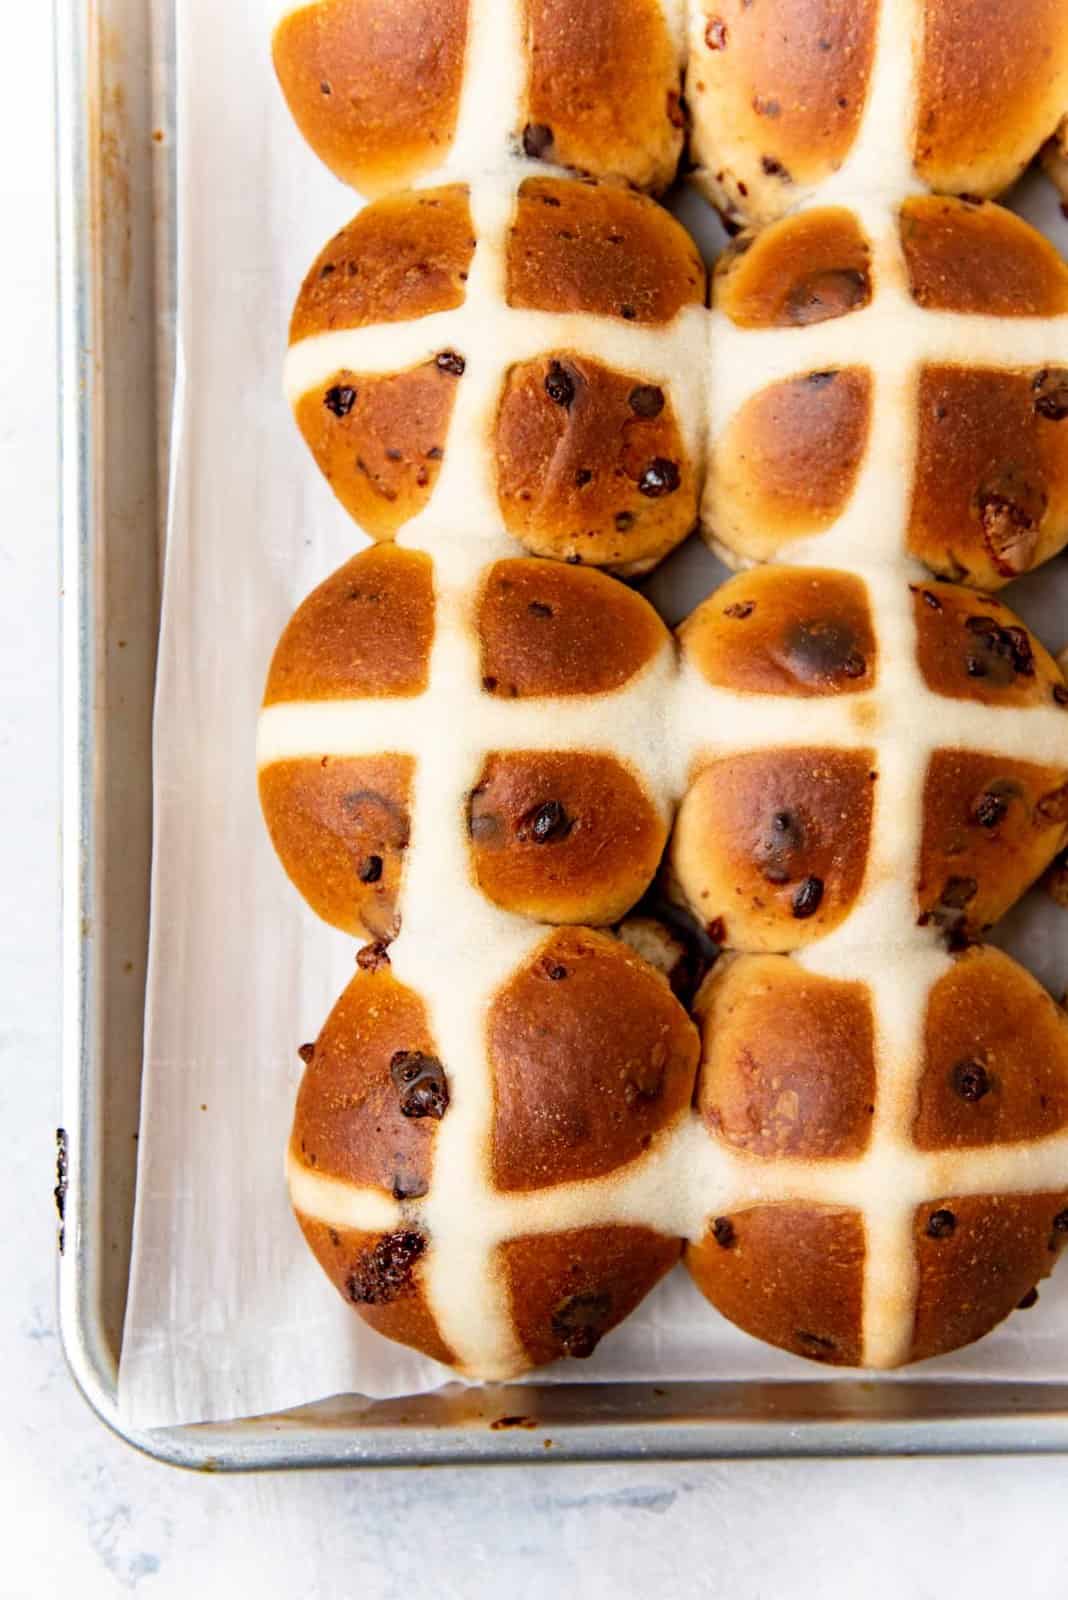
When the buns have proofed, snip one edge of the piping bag / ziploc bag, and pipe the crosses on the buns. Rather than individually piping the crosses on each hot cross bun, the easiest way is to pipe along the middle of the buns in one row at the same time (all three rows), and then pipe across all the 5 rows in the other direction.
Baking the chocolate chip hot cross buns
Preheat the oven to 375° F / 190° C.
When the oven is preheated, bake these spiced chocolate chip hot cross buns for about 25 – 30 minutes, or until a thermometer inserted into the dough registers at 200° F. The tops should be slightly dark golden brown in color.
While the chocolate chip hot cross buns are baking, prepare the glaze. Honey + water + cardamom (optional). Bring the mixture to a simmer and then switch it off, and let the cardamom infuse the syrup.
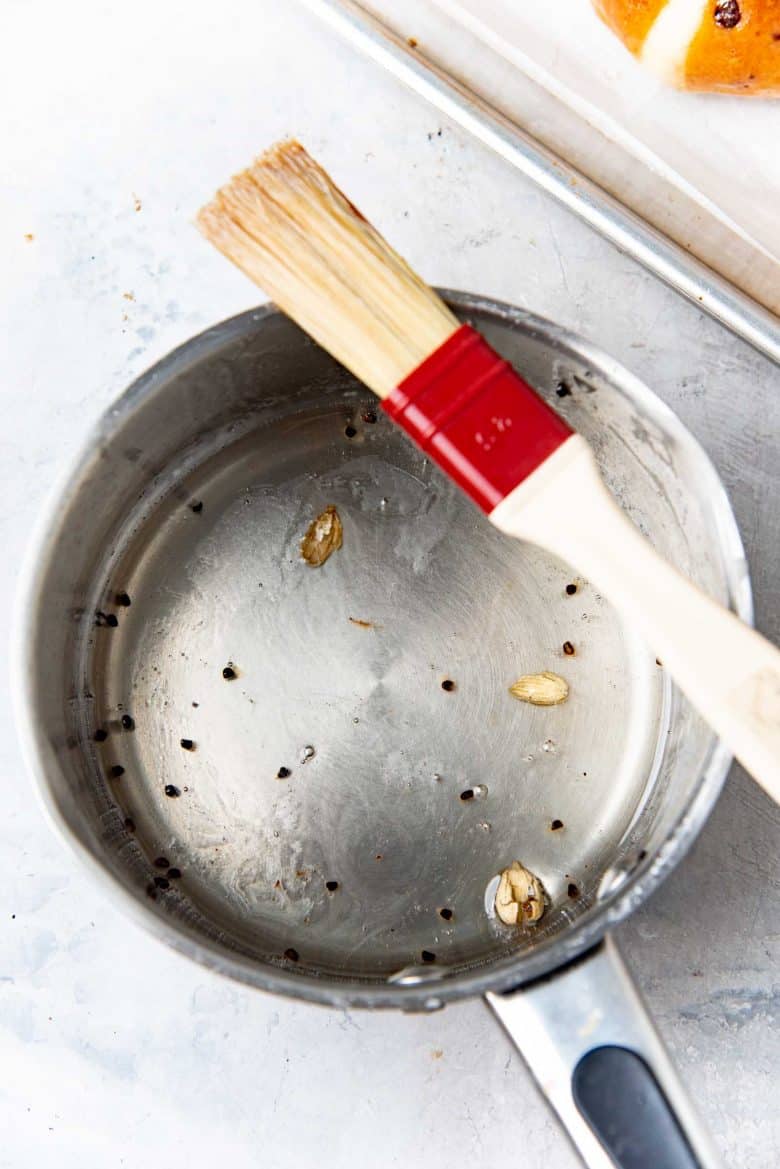
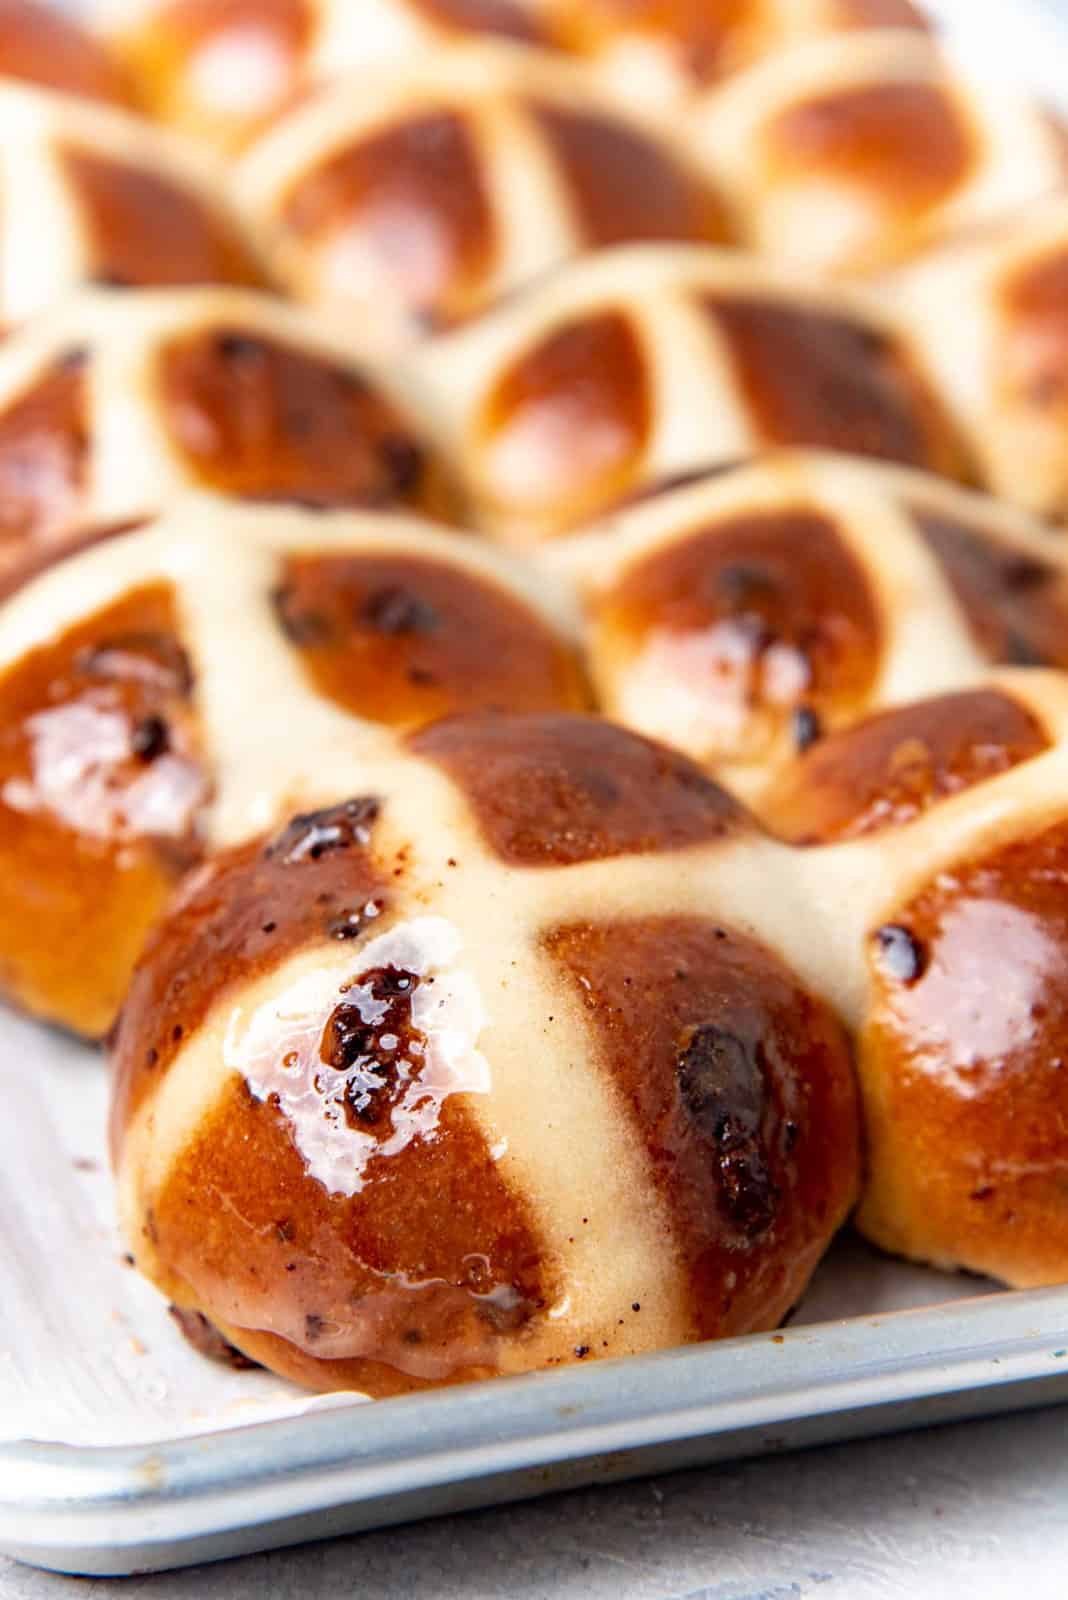
When the hot cross buns have baked, brush the warm syrup over the warm buns.
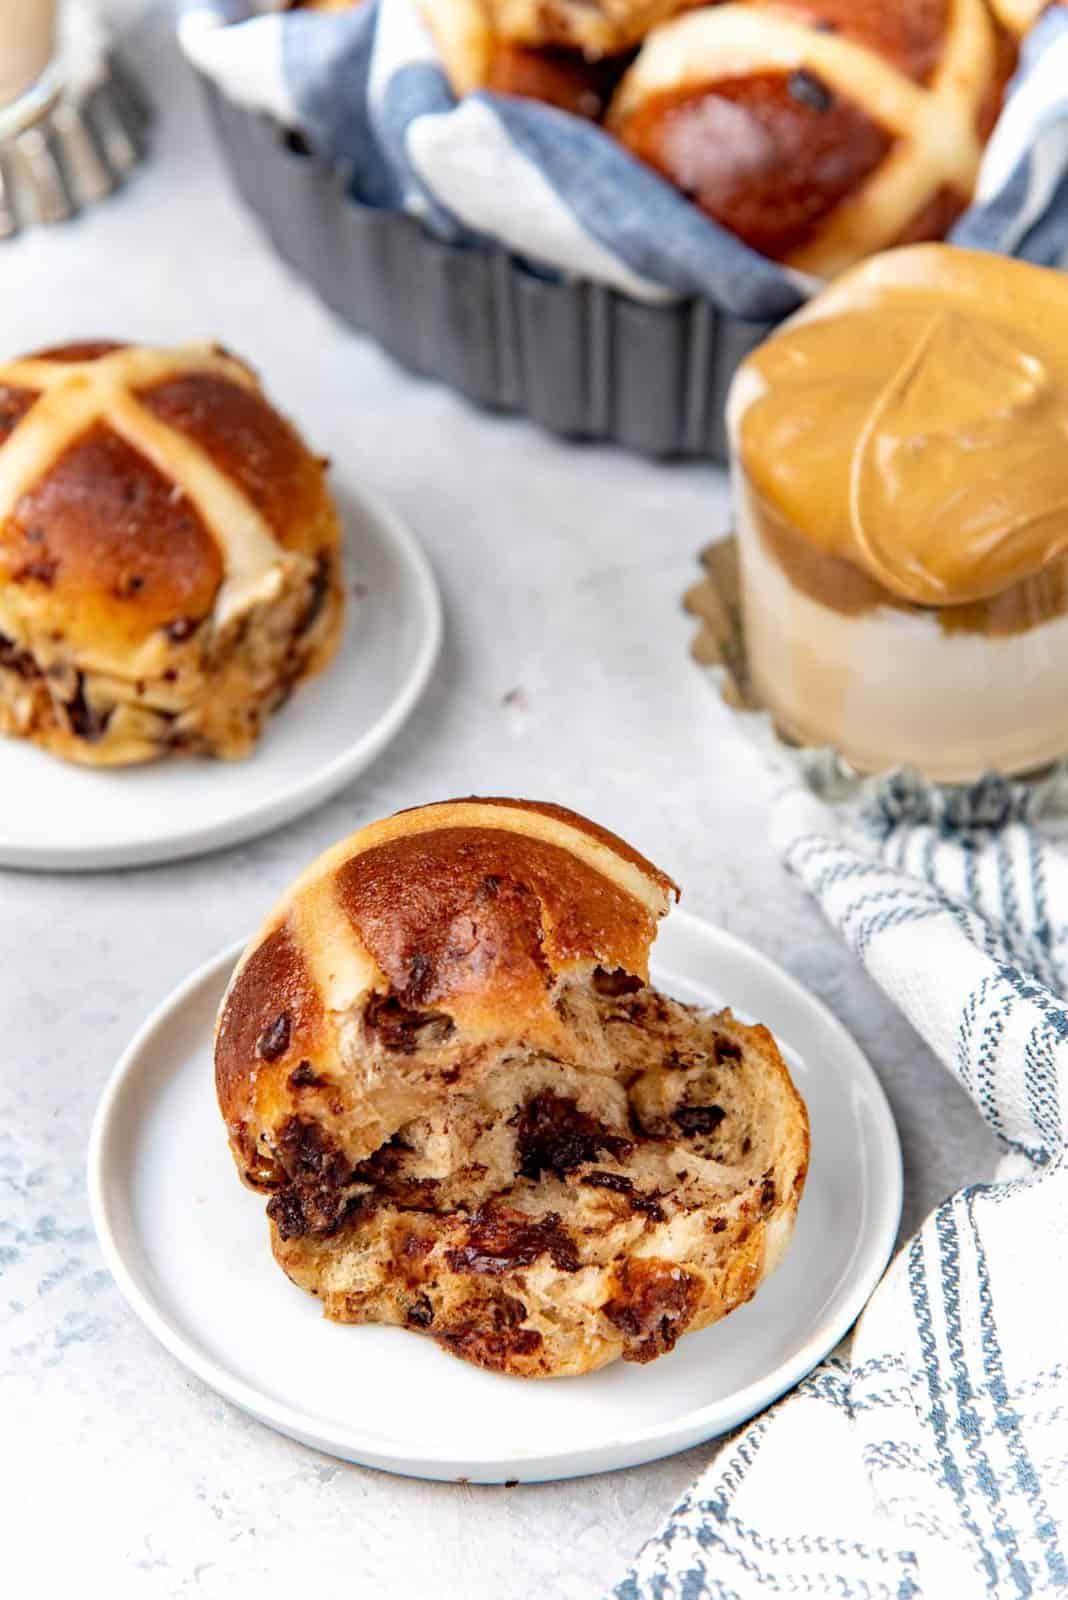
These chocolate chip hot cross buns are insanely delicious while warm, because the chocolate chips are still gooey and melted in the middle. But you can also let the buns cool down to room temperature before enjoying them.
You can always warm them for a few seconds in the microwave if you do prefer warm chocolate chip hot cross buns with melted chocolate in the middle.
Recipe tips and notes
Use a stand mixer. This dough is sticky, so it’s easier to knead with a stand mixer. You can also knead the dough in a bread machine, but will need to shape, proof and bake separately.
Kneading by hand – Kneading this by hand is going to be a workout. The dough is sticky, and you need to avoid adding extra flour to prevent the hot cross buns from being dry and tough. Try slapping the dough against your work surface and folding it over itself, and repeat this motion until the dough becomes smooth and sticks to the surface less and less.
Adding chocolate chips – Chop larger chocolate chips with a knife into smaller pieces, so that the dough will have more chocolate distributed throughout.
Try not to use too much flour when shaping the dough – The more flour you use to keep the dough from sticking to your hand, the more flour you incorporate into the dough. This can result in tough, dense hot cross buns.
If you don’t want to use a sweet glaze on the buns, you can use an egg wash on the buns BEFORE baking them. This will give them a shiny gloss after they bake.
The buns in this recipe are about 4 inches across. If you portion the dough into 12 pieces, then the hot cross buns will be larger.
You can also halve the recipe, but don’t halve the tangzhong recipe. Make the whole amount, but only use half of the tangzhong (about 65 – 70g). You can divide the dough into 9 pieces and bake them in an 8 or 9 inch square pan. The bake time will be about 20 – 25 minutes.
Tips for making ahead
You can shape the dough ahead of time.
Once you have shaped the dough into buns (without a previous overnight proofing), they can be placed on the baking tray and then kept in the fridge overnight. Make sure the baking tray is wrapped well with plastic wrap to prevent the dough from drying out.
The following morning, let them return to room temperature, and proof until the buns are making contact with each other (about doubled in size), and then proceed with the recipe.
You can freeze the baked hot cross buns
These chocolate chip hot cross buns can be baked and THEN frozen too. It will keep for a whole month in the freezer. Place the buns in a single layer on a tray and freeze. As soon as they are frozen, transfer the frozen buns into an air tight container and keep frozen for up to a month.
Then when you’re ready to eat the buns, let them defrost at room temperature. You can either microwave them for a few seconds to warm them up, or re-heat them in an oven for a few minutes (200° F for about 15 minutes or warmed through).

Serving suggestions
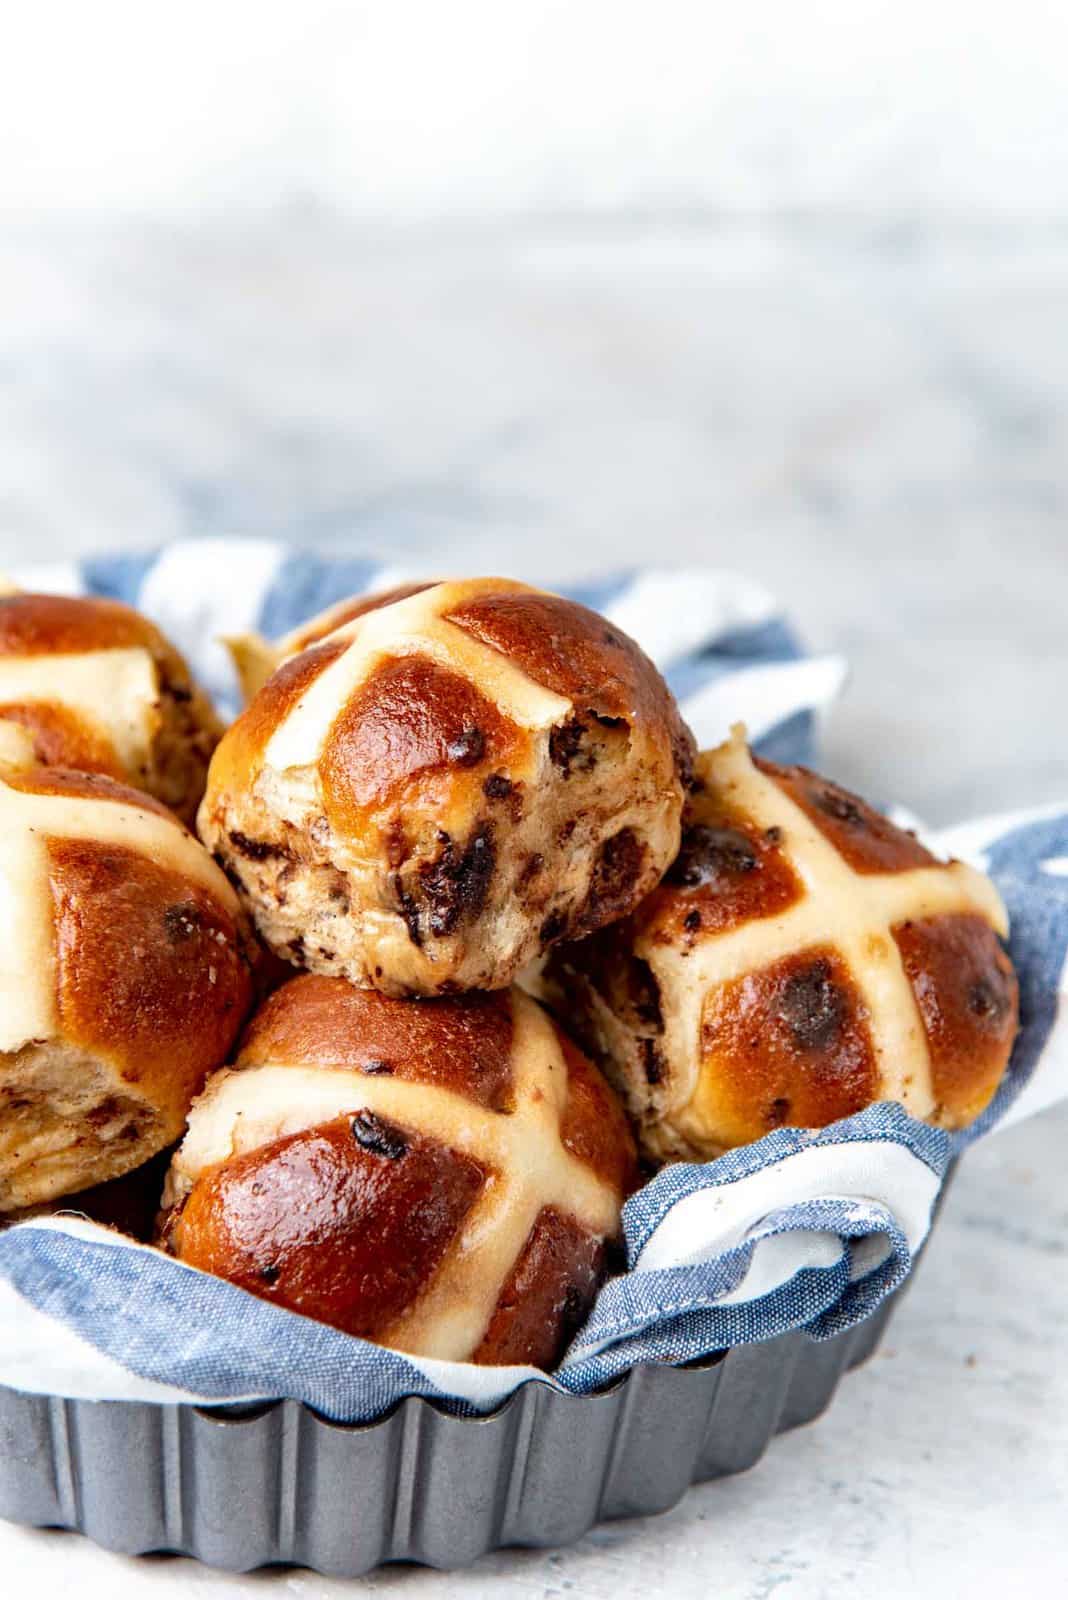
These are amazingly delicious just the way they are! Room temperature or a little warm. The chocolate is just slightly melted and the dough has a lovely warmth from the spice. They are soft and fluffy, and I guarantee it’ll be impossible to stop at one! 🙂
With a little butter – Make them even better with a pat of salted butter in the middle.
Serve them with coffee or tea, like a flavorful masala chai or a vanilla steamer (babyccino) for kids.
Other recipes you may like
- Classic Hot Cross Buns
- Pastel colored Chai Vanilla Cake with Caramel Nest (for Easter)
- Pastel swirled sheet cake with Easter decorations
- Classic Cinnamon Rolls
- Brioche Cinnamon Rolls
- Easy Cinnamon Toast
- Easy French Toast
- The BEST Chocolate Chip Cookies
Looking for more recipes?Sign up for my free recipe newsletter to get new recipes in your inbox each week! Find me sharing more inspiration on Pinterest and Instagram.
Spiced Chocolate Chip Hot Cross Buns
Ingredients:
For the tangzhong
- 120 mL milk or water ½ cup
- 24 g flour 2 ½ tbsp
For the dough
- 120 mL warm milk ½ cup
- 7 g active dry yeast 2 ¼ tsp , 1 standard packet
- 100 g granulated white sugar ½ cup
- 56 g unsalted butter melted 4 tbsp
- 2 eggs large
- 15 mL vanilla extract 1 tbsp
- 1 tsp ground cinnamon
- 1 tsp ground cardamom
- 425 g AP flour 15 oz / 3 ⅓ cups, measured by spoon and level method
- 1 tsp salt
- 170 g semisweet chocolate chips 6 oz - chopped a little (or a mixture of your favorite chocolate chips, or mini chocolate chips)
Flour paste for the cross
- 20 g confectioner's sugar 2 tbsp
- 62 g AP flour ½ cup, measured by spoon and level method
- 45 - 75 mL water 3 - 4 tbsp
For the glaze
- 60 mL honey ¼ cup
- 15 mL water 1 tbsp
- 3 - 4 cardamom pods
Instructions:
Making tangzhong
- Whisk the 2 ½ tbsp of AP flour, with the ½ cup milk (or water) until there are no lumps.120 mL milk or water, 24 g flour
- Heat the flour-milk mix over medium heat, while whisking constantly. In a few minutes the flour-milk mix will start to thicken. Keep whisking well, until you have a runny paste. Remove from the heat. The tangzhong paste is now ready. (It should weigh about 130 to 140 g - about ½ cup).
- Place the tangzhong in a bowl and cover the tangzhong with plastic wrap, making sure it's touching the surface of the paste. Let it cool down to room temperature before using.
Activating yeast
- Place the warm milk in your mixer bowl and dissolve about ½ tbsp of sugar in it. Sprinkle the yeast over the milk and stir gently. Let the yeast activate for about 10 - 20 minutes until it looks frothy and foamy.120 mL warm milk, 7 g active dry yeast
Flour paste for the crosses (prepare this while hot cross buns are proofing for the final time)
- Place the flour and confectioner's sugar in a bowl and whisk together.20 g confectioner's sugar, 62 g AP flour
- Add water, 1 tbsp at a time, until you have a smooth paste that's runny enough to pipe easily, but will not run off the sides of the buns either. (For me, this is about 3.5 - 4 tbsp of water).45 - 75 mL water
- If it get’s too runny, adjust the consistency with a little extra flour.
- Place the flour paste in a small piping bag, or a ziploc bag and set aside.
For the sweet glaze (make this when the hot cross buns are almost done baking)
- Place the honey, water and cardamom in a saucepan. Heat over medium heat until the mixture comes to a simmer, while mixing. Turn off the heat, and let the cardamom infuse into the glaze.60 mL honey, 15 mL water, 3 - 4 cardamom pods
- Keep it warm until the hot cross buns are ready.
Hot cross bun dough
- Into the mixing bowl with the activated yeast - add the sugar, eggs, melted butter, tangzhong, and vanilla. Mix to break up the eggs. Add the flour, spices and finally the salt.100 g granulated white sugar, 56 g unsalted butter melted, 2 eggs, 15 mL vanilla extract, 1 tsp ground cinnamon, 1 tsp ground cardamom, 425 g AP flour, 1 tsp salt
- Mix all the ingredients together to form a scraggly dough.
- With the kneading hook attached to the stand mixer - knead the dough until you have a smooth dough (about 2 - 3 minutes). Check the consistency of the dough. It should be very sticky. When kneading the dough at mid speed, the dough should still stick to the bottom, but not to the sides of the bowl.
- Knead the dough for a further 10 - 12 minutes. The dough should be smooth, shiny and tacky. When you touch the dough it should feel very tacky, but not stick to your hand.
- When the dough is smooth and shiny and well kneaded, you can add the chocolate chips. Knead the dough for a few minutes on low speed until the chocolate has evenly spread through the dough. You can also knead the dough by hand for a few minutes too. When kneading by hand, be gentle and fold the dough over gently without stretching it much.170 g semisweet chocolate chips
- Place the ball of dough in a lightly oiled bowl, and then cover it with plastic wrap. Allow the dough to rise in a warm place, until doubled in size (about 1 hour).
- When the dough has proofed, you can use it right away, OR you can deflate the dough, reshape it and refrigerate the dough for 2 - 24 hours. A chilled dough will be easier to shape, but this is optional.
- When the dough has proofed, gently press on the dough to remove excess air.
- Divide the dough into 15 equal portions. (Weigh the dough and divide the weight by 15. This is how much each portion should weigh. This can be between 73 - 80 g).
Shaping the dough balls
- Line a half sheet baking pan, or a jelly sheet pan with parchment paper.
- Take each dough portion, and fold over the edges towards the middle. Then pinch these edges at the bottom to seal. Gently roll the ball of dough on your work surface (seam side down) with a cupped hand to shape the dough ball. Make sure the work surface doesn't have any flour to allow the dough to tighten into a smooth ball.
- Place each of the dough balls on the prepared baking pan, in a 3 x 5 configuration. Leave about ½ - ¾ inch of space between the dough balls.
- Cover the hot cross buns, and let them proof for the final time. On a cold day, this takes me about 90 minutes, and on a hot day, about 45 minutes. The way I test for proofing is by gently pressing my finger tip into a couple of the buns. If the indentation springs back up, then it’s not ready. If the indentation remains, then they are sufficiently proofed and are ready to be baked.
Baking the hot cross buns
- While the dough is proofing, prepare the flour paste for the crosses, and preheat the oven to 375°F.
- Snip off the edge of the piping bag (make sure the opening is smaller than the desired thickness of the lines that you want to pipe). Pipe the flour paste over the hot cross buns. First pipe along the middle of the buns in one row at the same time (all 3 rows), then pipe across all the 5 rows in the other direction.
- OPTIONAL - If you prefer to skip the glaze, you can glaze the tops with an egg wash at this point. Whisk together an egg yolk + 2 tbsp milk, and using a pastry brush, brush the tops of the buns, being careful not to smudge the flour crosses.
- Place the buns in the preheated oven and bake for 25 - 30 minutes. If needed, rotate the tray once, halfway through baking.
- While baking, prepare the glaze, and keep it warm.
- As soon as the buns are done baking (an instant read thermometer will register at 200°F or over when they are done baking), remove the baking tray from the oven, and let the hot cross buns cool for a few minutes.
- Brush the warm sweet glaze over the warm buns, and then let them cool completely on a wire rack.
- These are best eaten warm or lightly toasted with a little butter. Enjoy!
Tips & Tricks
- Use almond milk instead of regular milk.
- Instead of 2 eggs, add 1/4 cup apple puree and another extra 3 tbsp almond milk.
- Use vegan butter in place of regular butter.
- Use dairy free / vegan chocolate chips.
- Instead of honey, use corn syrup or maple syrup.
Nutrition Information:
“This website provides approximate nutrition information for convenience and as a courtesy only. Nutrition data is gathered primarily from the USDA Food Composition Database, whenever available, or otherwise other online calculators.”

Sarah says
This was such a fun recipe to make! I churned out two batches of the OG fruit buns, and one batch of this version. I was especially excited to try out a lot of new techniques – tangzhong, and also using my plastic bench scraper as a kind of “right hand” when I had to knead this on the countertop. (I don’t have a stand mixer, but I set a timer to make sure I kneaded for more than 15 min – and I was proud that I ended up adding very little flour!)
Interestingly, in the three versions that I made (this, your fruit recipe w/ just raisins + currants, and your fruit recipe w/ raisins, currants, + mixed peel), the chocolate version came out the softest. There are so many tiny variants in what I did, though, that I have to scramble to write them all down before I forget. It may come down to something as simple as “my oven was running hotter for variants 2 and 3,” to “I made a big batch of tangzhong, used 1/3 right away, pulled the rest out of the fridge in thirds and left to warm up, so possibly portions 2 and 3 were too cold,” to “the fruit recipe has 25g more flour.” (Would this last have that much of an effect, though? I am inclined to doubt it.)
Phew! I am going to try the fruit recipe again, with some of what I did with a chocolate version, to try and figure out why the latter came out so superlatively soft and the former more chewy. And please know that the rambling above is not a criticism AT ALL – I loved making these in both forms, and they all got eaten at an Easter party yesterday! Huzzah!
Kathy Verteramo says
Hi Dini can I use instant dry yeast instead of active yeast
Dini says
Hi Kathy
Absolutely you can! Instant yeast is more active, so keep an eye on the dough as it proofs as it can proof faster.
I hope that helps
Chrissy says
I didn’t know you can make different variety of buns.! This recipe however uses less butter and flour than the original one?
Dini says
Hi Chrissy
It does use less flour because of the additions into the dough I wanted it to be softer. But the amount of butter added is the same.
I hope that helps!
Michelle says
Made these buns without the cross, so fluffy and delicious! Planning on making them again for Easter.
Ana says
Hi, looks like a delicious recipe. My bread flour when measured properly weighs about 130 grams per cup which comes out about 400 grams for 3 C and 1.5 T as opposed to 475 grams (16.75 ounces). Should I use the full 475 grams? Thank you.
Dini says
Hi Ana
I use AP flour for this recipe, not bread flour. However, if you are using bread flour, use the same amount as the weight indicated (or around 450g) and you will need to add a little extra water to compensate (bread flour will absorb more water than AP flour).
Mae says
I made this recipe and it was great overall! However, the end result tasted a little yeasty? I put the suggested amount of yeast and rested them overnight after the first proof… Unsure where the problem occurred. Thank you!
Dini says
Hi Mae,
An overnight proof develops the flavor of the dough, adding more flavor from the yeast that is active.
If you prefer not to have that flavor, you could shape them after the first proof. You could also decrease the yeast to about 1 1/2 – 2 tsp as well, and proceed with the recipe as written (proofing times at room temperature might be longer).
I hope that helps!
Christa says
I’m in the middle of making the recipe and want to add nuts… any recommendations on how much?
Dini says
Hi Christa!
As long as the combination of chocolate chips and nuts equal to about 6 – 8 oz in total, you will be fine.
8 oz (226 g) will give you buns with more add-ins spread throughout, whereas 6 oz of add ins will be more sparse.
Sorry I couldn’t reply sooner…
I hope that helps!