

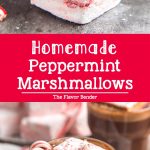
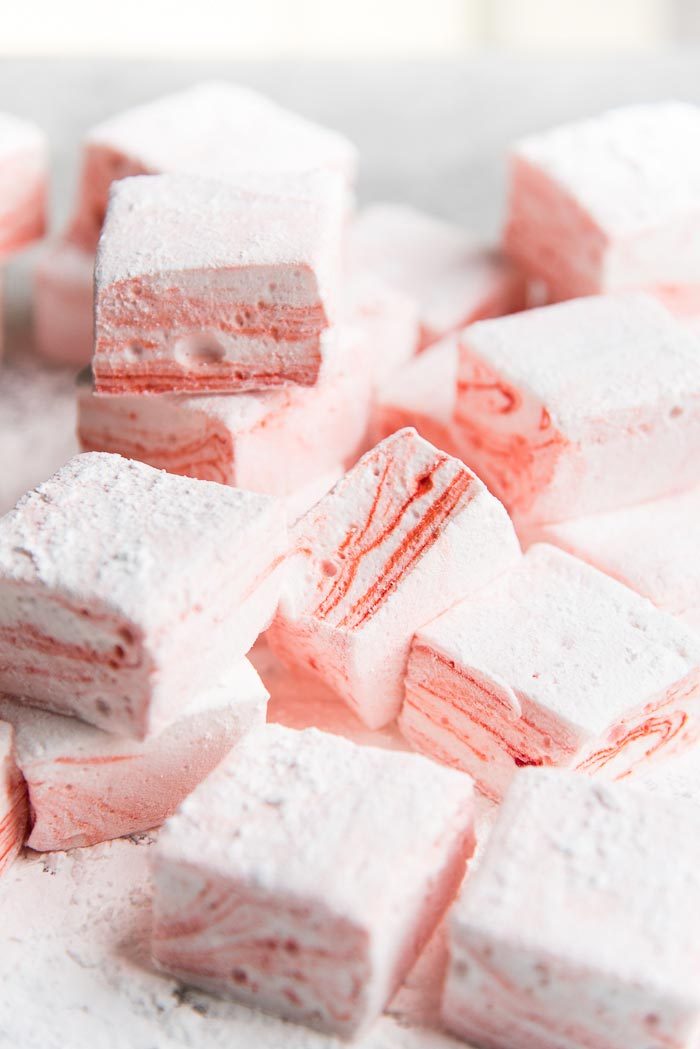
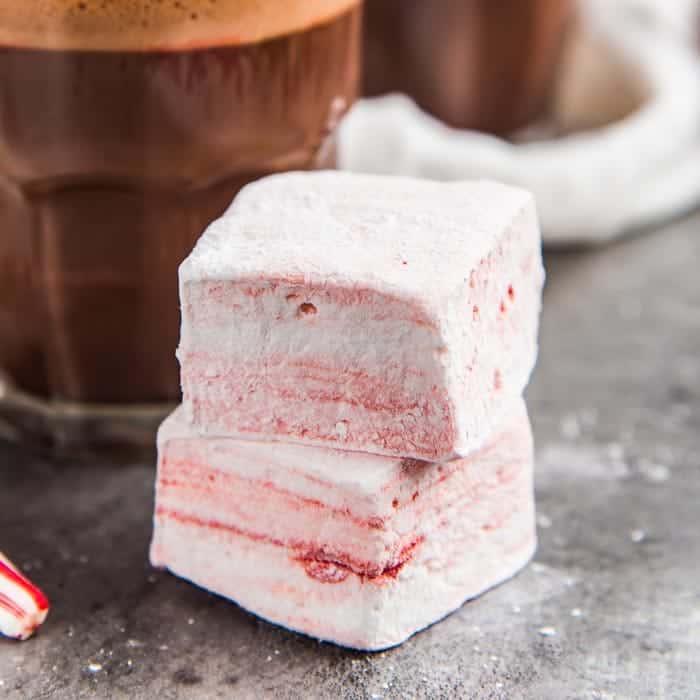
These Peppermint Marshmallows are soft, springy, fluffy as pillows and addictively delicious! They melt in your mouth, and have the perfect balance of sweetness and peppermint flavor.
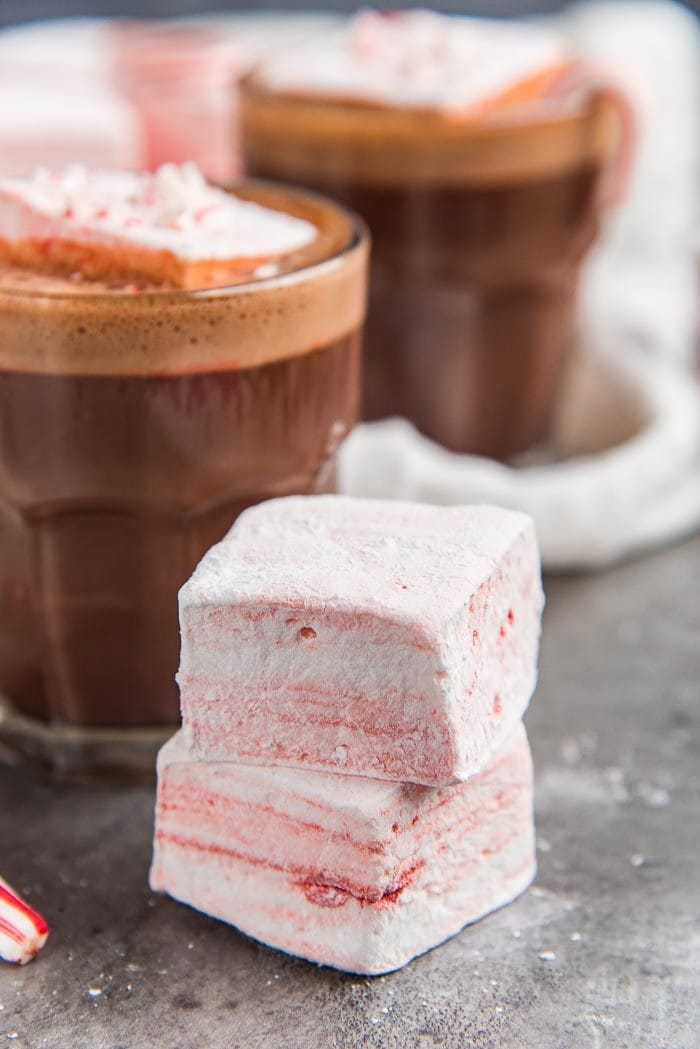
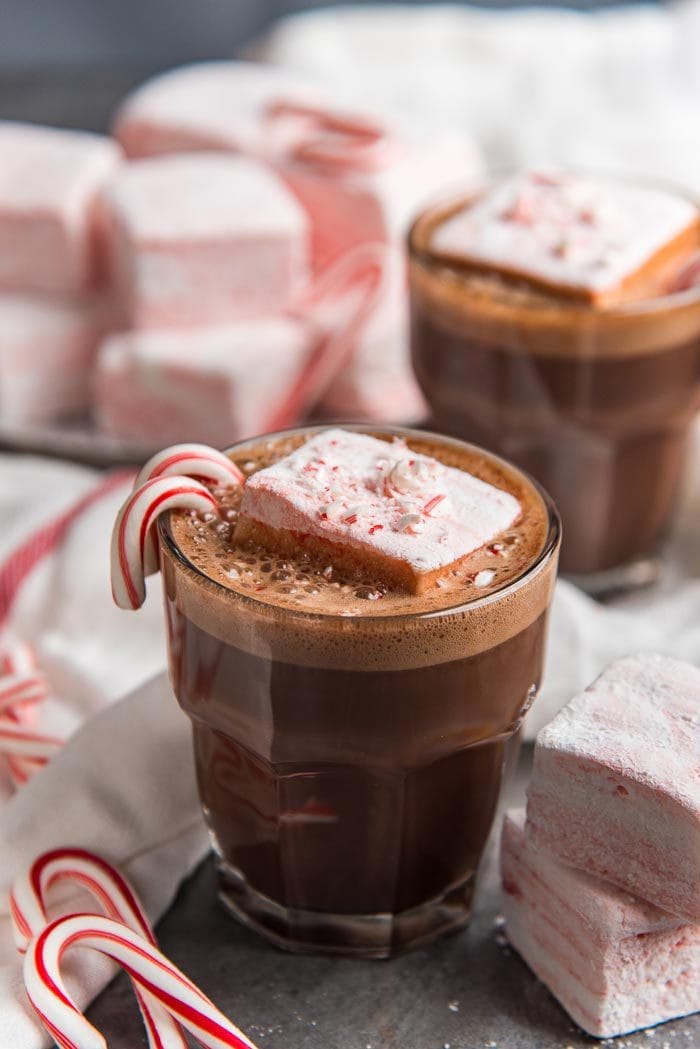
Peppermint marshmallows are great with hot chocolate or for gift-giving during the holidays!
It’s December, and my house is overflowing with Peppermint Marshmallows!
I adore making homemade marshmallows. It’s such an easy confection to make – seriously, you wouldn’t believe how many friends and neighbors that I’ve impressed when I gifted them with homemade marshmallows. But then I tell them how simple it is to make fantastic homemade marshmallows that taste infinitely better than store-bought ones, and they are truly blown away!
I’ve shared several marshmallow recipes over the years like these classic vanilla marshmallows, chocolate marshmallows, butterscotch marshmallows (and butterscotch swirled marshmallows!), tahini marshmallows, and orange blossom marshmallows. Now let’s add to that this holiday classic – peppermint marshmallows.
I’m constantly surprised by how most people think marshmallows are too complicated to make, but that’s just not true. I’ve even met someone who thought marshmallows grew on trees, true story. I shared a detailed post on how to make classic homemade marshmallows with plenty of troubleshooting tips, so make sure to check it out if you’re new to this delicious game.
Making homemade peppermint marshmallows is just as easy as making classic vanilla marshmallows. Instead of vanilla flavoring, you simply add peppermint extract to get the peppermint flavor, and then fold in some red coloring to get the beautiful red swirls.
The one piece of advice I’d give you about making homemade marshmallows is to invest in a sugar thermometer. It makes the whole process incredibly easier. BUT if you’re craving for peppermint marshmallows right now, and you don’t have a sugar thermometer, no worries.
You can still make perfect homemade marshmallows by checking the sugar syrup stage using a small bowl or saucer of water. I’ve explained this trick in detail in my classic homemade marshmallows post, so I won’t describe it here, but I’ll provide the instructions in the recipe below.
I’ve given several tips here to help you make perfect, foolproof homemade peppermint marshmallows. These tips will help,
- Prevent crystallized sugar syrup
- Give you the option of not using corn syrup
- Guarantee delicious, fluffy, springy, soft as pillows peppermint marshmallows!
Preventing sugar syrup crystallization
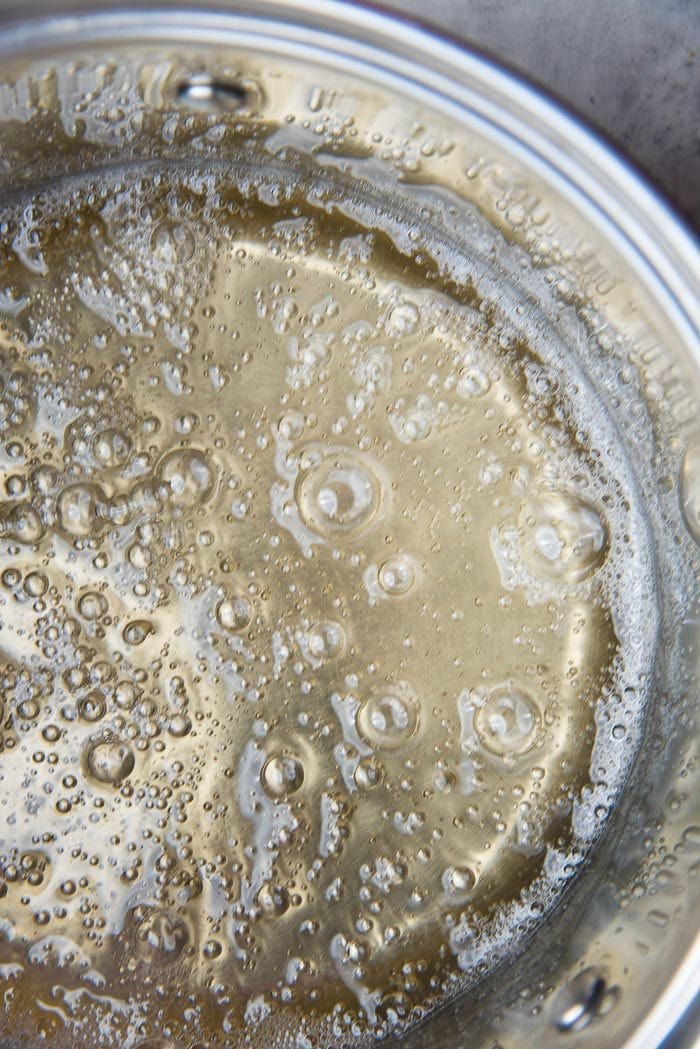
One of the main problems that people encounter when making homemade marshmallows is that the sugar syrup starts to crystallize as it cooks and heats up. This is especially true if you’re not using corn syrup.
Here’s the trick I use to prevent this – Once the sugar granules have dissolved in the boiling sugar syrup (swirl the pan to dissolve the sugar, don’t stir), I close the saucepan with a lid and let it simmer for about 2 minutes. The water that evaporates then condenses on the bottom side of the lid and drips back into the saucepan along the sides, washing away any undissolved sugar crystals. So you no longer have to brush the sides with a pastry brush dipped in water. This technique works like a charm every time.
I do use corn syrup in this recipe, but you can substitute the corn syrup with agave syrup or leave it out. Just make sure to read this classic homemade marshmallows post here, to find out how to make marshmallows without corn syrup, and then you can add the peppermint extract during the final minute of whipping.
I also prefer to measure the gelatin, rather than relying on the pre-packaged gelatin packets. Here’s why.
- There’s a slight difference in the weight of gelatin in each packet between brands (Knox vs other store brands).
- And even though most people assume each packet has 1 tbsp of gelatin, in reality it’s a little less than that.
- Whether you’re using gelatin packets or loose gelatin, weighing ensures that you use the same amount of gelatin every time.
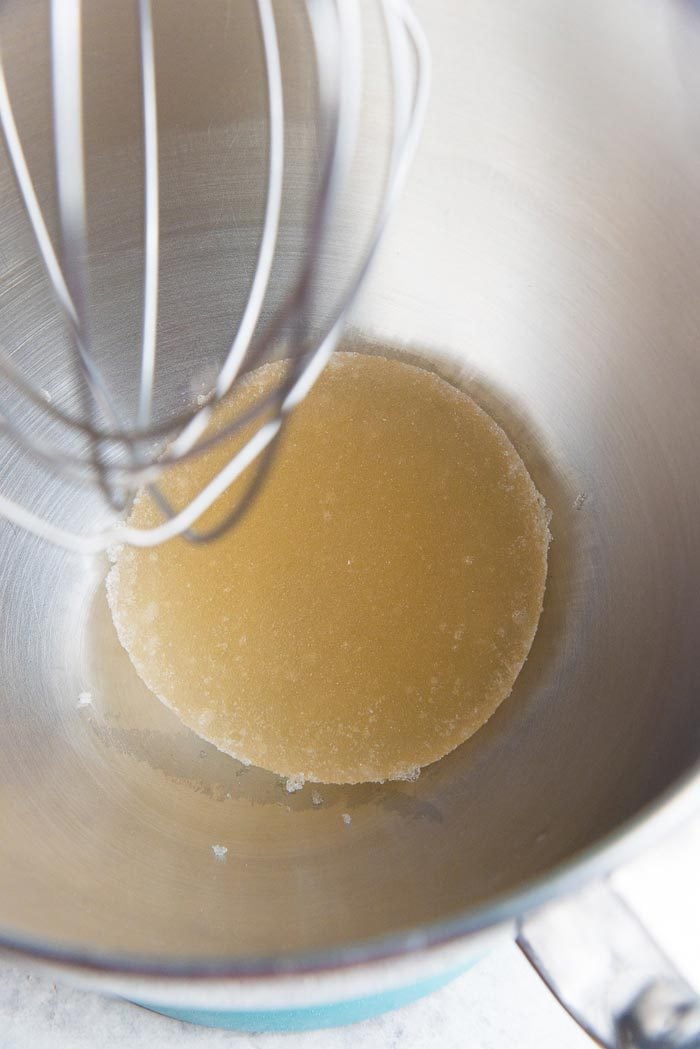
Always remember to bloom the gelatin before using. Blooming gelatin involves soaking the powder in water and allowing the gelatin to soak up all the moisture and swell up. This makes it easier to dissolve the gelatin as it’s whisked with the hot sugar syrup.
When the sugar syrup reaches the right temperature, add it in a steady, slow stream into the bloomed gelatin in a mixer bowl. I usually whisk the gelatin and sugar syrup for about 10 minutes, starting at medium-high speed and ending at high.
Look at the marshmallow and feel the warmth of the bowl while it’s being whisked to get an idea of when to stop whisking. If you over-whisk, you can end up with stiff and dry marshmallow, and if it isn’t whisked enough, the marshmallow will weep while it’s resting.
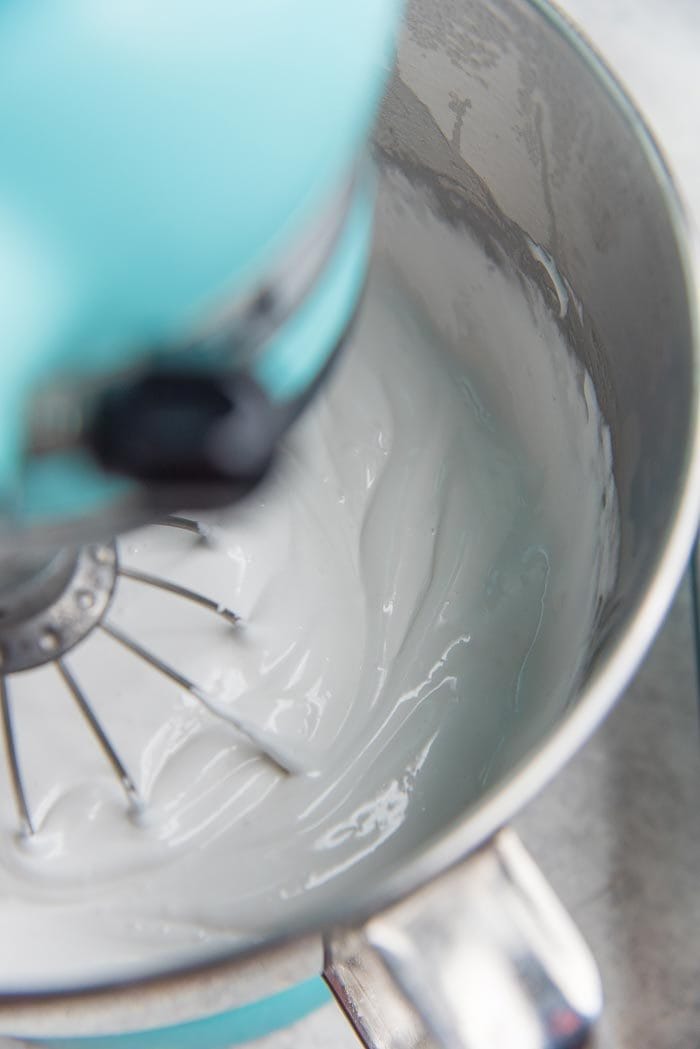
What to look for when whisking marshmallow
Look for a white, fluffy marshmallow mixture that has tripled in volume from the initial amount of sugar syrup.
The bowl should only be slightly warm, and the marshmallow mixture not too stringy. A slightly warm marshmallow mixture is easier to handle, especially when you’re folding in red coloring to create those beautiful red swirls in these homemade peppermint marshmallows. Plus, it makes it easier to pour the mixture into the prepared pan and smoothen the surface.
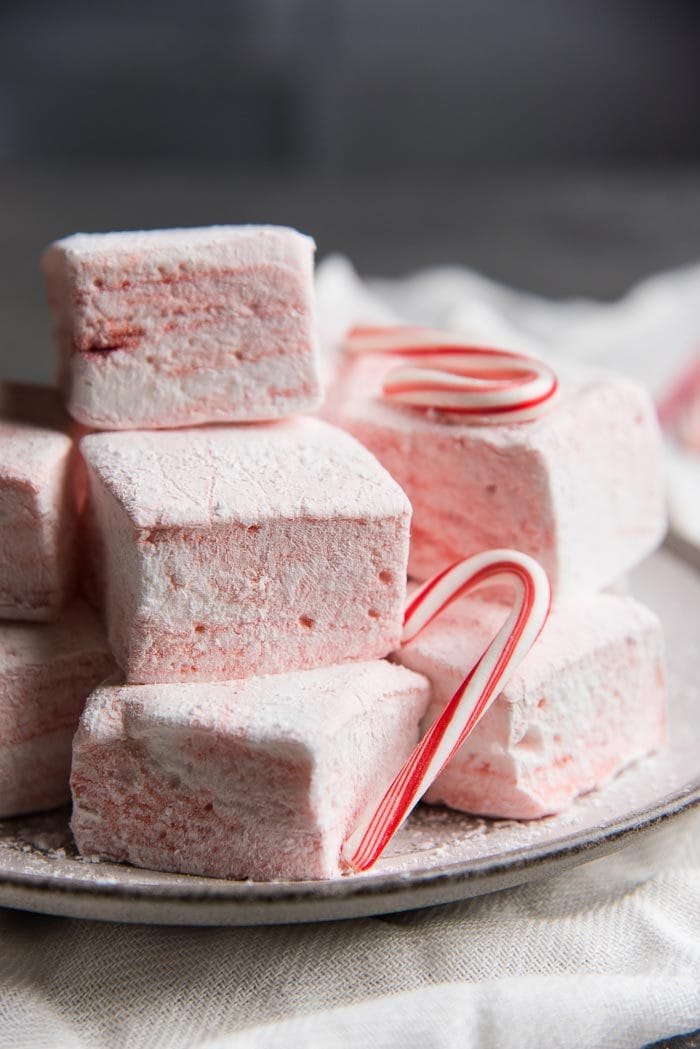
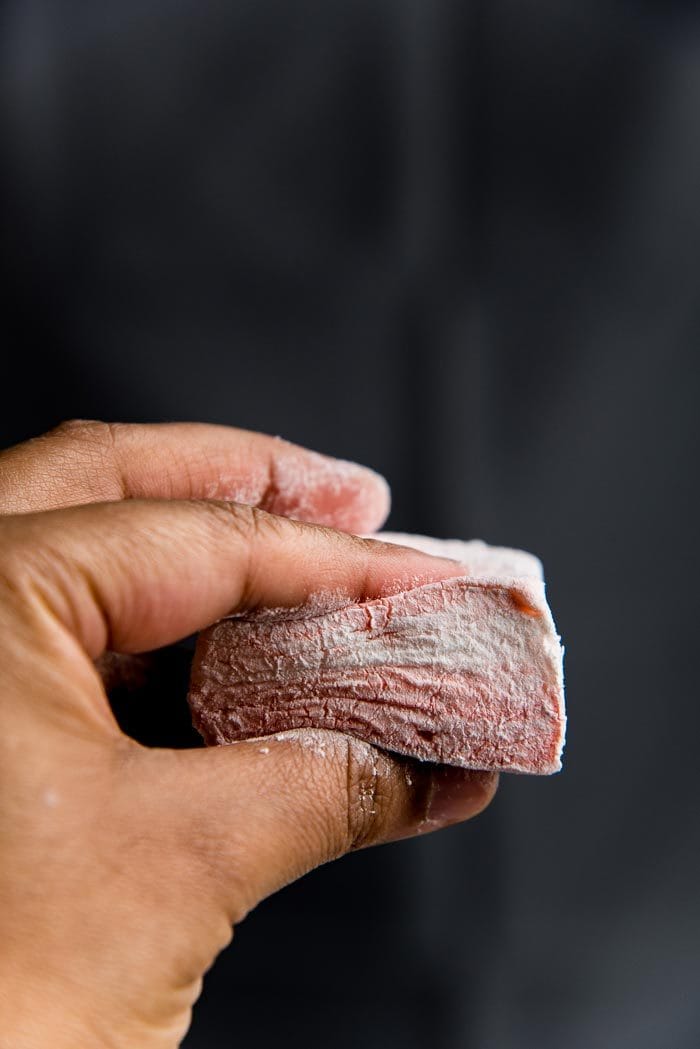
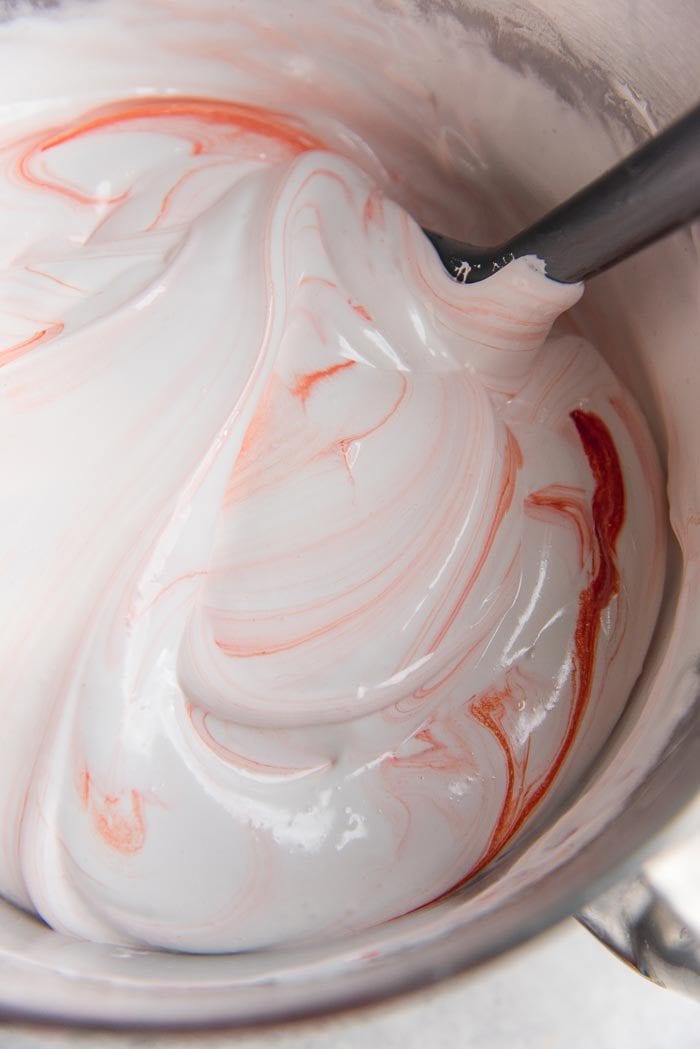
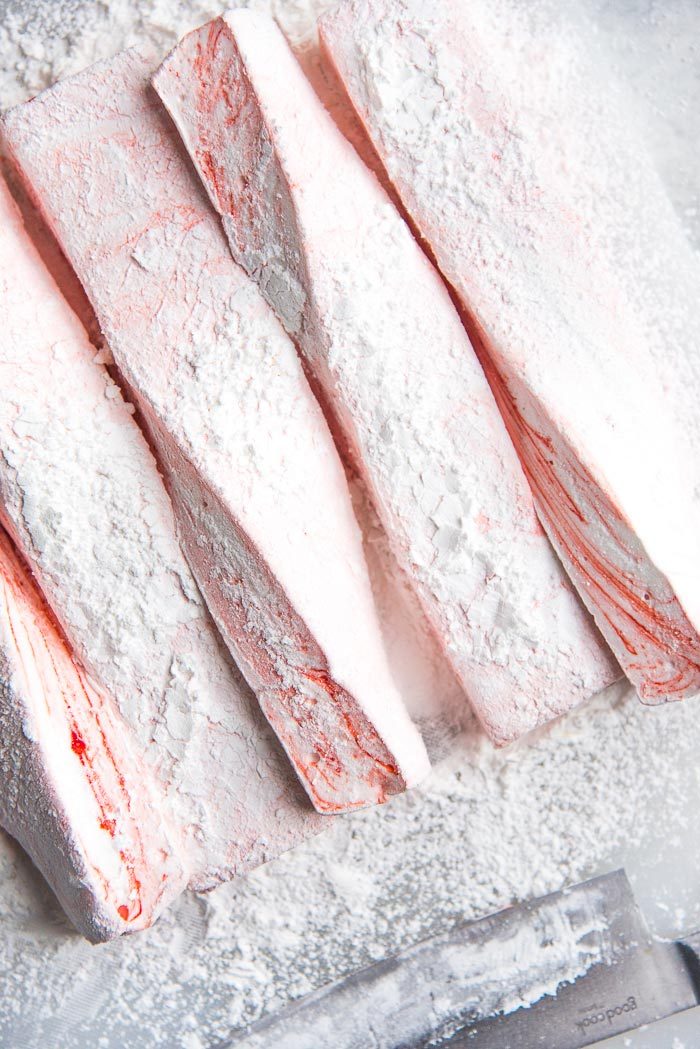
You can choose to color the whole marshmallow mixture with a little red coloring to make the whole thing colored gorgeous red/pink, or use green coloring for a minty green color. OR, like I did here, you can add a few drops of red gel coloring and fold it into the mixture to get lovely red swirls instead.
Cut the marshmallows into whatever shape you like. I prefer to cut them into 25 square pieces, but the large ones pictured in this post (16 pieces) are perfect for hot chocolate and gift giving!
Can I cut these peppermint marshmallows into other shapes with a cookie cutter?
Yep! Instead of an 8 x 8 inch pan, you can use a 9 x 13 inch pan or a 10 x 15 inch jelly roll pan and spread the marshmallow base in the larger pan, so that you get a thinner marshmallow base. Then rub some butter or shortening on the cookie cutters and cut the marshmallow into the shapes you like.
You can simply coat the marshmallows with the dusting mix, or you can even dip one half of the peppermint marshmallows in chocolate. Sprinkle some crushed peppermint candy canes on the chocolate too while you’re at it! 🙂
I like my peppermint marshmallows plain, so I can enjoy them with hot chocolate! Seriously, there’s nothing like a soft, springy, fluffy peppermint marshmallow in your hot chocolate on a cold, wintry day! I also have a few delicious and decadent hot chocolate recipes to pair with these peppermint marshmallows – peanut butter hot chocolate, dairy free bourbon hot chocolate, Parisian hot chocolate, rocky road hot chocolate, and this delightful rum and peppermint white hot chocolate!
I guarantee you will LOVE making marshmallows once you give them a try. They are deceptively simple to make and far better than any store-bought kind.
If you liked this homemade peppermint marshmallows recipe, don’t forget to subscribe for new (and free) recipes by entering your email address on the side bar (and get all these recipes delivered straight to your inbox), so you don’t miss out on a thing. You can find me on FACEBOOK, TWITTER, INSTAGRAM, PINTEREST, YOU TUBE and GOOGLE-PLUS too.
Recipe
Homemade Peppermint Marshmallows
US based cup, teaspoon, tablespoon measurements. Weight measurements are recommended for accurate results whenever available.
Common Measurement ConversionsIngredients:
Peppermint Marshmallows
- 14 oz white sugar increase sugar to 14.5 oz if you’re not using agave or corn syrup
- 1/4 cup agave or 1/3 cup corn syrup 81 – 87 g
- ½ cup water increase water to ⅔ cup if you’re not using agave or corn syrup
- ½ cup water for the gelatin
- 7 tsp gelatin about 3 packets of Knox gelatin (21 g)
- Pinch of salt
- 1 tsp pure peppermint extract
- A few drops of red gel food coloring
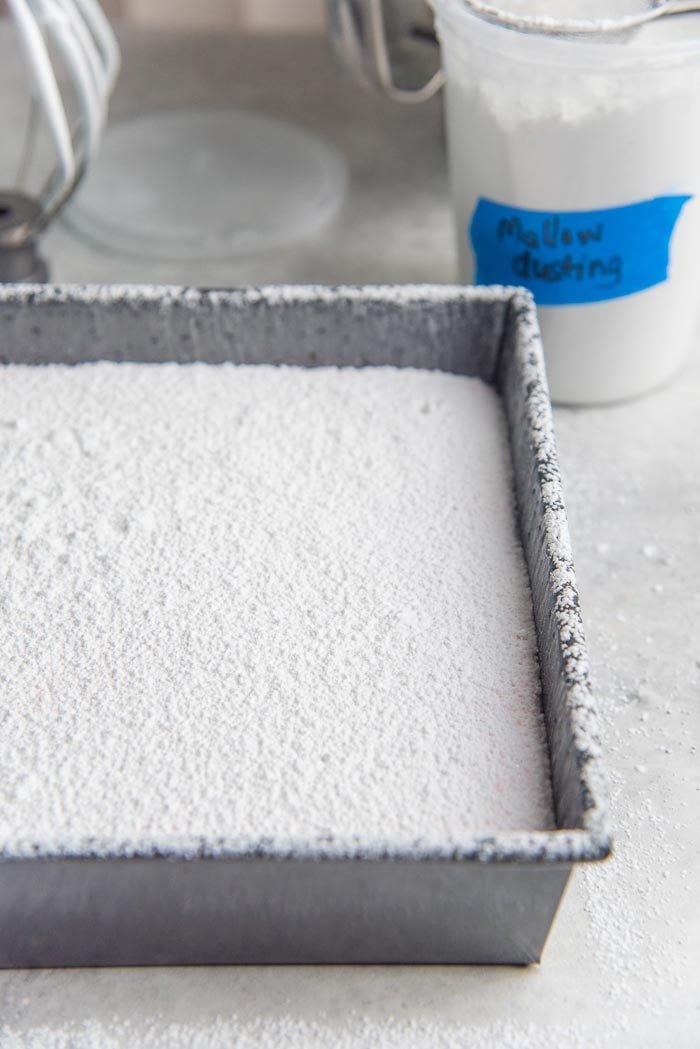
Mallow Dusting Powder
- 1 cup confectioner’s sugar sifted
- 1/2 cup cornstarch (cornflour)
Instructions:
Peppermint Marshmallows
- Place the sugar, agave syrup (or corn syrup), and water in a saucepan. Stir until the sugar is moistened and mixed with the water.
- If you’re not using agave or corn syrup – place the sugar in the saucepan and pour the water along the side of the saucepan. Make an “X” in the sugar using your finger – wall to wall (this will help the water spread and moisten the sugar).
- Heat over medium-high heat until the sugar syrup comes to a boil. Gently swirl the pan to evenly distribute the heat and dissolve the sugar.
- Cover the saucepan with a lid and lower the heat to medium. Let the syrup cook for 2 minutes. Do not lift the lid at this point.
- After 2 minutes, remove the lid and check to make sure there are no sugar crystals on the sides of the saucepan. If there are crystals, then cover the saucepan for a further minute to allow condensation that collects on the bottom side of the lid to drip and wash down the sugar crystals back into the syrup.
- Clip the sugar thermometer to the side of the saucepan, and set the temperature to between 242 – 245°F. Let the sugar syrup cook until it reaches this temperature – do not exceed 245°F.
- If you don’t have a sugar thermometer, please see recipe notes for directions to check the correct stage of the sugar syrup.
- While the sugar syrup is cooking, prepare the gelatin. Place ½ cup of water in the mixer bowl. Add the gelatin and mix to moisten the gelatin. Then set it aside to allow the gelatin to bloom while the sugar syrup is cooking (at least 10 minutes). Place the bowl in your mixer with the whisk attachment. Add the salt into the bloomed gelatin.
- When the sugar syrup reaches the right stage, remove it from the heat and let the bubbles subside. While the mixer is running on medium – low speed, pour the sugar syrup into the bloomed gelatin, along the wall of the bowl (this is to prevent the gelatin from getting scorched by the hot sugar syrup). Increase the speed to medium – high.
- Whisk on medium – high for 3 to 5 minutes until the marshmallow base is doubled in size and is white, fluffy and smooth. Then mix for a further 3 to 5 minutes on high speed, allowing the marshmallow to volumize more (up to 3 times). Stop mixing if the marshmallow base has already cooled down, as this will create tough marshmallows. Make sure the base is fluffy, white and up to 3 times the initial volume.
- While the marshmallow base is whisking, prepare the pan and utensils that you’ll be using. Rub an 8 x 8 inch pan with shortening or butter (you can line this pan with parchment paper if you prefer). Brush all the utensils (spoon, spatulas) with the same fat as well.
- Add the peppermint extract during the final minute of whisking.
- Once the marshmallow base has tripled in size, remove the bowl from the mixer and add a few drops of red gel coloring into the base. Using the oiled silicone spatula to fold the color into the marshmallow base to create red swirls.
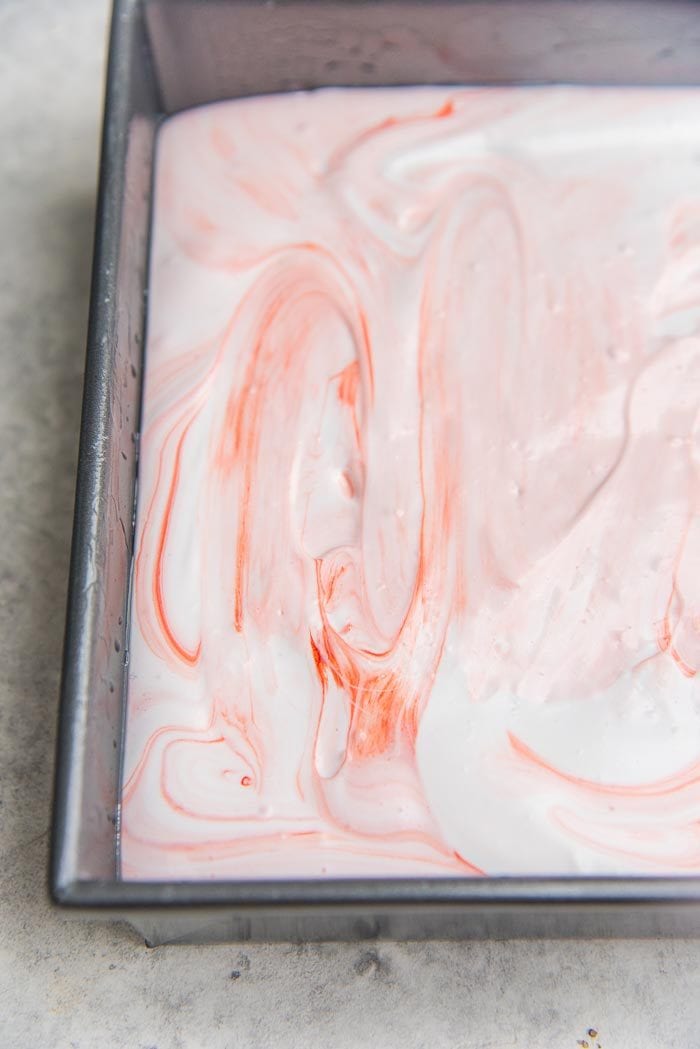
- Scrape the marshmallow base into the prepared pan using the same spatula or flexible scraper. Spread the marshmallow evenly in the pan.
- Sieve mallow dusting powder generously on top, and allow the marshmallow to set for at least 6 hours.
- Turn the set marshmallow out onto a work surface dusted with dusting powder. Cut the marshmallow with an oiled knife or a pair of scissors into 25 square pieces (or 16 pieces for larger marshmallows). Toss the marshmallows in the dusting powder and store in an air-tight container.
Mallow Dusting Powder
- Mix the confectioner’s sugar and cornstarch together until well combined. Set aside until needed.
Recipe Notes
- If the sugar completely dissolves in the water – it’s not ready yet.
- If the sugar forms a cohesive shape in the cold water, which you can pick up and press between your fingers, and if it gets smushed between your fingers and dissolves, it’s still not ready yet (this is the soft-ball stage).
- If the sugar has reached the right stage (firm-ball stage), then the sugar dropped in water will form a cohesive shape. You should be able to take this sugar out of the water, and you should have a pliable sugar ball that you can press between your fingers, and it shouldn’t dissolve. THIS IS THE RIGHT STAGE.
- If the sugar forms a ball that’s too firm to be pressed between your fingers easily, then the sugar was cooked for too long. Unfortunately, you may need to start from the beginning if this happens. You can however, add a little hot water to the sugar syrup and “re-cook” the syrup to reach the right temperature again, but you may still end up with marshmallows that are a little chewy.
Nutrition Information:
“This website provides approximate nutrition information for convenience and as a courtesy only. Nutrition data is gathered primarily from the USDA Food Composition Database, whenever available, or otherwise other online calculators.”


Leave a Reply