



Cinnamon rolls made with a rich, soft, fluffy, brioche-like bread dough, stuffed with a delicious butter-cinnamon-sugar paste, and topped with a tangy easy cream cheese frosting. Super easy, and can be made ahead of time too!
This is the BEST Cinnamon Rolls recipe you’ll ever have! For an even richer and more buttery version, try my brioche cinnamon rolls.
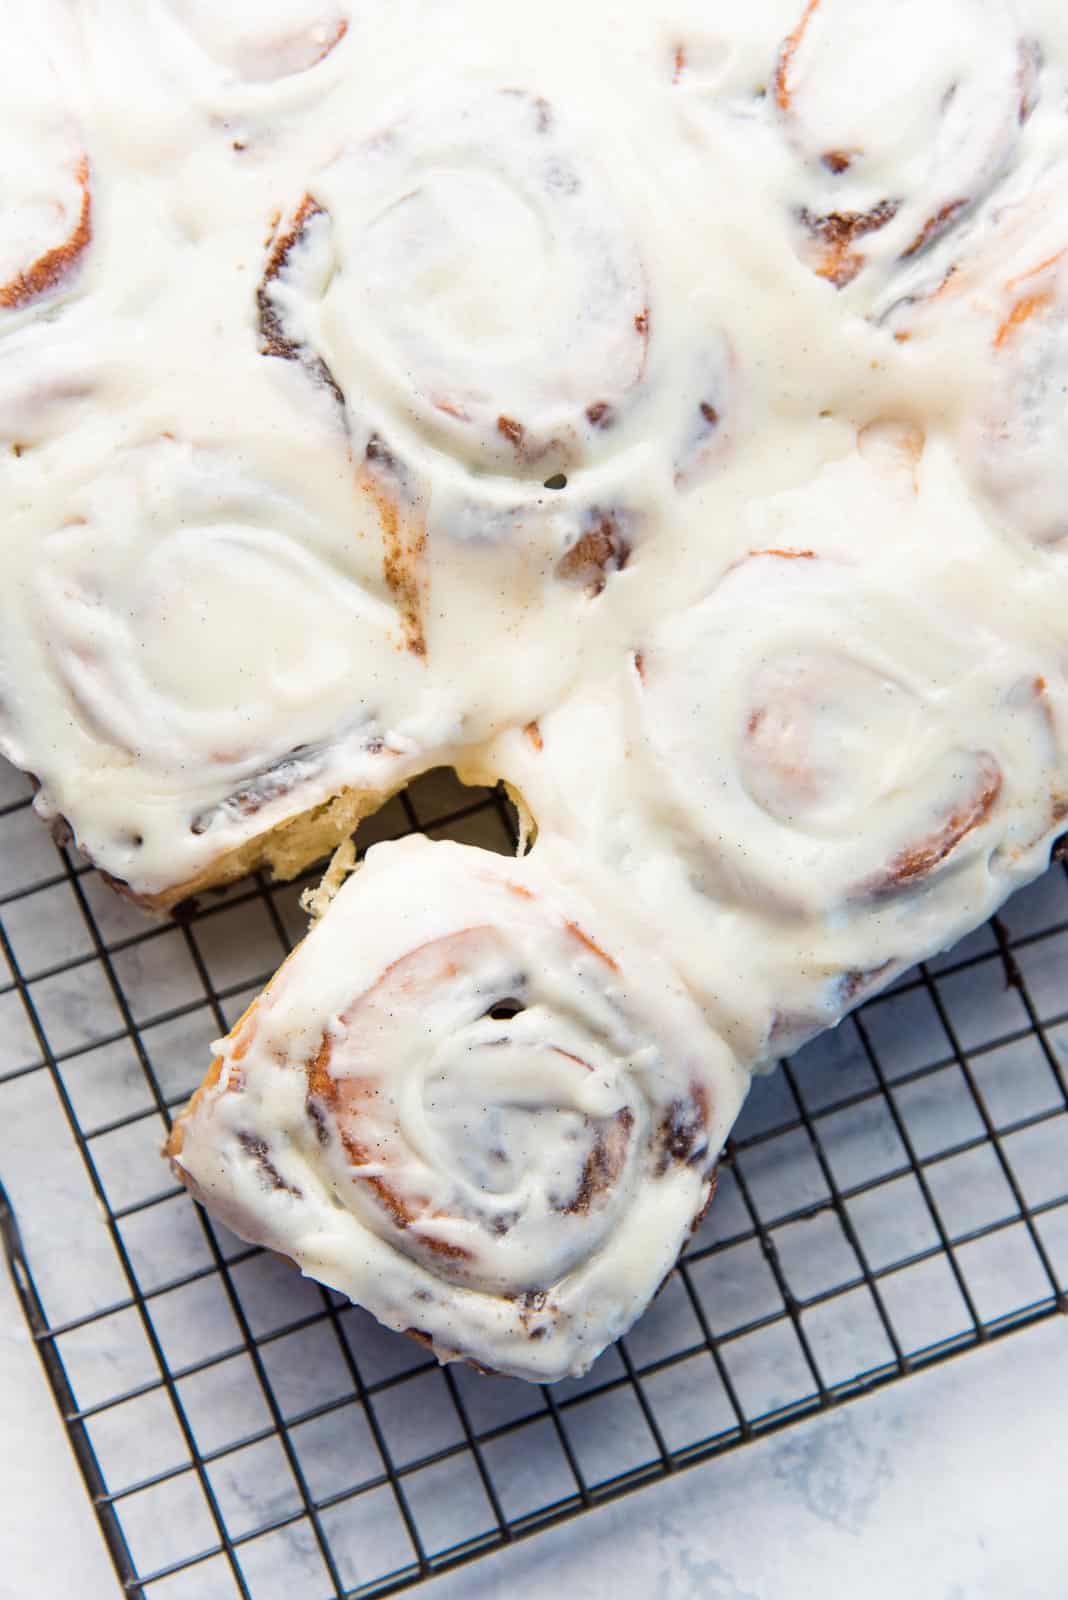
Cinnamon rolls are not an every day occurrence for us. It’s a special breakfast pastry recipe, reserved mostly for special occasions, like a mother’s day brunch menu! Especially, these cinnamon rolls, because these are the BEST cinnamon rolls I’ve ever had! 🙂
This cinnamon rolls recipe is a fixture in our household at celebratory breakfasts, like on birthdays, and even on Christmas morning or New Year’s Day.
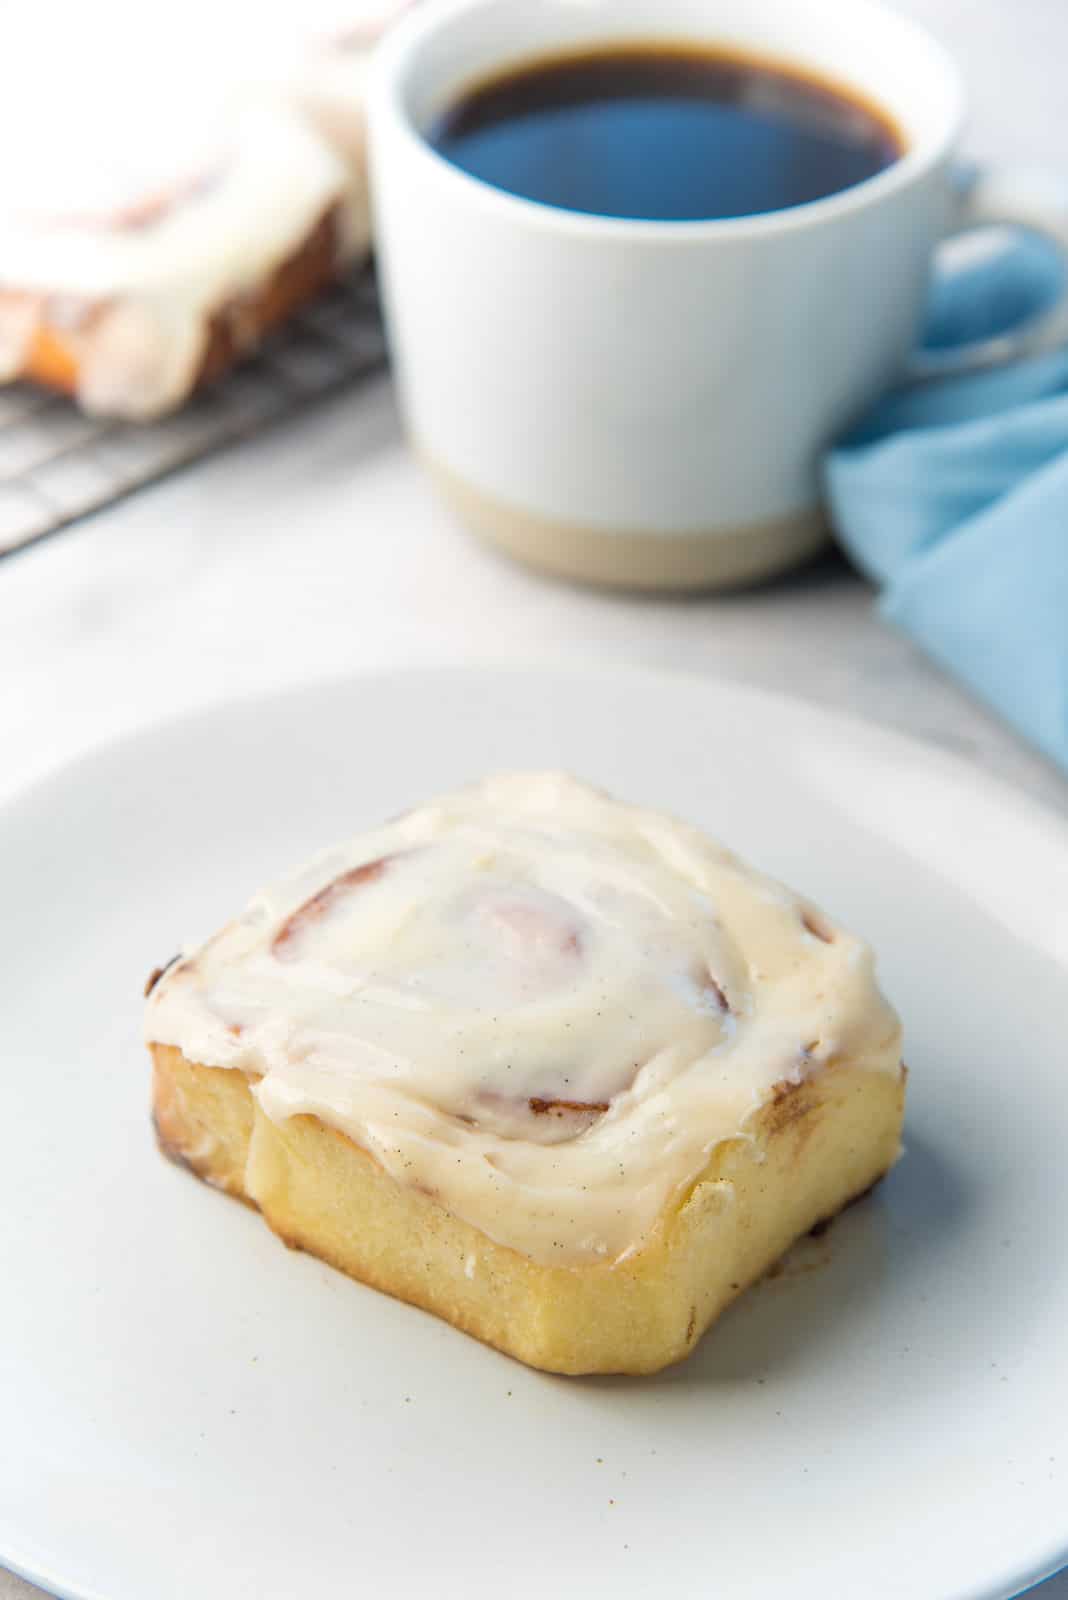
Why this is the BEST cinnamon rolls recipe
- It’s made with a brioche-like bread dough that’s rich, soft, fluffy and so delicious. And enriched with butter and eggs as well. (I have also shared a brioche cinnamon rolls recipe for cinnamon rolls that are even more rich and buttery!).
- Instead of spreading butter and sprinkling cinnamon sugar, I prefer to make a butter-cinnamon-sugar paste to spread on the dough. This keeps the filling nicely intact as the cinnamon rolls bake.
- A touch of saltiness in the recipe enhances the flavor.
- It’s topped with a tangy delicious cream cheese frosting. If you’re making these for adults, you can substitute the vanilla for bourbon for a little boozy kick too!
- You can keep the cinnamon rolls prepped in the fridge overnight, or even in the freezer. Then freshly bake them just before serving.
- Perfect for breakfast on Thanksgiving or Christmas, because you can prep everything ahead of time.
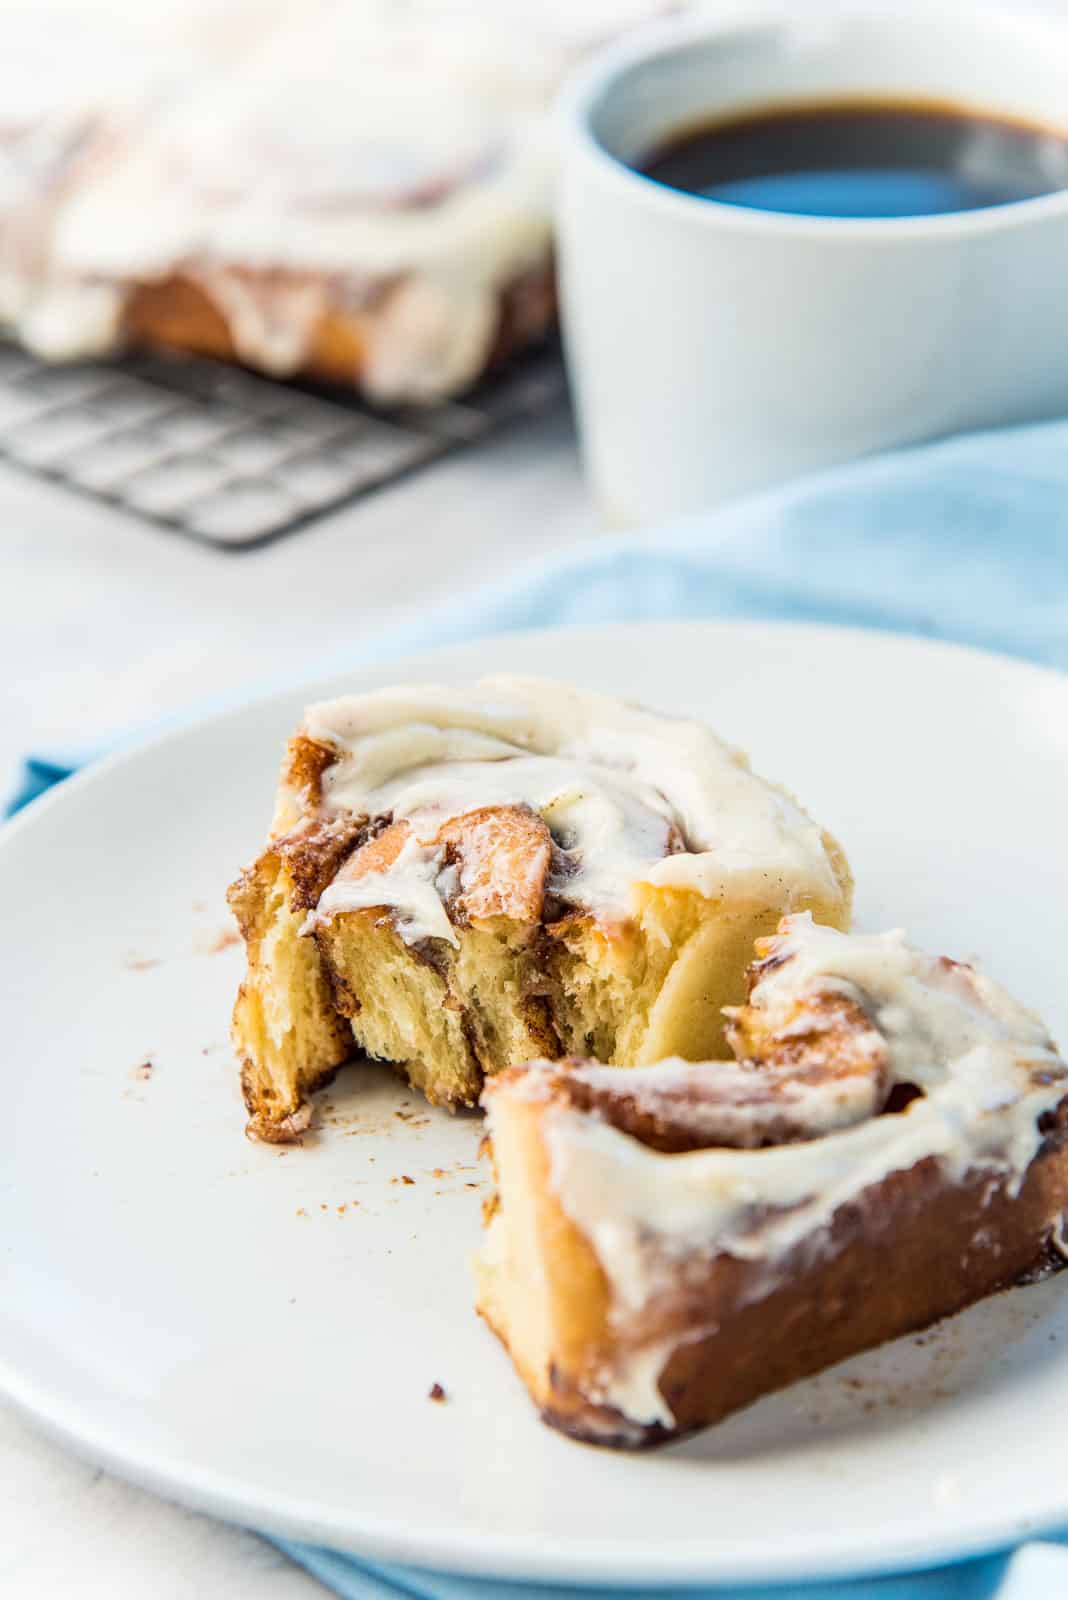
Cinnamon buns are an American classic. Growing up in New Zealand and Sri Lanka, cinnamon rolls were a fixture on American TV shows that I used to watch. It wasn’t until much later that cinnamon buns were available where I lived, and it wasn’t until I moved to the US, that I was able to enjoy a cinnabon in all its glory!
Now I make my own of course. They are eaaaaasy, and taste that much better too!
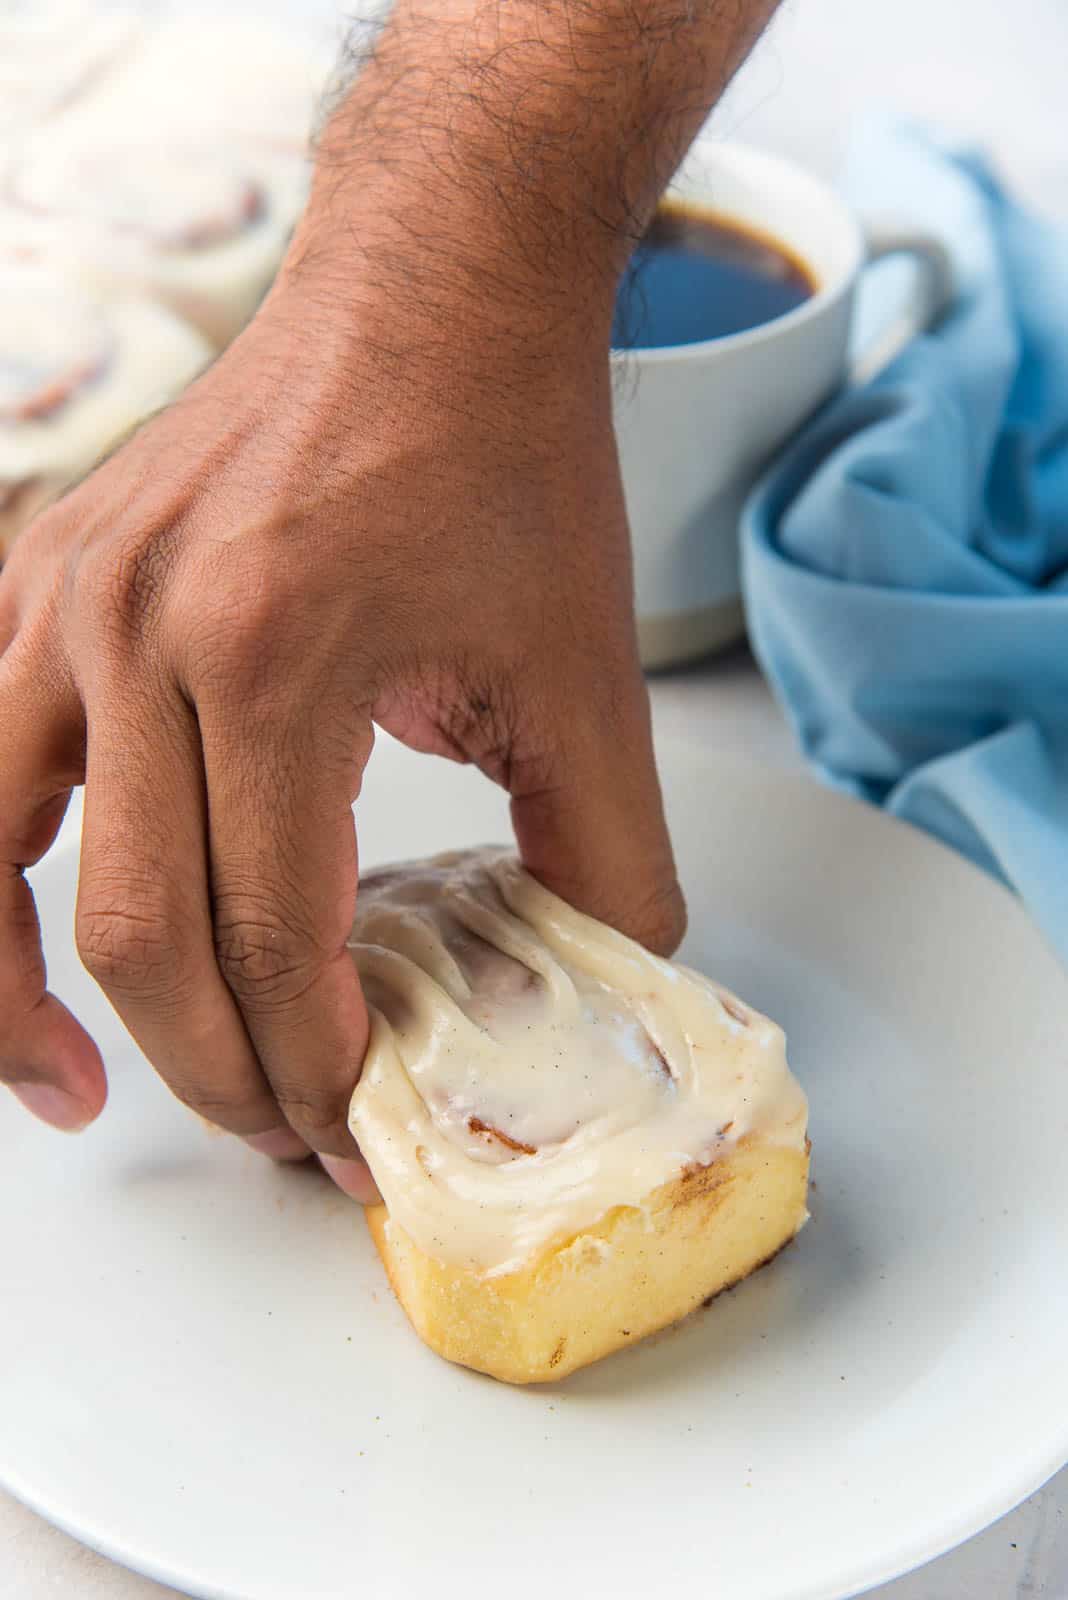
The dough for cinnamon rolls
After testing this recipe multiple times over the years, I’ve finally found a cinnamon roll recipe that I adore. I’ve tried different types of dough to make these, including my homemade hot dog bun recipe. In the end, there were two contenders for the cinnamon roll dough – brioche dough and milk bread dough.
Brioche is buttery and soft, and the eggs give the buns a subtle richness. The milk bread base on the other hand is also incredibly soft, and so milky and tasty.
However, that extra step of making the milk-flour paste is simply not needed for this cinnamon buns recipe, especially with the filling and frosting as well. So I settled on the rich, soft, melt-in-your-mouth brioche dough. Plus, it’s easier to make.
What type of yeast to use
I always use active dry yeast for homemade bread recipes. It’s more widely available too. There are two types of active dry yeast – finer granules, and the larger “traditional” yeast with larger granules.
I usually use the active dry yeast with finer granules, which doesn’t need to be activated before being added to the dough. However, if you don’t know or not sure your dry yeast is fresh or “alive”, then I recommend activating the yeast first in some warm water.
If you only have traditional active dry yeast with larger granules, then it definitely needs to be activated first. This is because it doesn’t dissolve as readily in the dough, and activating the yeast will help evenly distribute it through the dough.
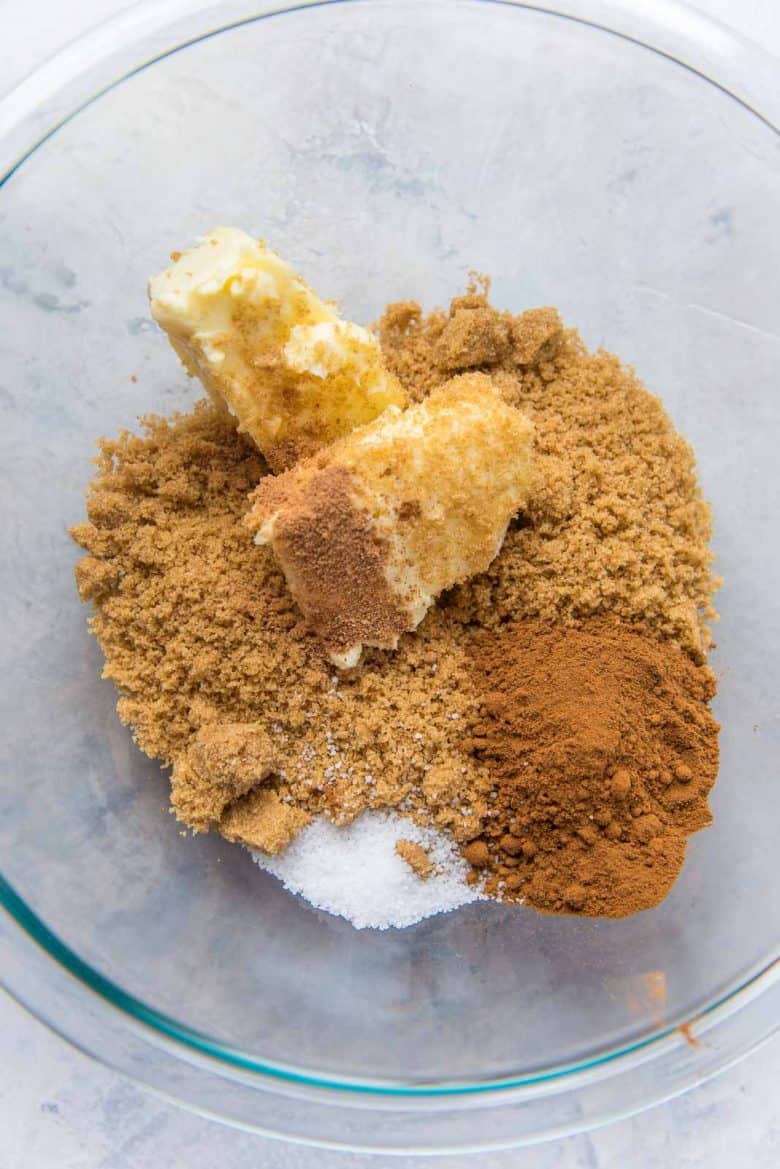
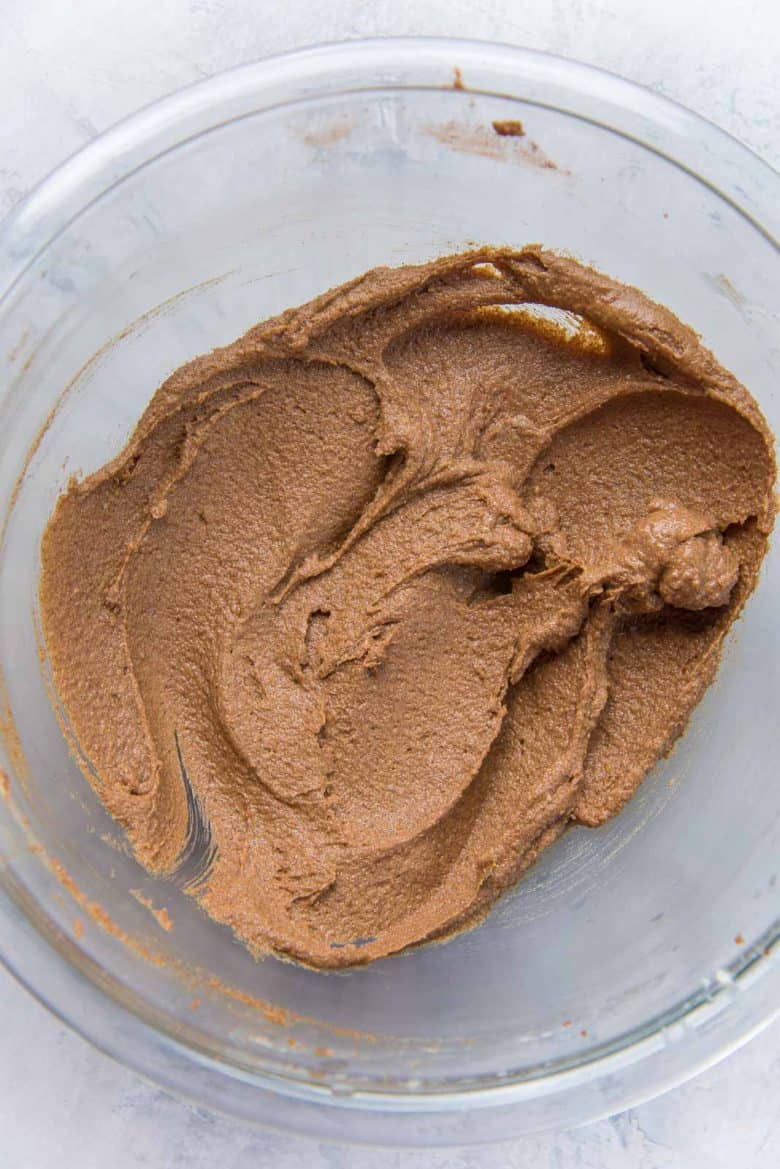
The cinnamon sugar filling
When I first started making cinnamon rolls, I made the filling the classic way. Spread softened butter along the dough, then sprinkle the cinnamon sugar mix generously, before rolling up the dough again.
But now I much prefer making a butter, sugar, cinnamon paste and spreading this evenly, instead. This ensures an even amount of filling throughout your cinnamon rolls. I do the same with these Easter bunny buns, whenever I want to give them an Easter cinnamon roll flair.
I also love to add a little salt to make the sweetness more balanced. And here’s another little secret/tip – add some nutmeg to the filling. Or even some allspice for a non-traditional, yet nice and subtle spicy kick.
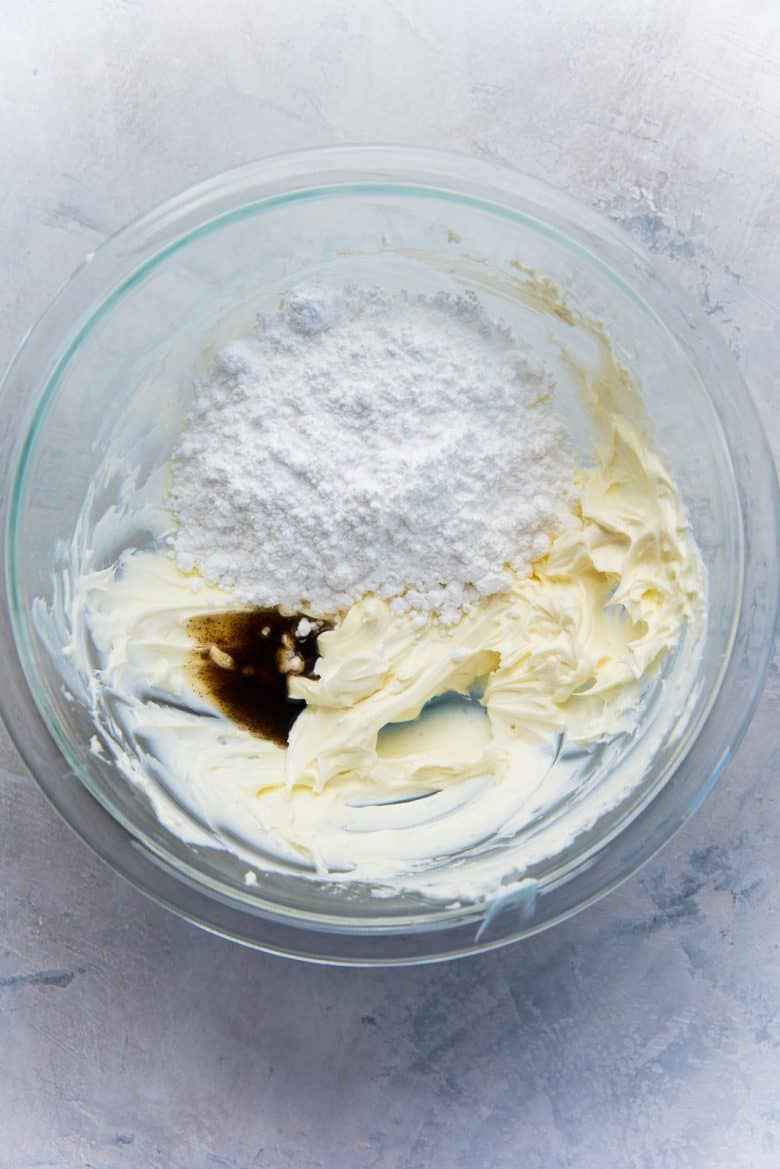
The cream cheese glaze
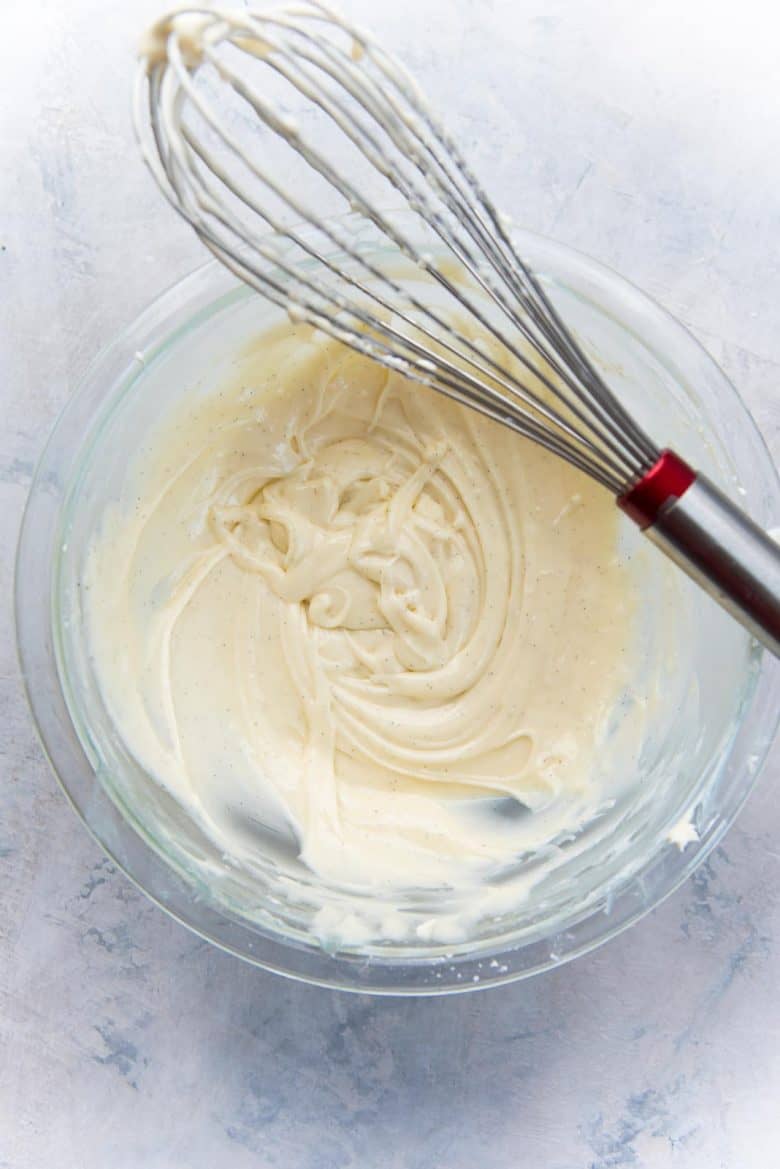
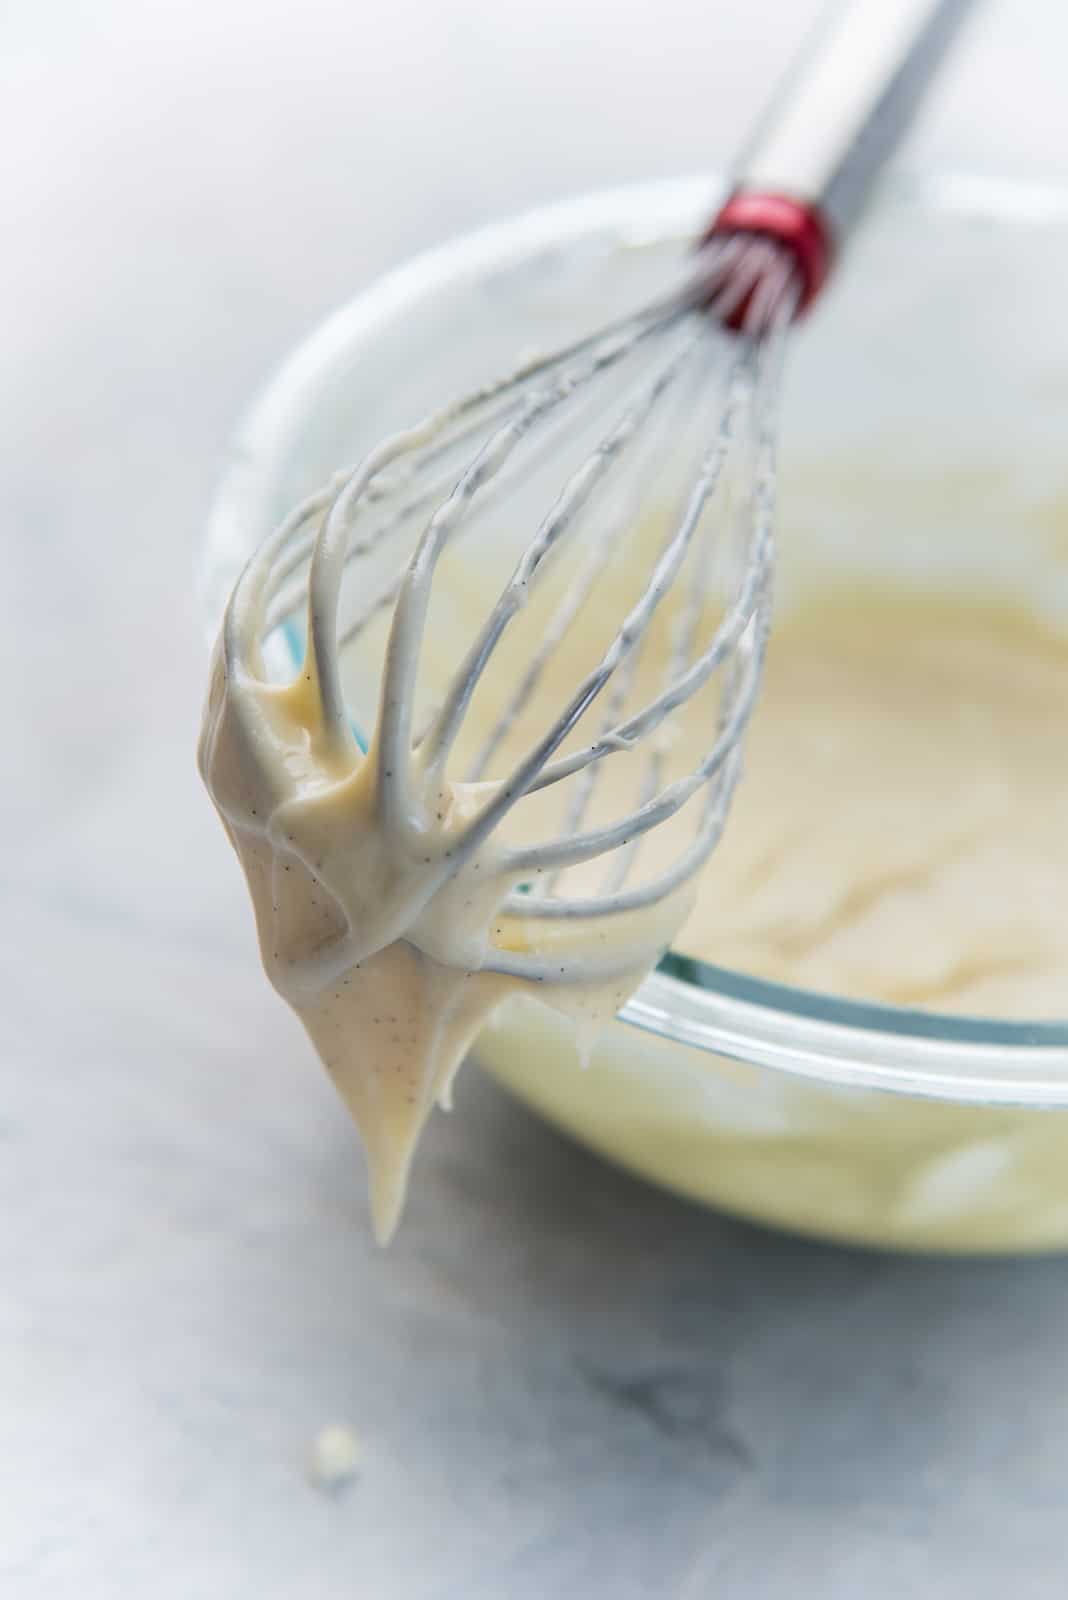
No cinnamon roll is complete without a glaze. Some prefer a drizzle, or a thin coating of glaze. But since I only make cinnamon rolls as a special treat, I want to make the treat worth my while. Which calls for a generous slathering of tangy cream cheese frosting. 🙂
I like to use equal amounts of cream cheese and confectioner’s sugar to make the glaze. This gives you the tangy flavor of cream cheese, without it being overly sweet. The cinnamon sugar filling adds good sweetness, so you want the glaze to complement it by being tart and creamy, instead of even more sweet.
How to make the BEST cinnamon rolls
I like to do most of the work for these cinnamon buns a day or two ahead of time. This includes making the filling, glaze, and making the dough and shaping the rolls. This is so that when I want to serve these, all I have to do is bake them, spread the glaze while they are hot, and serve them while still warm.
You can make the dough first, and then make the glaze and filling while the dough is rising. This is more time-efficient. OR you can make the glaze and filling first and store them away, and then make the dough in the same bowl. This way you use less bowls.
The filling and glaze can be made in a mixer bowl and stored in separate bowls or ziploc bags. I prefer microwavable bowls, so that I can heat them gently if they harden too much later.
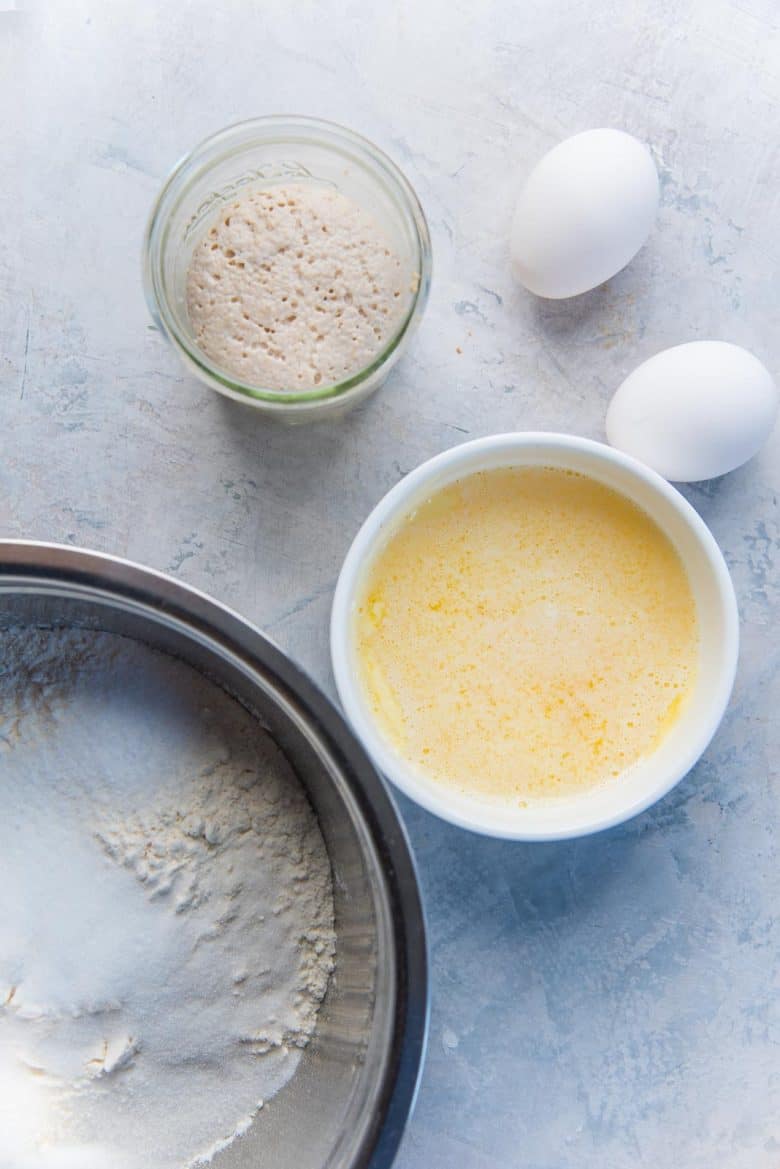
To make the dough – activate the yeast in the milk, with a little sugar
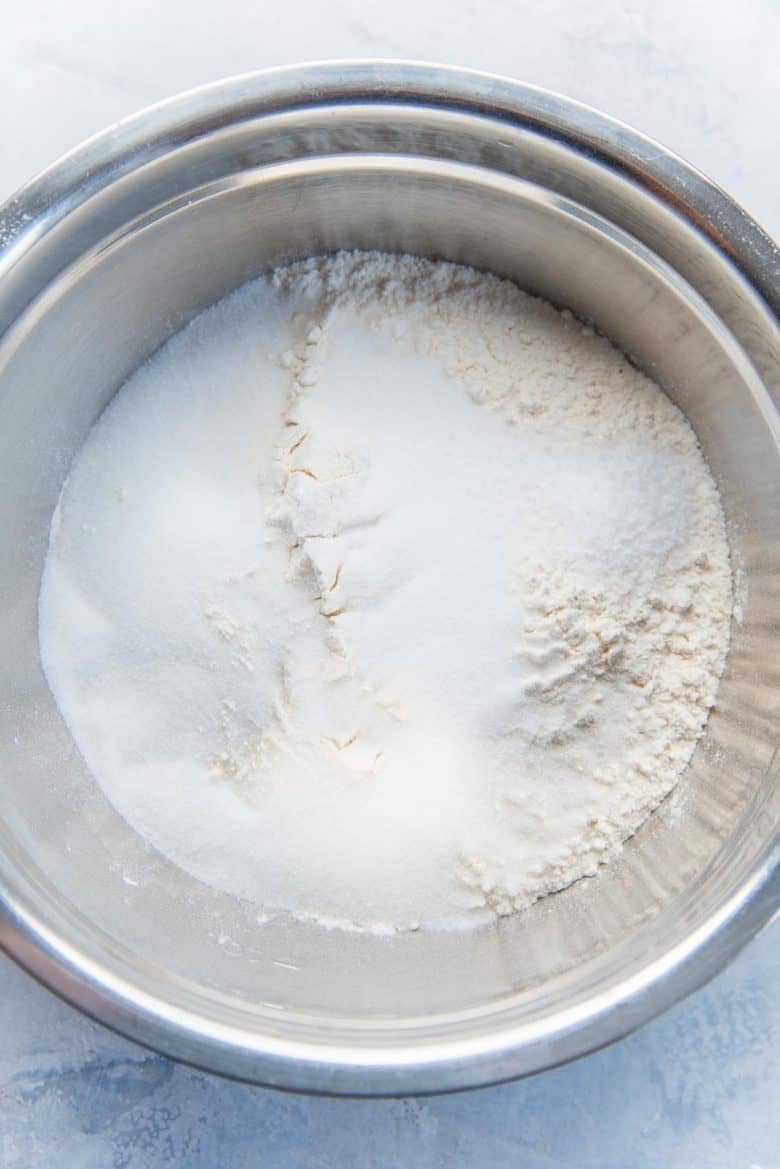
While the yeast is activating, measure out all other ingredients, and prepare the melted butter. When the yeast is active, add the flour, sugar, salt, butter, vanilla and eggs into the same bowl and mix to form a scraggly dough. Then knead the dough using the dough hook of your mixer until you have a smooth dough.
Since this cinnamon roll dough has butter and yolks, the gluten needs to be worked more for it to develop. So you will need to knead it for about 20 – 25 minutes to get the right dough consistency. But you’ll be doing all this in your mixer, so you can let it mix on low and step away. Just check on it occasionally to make sure it’s kneading well.
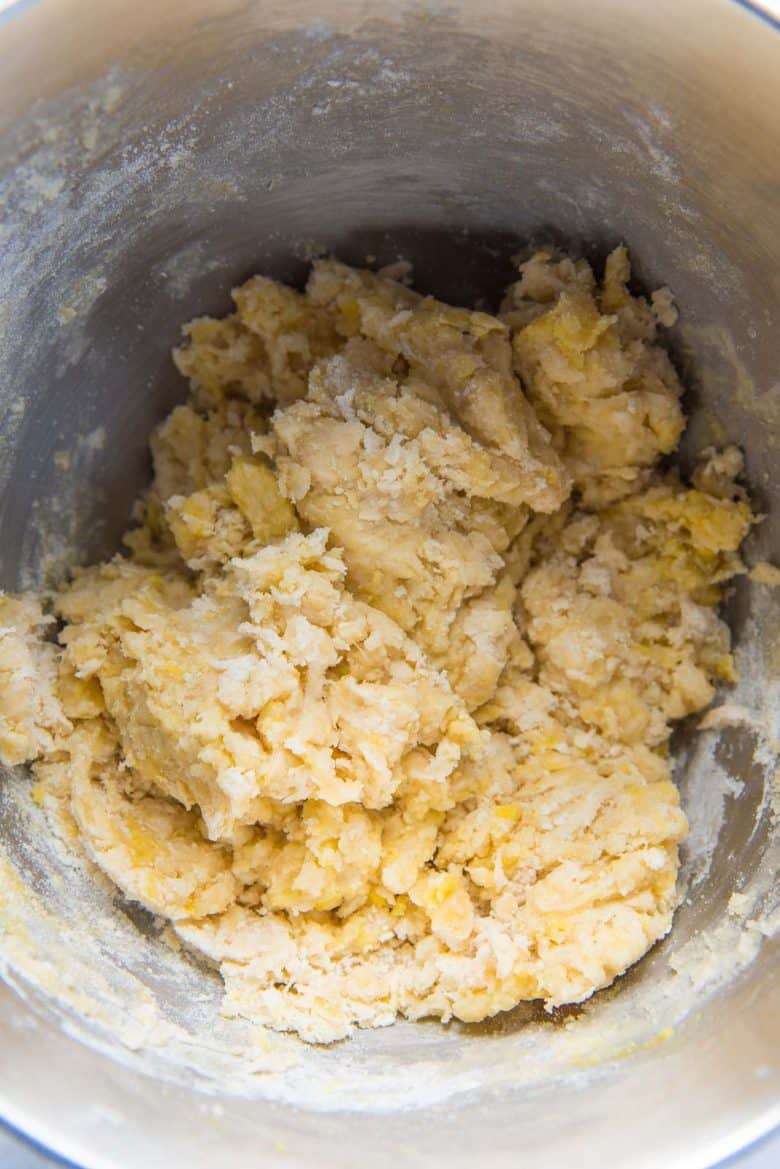
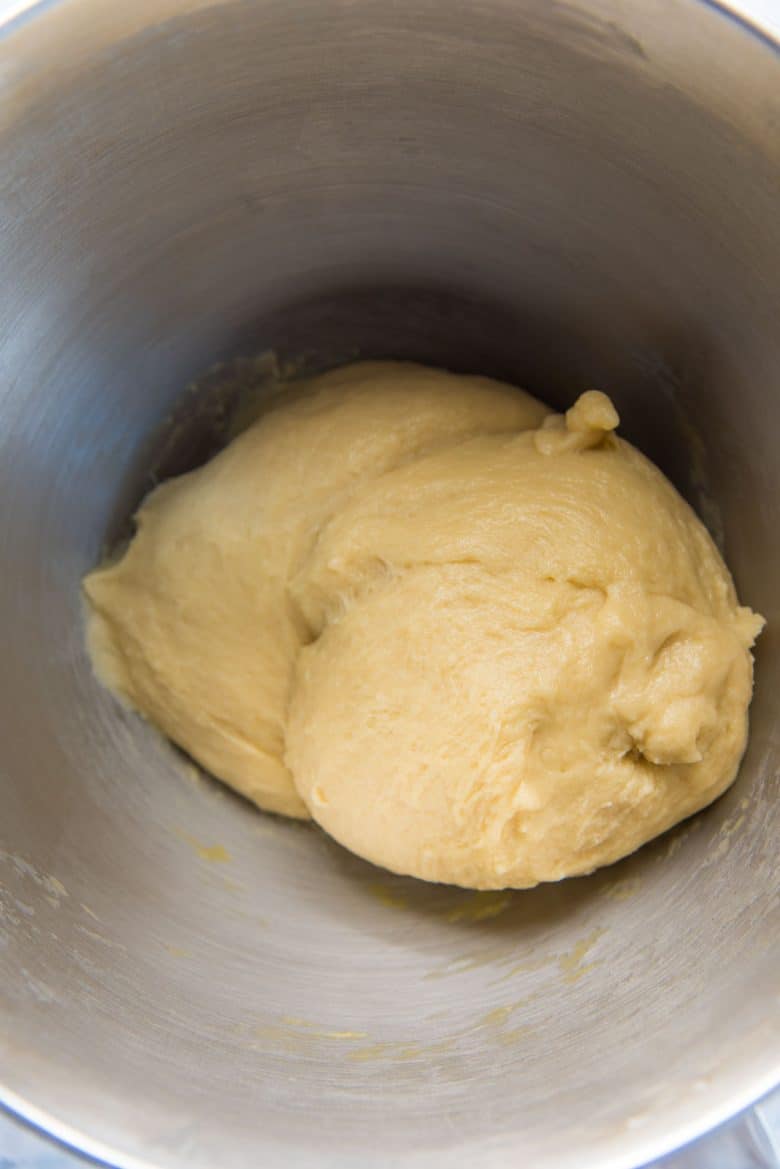
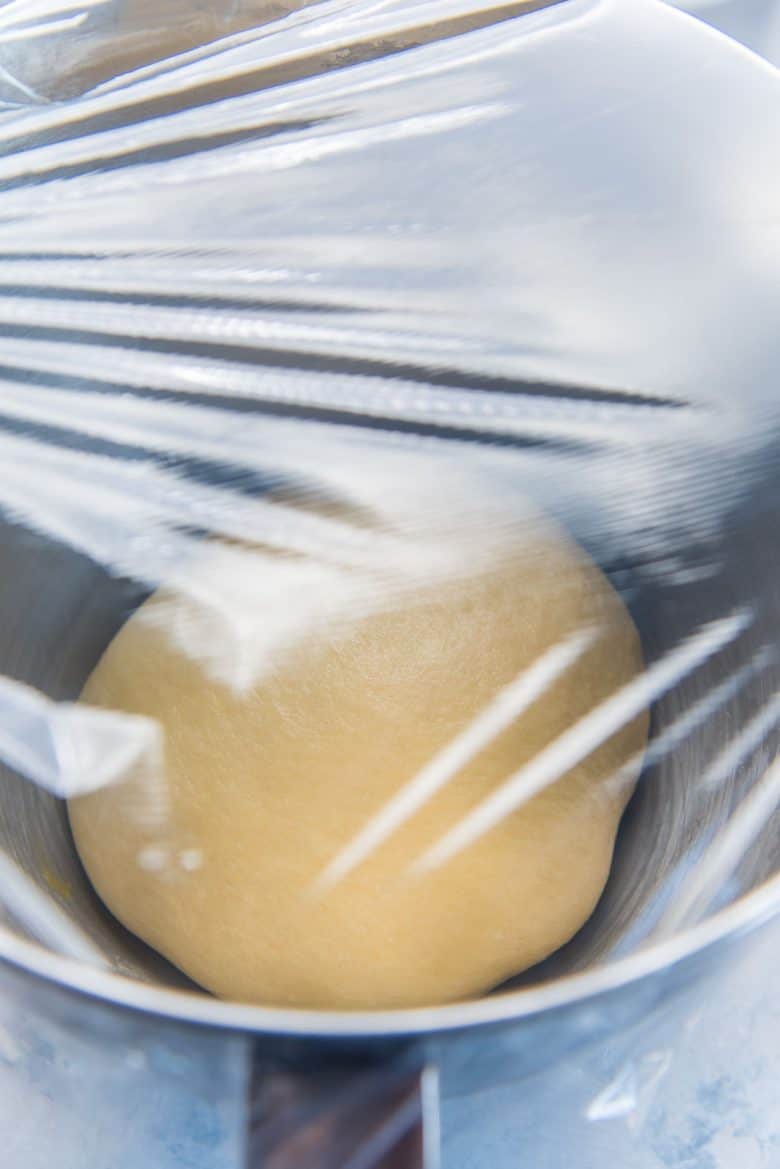
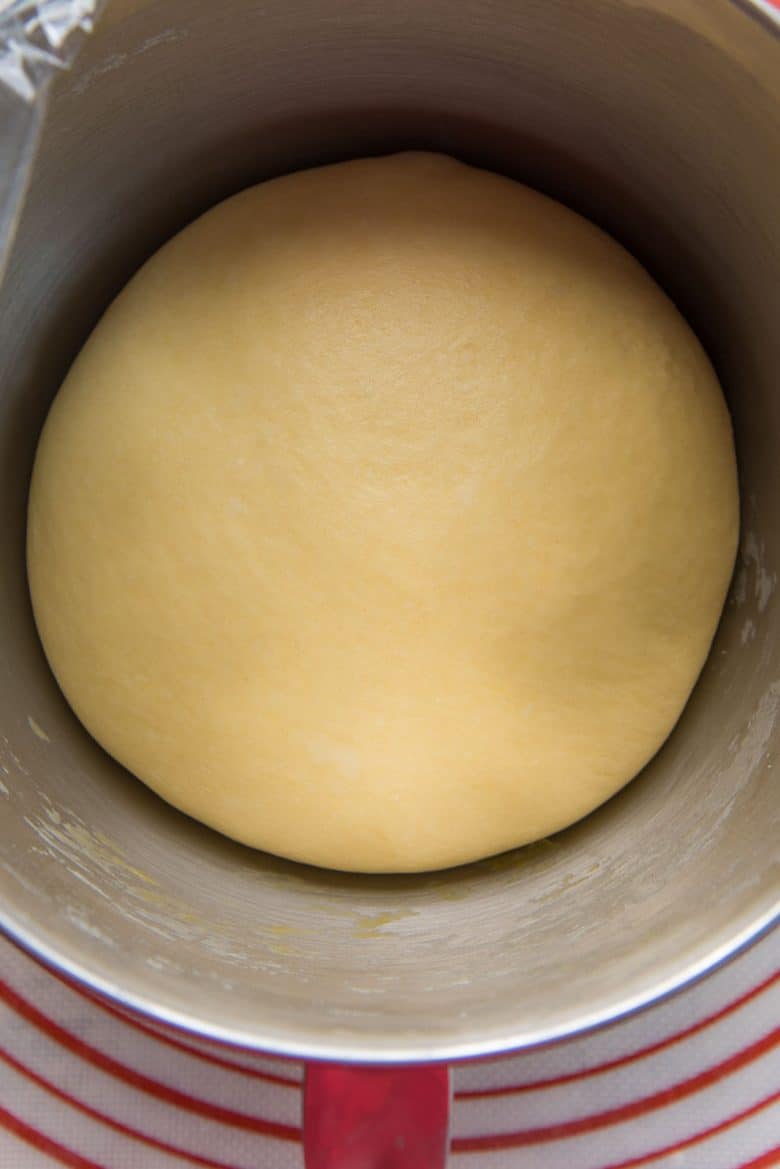
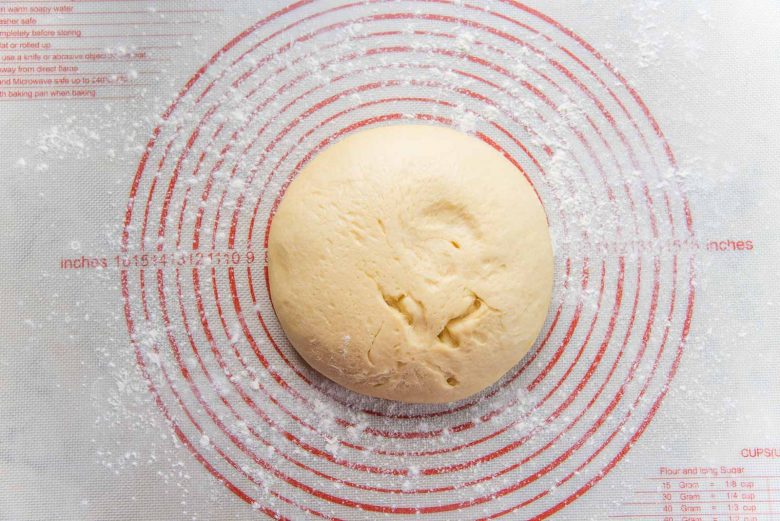
When the dough is smooth, shape it into a smooth ball and let it rise (covered) in the mixer bowl until doubled in size. This can take between 1 1/2 hours to 2 hours, depending on the temperature in the house. Ideally, keep it in a warm place (about 70°F / 21°C), so it will proof better.
The proofed dough is now ready to be rolled out, filled and shaped.
Shaping the cinnamon rolls
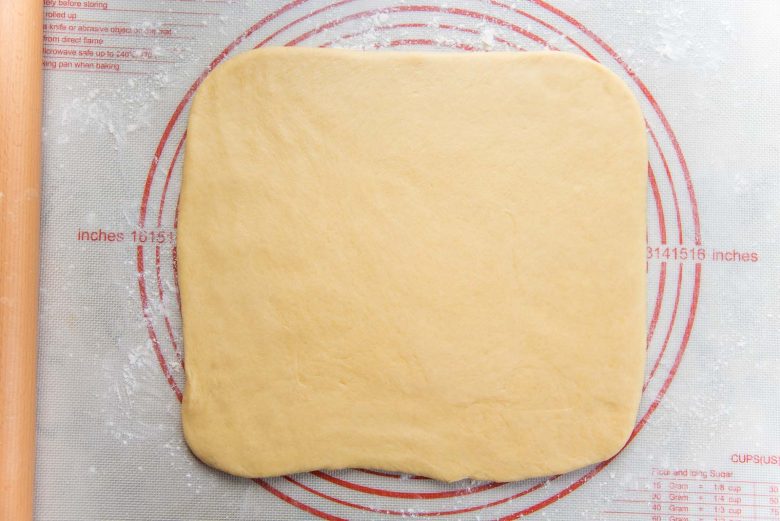
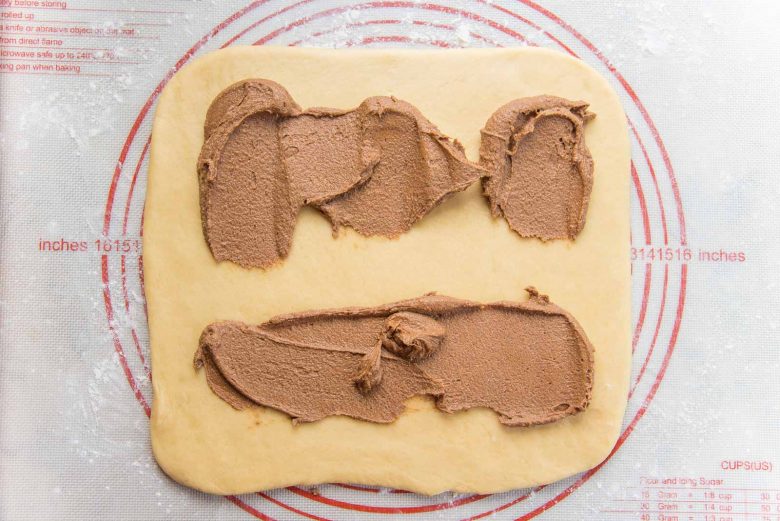
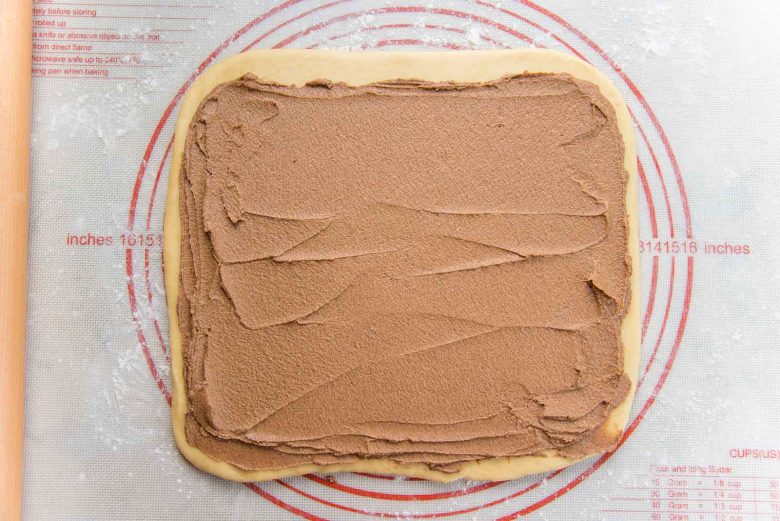
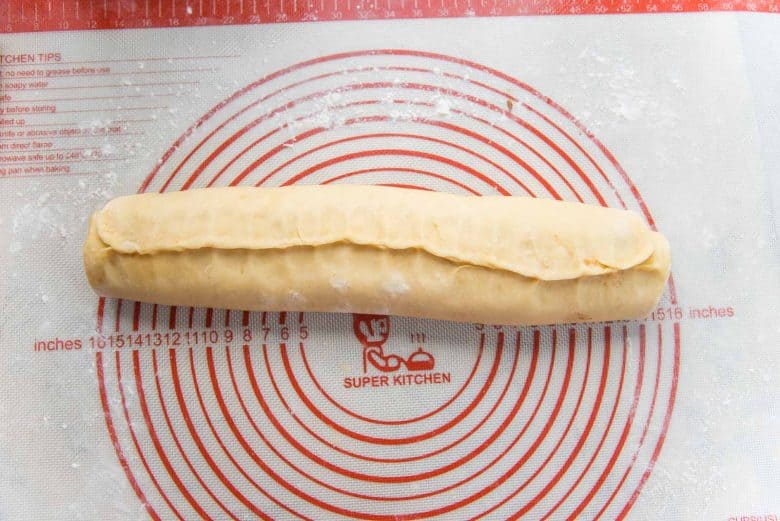
On a well floured surface, roll out the dough into a 13 – 14 inch square. Evenly spread the cinnamon butter paste, making sure to leave a one inch margin on one side. Then roll up the dough, and cut it into 12 equal pieces. I like to cut off the edges that have less cinnamon butter in them, but that’s optional.
How to cut the cinnamon rolls for equal portions
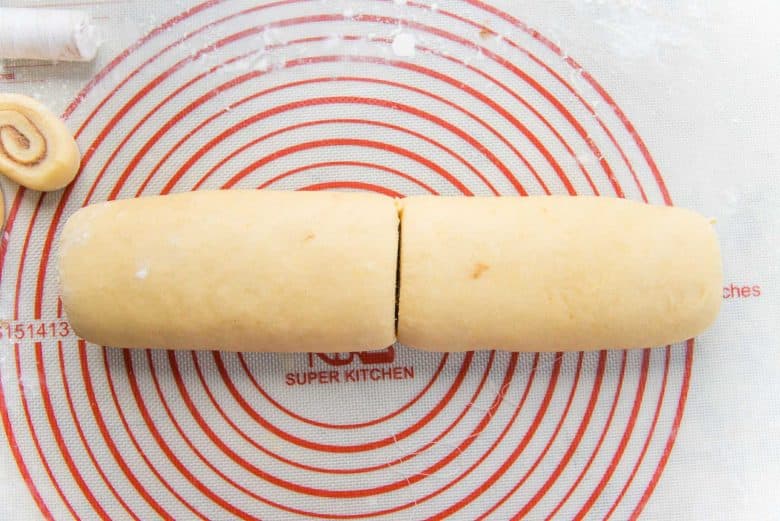
First use a knife to mark the portions equally, so you know where you’ll be cutting to make 12 equal pieces. To do this, you can use either a sharp knife or a cotton string.
Sharp knife – if you’re using a sharp knife to cut the cinnamon roll dough, use a back and forth motion to cut, rather than pressing the knife straight down. Otherwise, the filling can squeeze out.
Cotton string – first slide the string along the bottom of the dough roll, and then cross it over the roll on top. Then pull the two ends of the string to section off portions of the dough.
Baking the cinnamon rolls
To make clean up easier, remember to line your pan with parchment paper.
Place the cut dough pieces on the parchment paper, with some space between them – enough room for them to expand as they bake.
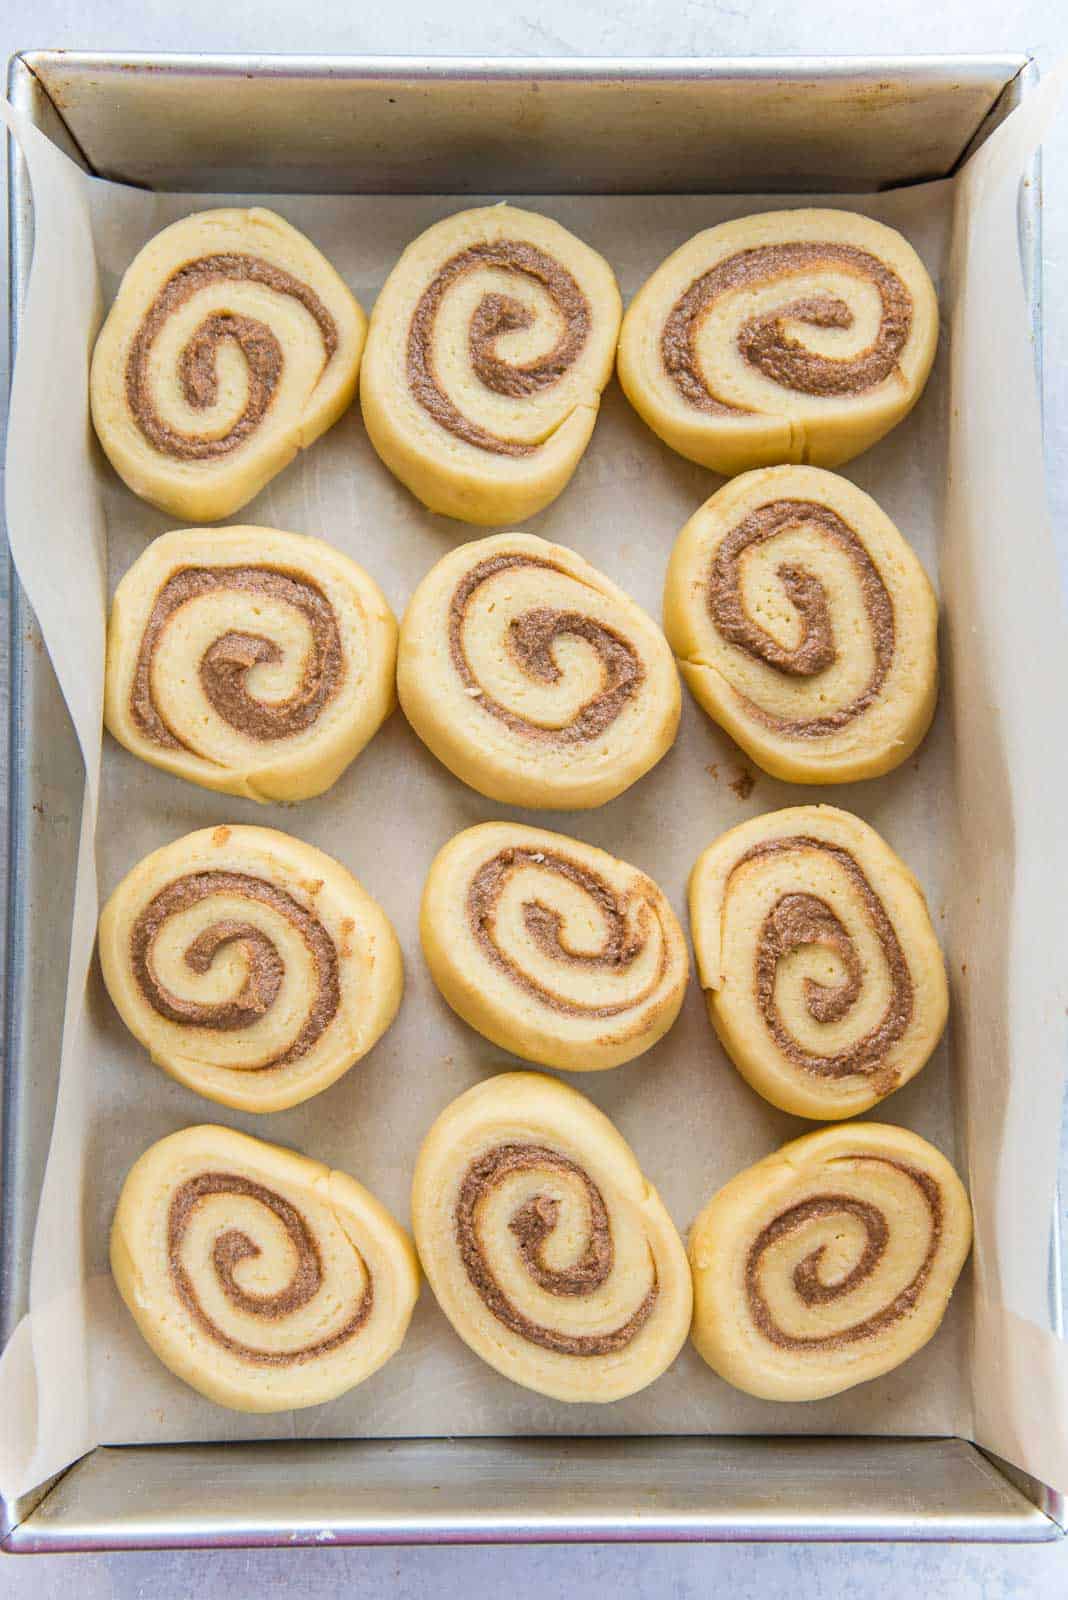
At this stage, you have a choice.
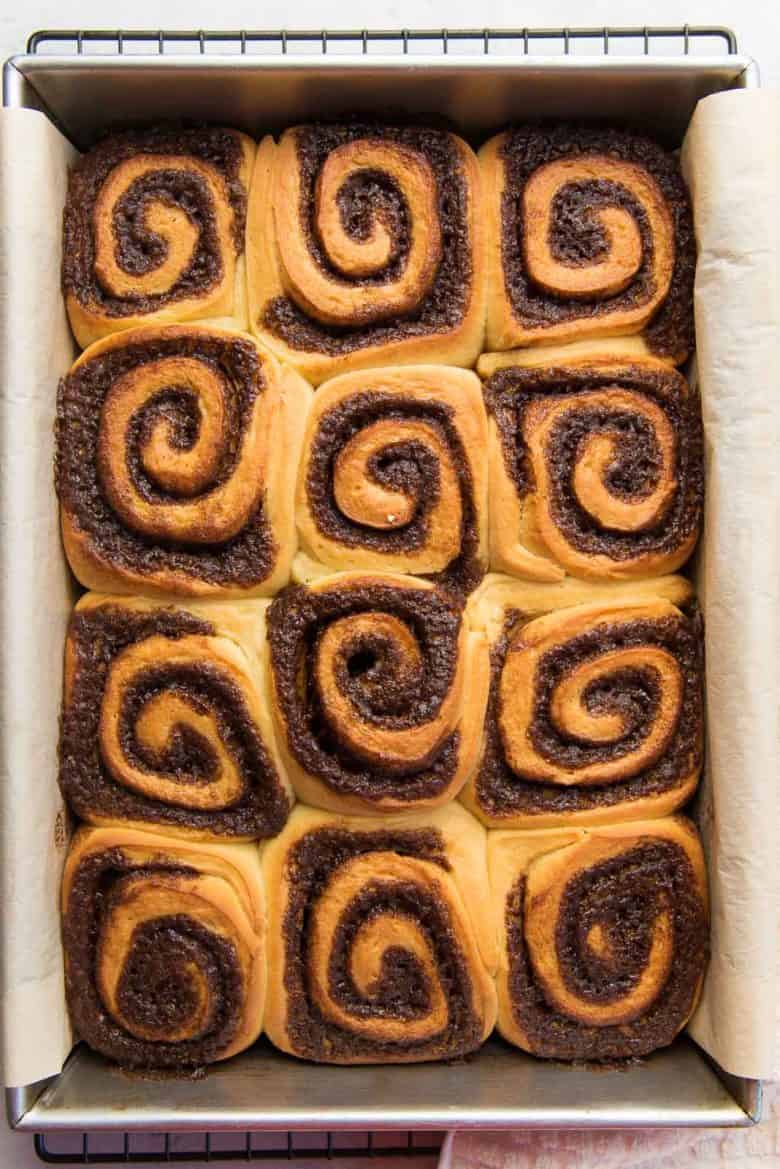
Bake them right away – if you want to eat the cinnamon rolls right away, you can go ahead and bake them in a preheated oven.
OR bake them in the morning, or 48 hours later – let them rest overnight (up to 48 hours) in the fridge, and then bake them in the morning. (This is what I recommend because the brioche dough develops even more flavor overnight).
OR freeze them for later – if frozen, let the dough thaw overnight, and then bake in the oven. This is a great option if you want to make your cinnamon rolls them well ahead of time.
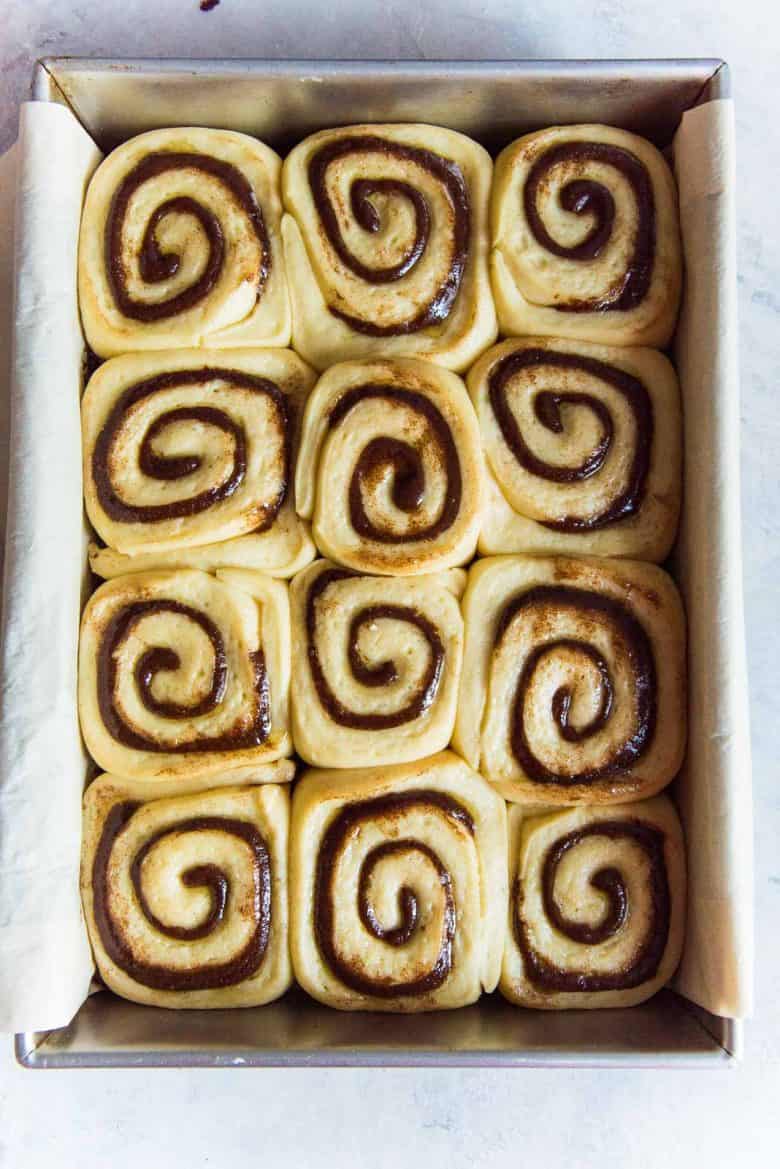
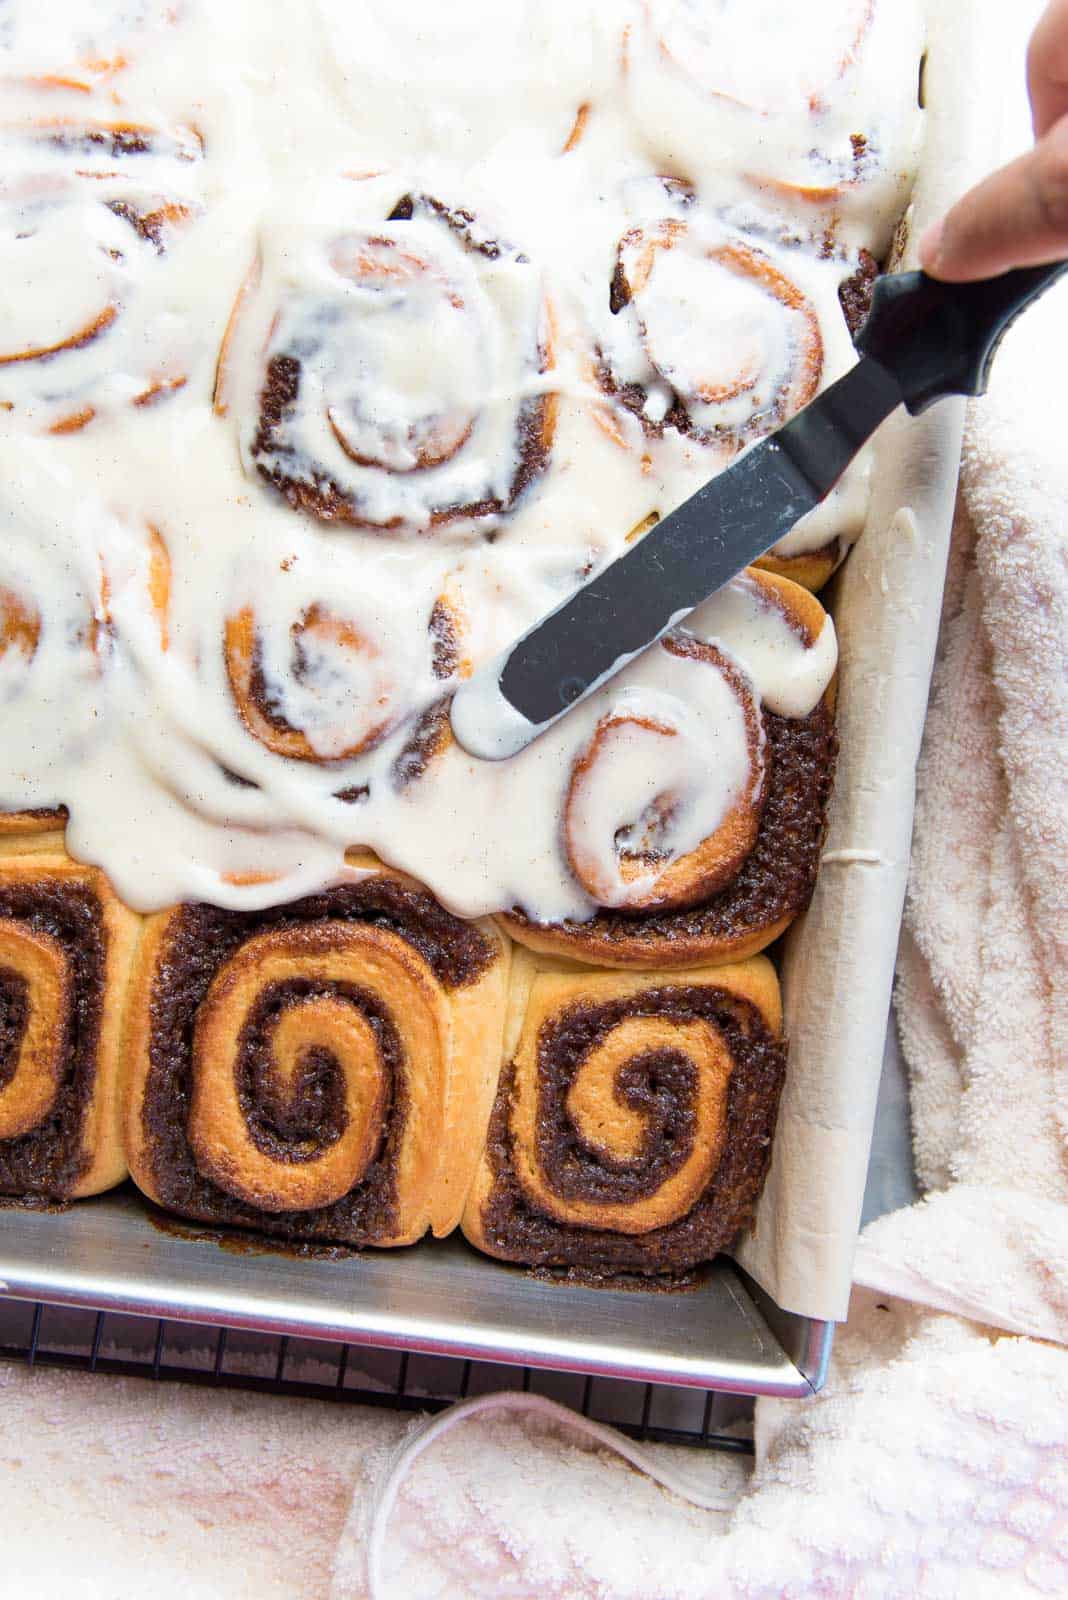
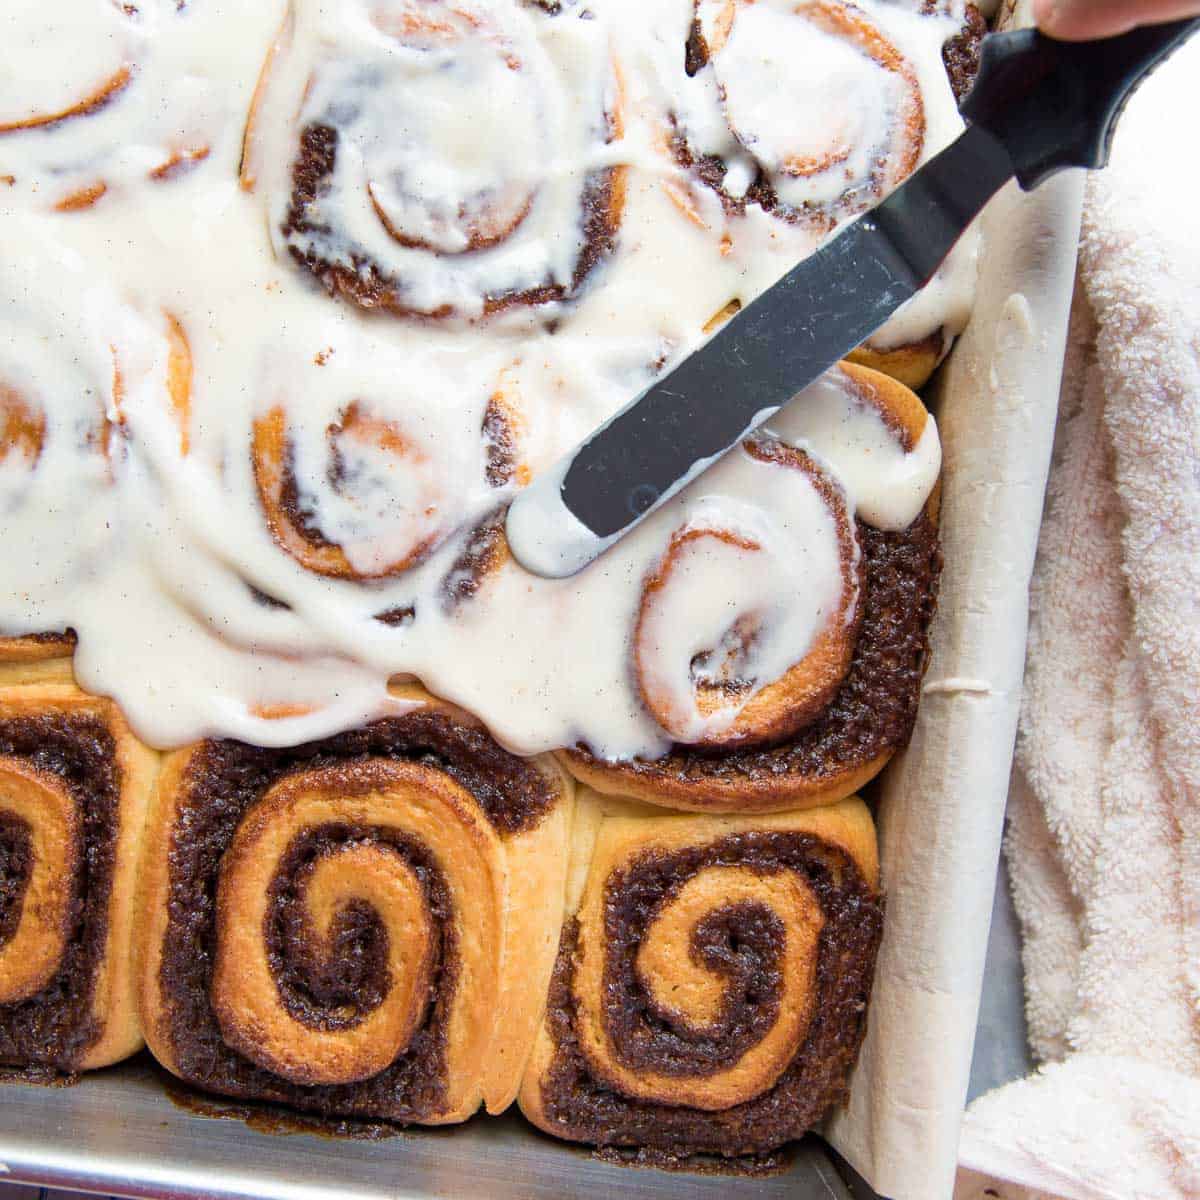
Either way, just remember to slather that glorious cream cheese frosting on top while the cinnamon buns are hot and fresh out of the oven. That cream cheese frosting makes these rolls gooey and luscious. The frosting here is heavy on cream cheese, so you will definitely get the tangy taste that contrasts really well with the sweetness of the cinnamon rolls.
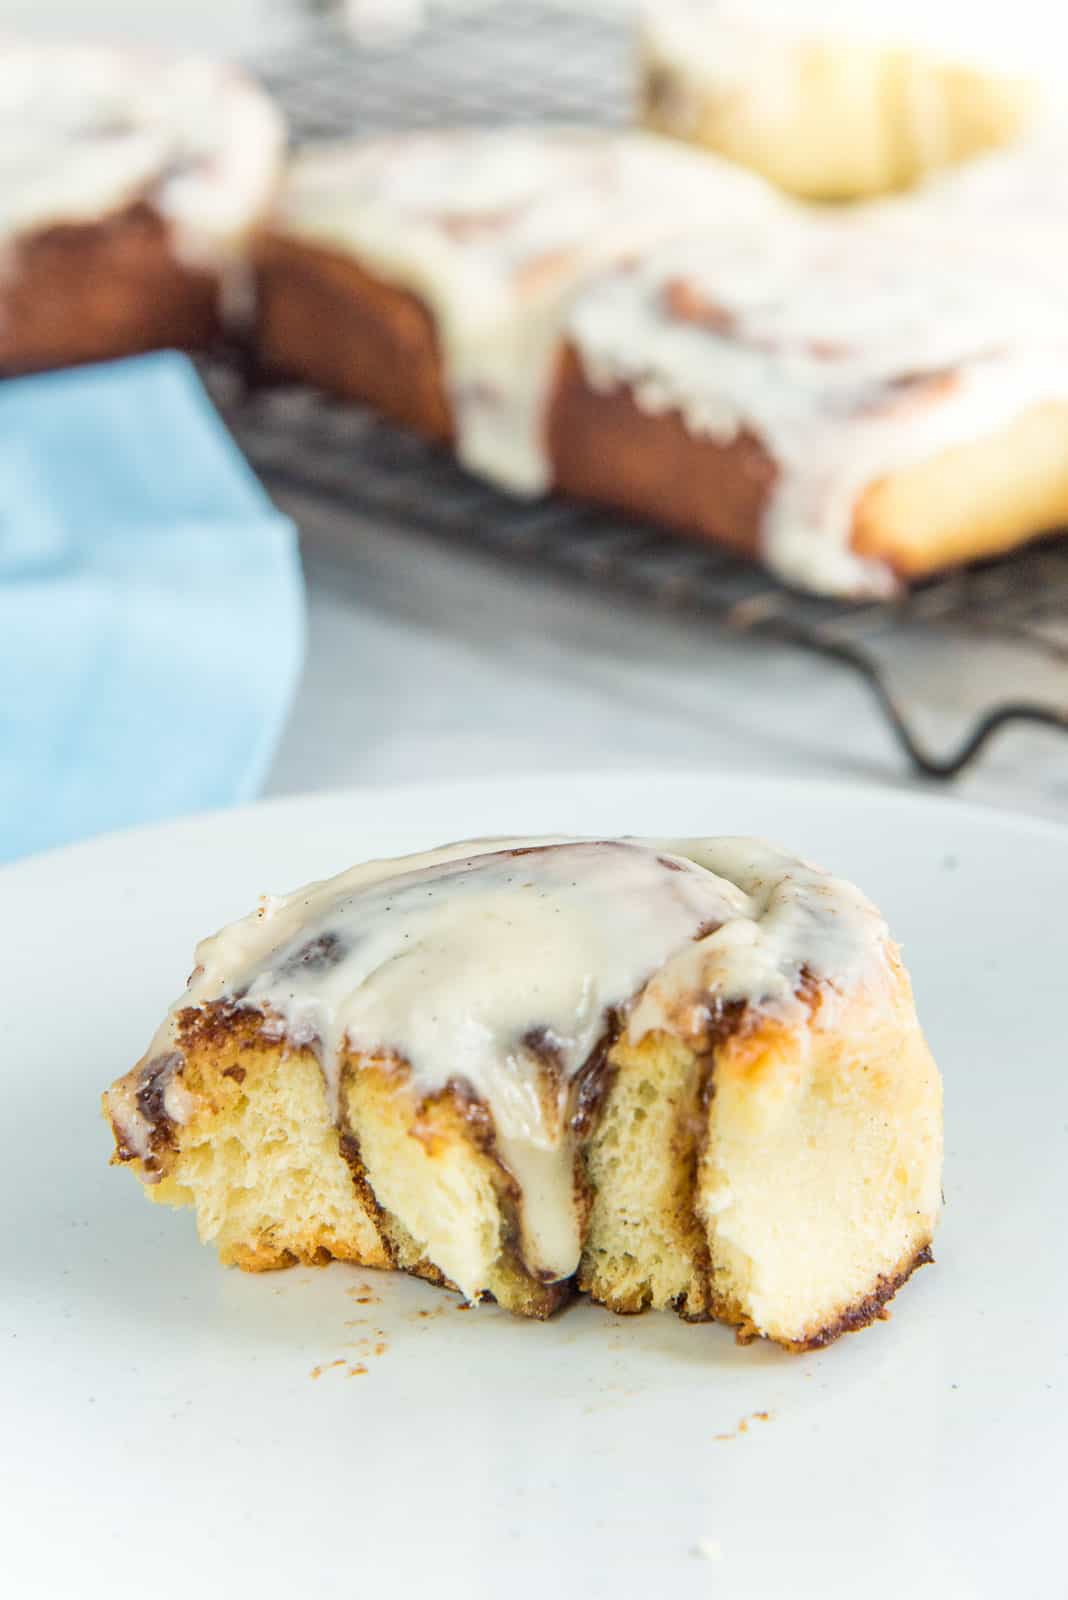
Serve the rolls while warm. Since you can prep these bad boys ahead of time, you can simply bake them just before serving. They are extra soft and gooey, and taste that much better while warm!
If you like this recipe, then you will also love,
Recipe
Cinnamon Rolls
US based cup, teaspoon, tablespoon measurements. Weight measurements are recommended for accurate results whenever available.
Common Measurement ConversionsEquipment:
- Equipment
- Stand mixer + bowl
- Whisk
- Large glass bowl
- Rolling Pin
- Sharp knife
- 9 x 13 baking pan
- Plastic wrap, foil and parchment paper
Ingredients:
Dough
- 180 mL milk warm (¾ cup)
- 1 tsp sugar
- 2 ¼ tsp active dry yeast 7 g, 1 package
- 500 g AP flour 4 cups, measured by spoon and level method
- 100 g white sugar ½ cup
- 2 tsp sea salt 1 ½ tsp table salt
- 2 large eggs
- ½ tbsp vanilla extract
- 115 g unsalted butter 1 stick, melted and cooled
Frosting
- 142 g cream cheese 10 tbsp
- ¼ tsp sea salt less if using table salt
- 115 g confectioner’s sugar 1 cup, sifted
- 1 tbsp vanilla extract
Filling
- 85 g unsalted butter softened (6 tbsp)
- ½ tsp sea salt less if using table salt
- 150 g dark brown sugar ¾ cup
- 1½ tbsp ground cinnamon
- ½ tsp nutmeg
Instructions:
Dough
- Activating the yeast – Pour the warm milk into your mixer bowl and dissolve the sugar in it. Sprinkle the yeast into the warm milk and mix to disperse. Then set it aside in a warm place for about 10 – 15 minutes. The yeast should create a foam in the milk if active.180 mL milk, 1 tsp sugar, 2 ¼ tsp active dry yeast
- Once the yeast is activated, add sugar, eggs, vanilla, then the flour, and salt. (If using weight measurements, you can place the bowl on the scale and add each ingredient until you have the right amount. Remember to tare the scale between ingredients).500 g AP flour, 100 g white sugar, 2 tsp sea salt, 2 large eggs, ½ tbsp vanilla extract
- Using a spatula, mix these ingredients until you get a scraggly dough.
- In your stand mixer, knead the dough with your hook attachment for about 2 minutes. If the dough is too dry, add upto another 1 tbsp of water. The dough should be a little sticky to the touch.
- Next add the butter and knead the dough on low speed until it's completely incorporated into the dough. Once the butter has mixed in, knead the dough for a further 15 – 20 minutes until the dough is smooth and satiny. (The dough needs a long kneading time to develop the gluten well because it's an enriched dough. The dough should be slightly tacky, look smooth and have a little sheen, or look satiny.)115 g unsalted butter
- Form a smooth dough ball and let the dough proof in the mixer bowl, covered with plastic wrap, for 1 ½ – 2 hours, until it has doubled in size. It will take less time during summer months, and more in the winter.
- While the dough is proofing, prepare the frosting and filling (instructions below). Line a 9 x 13 inch baking pan with parchment paper and set aside.
Frosting
- Place the softened cream cheese, salt and vanilla in a bowl. Whisk the cream cheese until nice and smooth with no lumps.142 g cream cheese, ¼ tsp sea salt, 1 tbsp vanilla extract
- Sift in the confectioner's sugar and whisk it in until you have a smooth frosting. Scrape the frosting into a small bowl with a lid, or into a ziploc bag and set aside. You can keep it at room temperature for up to 24 hours, or in the fridge for up to 3 days, or in the freezer for longer.115 g confectioner’s sugar
Filling
- In the same bowl that you made the frosting in, place the softened butter and salt. Whisk until the butter is smooth. Add the brown sugar, cinnamon and nutmeg and whisk until you have a smooth cinnamon butter.85 g unsalted butter, ½ tsp sea salt, 150 g dark brown sugar, 1½ tbsp ground cinnamon, ½ tsp nutmeg
- Place the filling in a microwavable dish and set aside until needed. If the filling hardens, microwave it for a few seconds to soften it. DO NOT let the filling melt in the microwave.
Shaping the cinnamon rolls
- Butter and line a 9 x 13 baking pan. Set it aside.
- Turn the proofed dough out onto a well floured surface, with the smooth side facing down. Roll out the dough into a square that's 13 – 14 inches. Try to make the dough as evenly thick as possible.
- Spread the cinnamon butter filling evenly on the dough square, leaving a ¾ inch margin along one edge. Lightly brush the margin with a little water.
- Roll up the dough towards the end with the ¾ inch margin. Make sure to roll it up snugly (not too loose, not too tight). Pinch the seam to seal the dough.
- Optionally, you can trim off the two ends once rolled up (since there's less filling at the ends, but this is not necessary).
- Then, cut the cinnamon roll log into 12 equal pieces. First cut the log in half. Then cut each half in half. Cut each of these portions into 3 equal pieces to get a total of 12 pieces. Use a sharp knife with a back and forth motion to cut the 12 pieces, OR use a cotton string to cut the portions. If using a cotton string, slide it along the bottom of the cinnamon roll log, then cross the two ends over at the top where you want to make the cut, and then pull the two ends of the string to section off portions of the dough.
- Place the cut pieces of cinnamon rolls in the parchment paper-lined baking pan, with space between the rolls to allow for proofing.
- Tightly cover the baking pan with plastic wrap, and leave it in the fridge overnight or for up to 48 hours.
Baking the cinnamon rolls
- Preheat oven to 350°F / 180°C. Let the cinnamon rolls come to room temperature while the oven preheats.
- When the oven is preheated, cover the pan with foil and bake the cinnamon rolls in the covered pan for about 30 – 35 minutes. The cinnamon rolls should be nice and puffed up.
- Then remove the foil, and bake the rolls for a further 15 – 20 minutes until they turn light golden brown in color.
- Remove the buns from the oven and immediately spread frosting on top. Serve right away, or while still warm.
Recipe Notes
Nutrition Information:
“This website provides approximate nutrition information for convenience and as a courtesy only. Nutrition data is gathered primarily from the USDA Food Composition Database, whenever available, or otherwise other online calculators.”












Leave a Reply