

This is my absolute BEST Vanilla Cake Recipe in my decades of baking! A delightfully soft, buttery, classic vanilla cake that will top any and all vanilla cakes you’ve ever had. I’ve shared all my tips to show you how to achieve the very best results when making a homemade vanilla cake, with this incredibly versatile recipe.
A comprehensive guide to making delicious vanilla cake as an 8 inch cake, 9 inch cake, sheet cake, and even vanilla cupcakes, with vanilla buttercream frosting OR chocolate buttercream frosting.
Every cake baking adventure starts with a good Vanilla Cake! It’s the universally loved cake flavor that acts as a great canvas on which to build other flavors.
I already have an extensive repertoire of cake recipes on the blog (including the classic chocolate cake, classic white cake, coconut cake, devil’s food cake, coffee cake, lemon cake, butter cake, ribbon cake, and even classic vanilla cupcakes). But a classic vanilla cake in its simplest form and all its glory is hard to beat!
So here, I’ll show you how to make the BEST Vanilla Cake recipe that I’ve ever had, and share all the tips and step by step instructions that you’ll ever need to adapt the recipe to your preferences. These tips will ensure PERFECT results, every single time.
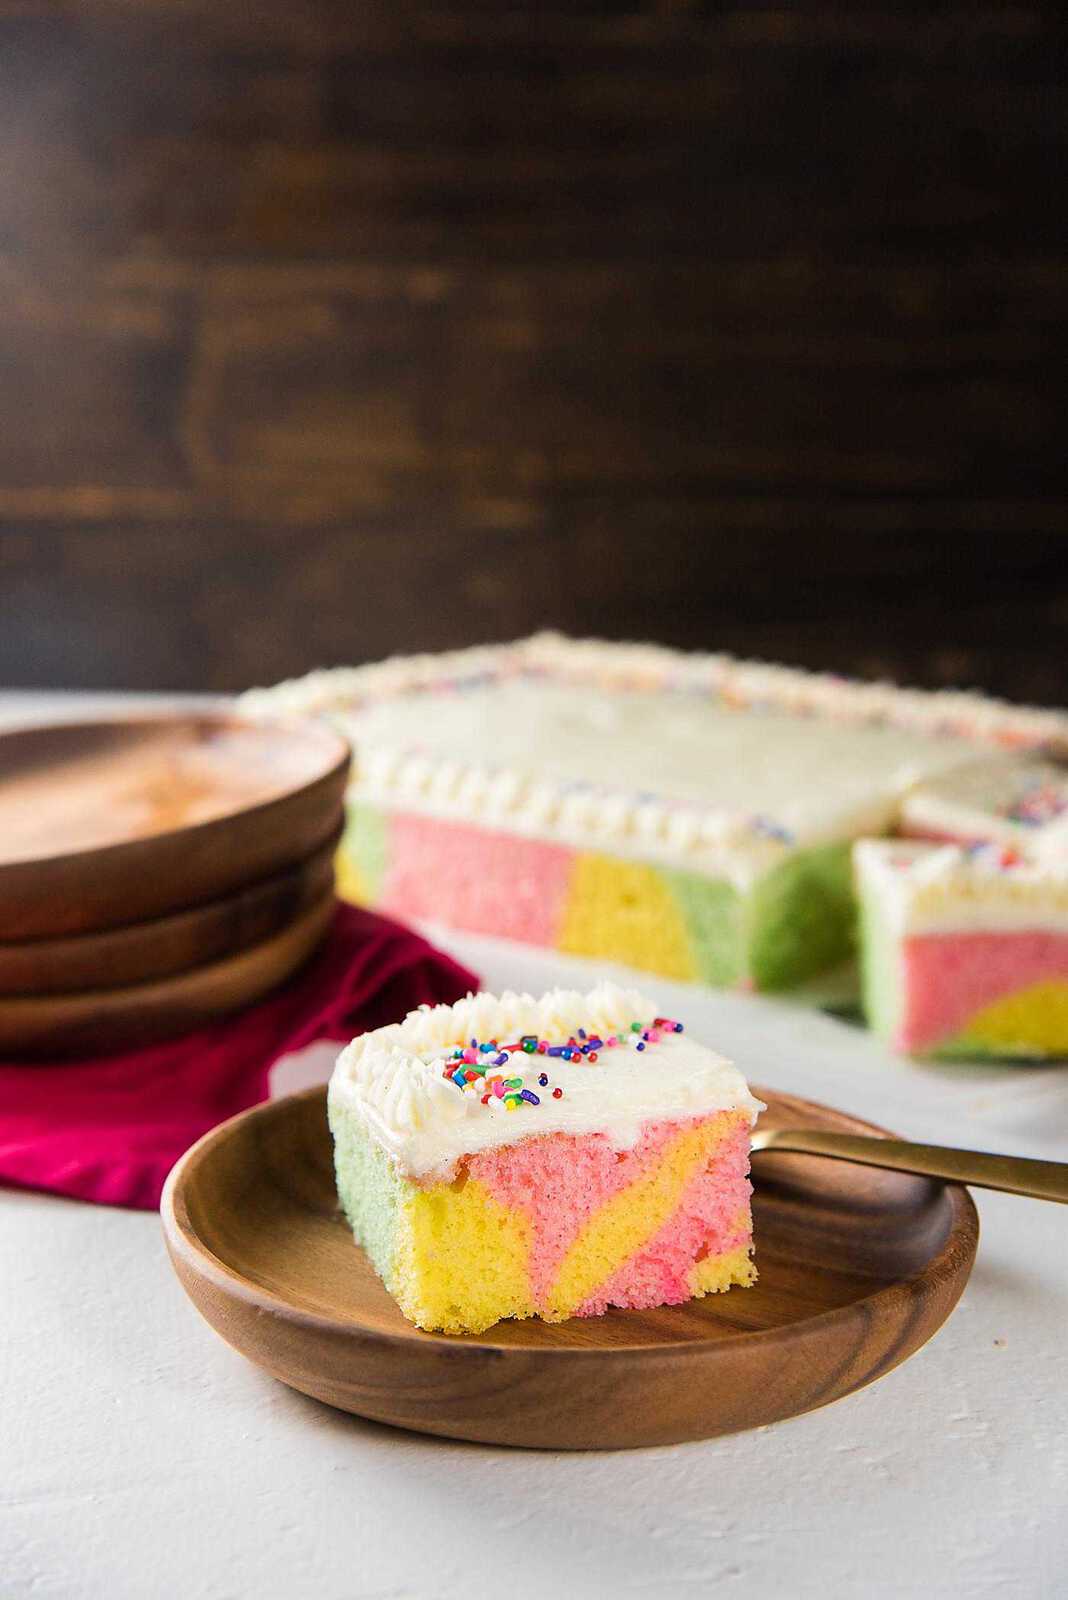
Plus, I’ll share a couple of simple variations on this Classic Vanilla Cake Recipe as well. These variations include a simple citrus scented vanilla cake, and a classic Sri Lankan ribbon cake!
Why is this the best vanilla cake I’ve ever had
- It’s so buttery and it’s super easy to make.
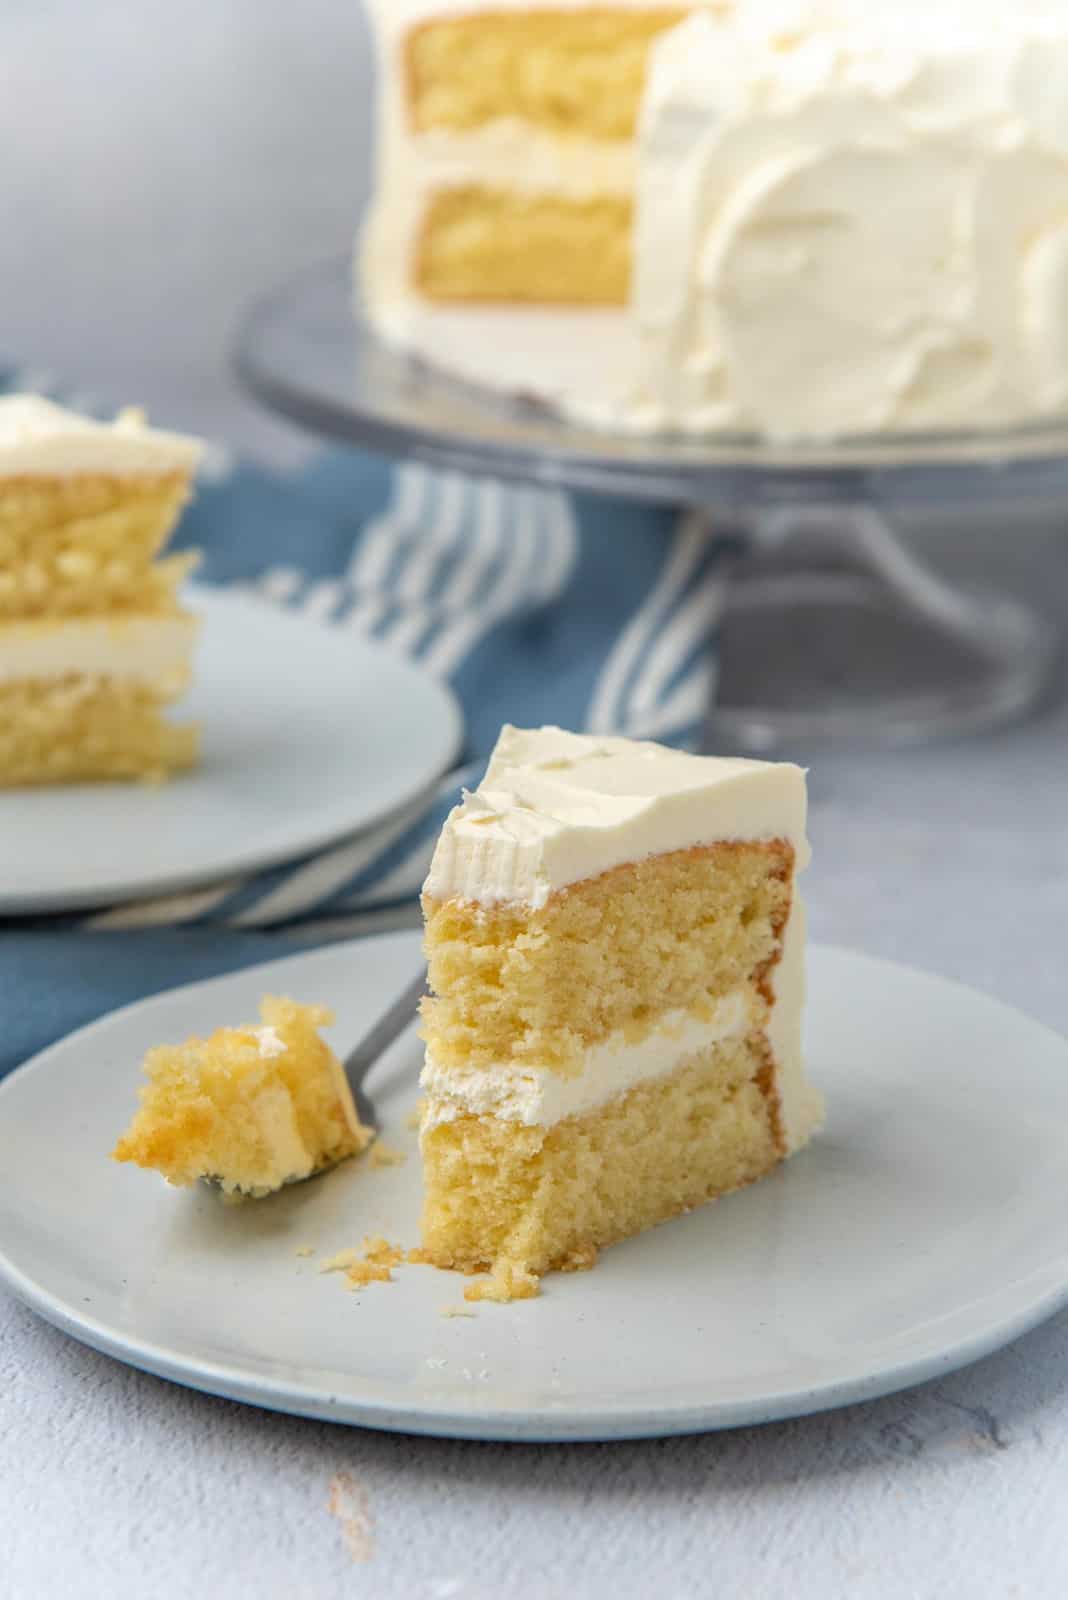
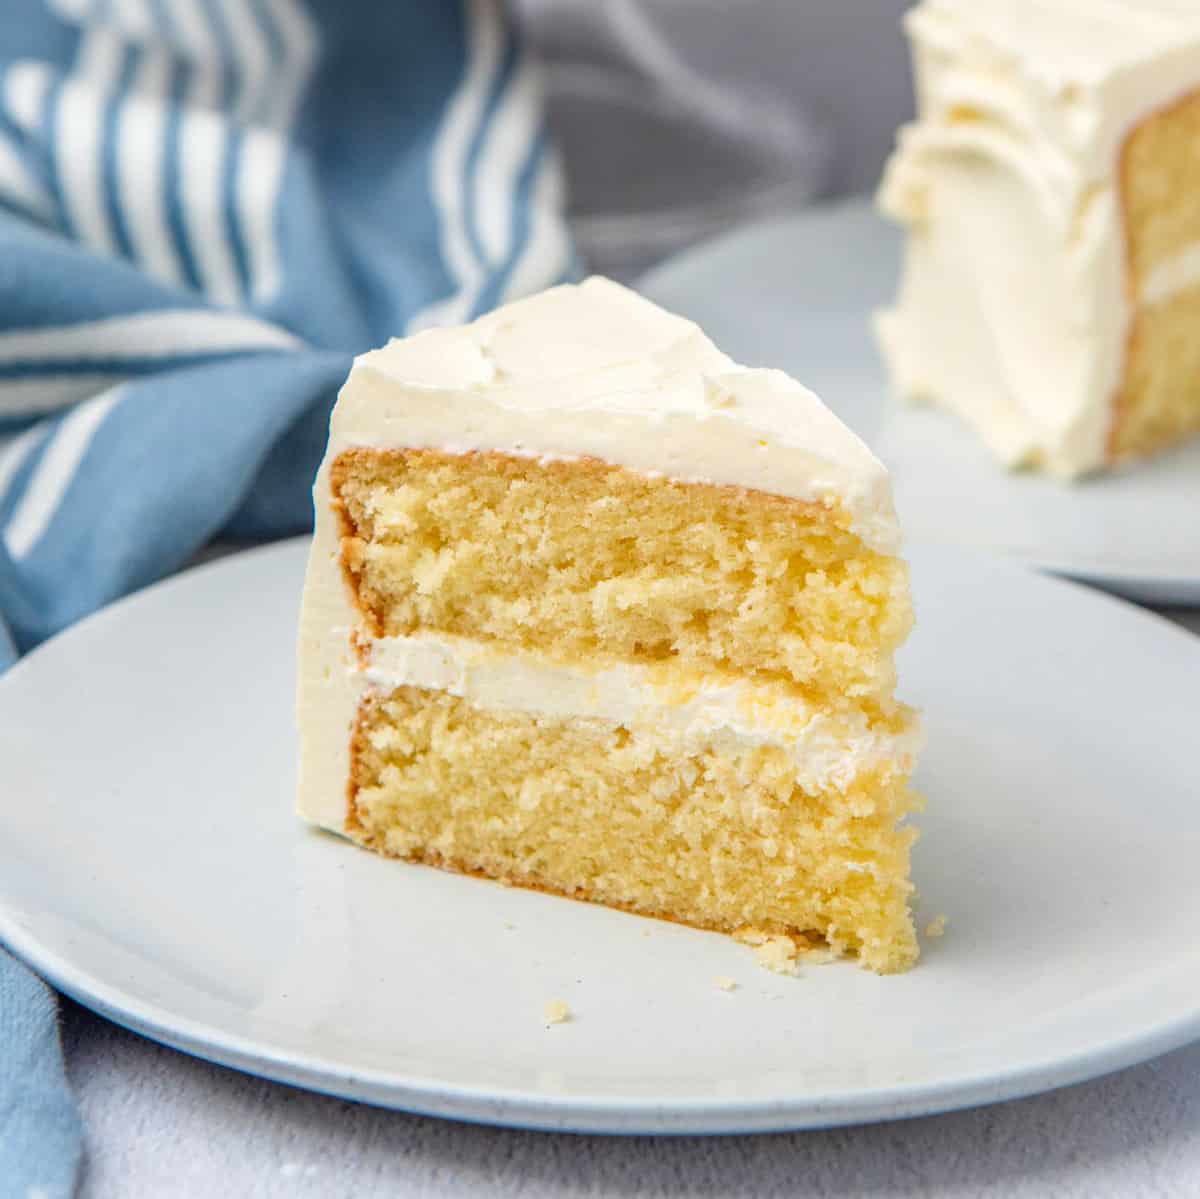
- This homemade vanilla cake is light, with a soft crumb, thanks to the oil in the recipe.
- Deliciously moist cake, even better than a bakery style cake!
- Great vanilla flavor that pairs well with a variety of frostings.
- Recipe works perfectly as a layer cake, sheet cake, or even cupcake! It’s incredibly versatile.
- Stays fresh for days!
- And most of all, I show you how and why things work the way they do, so that you can adapt the vanilla cake recipe to your taste!
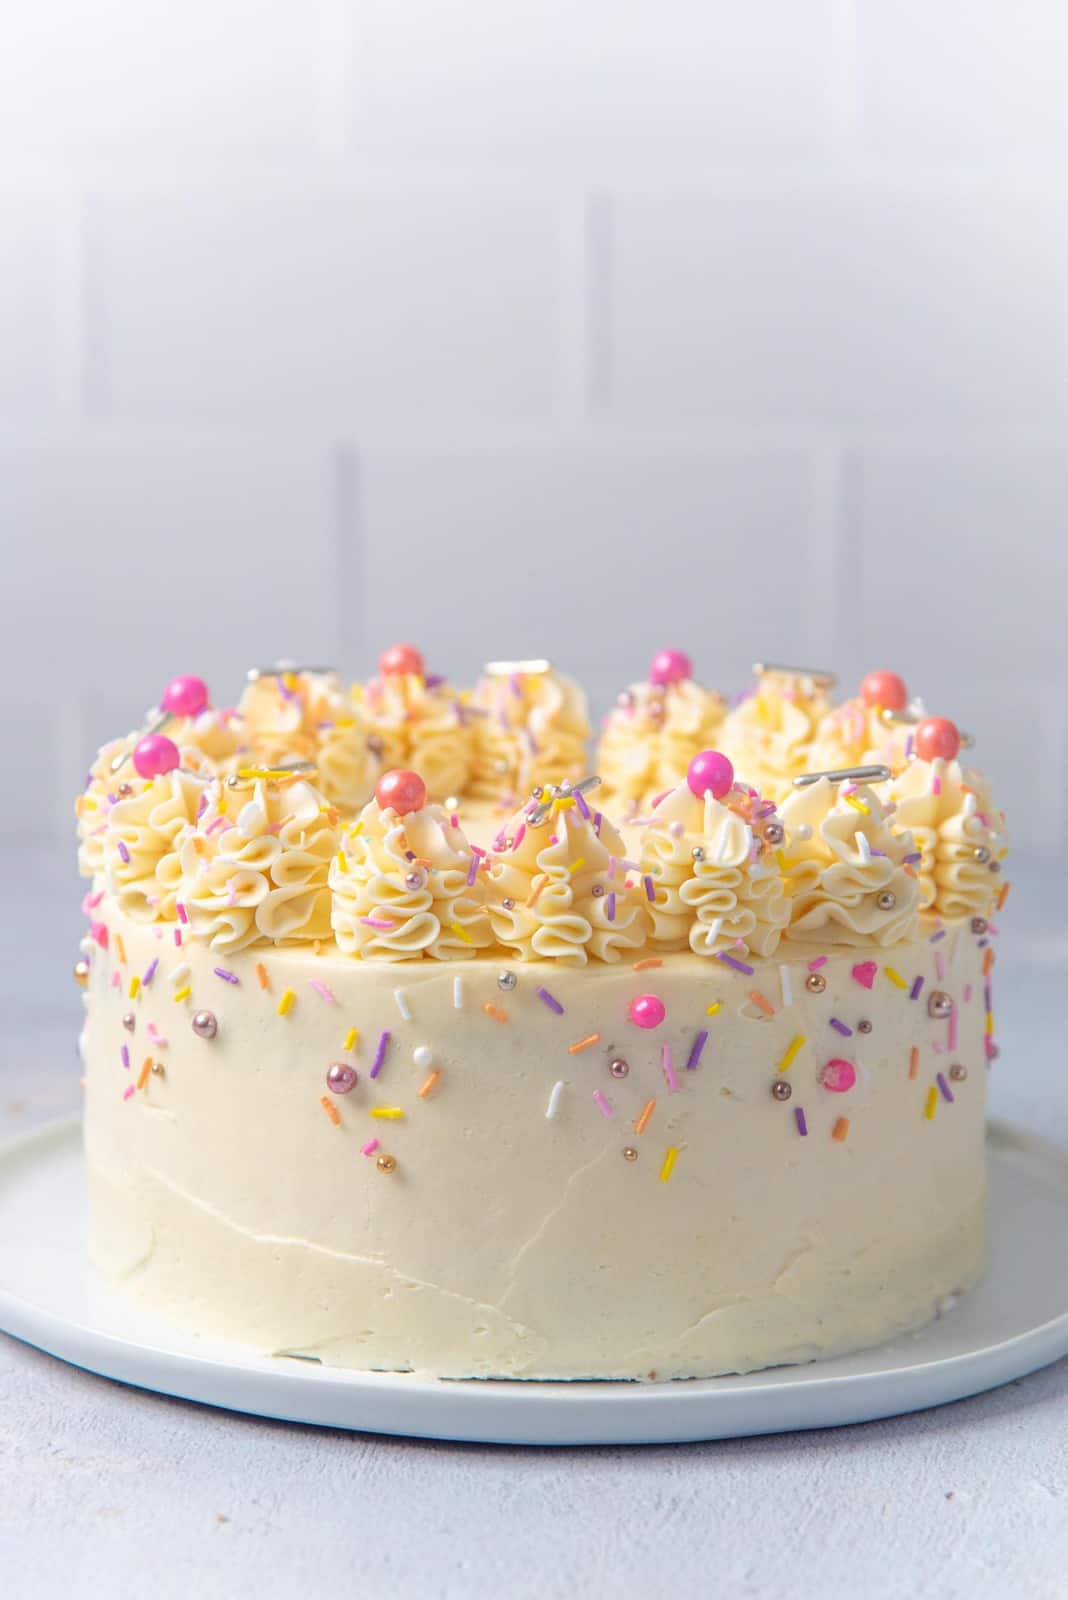
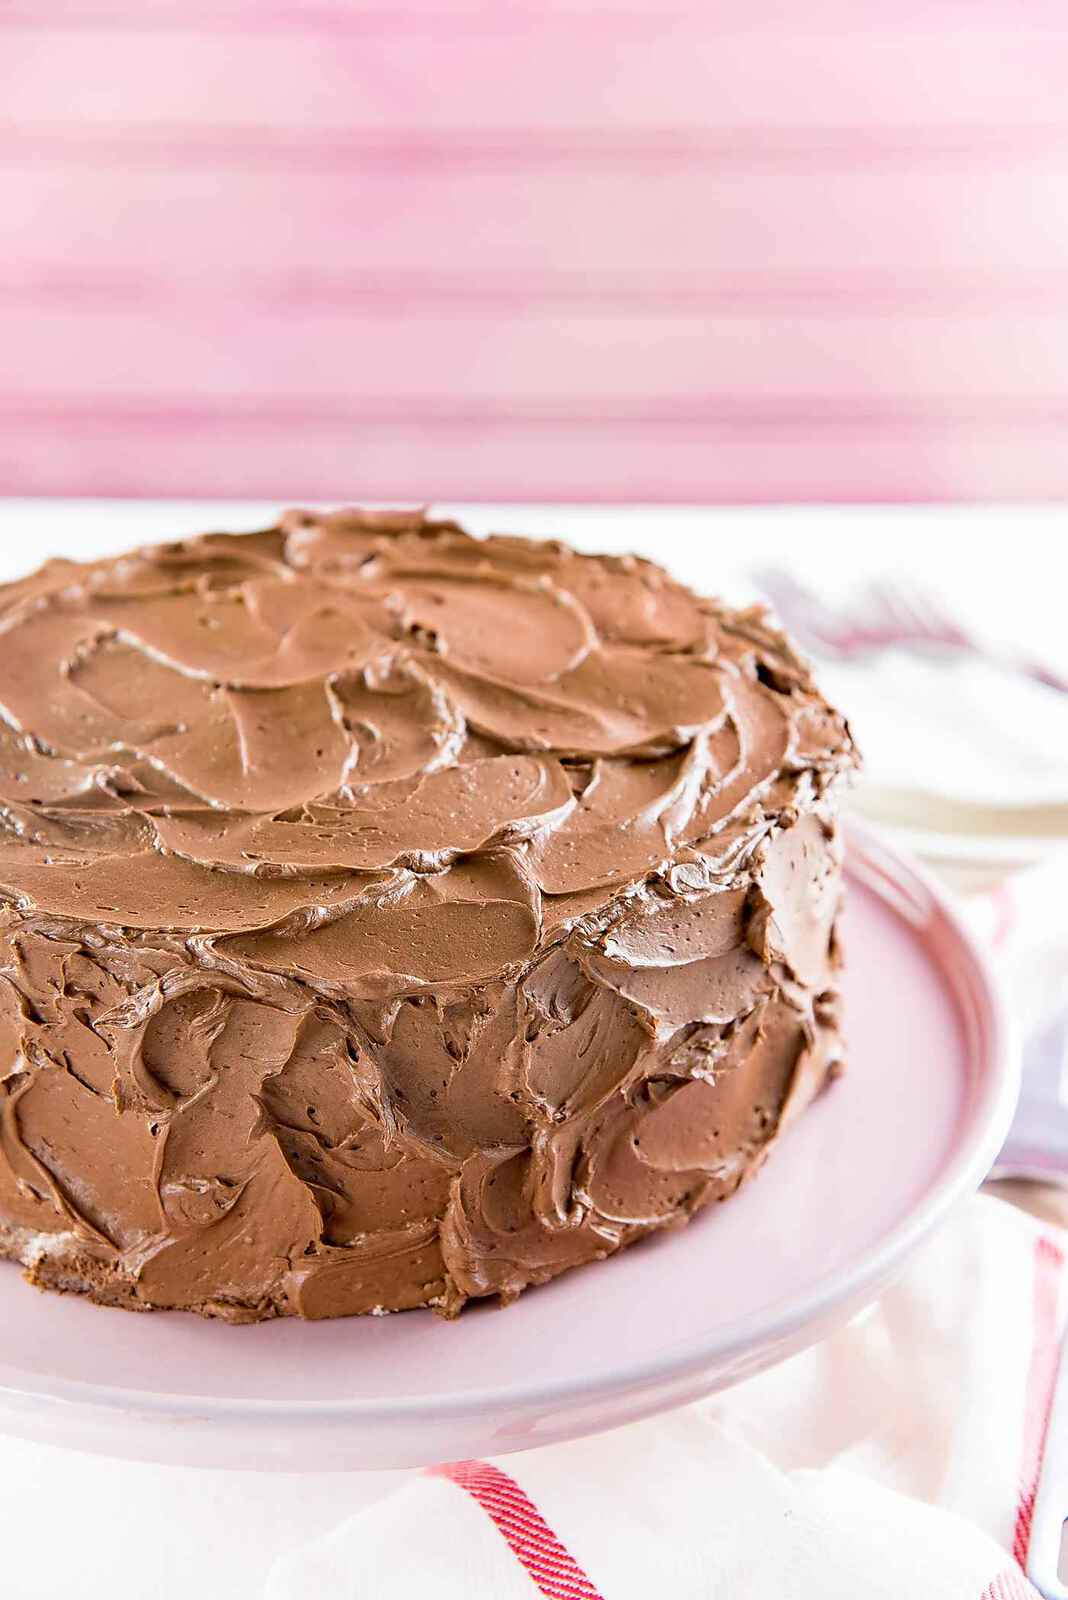
This cake is also FANTASTIC as a birthday cake. I know, because I’ve made it for dozens and dozens of birthdays, and other special occasions. Since the cake has a lovely vanilla flavor, it pairs very well with any vanilla buttercream frosting, or chocolate buttercream frosting too (Swiss meringue buttercream or American vanilla buttercream)! You can even frost the cake with a delicious cream cheese frosting.
My homemade vanilla cake is different from my butter cake, because the crumb is lighter here and the cake is a little sweeter. This is because I use half butter and half oil for the creaming stage.
It’s also not too eggy, or too buttery which means the flavor of vanilla is very prominent in this cake. Unlike my white cake recipe, this cake uses whole eggs, which give the cake a yellow tinge, and a richer taste.
This cake is also NOT a sponge cake, which involves whisking eggs to a foam. Instead, this cake relies on the classic creaming method. If a cake uses egg foam, then it’s a sponge cake and not a classic butter cake. Also this cake is not a yellow cake, although it does have a yellow tinge from the egg yolks.
This is because yellow cakes rely on having extra EGG YOLKS to give the cake an even richer flavor.
So, here’s how to achieve Classic Vanilla Cake Perfection, step by step.
Tips to make the recipe even easier
- Make sure ALL the ingredients are at room temperature before you start.
- Use a kitchen scale to measure the ingredients, especially flour. Measuring cups can result in the unintentional addition of too much flour. This will make the cake dry.
- Prepare the cake pans before you start making the cake batter.
- You can use baking strips (soaked in water) to get even cake layers, if you prefer.
- Let the cakes cool on a cooling rack.
- Cool the cakes to room temperature before decorating.
- Wrap the cooled cake layers well with plastic wrap, if you’re not using them right away.
Tips for decorating the cake for a professional look
- Use a serrated knife to slice off any domed tops on your cake layers. Alternatively, you can use a cake leveler to slice off the tops as well. This is the one I use for most of my cakes.
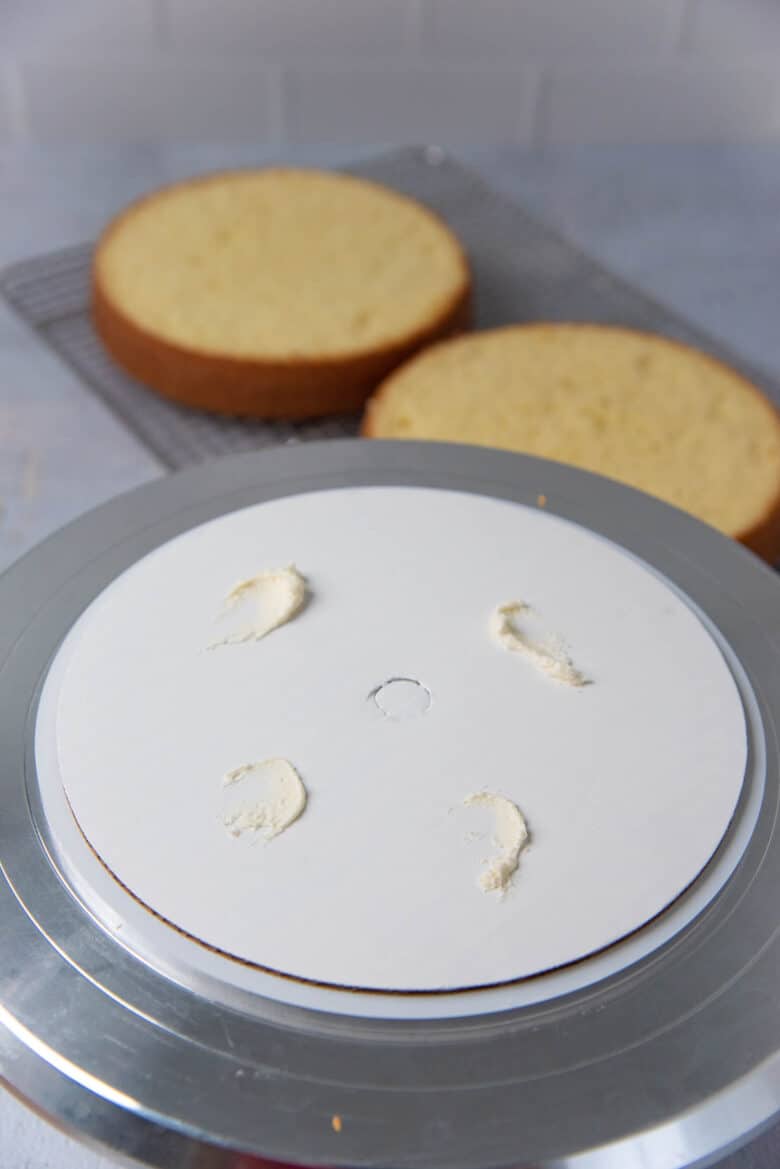
- For a stable cake, place the bottom layer of the cake on a cake board / cake plate, with the flat bottom of the cake facing down. Use a little buttercream to stick the cake layer to the board.
- To get a flat surface on your cake on top, place the final layer with the flat bottom facing up.
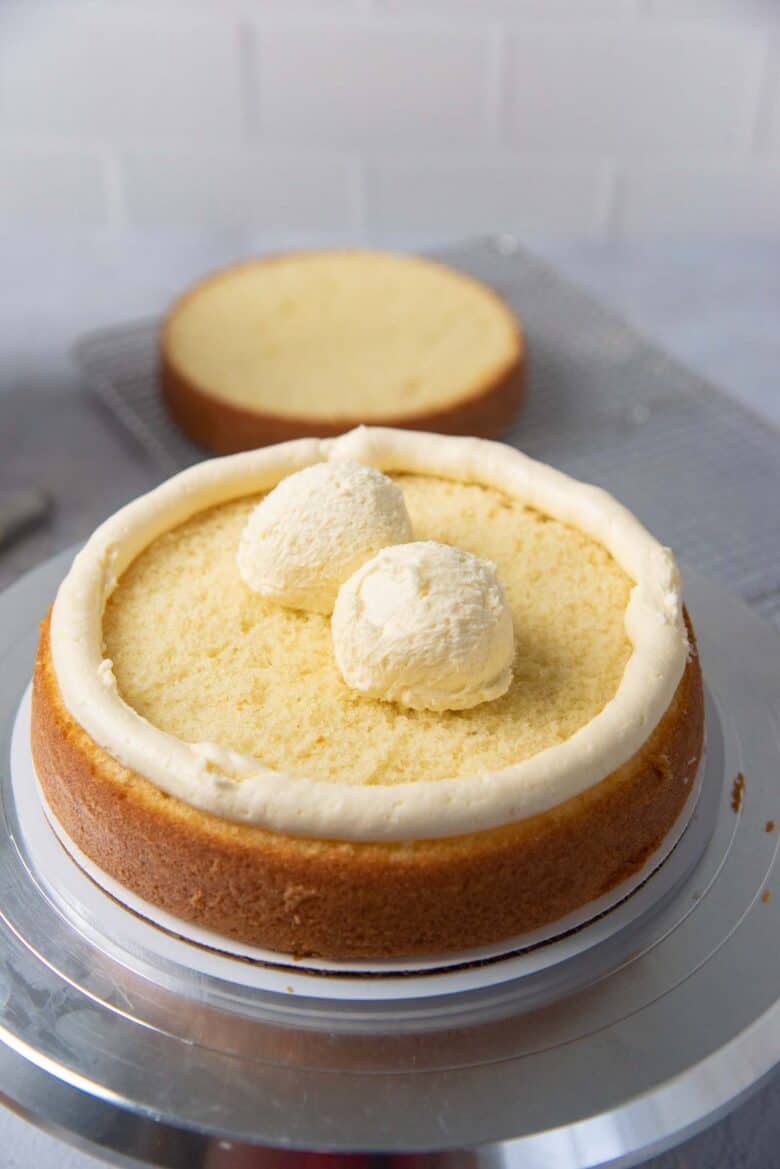
- If your cake has multiple layers, use an ice cream scoop or measuring cup to measure equal amounts of buttercream for each layer.
- If your cake has a softer filling (like lemon curd or vanilla pastry cream), pipe a border of buttercream along the edge of the cake layer (to create a dam). Then spread the filling in the middle. The buttercream “dam” will secure the filling in place.
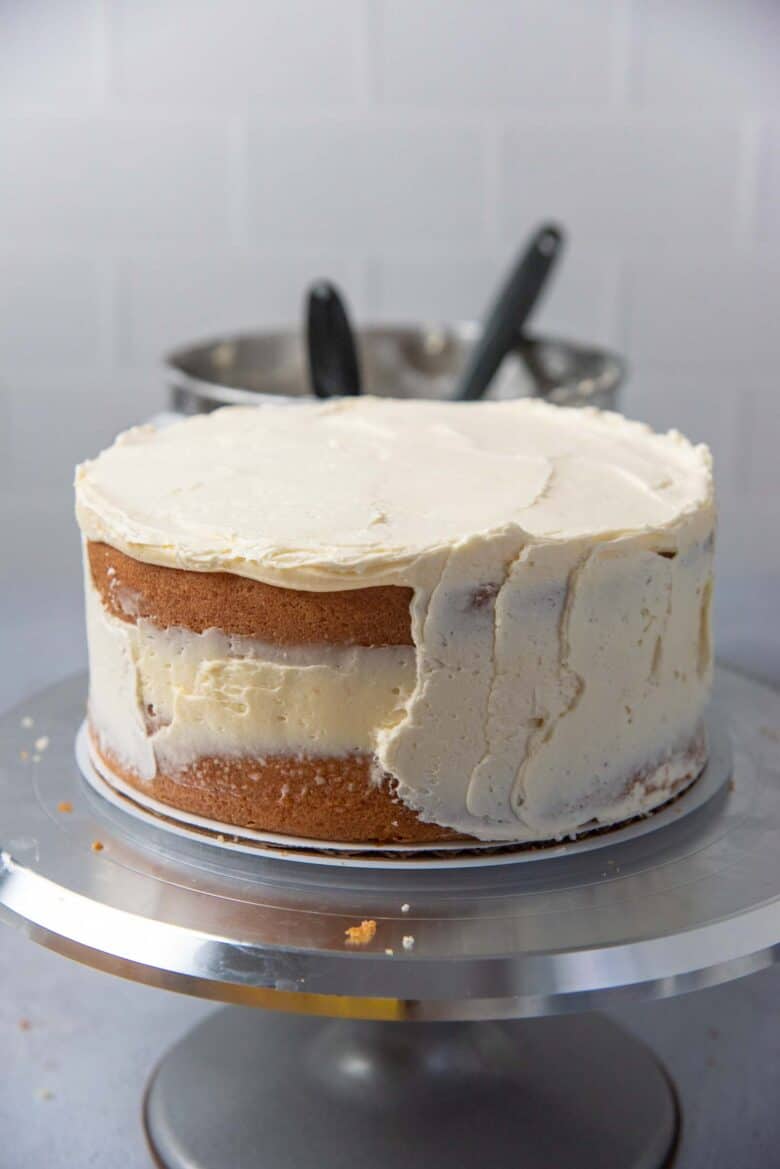
- Apply a crumb coating on the cake. This is a thin layer of buttercream that covers the whole cake. Then let it set in the fridge or a cool place for about 1 hour before proceeding with frosting the cake. This serves two purposes.
- Makes sure the cake has straight sides, and a level top. The crumb coating will fill any crevices.
- Makes sure there are NO cake crumbs visible, once the cake is decorated.

How to make perfect vanilla cake
STEP ONE – Mixing the butter + oil + sugar
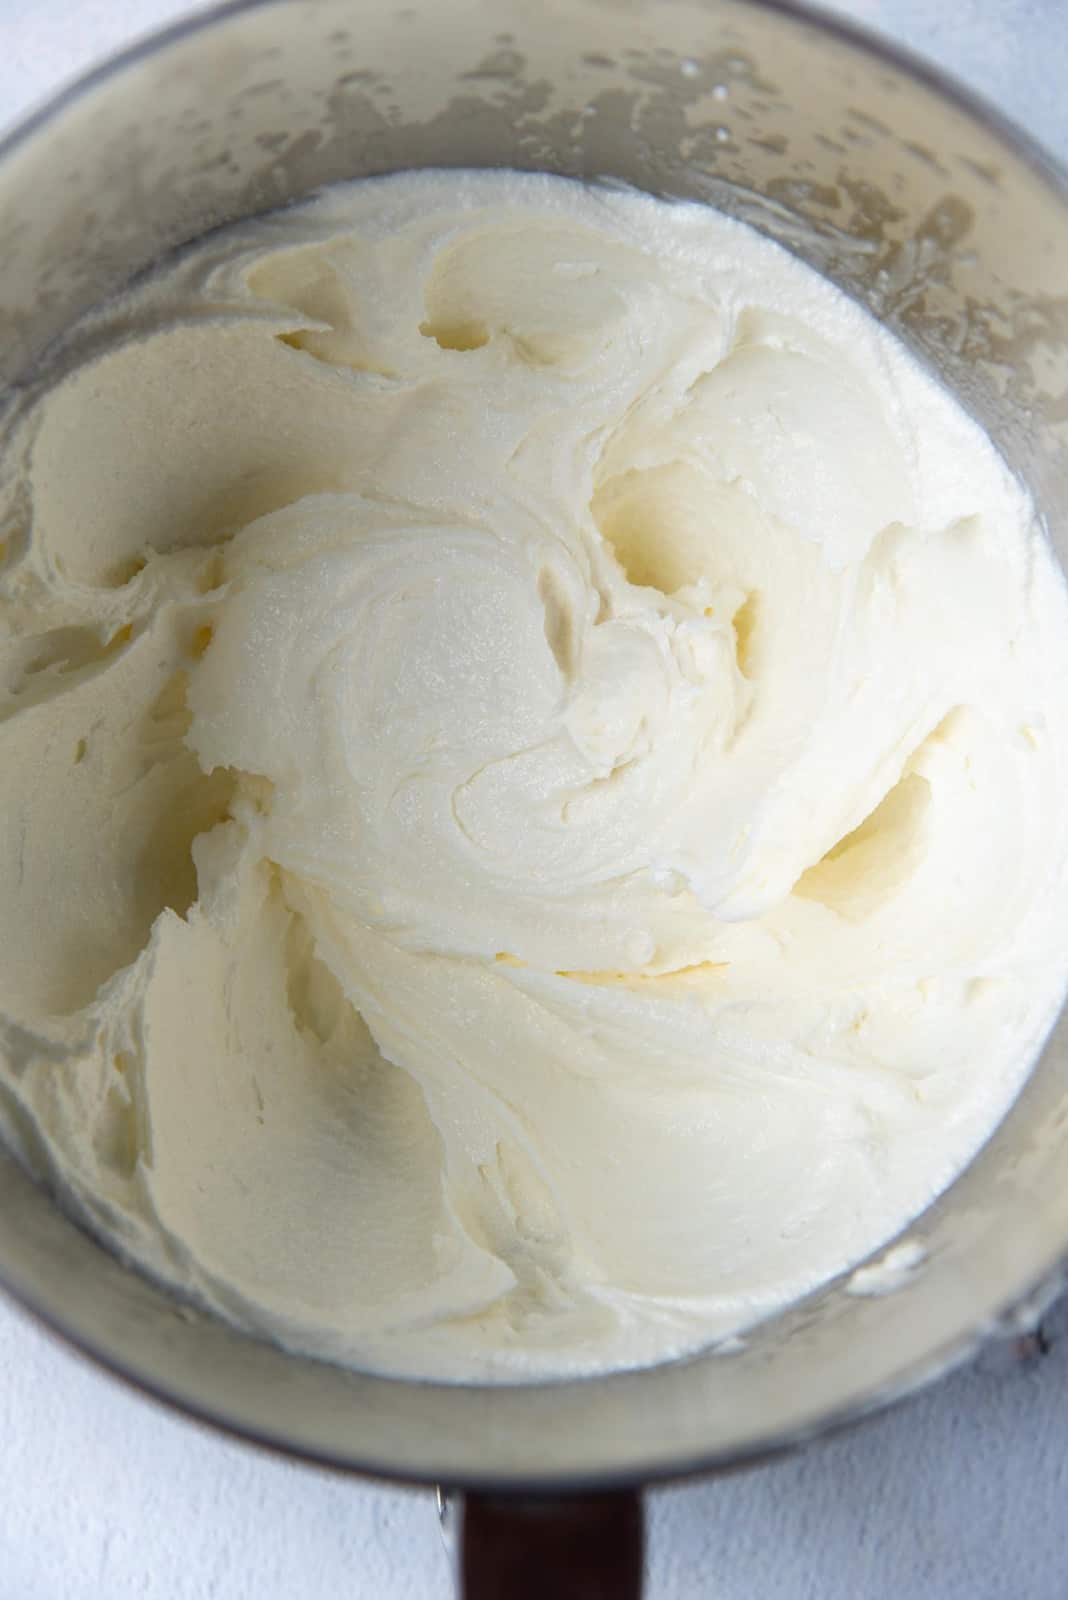
There are TWO ways to START making this homemade vanilla cake. That’s either by mixing the melted butter + oil with the sugar (you wouldn’t need a hand-mixer for this, you can use a whisk instead), OR by creaming the room temperature butter + oil with the sugar by using a hand-mixer or stand mixer. These two methods will result in vanilla cakes that are SLIGHTLY different in texture as explained below.
Melted butter + oil + sugar + mixed with a whisk – since air is not incorporated into the batter here, the cake will not have the same height as in the following method, and the cake crumb will be slightly fudgy (or more dense).
Softened butter + oil + sugar + creamed with a hand mixer until light and fluffy – since air is incorporated into the batter here, the resulting cake will have more height, and will be a little lighter.
Why I use oil and butter in the cake
With oil, the resulting cake has a softer texture and a lighter crumb. Because there are no milk solids in oil (unlike in butter), it allows the cake crumb to be finer and lighter.
In contrast, with butter, the resulting crumb is more dense, and there’s more moisture in the cake too. This is due to the milk in the butter which contributes to the dense crumb. However, it adds more flavor than oil as well. So while I do love an all butter cake, I prefer using BOTH butter and oil for my homemade classic vanilla cake, because this way I get the best of both worlds – plenty of flavor AND a delightfully light texture.
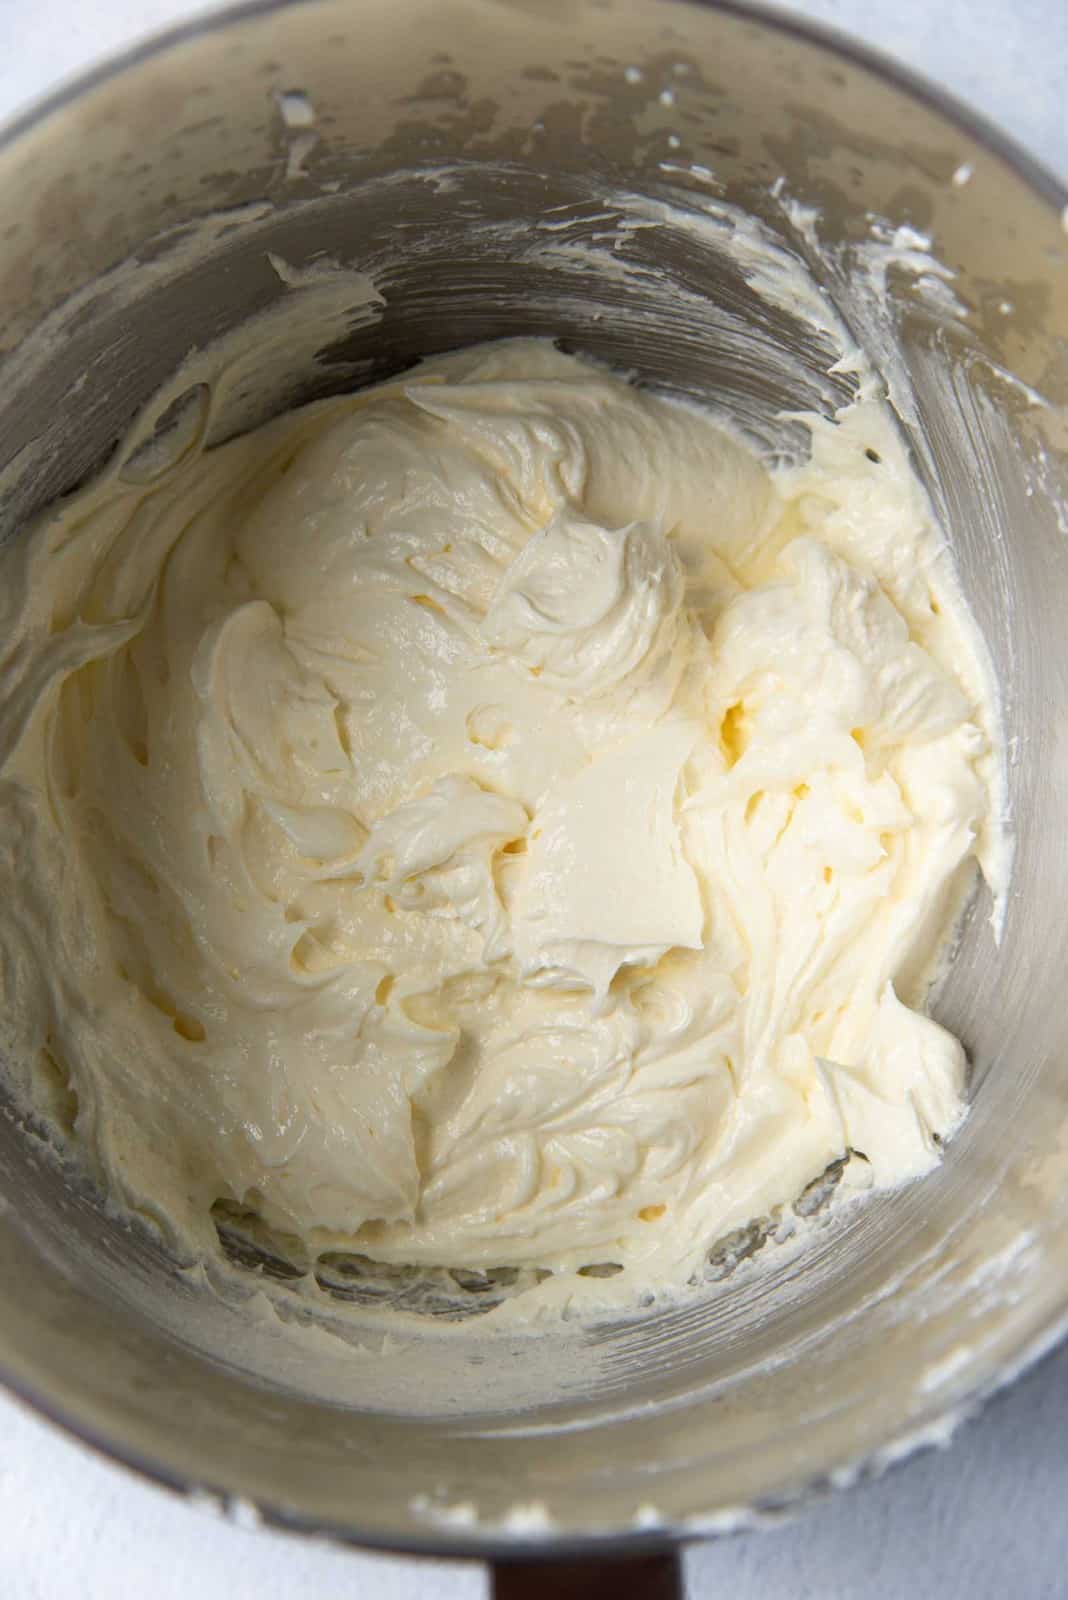
STEP TWO – Adding the eggs
You can add all of the eggs together OR add the egg one at a time. I prefer to add them one at a time, mixing in each egg before adding the next. This also comes down to incorporating air into the batter so that you have a lighter and fluffier cake.

STEP THREE – Adding the milk/buttermilk + VANILLA!
There are two ways in which you can add the milk to the batter. You can either alternate between adding the milk and the flour, OR you can add all of the milk first, mix it in, and then add the flour.
You can also choose between buttermilk, OR full cream milk (or half and half) mixed with vinegar or lemon juice. This choice won’t affect the quality of your vanilla cake.
Choosing the right vanilla
One of the most important steps in a vanilla cake is obviously the vanilla! So make sure to add a GOOD vanilla extract because this can make or break the flavor of your homemade vanilla cake. A lower quality vanilla (imitation vanilla) will compromise the flavor of your cake. Adding too much imitation vanilla may also make the cake bitter.
So look for a VANILLA EXTRACT, rather than imitation vanilla. Better yet, look for Madagascar bourbon vanilla, which is a very flavorful vanilla extract. You can use vanilla bean paste (or fresh vanilla) as well, if you choose.
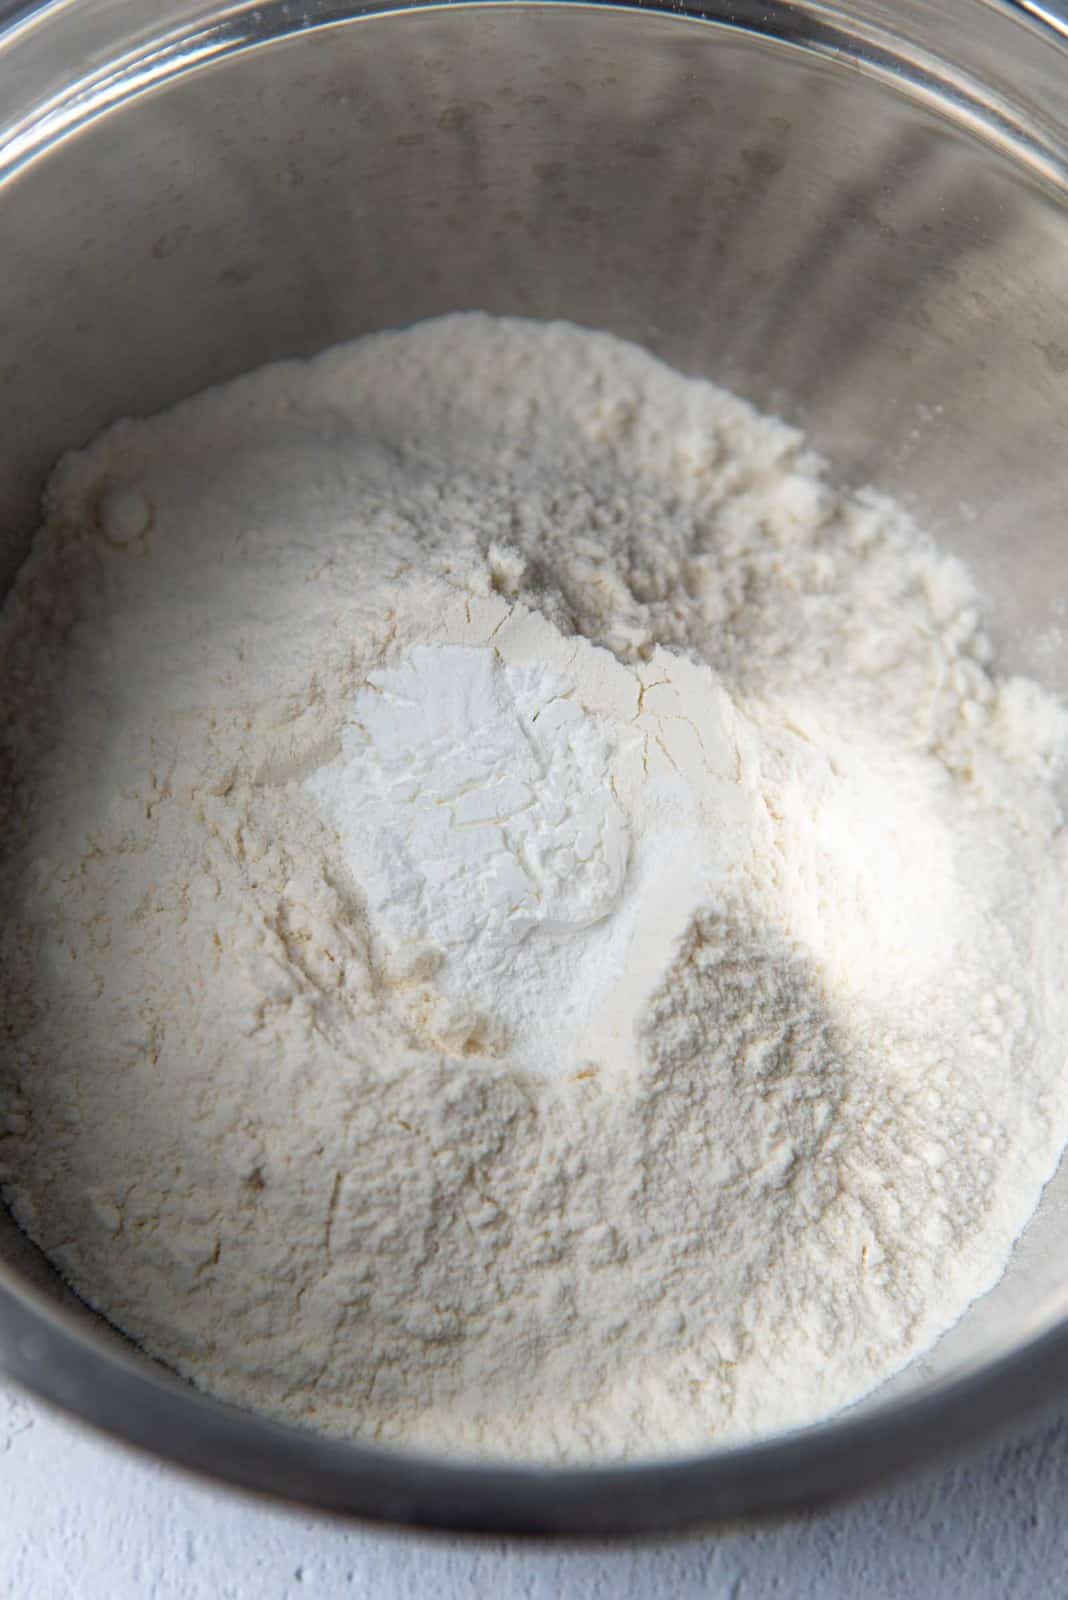
STEP FOUR – Adding the flour + leavening agents to your vanilla cake batter
Sift the all purpose flour + baking powder together. This is important because it evenly mixes the ingredients together and removes lumps. If you’re like me, and don’t feel like sifting the flour sometimes (especially if the flour is pre-sifted), then place the dry ingredients together and whisk it all together. This allows the dry ingredients to be evenly distributed when you fold them into the cake batter.
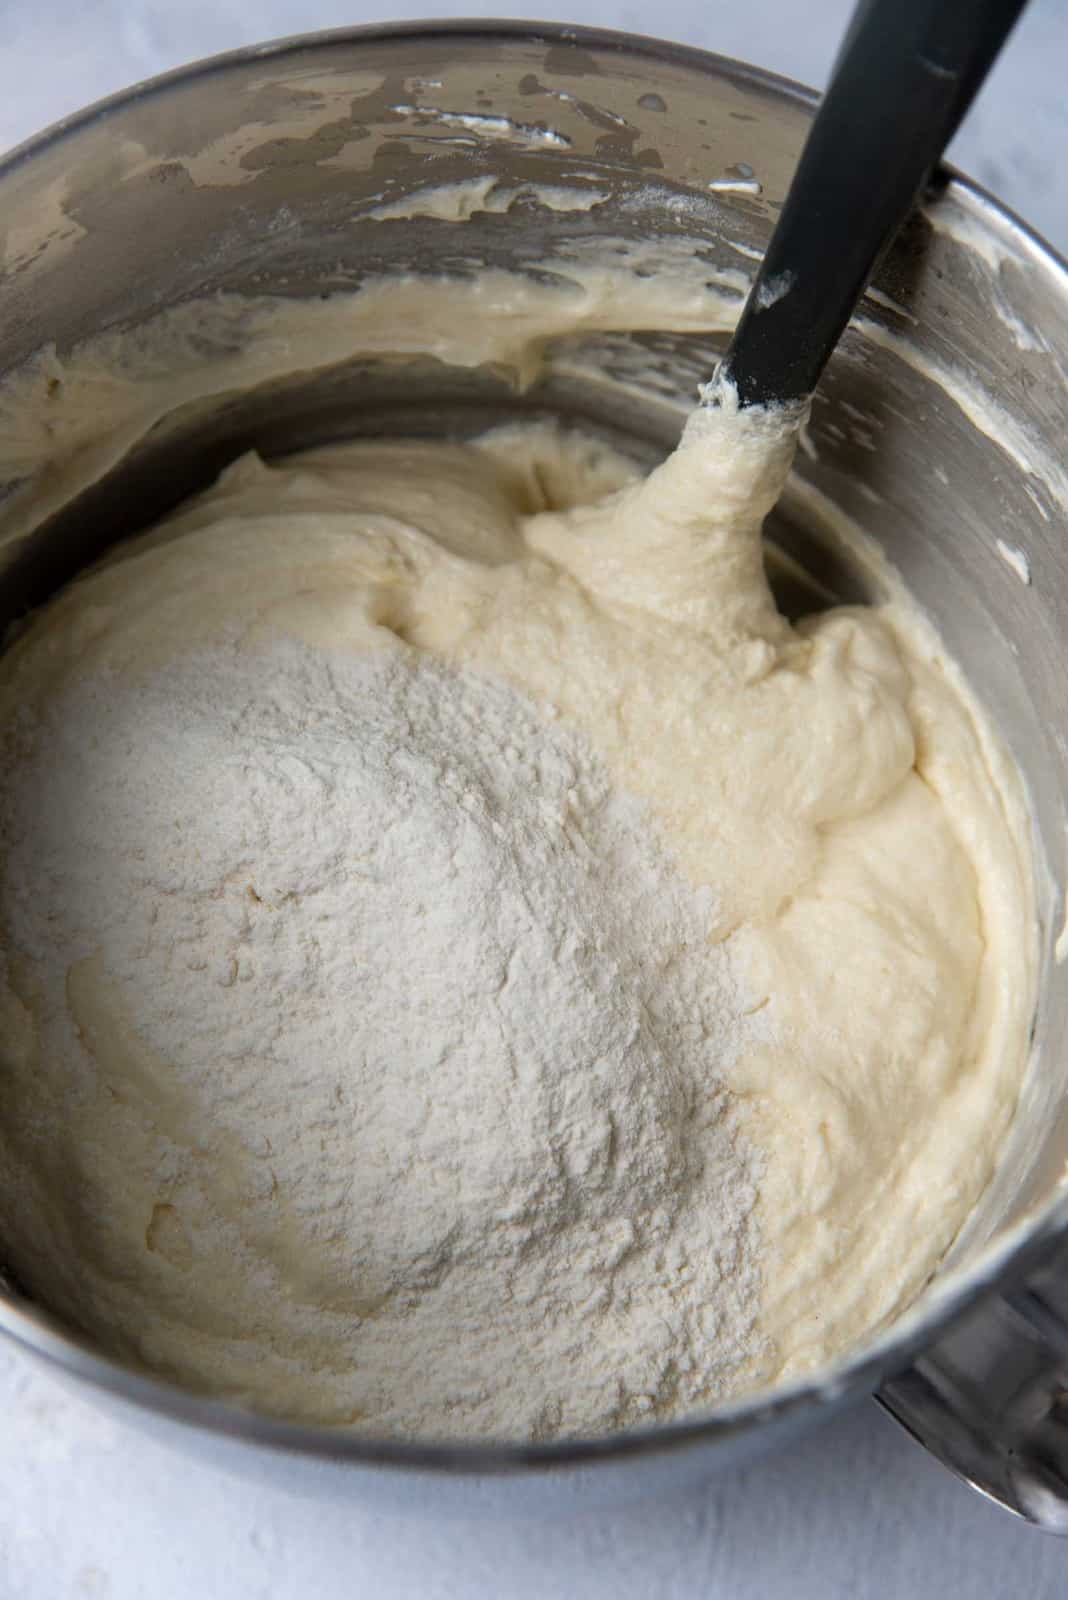
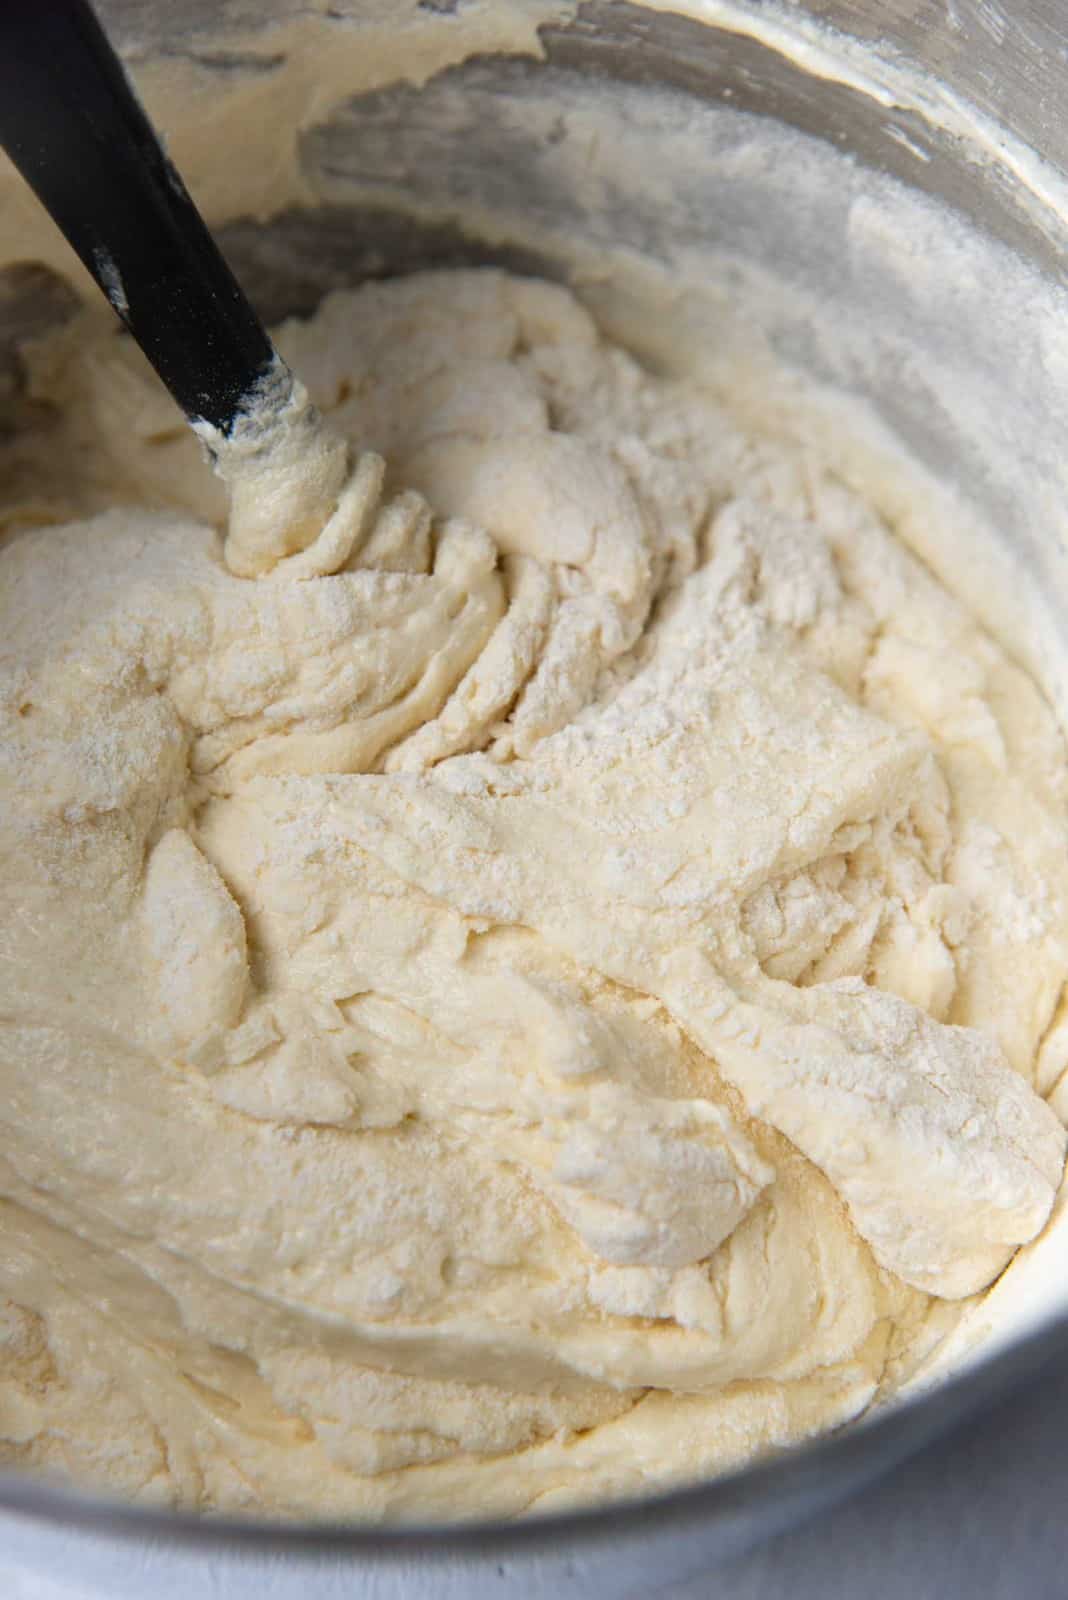
How to prevent overmixing
I like to add the flour into the vanilla cake batter in 2-3 additions, so that I can make sure each addition is well incorporated into the batter and most importantly, there are no lumps. While I like to use a whisk or spatula to fold in the flour, you can use a hand-mixer or stand-mixer (for double batches) on the LOWEST speed.
However, keep in mind that the more you mix the flour, the more you “work” it, and the more you develop gluten which will result in a tougher / rubbery cake. So it’s important that you only mix the flour until it’s just incorporated (a few white streaks are OK). Another option would be to use CAKE FLOUR instead of all purpose flower, which has less gluten than AP flour. If using cake flour, substitute the AP flour with the same amount of cake flour BY WEIGHT.
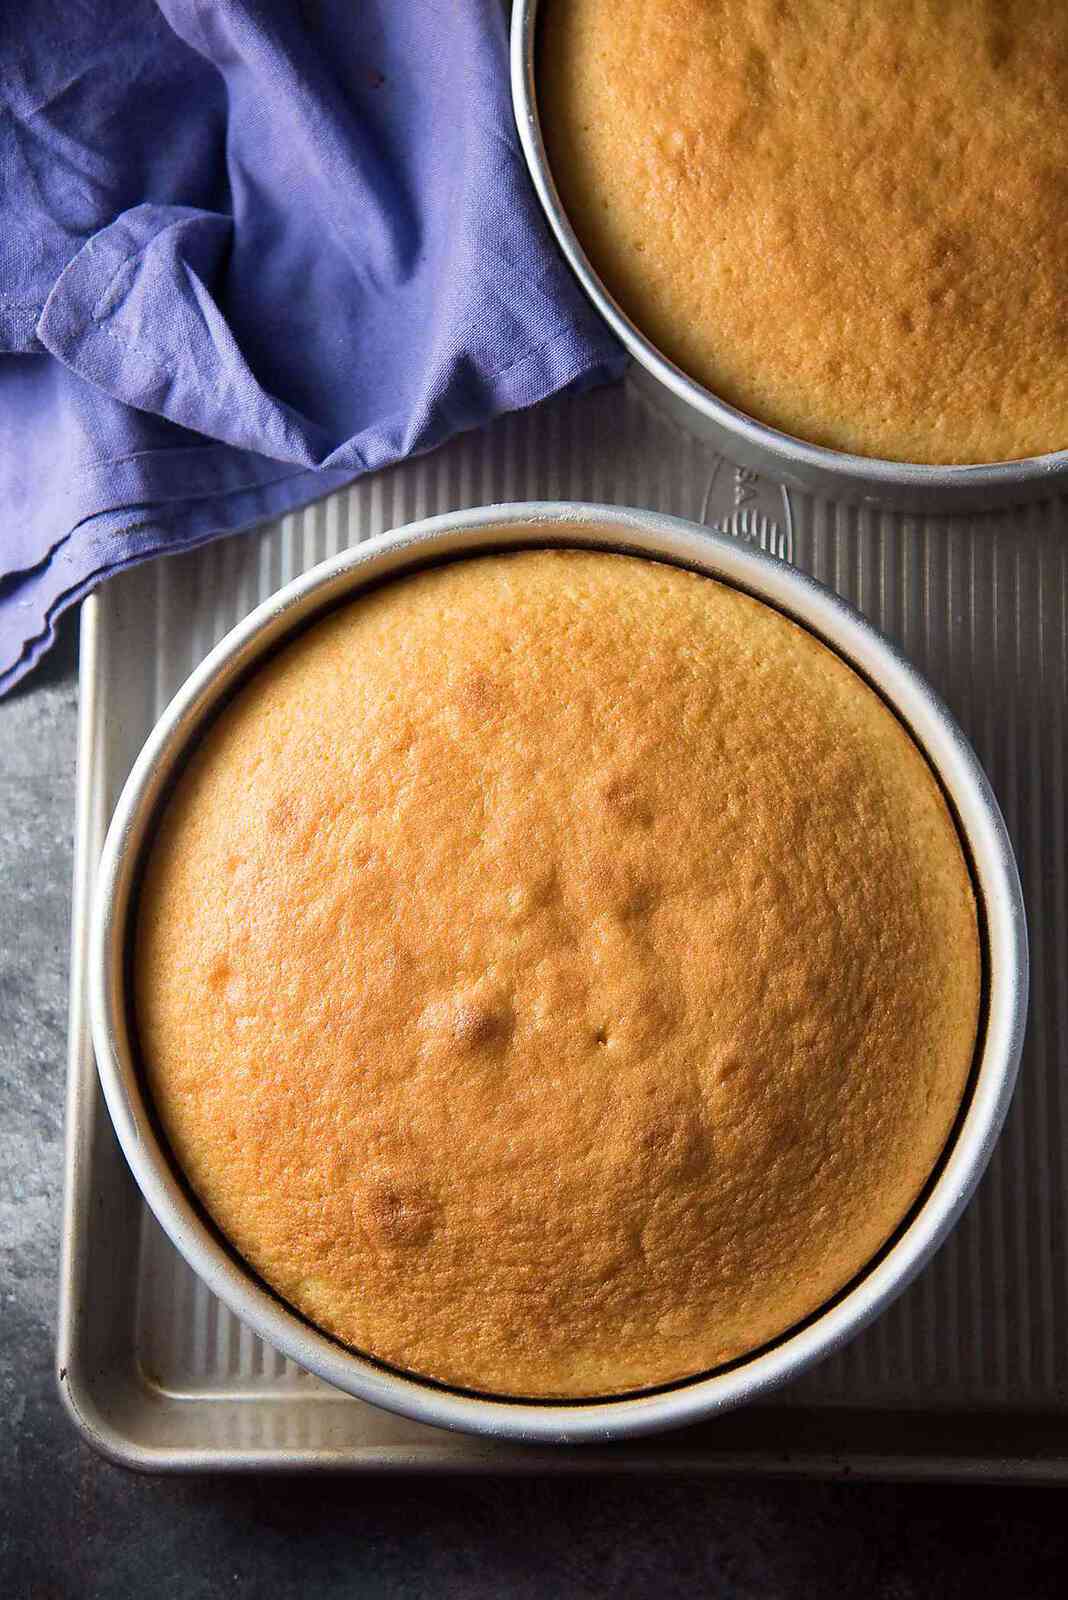
STEP FIVE – Baking the cake
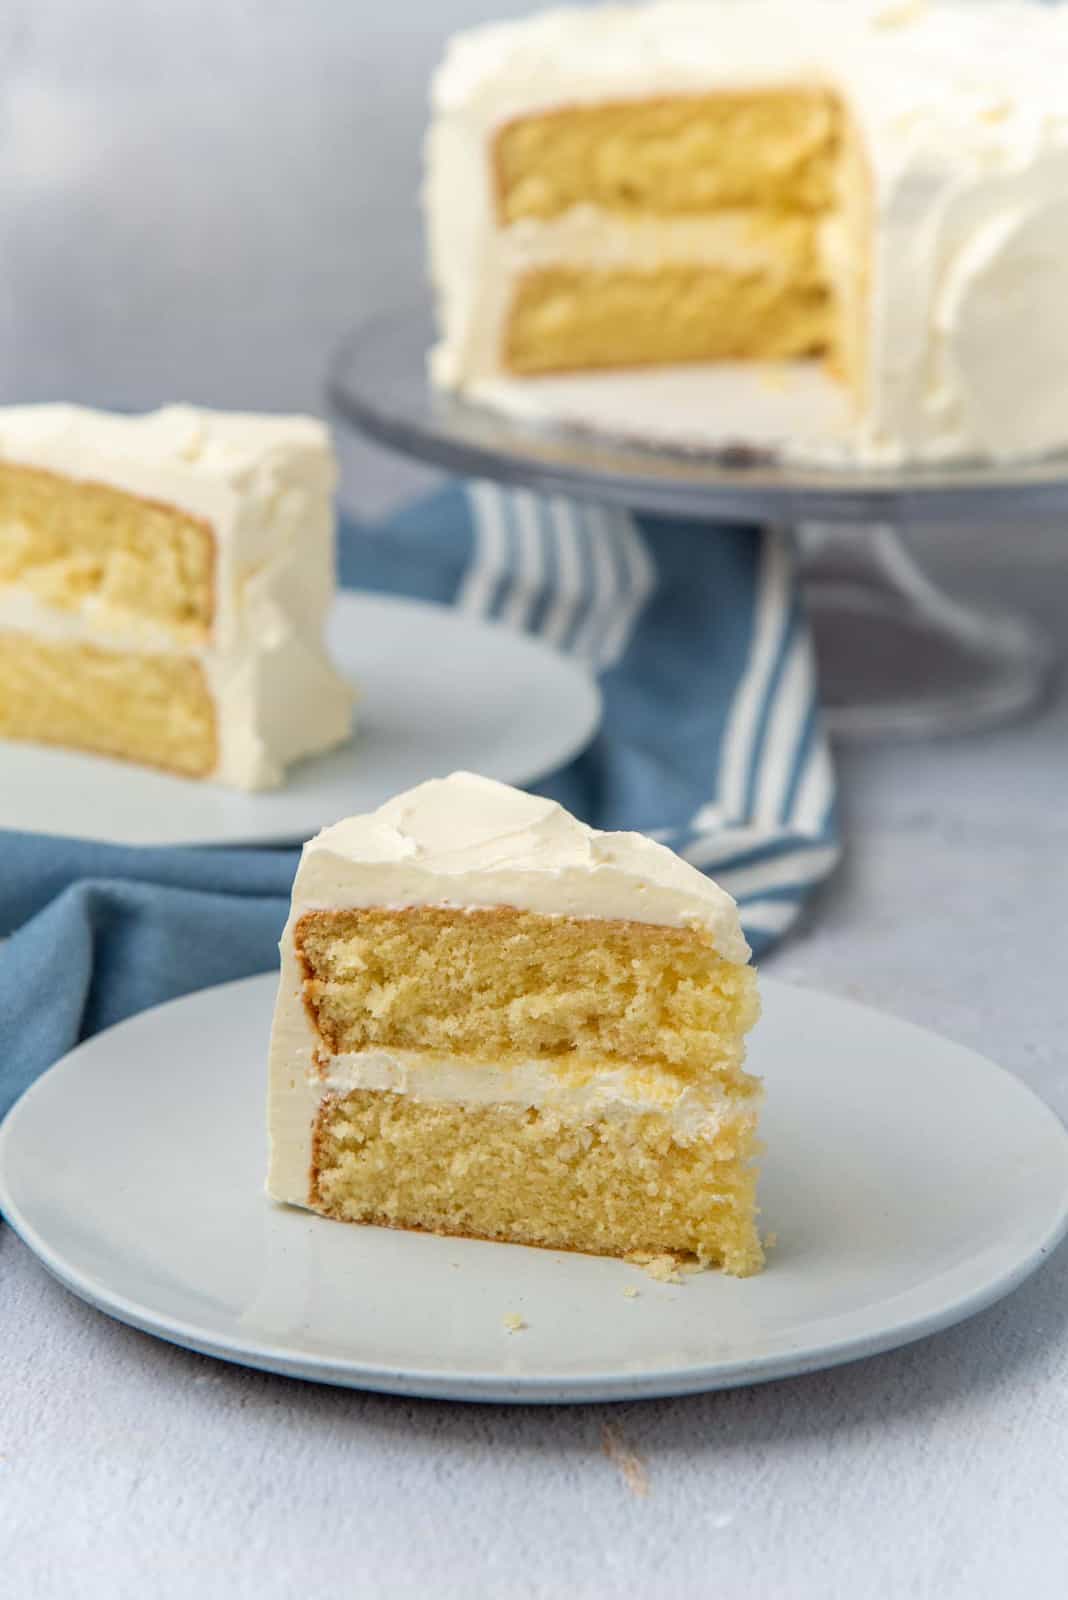
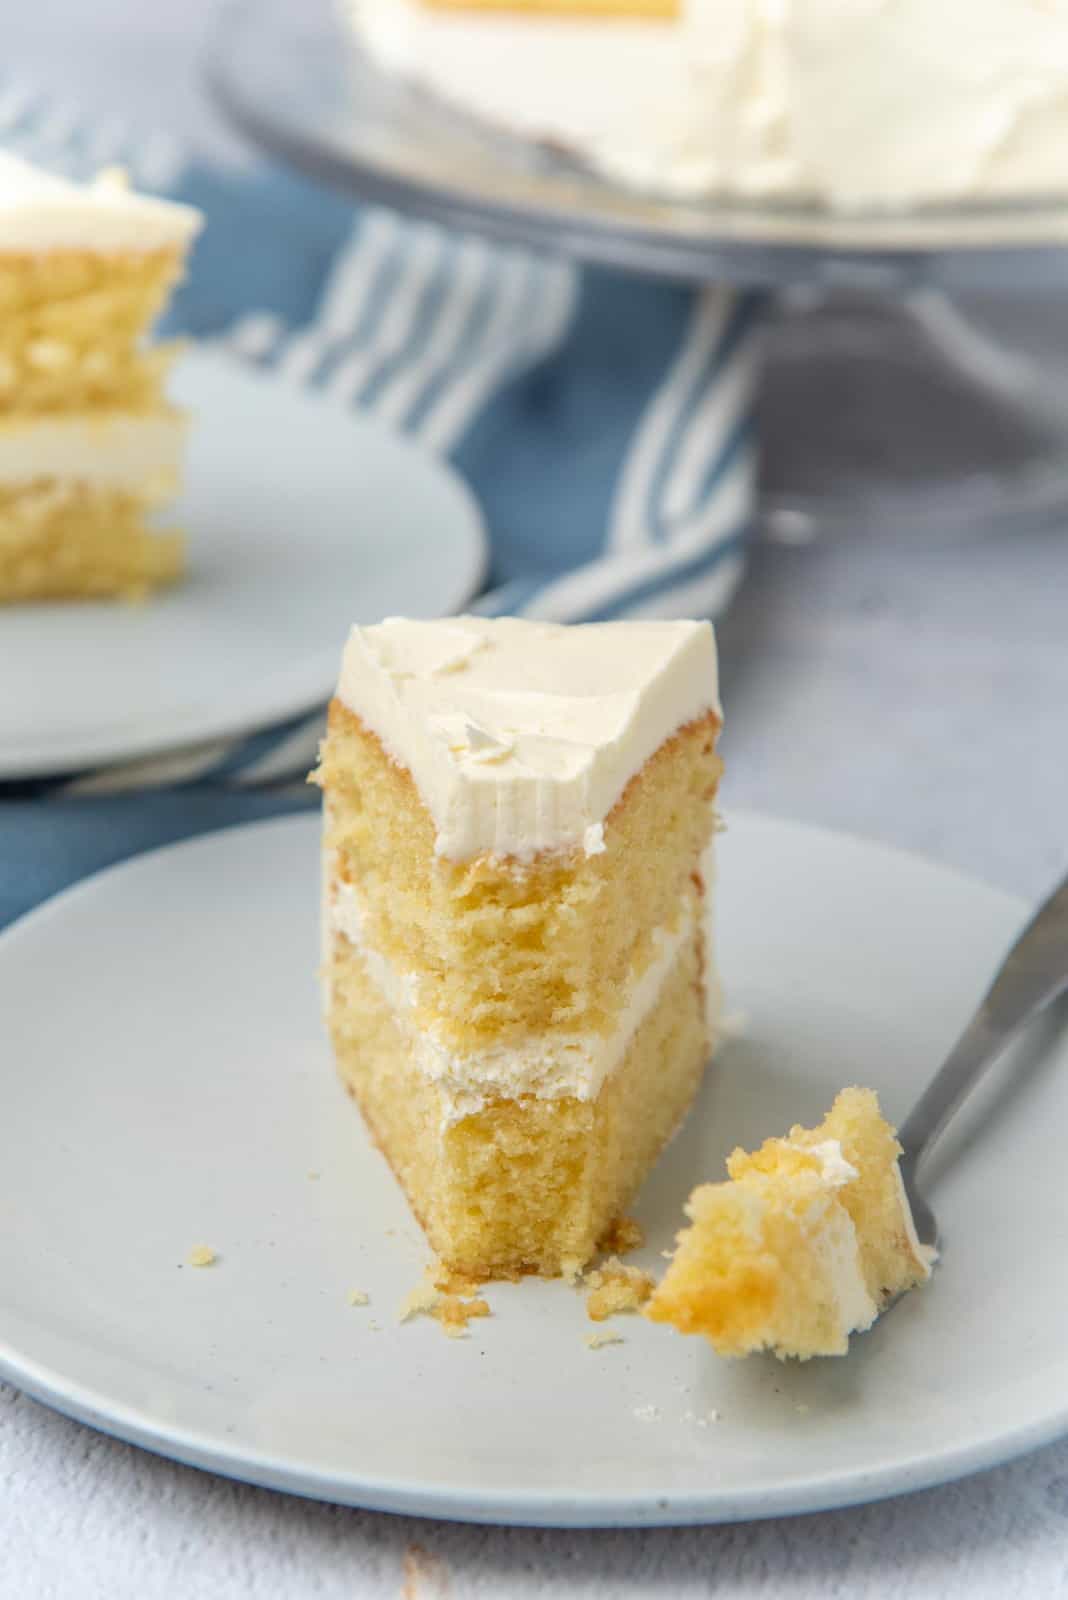
I baked this cake in 8 inch pans for a 2-layered cake. But you may be wondering if you could bake this cake in a 9 inch pan or as a sheet cake? Why yes, you totally can!
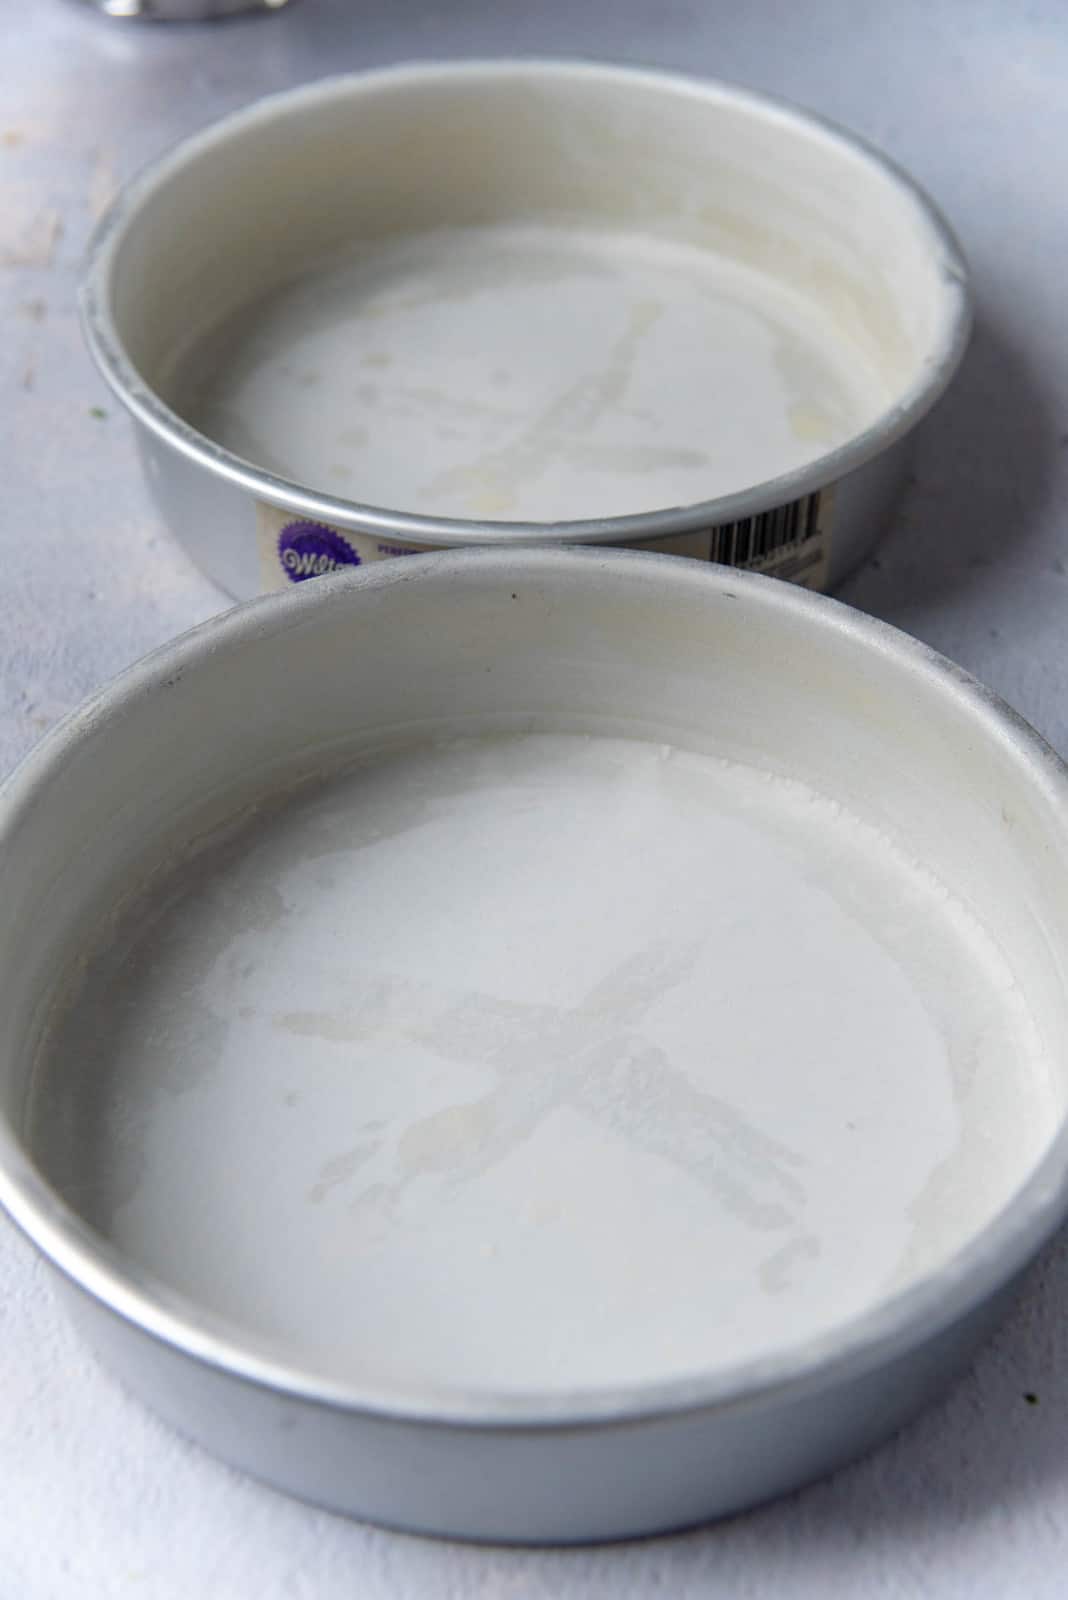
How to prepare cake pans for baking?
Preparing the cake pans for this easy vanilla cake is simple, but it’s probably my least favorite part as well. My sister used to be my designated pan preparer (and taste-tester of course), but now I got to do that myself.
I find that parchment paper makes my job easy. I ALWAYS line the bottom of the pan with parchment paper. For round pans, I butter and flour the sides, but I usually use parchment paper to line the sides of square or rectangle pans. I just go with whichever feels convenient at that moment in time. I personally don’t like using non-stick sprays for my cake pans, but you CAN use baking goop if you like (homemade non-stick paste), and this recipe from Sugar Geek Show would be a recipe that I trust.
Could or should I use baking strips?
YES! You can use baking strips for a more even, flat surface on your cake. I do use them when I want to make a naked cake (baking strips will keep the sides from turning brown, and will keep the cake surface flat). But I don’t really bother with them for home baking.
The bake times for different sized cake pans
- 2 x 8 inch pans = bake for 25 – 30 minutes (mine takes about 27 minutes).
- 2 x 9 inch pans = bake for 20 – 25 minutes (mine takes about 22 minutes).
- 9 x 13 cake pan (for a sheet cake) = bake for 30 – 35 minutes (mine takes about 32 minutes).
- Cupcake pans = bake for about 15 – 20 minutes (mine takes about 17 minutes).
How do I know if my cake is done?
I prefer baking my cakes at 325°F / 165°C because it bakes the cake more evenly, even though it takes just a tad longer.
The best way to tell if your cake is done is by using a cake tester or toothpick inserted into the center of the cake. If it comes out clean, then the cake is ready!
How can I test the cake done-ness WITHOUT pricking the cake?
If you press the center of the cake surface, and if the surface springs back up, then the cake is done. But if that indentation remains, then the cake could use a few more minutes of baking. The sides of the cake also pull away from the sides of the pan, ever so slightly.
Just make sure to check the cake regularly towards the end to avoid over-baking the cake. Because an over-baked cake is a dry cake. No good.
STEP SIX – Decorating the cake
There aren’t any rules when it comes to decorating your homemade vanilla cake! 🙂 Well, other than just waiting till the cake has cooled down completely. Because if the cake is warm, the frosting will melt.
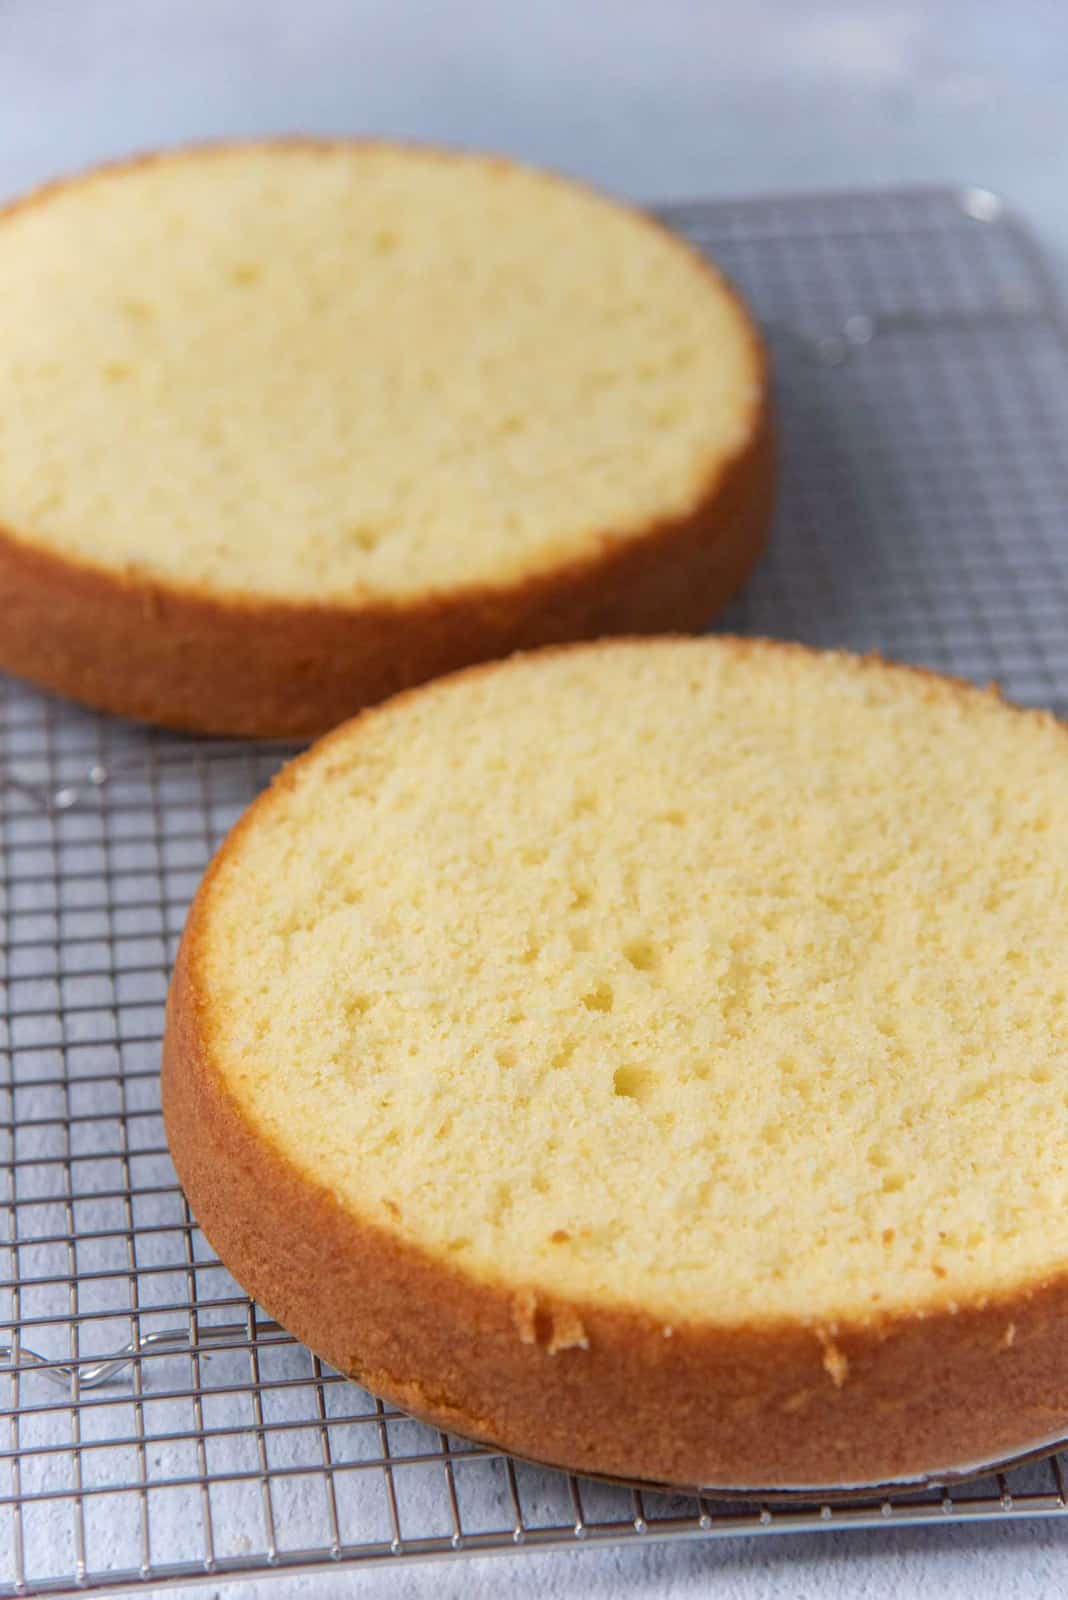
Place the cake layers on a cooling rack to cool completely. If the cake is domed on the top, use a serrated knife to slice off the top to make it evenly flat.
You can decorate your vanilla cake with my vanilla buttercream frosting or my chocolate buttercream frosting. You can also use vanilla swiss meringue buttercream or chocolate swiss meringue buttercream. Cream cheese frosting is also a great choice.
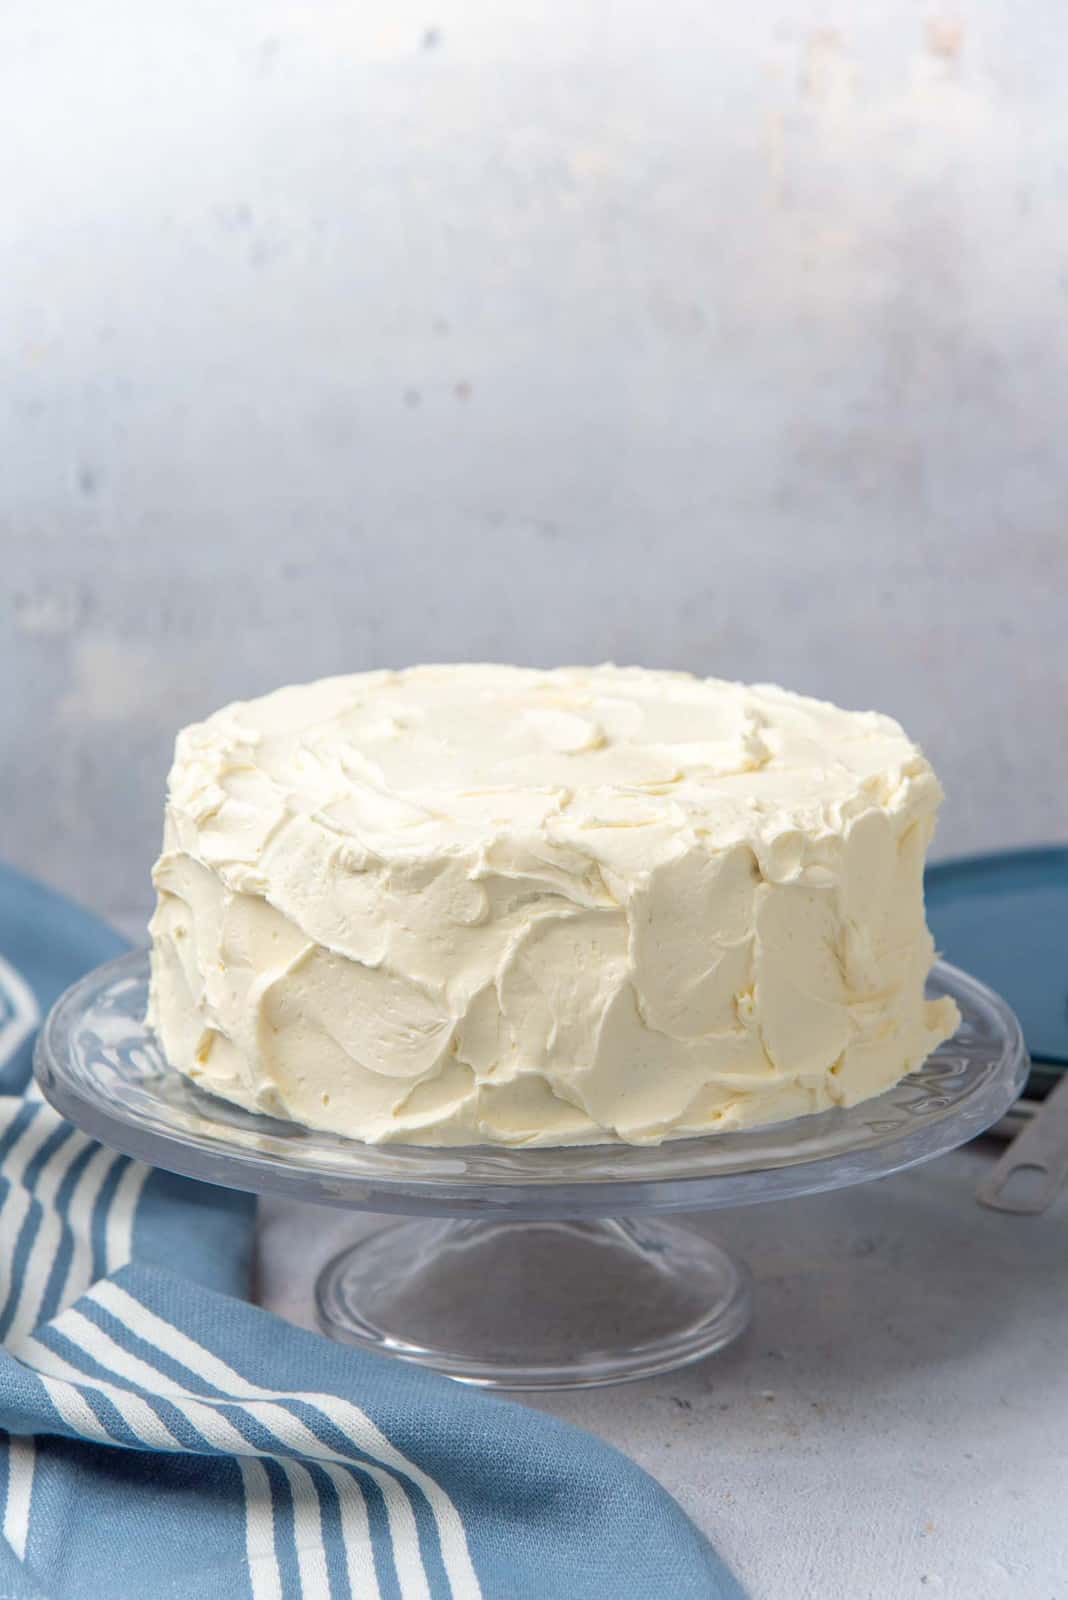
You can also choose to frost your cake with a smooth, straight edged finish, or go rustic. Check out the images here to see how I fill and frost a cake to make a birthday cake. Or if you’d like to create a fun water color effect on your cake, follow the method that I used in this colorful pastel Easter cake.


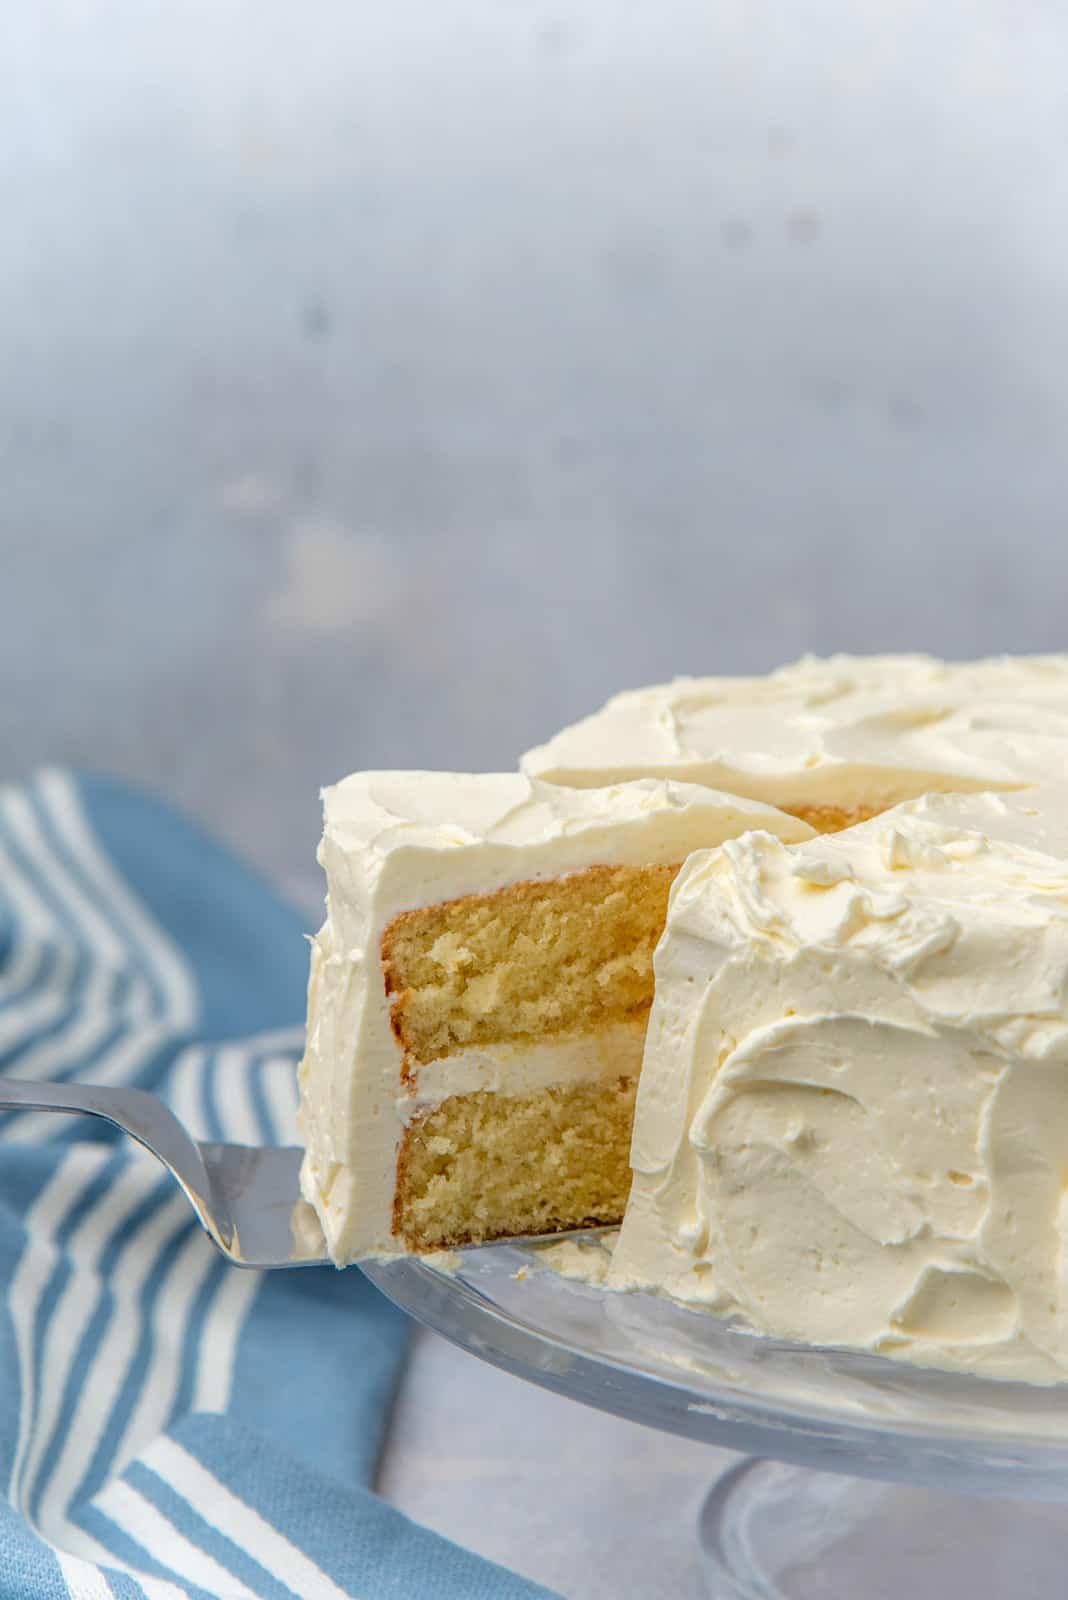
This recipe is hands down THE BEST VANILLA CAKE I’ve ever had and made! And I’m sure it’ll be yours too! 🙂 A deliciously buttery, light, moist, soft vanilla cake. As classic as it gets.
When I was younger, my favorite way to eat vanilla cake was with chocolate frosting. But now, as you’d expect, I go the classic way! Which is a delicious and fluffy vanilla buttercream.
This Classic Homemade Vanilla Cake is a firm reader-favorite too!
“Made this for a birthday. Easy to make, delicious moist cake, easy to work with icing. Made a great impression when the cake was cut and the layers revealed. A hit all around.”
— MasterRusk
When I was living in Sri Lanka, we used to make vanilla cakes that were colored and swirled into what we called “ribbon cakes”. This was a very popular and whimsical option for birthdays and celebrations. You can check out how to do that with this ribbon cake recipe here!
Storing the vanilla cake for later
This homemade vanilla cake can be made in advance. The cake layers freeze beautifully, and can be made well in advance. Here is how to store the vanilla cake layers for later.
Once the cake layers have cooled to room temperature, wrap each layer with 2 layers of plastic wrap. These cake layers can be stored in the fridge overnight, or up to 3 days.
To store them for longer, place the wrapped cake layers on a baking tray (in a single layer) and freeze. Once frozen, they can be stacked on top of each other. Cakes can be frozen for up to 3 months. Let them thaw out in the fridge before you use them.
The frosted cake will be good for about 1 week. Make sure to store the cake in an air-tight container. Reduce contact with air, since this will dry out the cake.
If you liked this cake, then you will LOVE,
Is chocolate cake more your jam?
Recipe
The Best Vanilla Cake
US based cup, teaspoon, tablespoon measurements. Weight measurements are recommended for accurate results whenever available.
Common Measurement ConversionsIngredients:
Vanilla Cake
- 115 g unsalted butter 4 oz / 1 stick. At room temperature
- 100 g oil ½ cup. Can be substituted with 4 oz / 115 g of butter
- ½ tsp salt
- 300 g white sugar 1 ½ cups
- 4 large eggs room temperature
- 180 mL milk ¾ cup. Preferably full fat, see recipe notes
- 10 mL white wine vinegar or apple cider vinegar 2 tsp
- 15 mL vanilla extract 1 tbsp. Try to use a good quality extract.
- 315 g AP flour 2 ½ cups, measured by spoon and level method
- 2 tsp baking powder
Buttercream Frosting Options
- 2 recipe Vanilla Buttercream Frosting OR
- 2 recipe Chocolate Buttercream Frosting
Instructions:
Vanilla Cake
- Preheat the oven to 325°F / 165°C. Line the bottom of two 8 inch pans with parchment paper, and butter and flour the sides. Set aside. (See recipe notes for baking instructions for 9 inch pans, cupcake pans, or 9 x 13 inch pans).
- Whisk the butter, oil, salt, and sugar until the mix is creamy and fluffy.115 g unsalted butter, 100 g oil, ½ tsp salt, 300 g white sugar
- Add the eggs, one at a time, mixing well between each addition.4 large eggs
- Mix the milk, vinegar, and vanilla together. Add this milk mixture to the cake batter, and stir it in.180 mL milk, 10 mL white wine vinegar or apple cider vinegar, 15 mL vanilla extract
- In a separate bowl, sift the flour and baking powder together and whisk to combine.315 g AP flour, 2 tsp baking powder
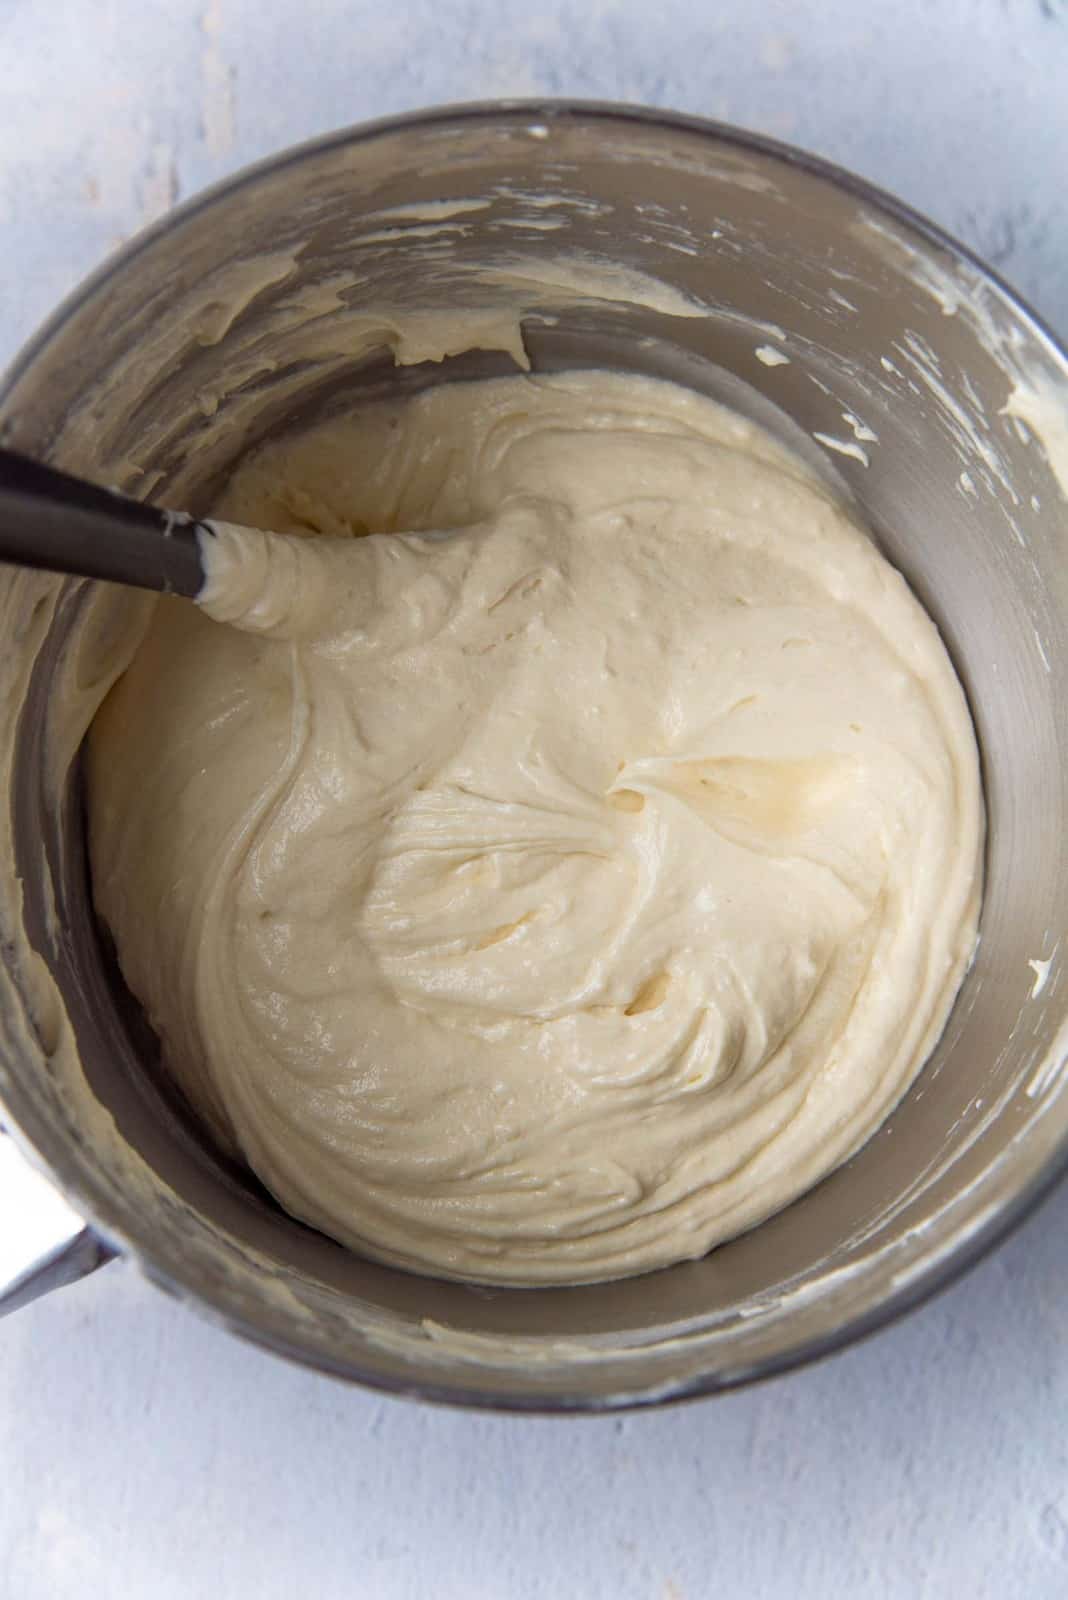
- Fold the flour into the wet ingredients in 2 – 3 additions, and mix until just combined. Do NOT over-mix.
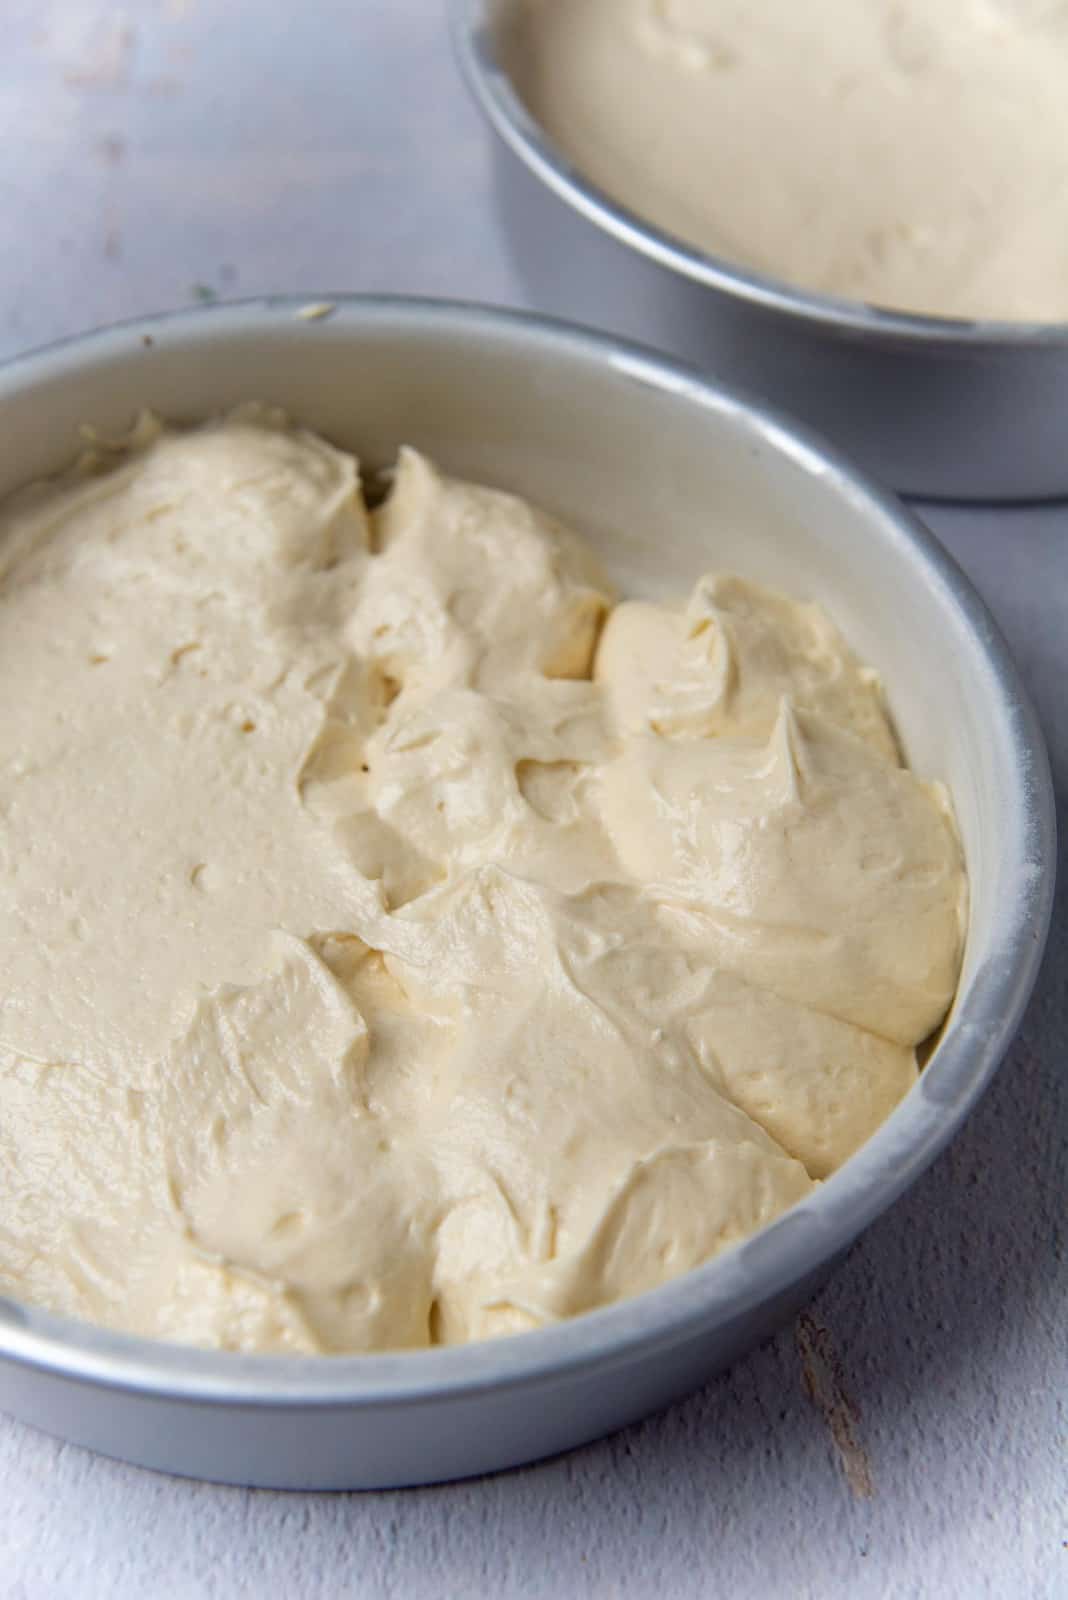
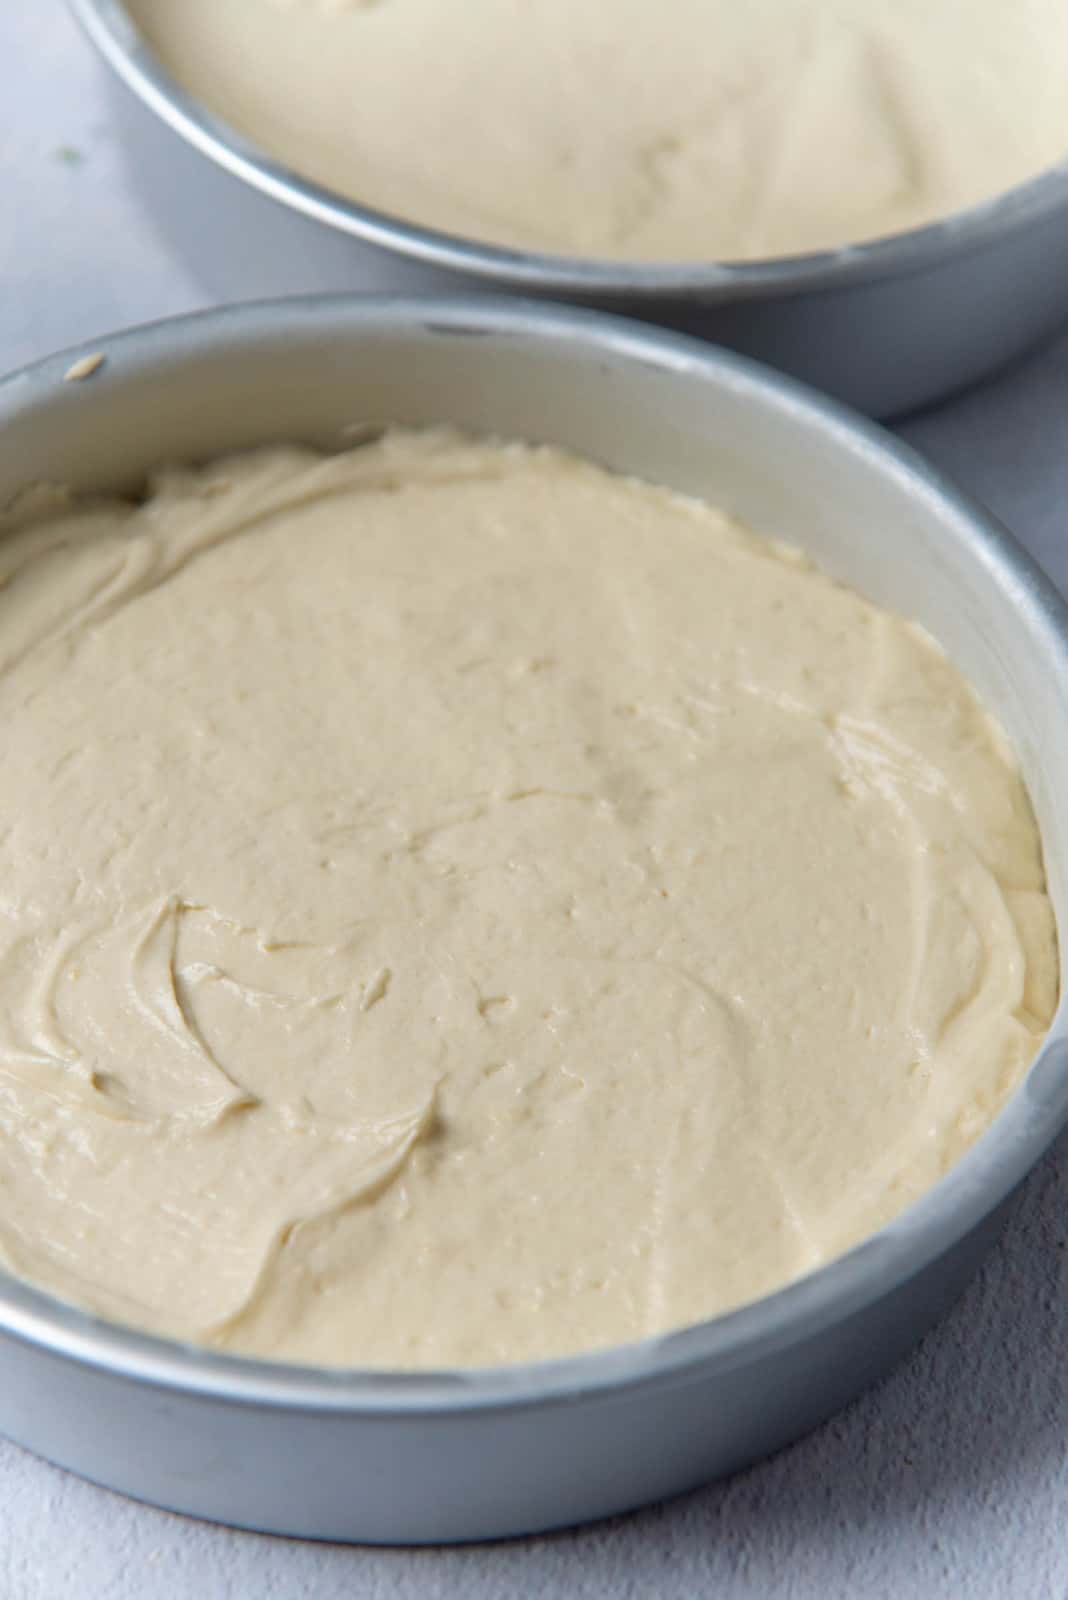
- Divide the batter between the two cake pans. You can either do this by weight, or by using an ice cream scoop to divide the cake batter evenly.
- Using an offset spatula, spread the cake batter in the cake pan so that it's evenly spread. Knock the pan on a firm surface 3 – 4 times, to evenly spread out the batter and to remove any air pockets.
- Bake in the preheated oven for about 25 – 30 minutes, rotating the pan once, halfway through the baking time. (See recipe notes for baking instructions for 9 inch pans, cupcake pans, or 9 x 13 inch pans).
- The cake should be springy to the touch (when you gently touch the middle of the cake, it should spring back up). Remove the cake from the oven and let it cool slightly in the pan. While still warm, turn the cake out onto a wire rack and let it cool down completely.
Ribbon Cake Instructions
Decorating Options (with your choice of frosting)
- Make the vanilla buttercream as per the linked recipe, before you're ready to assemble the cake. Then just before you're ready to use the buttercream frosting, you can whip the frosting for a few minutes to make it fluffy again.You can also choose to make the chocolate buttercream as well.2 recipe Vanilla Buttercream Frosting OR, 2 recipe Chocolate Buttercream Frosting
- If needed, slice off any domed tops of the cake layers with a serrated knife to make them evenly flat on top.
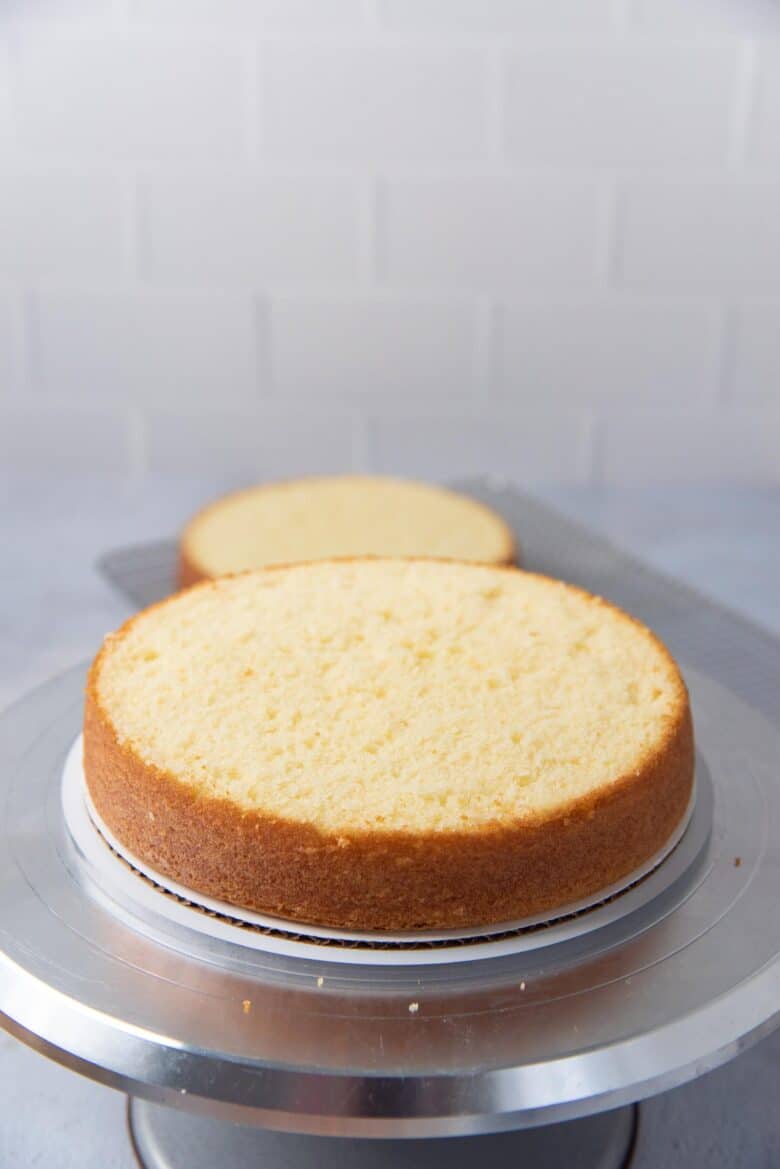
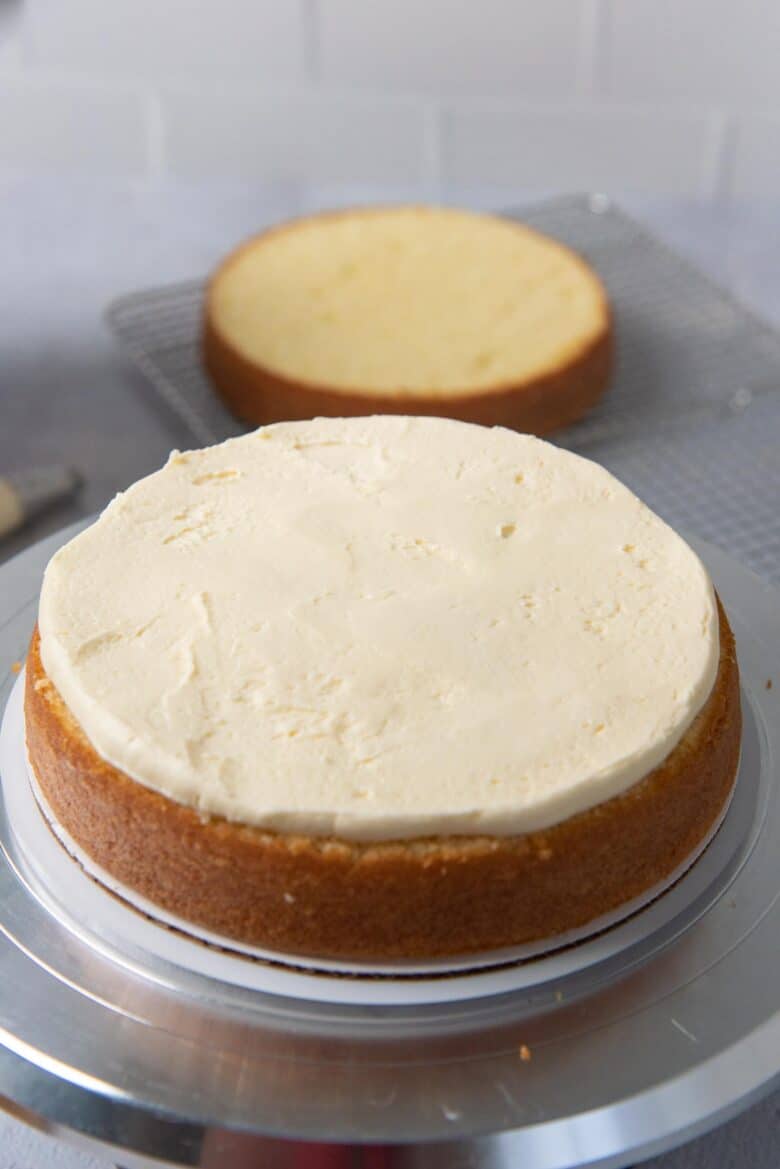
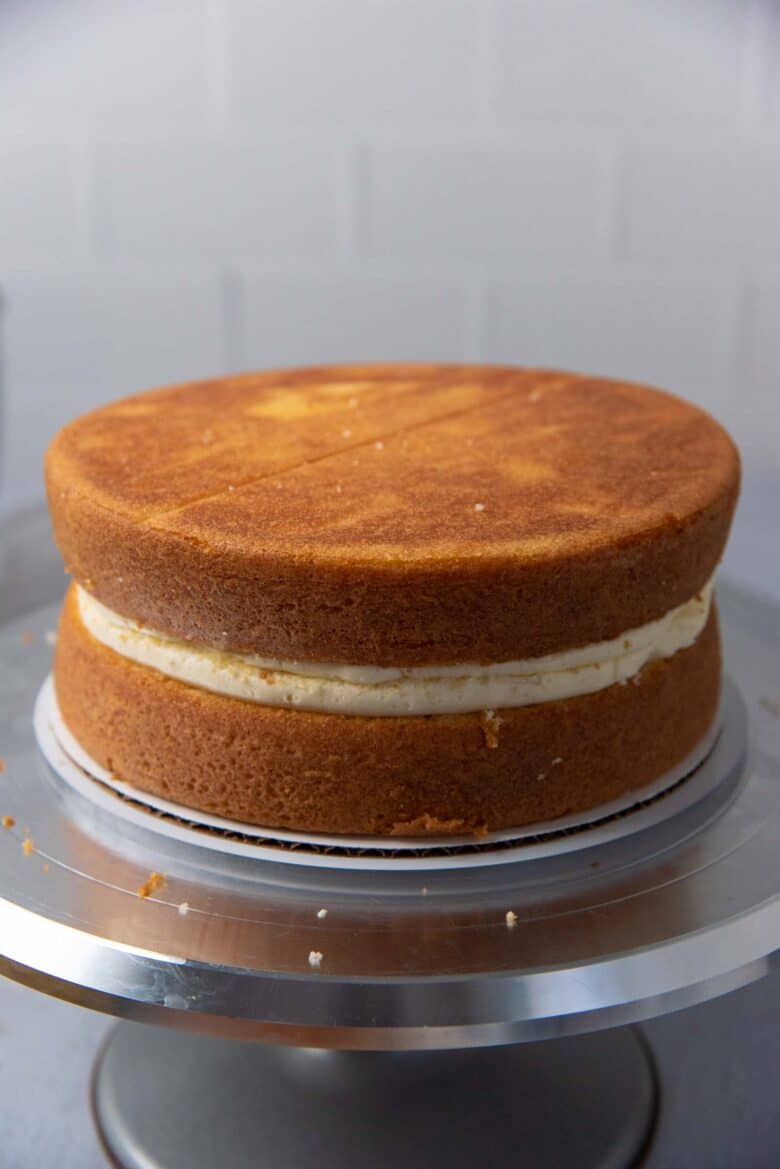
- Place one cake layer on a cake serving plate or decorating plate, with the flat bottom facing down. Place about ½ – ¾ cup of the frosting on top of this cake layer and spread it evenly. You can choose to add a little more of the frosting if you like.
- Place the second cake layer on top, and gently press it down to make sure the cake layers stick together. Make sure the flat bottom of this cake layer is facing up, so that the cake has a nice flat surface on top.
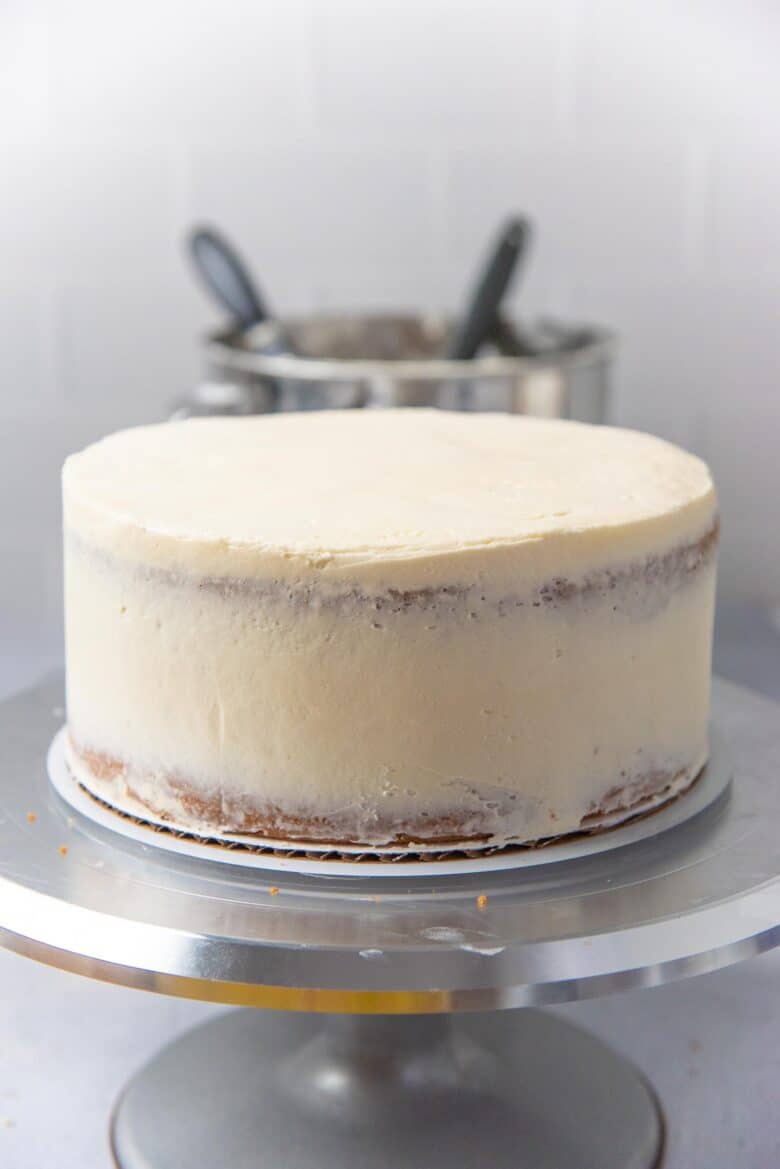
- Apply a thin coating of the frosting to completely cover the cake. This is the crumb coating. Allow the crumb coating to set in the fridge for a few minutes, or up to 1 hour.
- Spread the rest of the frosting over the cake evenly. Use an offset spatula to create swirls for an old fashioned cake look, OR use a bench scraper or spatula to smooth out the frosting.
- Decorate the cake as you like.
Recipe Notes
Note on the milk
If you prefer, you can substitute the milk with buttermilk (leave out the vinegar in that case).Baking times for different sized cake pans
Baking time for 9 inch cake pan – 20 to 25 minutes baking time. Remember to rotate the pan once, half way through the baking time. Baking time for cupcake pan – fill the cupcake liners with the batter about 2/3 of the way. Bake for 15 to 20 minutes. Remember to rotate once, half way through. Makes 12 cupcakes. Baking time for 9 x 13 inch pan – 28 to 33 minutes. Remember to rotate the pan once, half way through.Buttercream frosting ideas for this classic vanilla cake
American vanilla buttercream frosting American chocolate buttercream frosting Vanilla Swiss meringue buttercream frosting Chocolate Swiss meringue buttercream frosting Easy vanilla Swiss meringue buttercream frosting (cheat’s recipe) Easy chocolate Swiss meringue buttercream frosting (cheat’s recipe)Nutrition Information:
“This website provides approximate nutrition information for convenience and as a courtesy only. Nutrition data is gathered primarily from the USDA Food Composition Database, whenever available, or otherwise other online calculators.”


Leave a Reply